Quick Recipe Summary
| Detail | Information |
|---|---|
| Prep Time | 20 minutes |
| Cook Time | 15-20 minutes |
| Total Time | 40 minutes |
| Servings | 4-6 |
| Cuisine | Indo-Chinese / Indian Street Food |
| Course | Appetizer / Snack |
| Difficulty | Easy |
| Calories | ~320 kcal per serving (approx.) |
Table of Contents
- Introduction
- Why This Recipe Works
- Why You’ll Love This Recipe
- Ingredient Notes
- Kitchen Equipment
- Step-by-Step Instructions
- Expert Tips
- Common Mistakes to Avoid
- Recipe Variations
- What to Serve With This Recipe
- Make-Ahead & Meal Prep Tips
- Storage & Reheating Instructions
- Nutritional Information
- Troubleshooting Guide
- Frequently Asked Questions
- Final Thoughts
Introduction
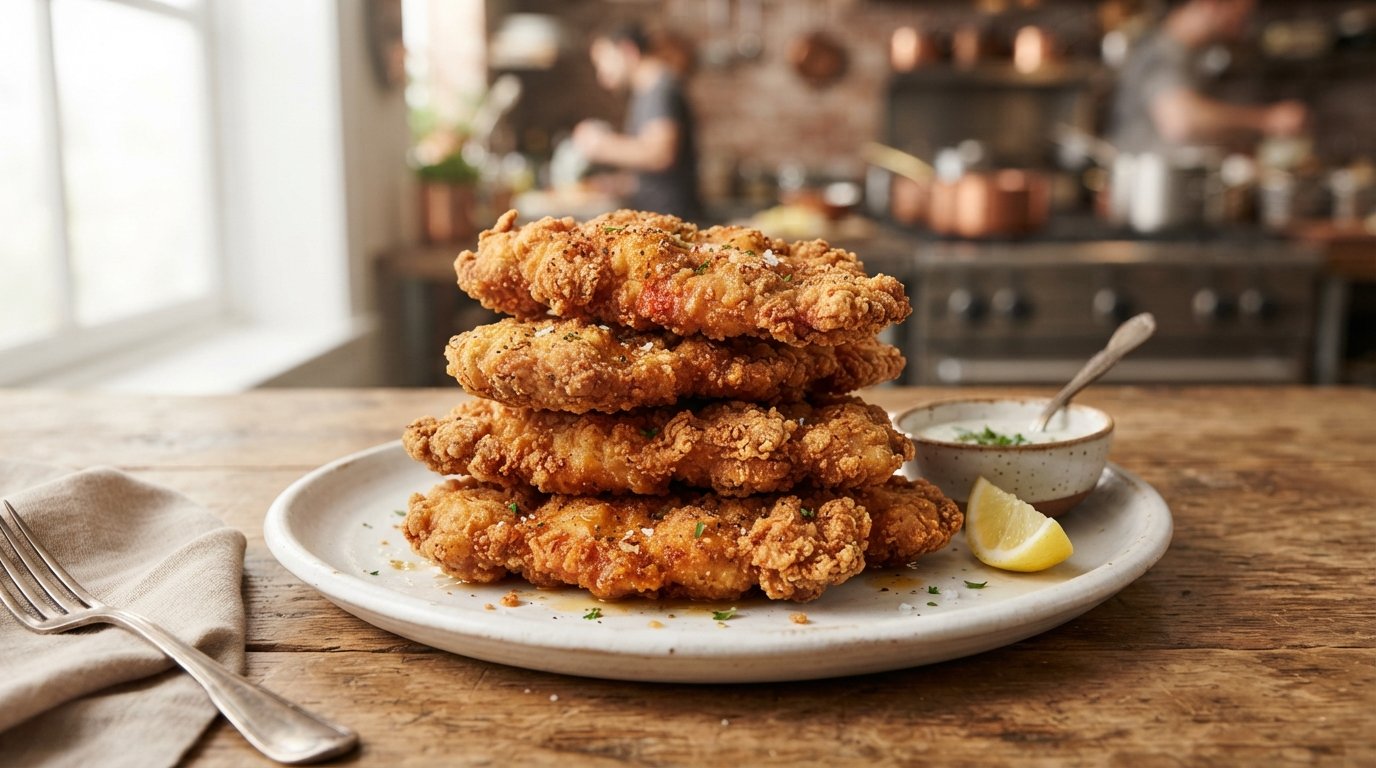
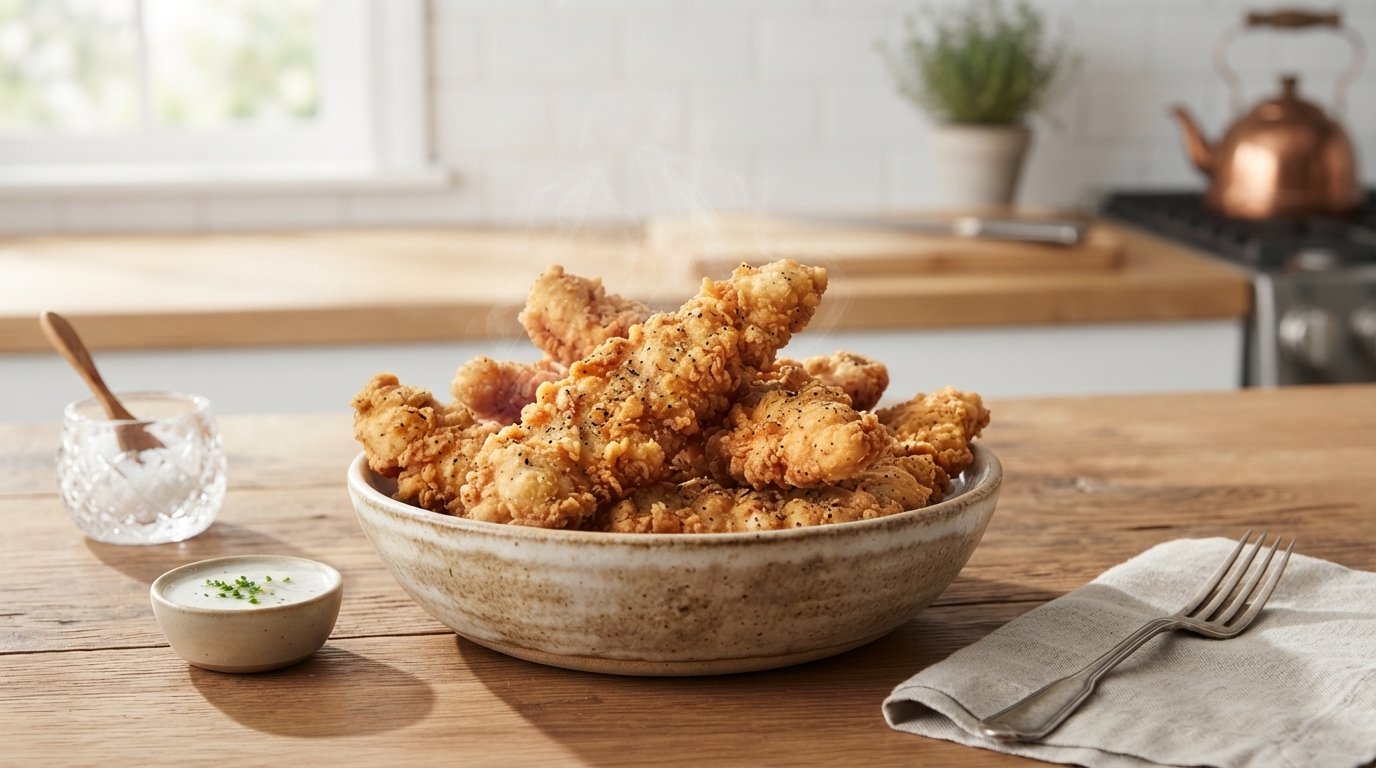
These crispy fried chicken strips deliver the perfect crunch with juicy, tender chicken inside. The double-coating method (egg + flavorful wet batter + seasoned flour) creates an irresistibly crunchy exterior that stays crispy even after dipping. Paired with a creamy, tangy homemade dipping sauce, this recipe brings restaurant-style results right to your kitchen. Perfect for parties, game nights, or a satisfying snack.
Why This Recipe Works
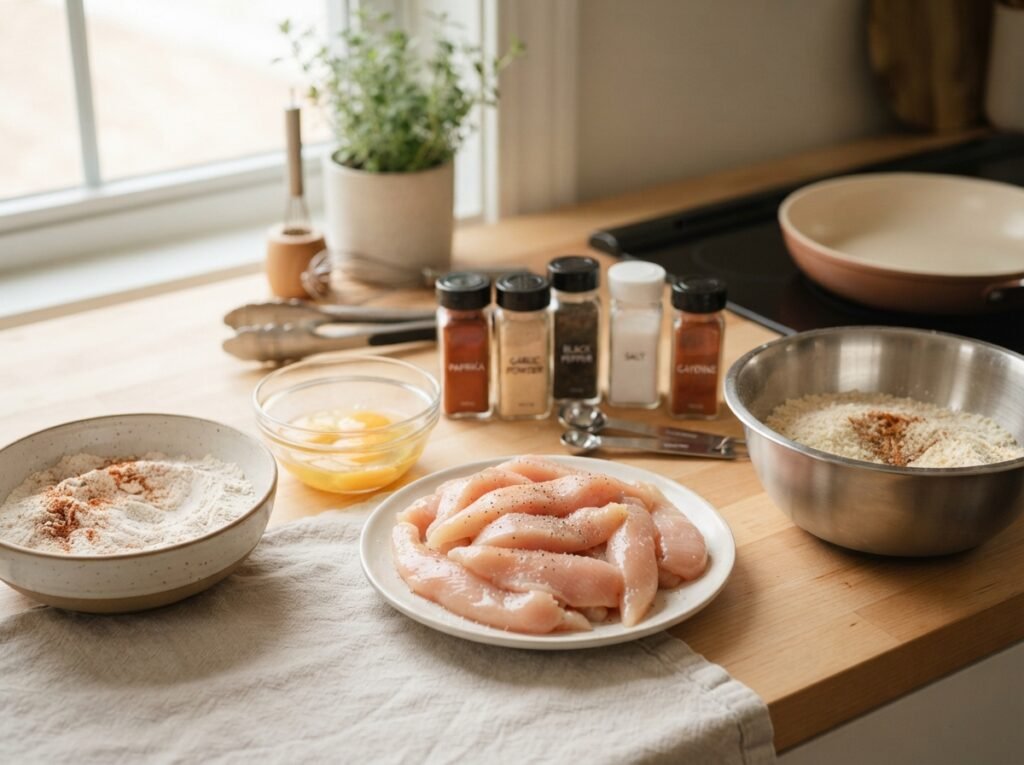
The secret lies in the two-stage coating process shown in the video. Eggs help the batter adhere, while the spiced yogurt-chili batter locks in moisture. A final seasoned flour dredge with baking powder creates those signature airy, ultra-crispy bubbles. Frying at the right temperature ensures golden perfection without greasiness.
Why You’ll Love This Recipe
- Extra crispy texture that actually stays crunchy
- Juicy, flavorful chicken inside
- Quick and straightforward process
- Customizable spice level
- Better than takeout and more affordable
- Crowd-pleasing appetizer or main
Ingredient Notes
For the Chicken & Egg Marinade:
- 500-600g boneless chicken (breast or thighs), cut into thin strips or bite-sized pieces
- 2-3 eggs
- Purpose: Eggs create a sticky base for the batter to cling to.
For the Wet Batter:
- 2-3 tbsp all-purpose flour (maida)
- 1-2 tbsp red chili powder
- 1 tsp black pepper powder
- 2 tbsp chili garlic sauce or chili sauce
- 1 tsp garlic paste or minced garlic
- 1-2 tbsp ketchup (optional for color and tang)
- Salt to taste
- Water as needed to make a thick but pourable batter
- Purpose: Adds bold flavor and moisture.
For the Dry Coating:
- 2 cups all-purpose flour (maida)
- 1 tsp salt
- 1 tsp black pepper
- 1 tsp baking powder
- Purpose: Creates the ultra-crispy crust.
For the Creamy Dipping Sauce:
- ½ cup yogurt or mayonnaise
- 1 tsp garlic paste
- 1 tsp chili sauce
- ½ tsp ketchup
- Salt & pepper to taste
- Purpose: Balances the heat with creamy tang.
Kitchen Equipment
Required:
- Large mixing bowls
- Whisk or fork
- Sharp knife & cutting board
- Deep frying pan or wok
- Slotted spoon or spider strainer
- Plates for dredging
Optional: Tongs, kitchen thermometer (ideal oil temp 170-180°C / 340-350°F)
Step-by-Step Instructions
Step 1: Prepare the Chicken Cut boneless chicken into thin strips or bite-sized pieces for even cooking. Place in a wide plate or bowl. Crack 2-3 eggs directly over the chicken. Using a fork, gently mix so every piece is well coated. Let it sit for 5 minutes. This egg wash is crucial for helping the batter stick and keeping the chicken moist.
Step 2: Make the Wet Batter In a mixing bowl, combine all-purpose flour, red chili powder, black pepper, chili garlic sauce, garlic paste, ketchup, and salt. Gradually add water while whisking until you get a smooth, thick batter (consistency like pancake batter). The spices here infuse deep flavor into the chicken.
Step 3: Coat the Chicken in Batter Add the egg-coated chicken pieces into the wet batter. Mix thoroughly so every strip is fully covered. This layer seals in juices and adds tang.
Step 4: Prepare the Dry Flour Mix In another bowl, mix 2 cups flour with salt, black pepper, and baking powder. The baking powder is key for extra lift and crispiness.
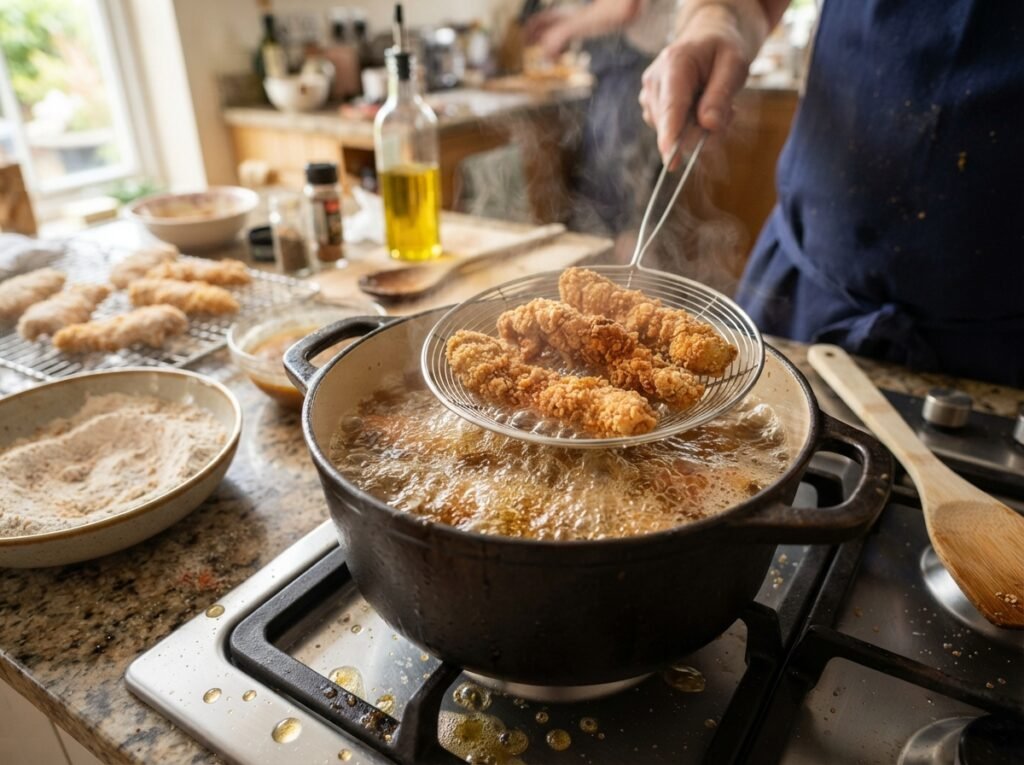
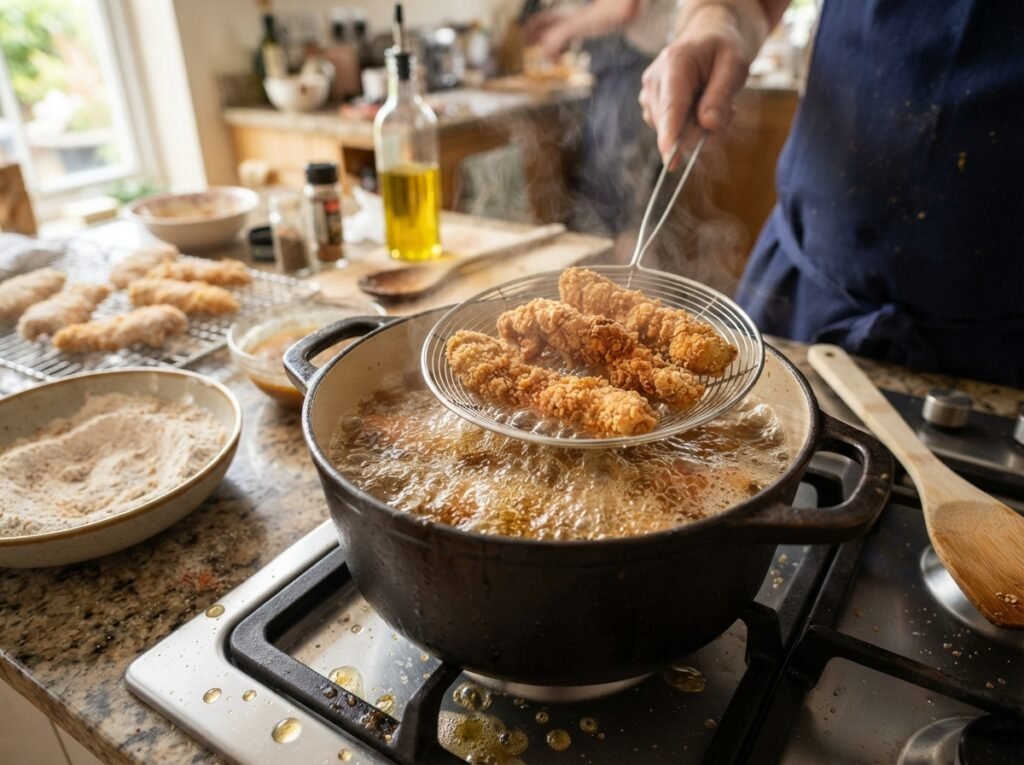
Step 5: Double Coat & Fry Heat oil in a deep pan over medium-high heat. Take one piece at a time from the wet batter, let excess drip off, then press into the dry flour mix, coating evenly and pressing lightly for maximum crunch. Shake off excess. Fry in batches (don’t overcrowd) until golden brown and crispy, about 4-6 minutes per batch. The chicken should float and sizzle vigorously. Remove to a wire rack or paper towel.
Step 6: Make the Dipping Sauce Mix yogurt/mayo with garlic, chili sauce, ketchup, salt, and pepper. Adjust to taste. Refrigerate until serving.
Expert Tips
- Pat chicken dry before starting for better adhesion.
- Maintain consistent oil temperature — too hot burns the coating, too cool makes it greasy.
- Double-coating is non-negotiable for restaurant-level crispiness.
- Fry in small batches to prevent temperature drop.
- Rest fried chicken on a wire rack, not paper towels, to keep the bottom crispy.
Common Mistakes to Avoid
- Skipping the egg wash → batter slides off.
- Batter too thin → soggy coating.
- Overcrowding the pan → lowers oil temperature and causes steaming instead of frying.
- Not pressing the dry flour well → less crunch.
Recipe Variations
- Spicier Version: Add green chili paste or extra red chili to the batter.
- Air Fryer Version: Spray coated strips with oil and air fry at 200°C (390°F) for 12-15 minutes, flipping halfway.
- Healthy Baked Version: Bake at 220°C (425°F) on a wire rack for 20-25 minutes.
- Low-Carb: Use almond flour or coconut flour for the dry coating.
- Popcorn Chicken: Cut into smaller nuggets.
What to Serve With This Recipe
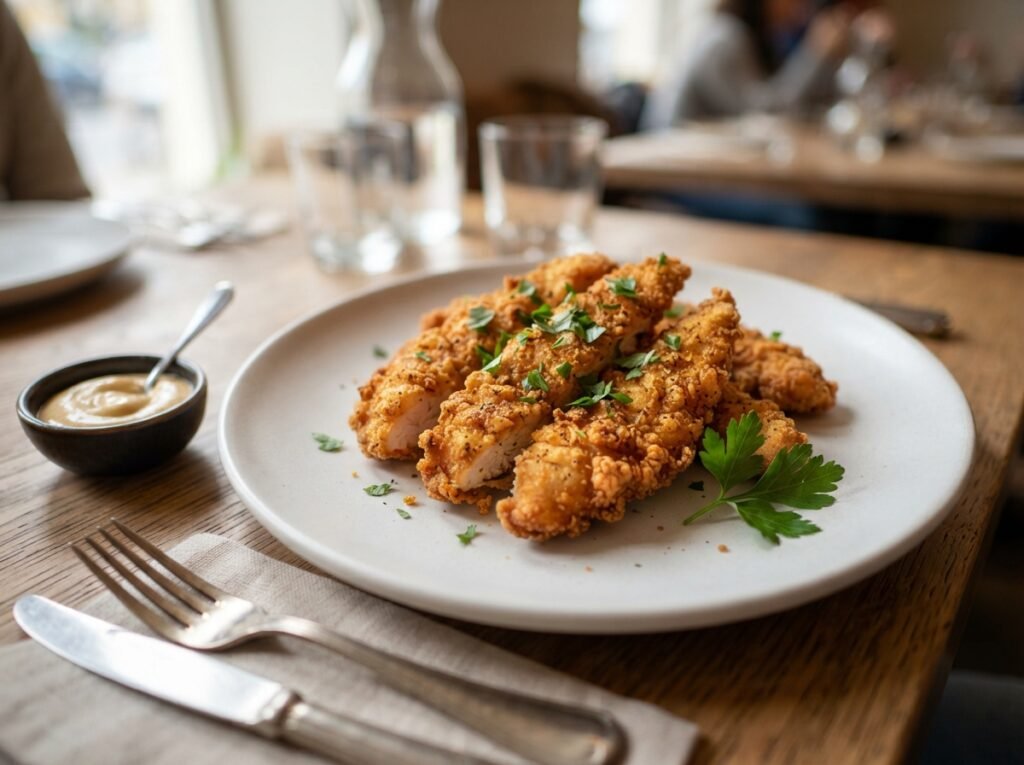
Serve hot with the creamy dipping sauce. Pair with:
- French fries or peri-peri fries
- Fresh green salad or coleslaw
- Naan or paratha for a full meal
- Cold drinks, lemonade, or masala soda
- Mint chutney or extra hot sauce
Make-Ahead & Meal Prep Tips
- Marinate chicken in egg and refrigerate up to 4 hours.
- Prepare both batters and sauce a day ahead.
- Freeze uncooked coated strips on a tray, then store in freezer bags for up to 1 month. Fry straight from frozen, adding 1-2 extra minutes.
Storage & Reheating Instructions
Refrigerator: Store leftovers in an airtight container for up to 3 days. Freezer: Up to 2 months. Reheating:
- Oven/Air Fryer: Best method — 180°C (350°F) for 8-10 minutes until hot and crispy.
- Stovetop: Reheat in a dry pan on medium.
- Avoid microwave (makes it soggy).
Nutritional Information (Approximate per serving)
- Calories: 320 kcal
- Protein: 28g
- Carbohydrates: 18g
- Fat: 15g
- Fiber: 1g
- Sugar: 3g
- Sodium: 650mg
Values are estimates and can vary based on exact portions and oil absorption.
Troubleshooting Guide
- Not crispy enough: Increase oil temperature or ensure good dry coating.
- Chicken dry inside: Cut thinner strips or lower frying temperature slightly.
- Batter falling off: Make sure chicken is well-egged and batter isn’t too thin.
- Greasy chicken: Oil wasn’t hot enough or pieces were overcrowded.
Frequently Asked Questions
Can I use chicken thighs instead of breast? Yes! Thighs stay even juicier.
How do I make it less spicy? Reduce red chili powder and use mild chili sauce.
Can I bake these instead of deep fry? Yes — see variations above.
What oil is best for frying? Any neutral oil with high smoke point like sunflower, canola, or vegetable oil.
Why add baking powder to the flour? It creates tiny air pockets for extra light, crispy texture.
Final Thoughts
This crispy fried chicken strips recipe proves you don’t need fancy equipment or complicated ingredients to achieve restaurant-quality results at home. The combination of juicy chicken, bold spices, and that signature crunch makes it truly addictive. Once you try it, you’ll never go back to store-bought versions.