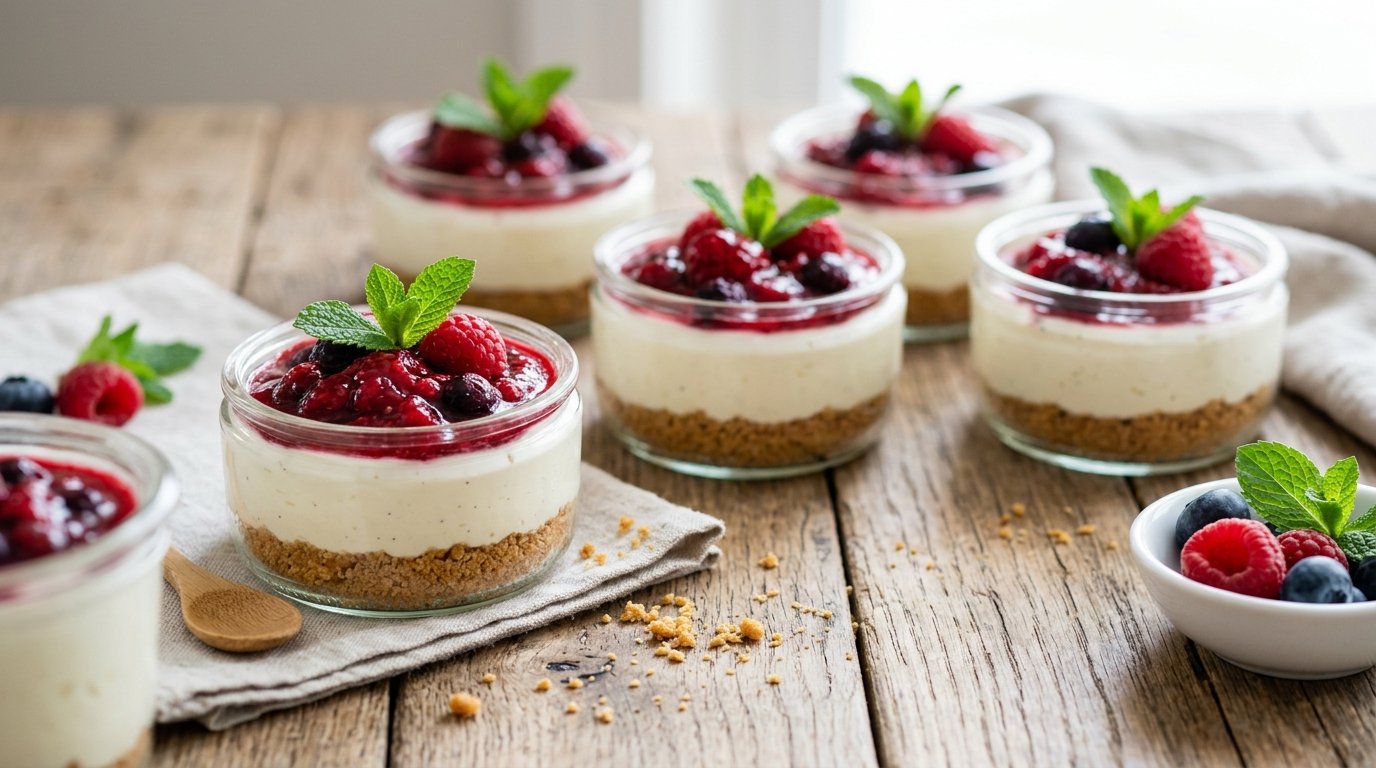
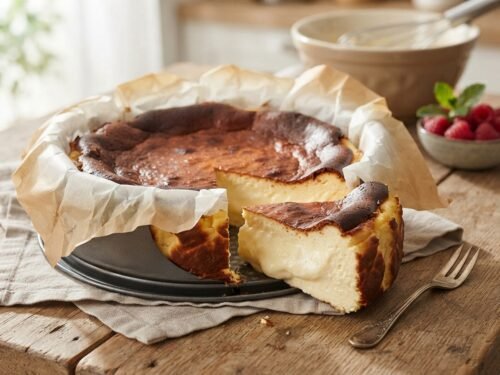
These adorable mini no-bake cheesecakes are creamy, perfectly set, and come together without turning on the oven. With buttery cookie crusts and luscious toppings, they’re ideal for parties, gifting, or satisfying a craving in individual portions.
Recipe Summary
Detail
Information
Prep Time
30 minutes
Chill Time
4+ hours (or overnight)
Total Time
4 hours 30 minutes
Servings
6 mini cheesecakes (4-inch)
Cuisine
American / Fusion
Course
Dessert
Difficulty
Easy
Calories
~450-550 per mini cheesecake
Table of Contents
Introduction
Why This Recipe Works
Why You’ll Love This Recipe
Ingredient Notes
Kitchen Equipment
Step-by-Step Instructions
Expert Tips
Common Mistakes to Avoid
Recipe Variations
What to Serve With Mini Cheesecakes
Make-Ahead & Storage
Nutritional Information
Troubleshooting Guide
Frequently Asked Questions
Final Thoughts
Introduction
Looking for an impressive yet effortless dessert? These mini no-bake cheesecakes deliver restaurant-quality results at home. Buttery Biscoff or Oreo crusts support a silky cream cheese filling stabilized with gelatin, finished with glossy blueberry compote, Biscoff spread, or rich Nutella. Perfect for beginners and seasoned bakers alike.
Why This Recipe Works
The combination of whipped chilled cream folded into room-temperature cream cheese creates an ultra-light yet stable texture. Gelatin ensures clean slices without firmness like baked versions. Individual 4-inch pans make portion control easy and presentation stunning. Multiple topping options let you create a beautiful assortment from one base recipe.
Why You’ll Love This Recipe
No oven required — perfect for hot days
Make-ahead friendly for parties
Customizable with three delicious flavors
Individual servings look professional
Beginner-friendly with visual cues
Uses straightforward pantry ingredients
Ingredient Notes
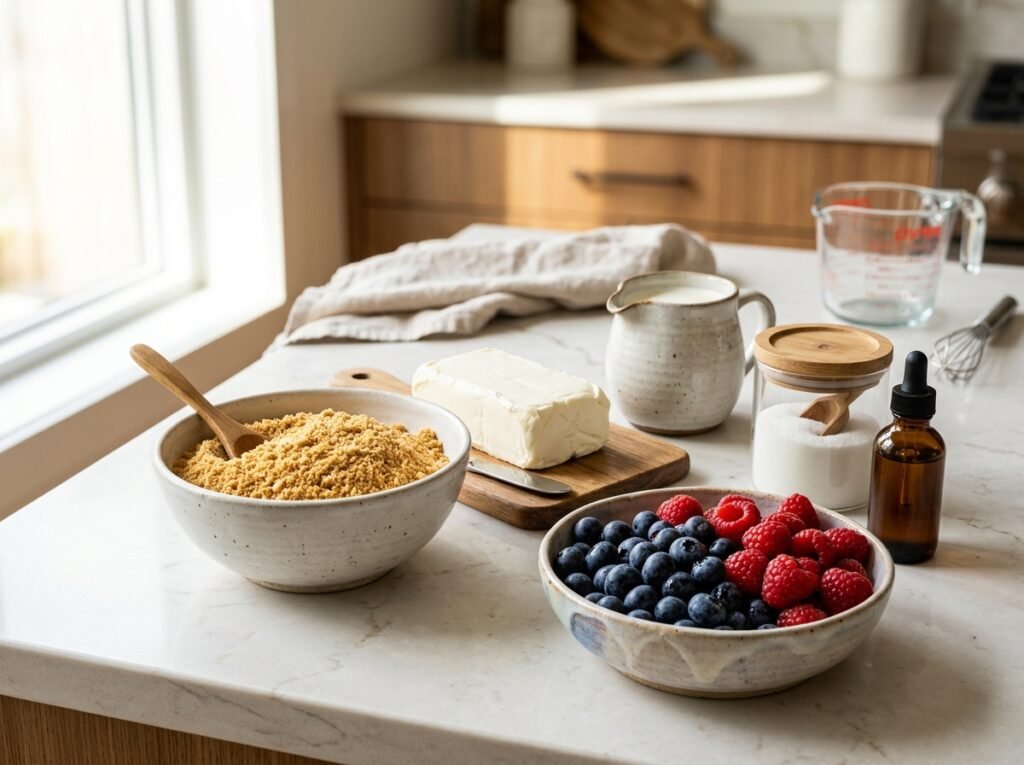
For the Crust (Biscoff version — makes 6):
250g Biscoff cookies — crushed into fine crumbs for signature caramel flavor
Melted butter (amount adjusted to bind; typically 4-5 tbsp)
Chocolate/Nutella: 1 cup Nutella spread (microwaved 30 seconds)
Toppings:
Blueberry topping/compote (store-bought or homemade)
Extra Biscoff or Nutella spread
Substitutions: Dairy-free cream cheese and coconut cream work for a vegan version (with agar agar instead of gelatin). Use graham crackers for a classic crust.
Kitchen Equipment
Required:
6 x 4-inch cake pans (or springform)
Food processor or rolling pin (for crushing cookies)
Electric hand/stand mixer
Glass mixing bowls
Measuring cups/spoons
Offset spatula or spoon
Small saucepan or microwave for gelatin and spreads
Optional: Parchment paper liners, cake boxes for gifting, turntable.
Step-by-Step Instructions
1. Prepare the Cookie Crusts
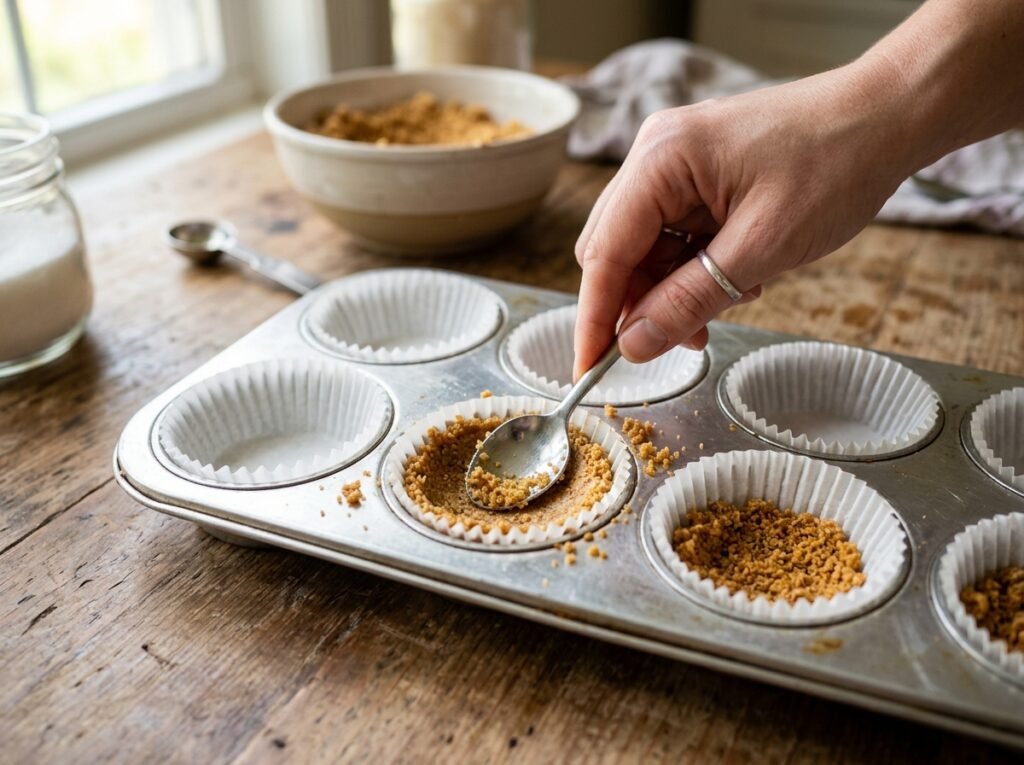
Crush 250g Biscoff cookies (or 24 Oreos) into fine crumbs. Mix with melted butter until it resembles wet sand. Press firmly into the bottom of each 4-inch pan lined with parchment. Use the back of a spoon or measuring cup for even, compact layers. Chill while preparing the filling. This creates a sturdy base that won’t crumble.
2. Bloom and Melt the Gelatin
Dissolve 2 tbsp gelatin powder in ¼ cup boiling water. Stir until completely clear. Let it cool slightly (not hot) before adding to the filling to avoid curdling the cream cheese.
3. Make the Cream Cheese Base
Beat 450g room-temperature cream cheese until smooth. Add sugar and vanilla. For flavored versions, mix in warmed Biscoff spread or Nutella at this stage until fully incorporated and streak-free.
4. Whip the Cream
In a separate bowl, whip the chilled 500g heavy cream to stiff peaks. This incorporates air for that signature light, mousse-like texture.
5. Combine and Add Gelatin
Gently fold the whipped cream into the cream cheese mixture. Stream in the cooled gelatin mixture while folding to ensure even distribution. The filling should be thick and glossy.
6. Assemble the Mini Cheesecakes
Spoon or pipe the filling over the chilled crusts, smoothing the tops. Tap pans gently to remove air bubbles. Refrigerate for at least 4 hours (preferably overnight) until fully set.
7. Add Toppings
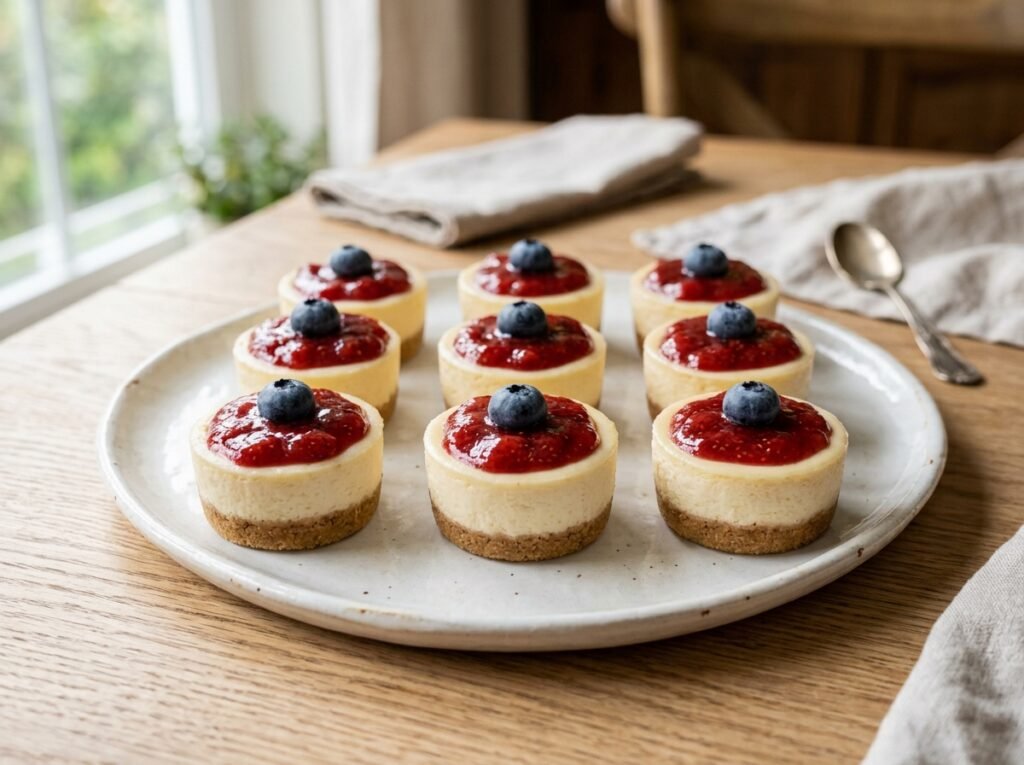
Warm spreads if needed for pourable consistency. Spoon blueberry topping, Biscoff spread, or Nutella over the set cheesecakes. Allow some drip for that beautiful finish. Add clear lids or transfer to gift boxes.
Expert Tips
Always use full-fat dairy for best texture and flavor.
Room-temperature cream cheese prevents lumps.
Chill everything — bowls, cream, and pans help the set.
For cleaner slices, dip a knife in hot water between cuts.
Make a double batch of the base and divide for multiple flavors.
Common Mistakes to Avoid
Adding hot gelatin directly → causes lumps or separation. Cool it first.
Over-whipping cream → can turn grainy or buttery.
Skipping the chill → filling won’t set properly.
Loose crust → press firmly and chill before adding filling.
Recipe Variations
Oreo Mini Cheesecakes: Use Oreo crust + chocolate filling.
Classic Vanilla Berry: Plain filling with blueberry or strawberry topping.
Low-Carb: Almond flour crust + sugar substitute.
Tiramisu Twist: Add coffee and mascarpone.
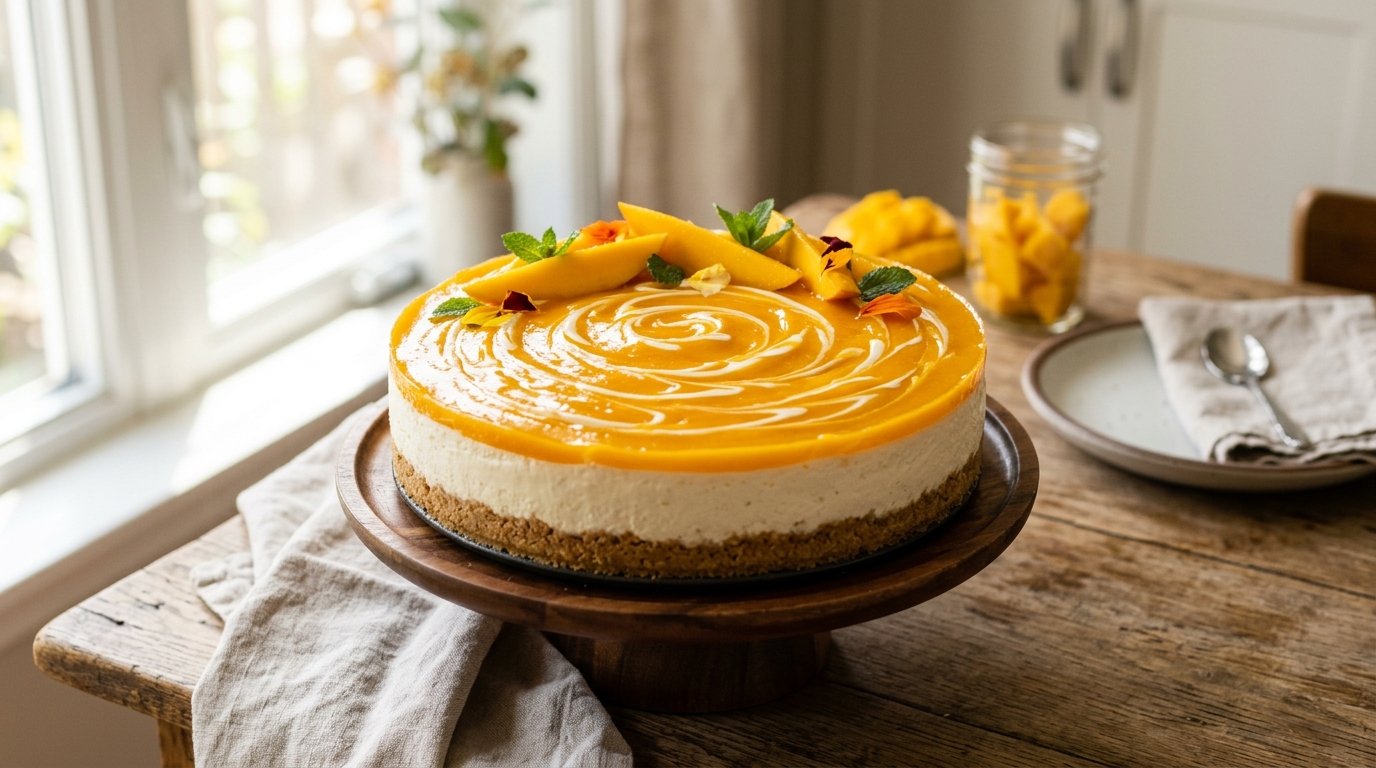
Tropical: Mango or passionfruit topping.
What to Serve With Mini Cheesecakes
Fresh berries, coffee, iced tea, or a glass of dessert wine. Pair with a simple green salad for brunch or serve alongside other mini desserts for a platter.
Make-Ahead & Storage
These are perfect for making 1-2 days ahead. Store in the refrigerator in airtight containers or boxes for up to 5 days. For longer storage, freeze (without fresh toppings) up to 1 month. Thaw overnight in the fridge.
Reheating: Not required, but let refrigerated cakes sit 10-15 minutes at room temperature for best texture.
Nutritional Information (Approximate per mini cheesecake)
Calories: 480-550
Protein: 6-8g
Carbohydrates: 35-45g
Fat: 35-40g
Sugar: 25-30g
Values vary by toppings and exact brands.
Troubleshooting Guide
Filling too soft: More gelatin or longer chill time needed.
Lumpy filling: Cream cheese wasn’t at room temp or gelatin too hot.
Crust falls apart: More butter or firmer pressing.
Weeping/sweating: Over-whipped cream or temperature fluctuations.
Frequently Asked Questions
Can I make these without gelatin? Gelatin is recommended for clean setting, but you can experiment with more cream cheese for a softer set.
How far in advance can I add toppings? Add blueberry or spreads the day of serving for best appearance.
Are these gluten-free? Use gluten-free cookies for the crust.
Can I use a larger pan? Yes — this recipe scales to a 9-inch springform for one large cheesecake.
Why is my filling not smooth? Ensure all ingredients are properly tempered and fold gently.
Final Thoughts
These mini no-bake cheesecakes prove that impressive desserts don’t need to be complicated. With their creamy texture, buttery crusts, and customizable toppings, they’re guaranteed crowd-pleasers. Whether you go blueberry, Biscoff, or chocolate, you’ll love how professional they look straight from your kitchen. Give this recipe a try and share your creations in the comments — I’d love to see which flavor you picked first! ⭐