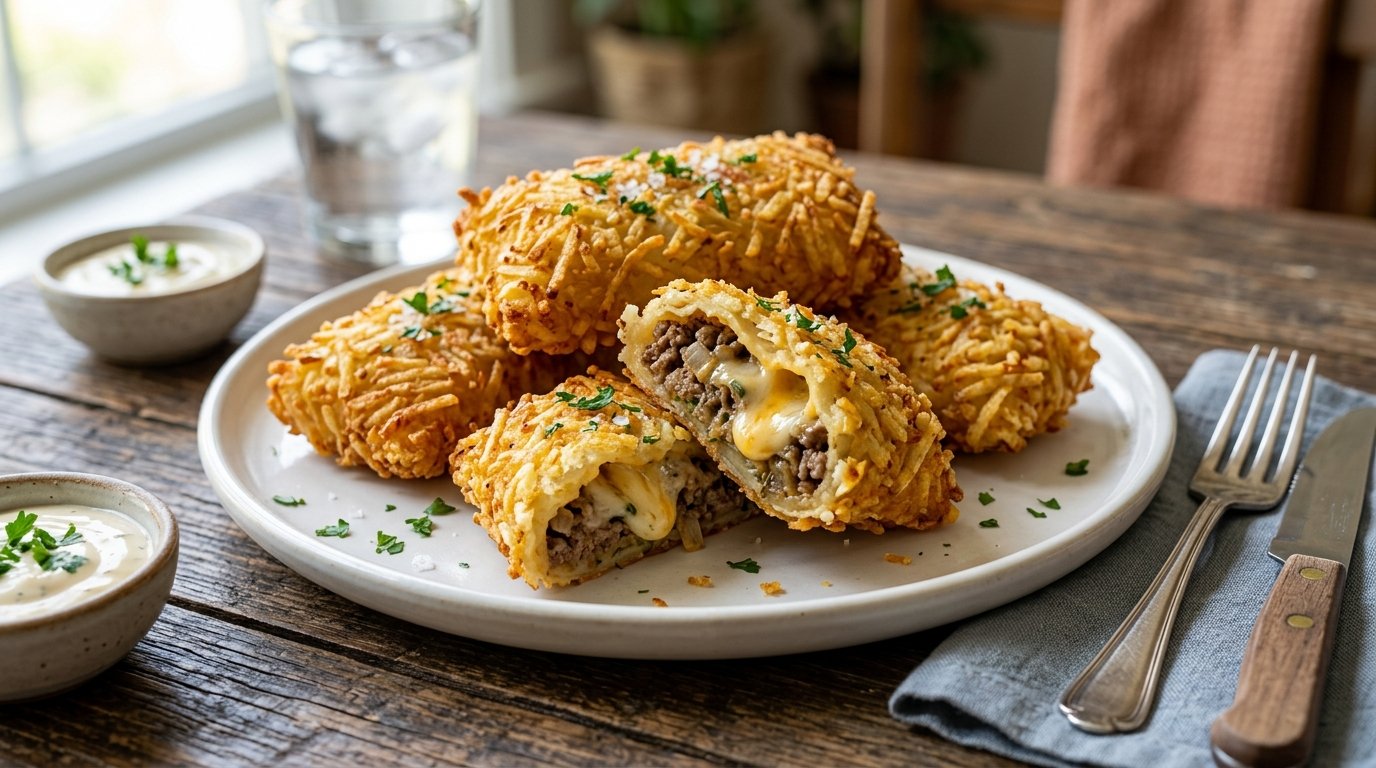
These golden, crunchy stuffed bread pockets are packed with a creamy chicken, sweet corn, and melty cheese filling. They deliver the perfect contrast of crispy exterior and gooey, savory interior in just minutes. Ideal for snacks, appetizers, or quick meals, this recipe turns simple white bread into restaurant-style fried delights.
Quick Recipe Summary
| Detail | Info |
|---|---|
| Prep Time | 15 minutes |
| Cook Time | 10-15 minutes |
| Total Time | 25-30 minutes |
| Servings | 4-6 (makes 8-10 pockets) |
| Cuisine | Fusion / Indo-American |
| Course | Snack / Appetizer |
| Difficulty | Easy |
| Calories (approx.) | 280-320 per pocket |
Table of Contents
- Why This Recipe Works
- Why You’ll Love This Recipe
- Ingredient Notes
- Kitchen Equipment
- Step-by-Step Instructions
- Expert Tips
- Common Mistakes to Avoid
- Recipe Variations
- What to Serve With
- Make-Ahead and Storage
- Nutritional Information
- Troubleshooting Guide
- Frequently Asked Questions
Introduction
Looking for a quick, crowd-pleasing snack that combines tender chicken, sweet corn, and gooey cheese in a super crispy breaded shell? These cheesy chicken corn stuffed bread pockets are exactly what you need. Made with everyday white bread and a simple creamy filling, they fry up beautifully golden and deliver an irresistible cheese pull with every bite. Perfect for busy weeknights, parties, or lunchboxes, this recipe is beginner-friendly yet tastes gourmet.
Why This Recipe Works
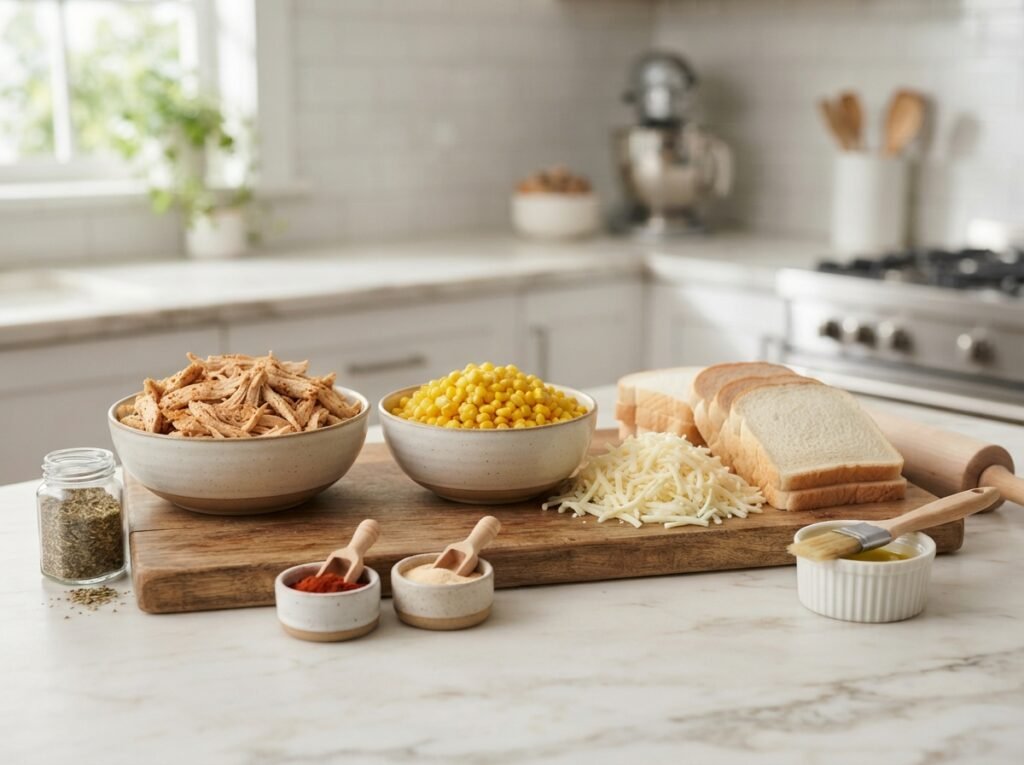
The magic lies in the contrast: soft, absorbent bread is rolled thin to create a pocket that seals the creamy filling without sogginess. The filling uses a quick white sauce base that binds chicken, corn, and cheese perfectly, preventing leaks during frying. Breading adds crunch, while shallow or deep frying ensures even cooking. Every element balances texture, flavor, and ease—no fancy dough or long proofing required.
Why You’ll Love This Recipe
- Ready in under 30 minutes
- Uses pantry staples and leftover chicken
- Kid-friendly with customizable spice
- Amazing cheese pull and crunch
- Great for meal prep or parties
- Naturally adaptable for different diets
Ingredient Notes
For the Filling:
- Chicken (about 200-250g / 8 oz diced or shredded): Boneless breast or thigh works best. Provides protein and savory depth. Use leftover cooked chicken to save time. Substitute with turkey or tofu for variations.
- Onion (1 small, finely diced): Builds flavor base. Sautéing softens it and reduces sharpness.
- Sweet Corn Kernels (½-¾ cup): Adds natural sweetness and pops of texture. Fresh, frozen, or canned (drained) all work.
- Milk/Cream (about ½-¾ cup): Creates the creamy sauce. Whole milk or heavy cream for richness.
- Shredded Cheese (1-1½ cups, mozzarella or mixed): Melts beautifully for the stretchy pull. Cheddar adds sharpness.
- Seasonings: Salt, black pepper, optional garlic powder or herbs.
For Assembly:
- White Bread Slices (8-10): Soft sandwich bread flattens easily. Avoid whole wheat for best results.
- Breadcrumbs or Crushed Coating (1-2 cups): For crispy exterior. Panko for extra crunch or regular breadcrumbs.
- Egg or Binding Liquid (optional): Helps coating adhere.
- Oil for Frying: Neutral oil with high smoke point like vegetable or canola.
Substitutions: Dairy-free milk and cheese for vegan version (with plant-based chicken). Gluten-free bread and breadcrumbs for GF.
Kitchen Equipment
Required:
- Large skillet or frying pan
- Rolling pin
- Spoon or fork for spreading
- Mixing bowl
- Slotted spoon or tongs
- Wire rack for draining
Optional: Food processor for finer filling, thermometer for oil (350-375°F / 175-190°C).
Step-by-Step Instructions
1. Prepare the Creamy Chicken Corn Filling
Heat oil or butter in a skillet over medium heat. Add diced onions and sauté until translucent and fragrant (2-3 minutes). Add diced chicken, season with salt and pepper, and cook until no longer pink and lightly browned. Stir in corn kernels. Pour in milk/cream gradually while stirring to create a thick, creamy sauce. Simmer briefly until it coats the back of a spoon. Remove from heat and fold in shredded cheese until melted and gooey. Let cool slightly. The filling should be thick enough to hold shape but creamy.
Visual Cues: Sauce turns opaque and coats ingredients; cheese melts into stretchy strands.
2. Prepare the Bread
Trim crusts from bread slices if desired (optional for smoother pockets). Place a slice on a clean surface and roll firmly with a rolling pin until thin and flattened but not tearing. Repeat for all slices. This creates flexible “pockets” that seal better.
3. Assemble the Pockets

Spoon a generous tablespoon of filling onto one half or center of a flattened bread slice. Fold or top with another slice, pressing edges firmly to seal (use a fork to crimp like a pie). For extra security, lightly brush edges with egg wash or milk. Coat the assembled pocket in breadcrumbs, pressing gently to adhere.
Tip: Don’t overfill—leave room for sealing to prevent leaks during frying.
4. Fry to Golden Perfection
Heat oil in a deep pan or skillet to 350-375°F. Carefully add 2-3 pockets at a time. Fry until golden brown and crispy on both sides (2-4 minutes per side). Drain on a wire rack or paper towels. The exterior should be deeply golden with audible crunch.
Doneness Cues: Bubbles around the edges subside; color is uniform golden; internal cheese is hot and melted.
5. Serve Immediately
Cut in half to reveal the filling and enjoy the cheese pull while hot!
Expert Tips
- Cool the filling before assembling to prevent bread from getting soggy.
- Double-coat in breadcrumbs for extra crunch.
- Maintain oil temperature—too low causes greasiness; too high burns the coating.
- Work in batches to avoid overcrowding the pan.
Common Mistakes to Avoid
- Overfilling: Leads to leaks and bursting. Use moderate amounts.
- Wet Filling: Causes soggy bread. Simmer sauce longer to thicken.
- Cold Oil: Results in greasy pockets. Always test temperature.
- Skipping Seal: Filling escapes—crimp edges well.
- High Heat Only: Burns outside before inside heats.
Recipe Variations
- Spicy: Add green chilies, jalapeños, or hot sauce to filling.
- Vegetarian: Replace chicken with paneer, mushrooms, or more veggies.
- Extra Cheesy: Mix in cream cheese or extra mozzarella.
- Baked Version: Brush with oil and bake at 400°F for 15-20 minutes (less crispy).
- Air Fryer: 375°F for 8-12 minutes, flipping halfway.
- Low-Carb: Use low-carb bread or lettuce wraps (not fried).
What to Serve With This Recipe
Pair with ketchup, garlic mayo, ranch, or spicy sriracha dip. Serve alongside fresh green salad, coleslaw, French fries, or soup. Great with iced tea, lemonade, or cold beer. For a full meal, add a side of roasted veggies or simple pasta salad.
Make-Ahead and Storage
Make-Ahead: Prepare filling up to 2 days ahead. Assemble pockets and refrigerate (unbreaded) for a few hours. Refrigerator: Store cooked pockets in an airtight container for 2-3 days. Freezer: Freeze assembled, breaded (uncooked) pockets on a tray, then bag for up to 1 month. Fry from frozen, adding extra time.
Reheating Instructions
- Oven/Air Fryer: Best for crispiness—350°F for 8-10 minutes.
- Microwave: Quick but softens crust—30-60 seconds.
- Stovetop: Pan-fry with a little oil to revive crunch.
Nutritional Information (Approximate per Pocket)
- Calories: 280-320
- Protein: 12-15g
- Carbohydrates: 25-30g
- Fat: 14-18g
- Fiber: 2g
- Sugar: 3-5g
- Sodium: 400-600mg

Values vary based on exact portions and frying oil absorption.
Troubleshooting Guide
- Soggy Bread: Bread not rolled thin enough or filling too wet—thicken sauce more next time.
- Filling Leaking: Poor seal or overfill—use fork crimp and less filling.
- Not Crispy: Oil too cool or breading not pressed in—ensure hot oil and even coating.
- Dry Filling: Not enough sauce or cheese—add more milk/cream.
- Burnt Exterior: Oil too hot—fry in smaller batches at moderate temp.
Frequently Asked Questions
Can I use leftover chicken? Yes! Rotisserie or pre-cooked chicken works great and saves time.
How do I make them less oily? Drain well on a wire rack and avoid overcrowding the pan.
Can I bake instead of fry? Yes, though less crispy. Brush with oil and bake until golden.
Are these freezer-friendly? Absolutely—freeze breaded pockets and fry straight from frozen.
What bread works best? Soft white sandwich bread flattens easily and absorbs flavors well.
Can I make them spicy? Add chilies, cayenne, or hot sauce to the filling.
How long do they stay crispy? Best eaten fresh, but reheat in oven/air fryer to restore crunch.
Is this kid-friendly? Yes—mild flavors and fun cheese pull make it popular with children.
Final Thoughts
These crispy cheesy chicken corn stuffed bread pockets prove that incredible snacks don’t need complicated ingredients or hours in the kitchen. With simple bread, a creamy homemade filling, and a quick fry, you get golden perfection and that satisfying cheese stretch every time. Whether for a family snack attack or impressing guests, this recipe delivers reliable, crave-worthy results. Give it a try and let me know in the comments how yours turned out—did you add any fun twists? Rate the recipe and share your photos! Happy cooking.