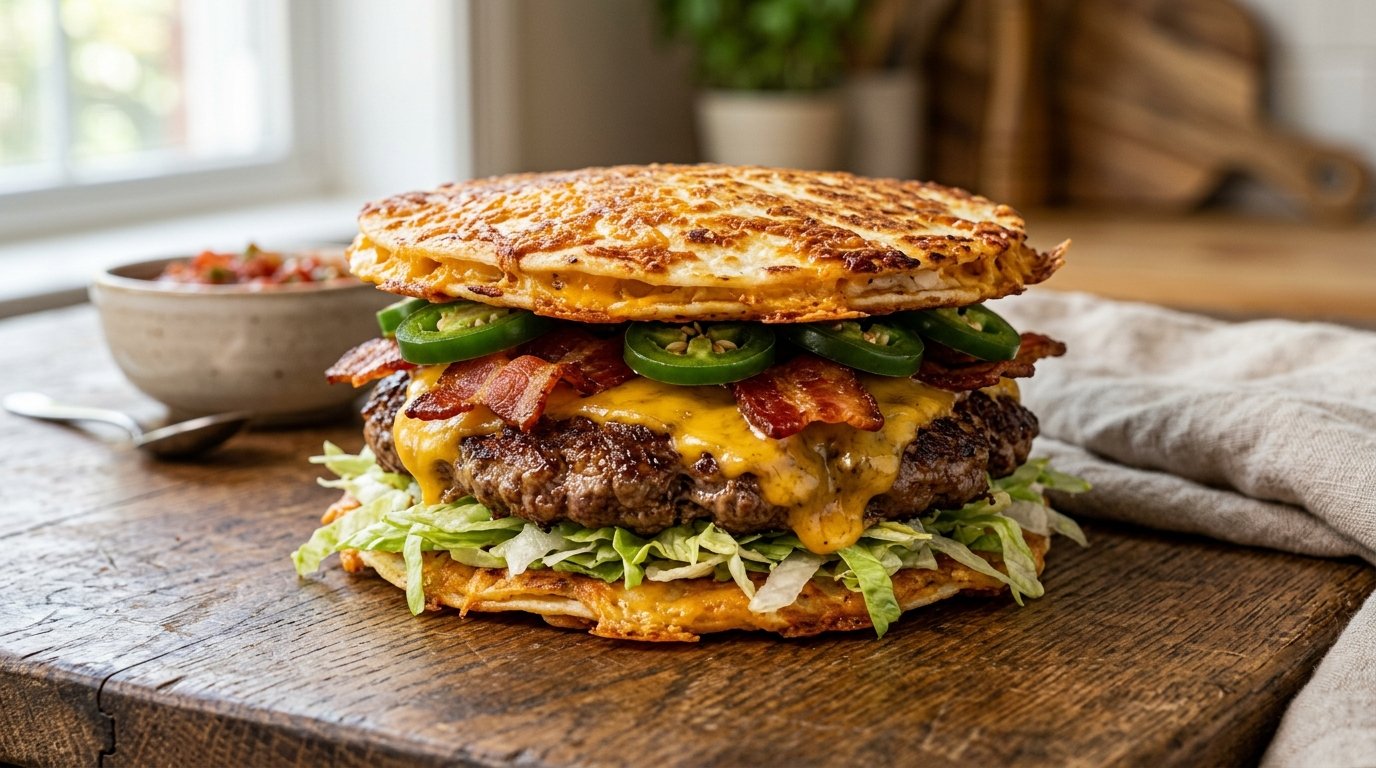
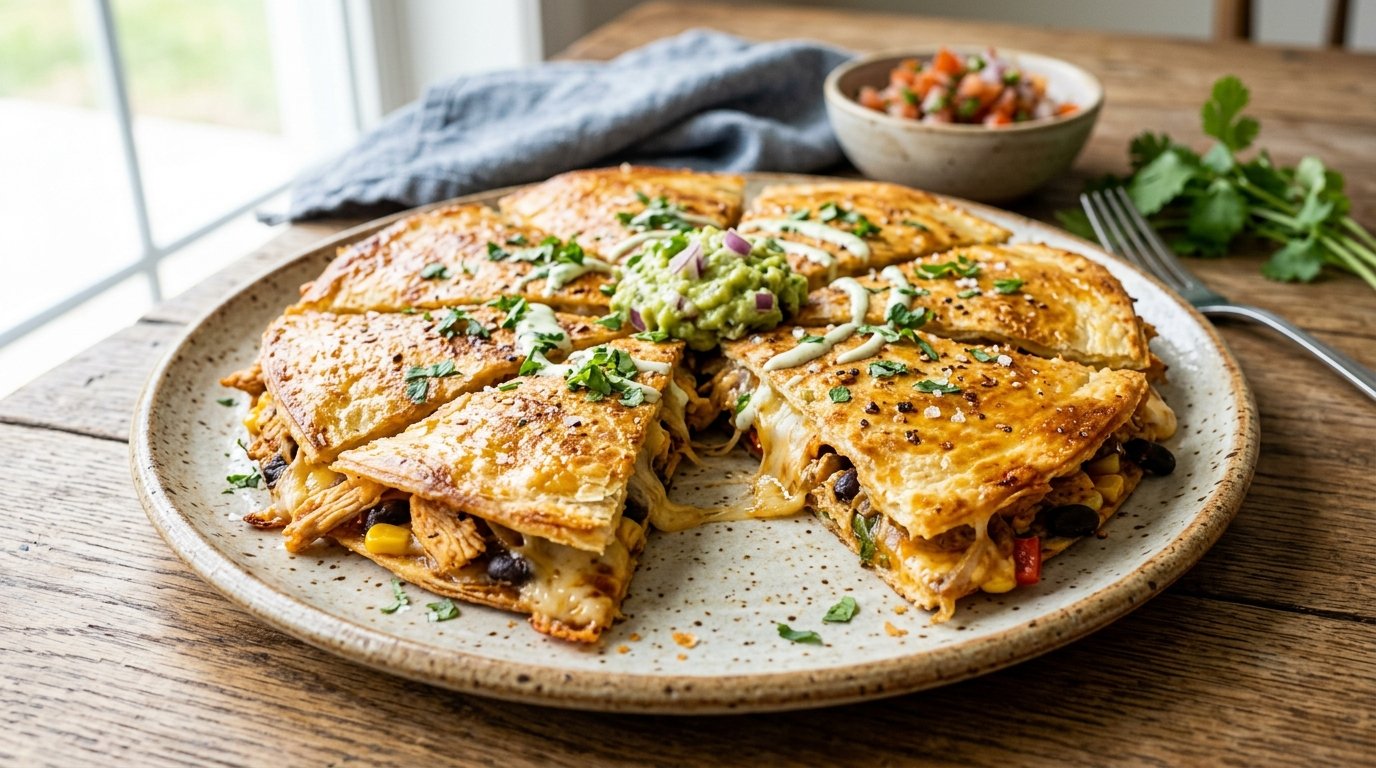
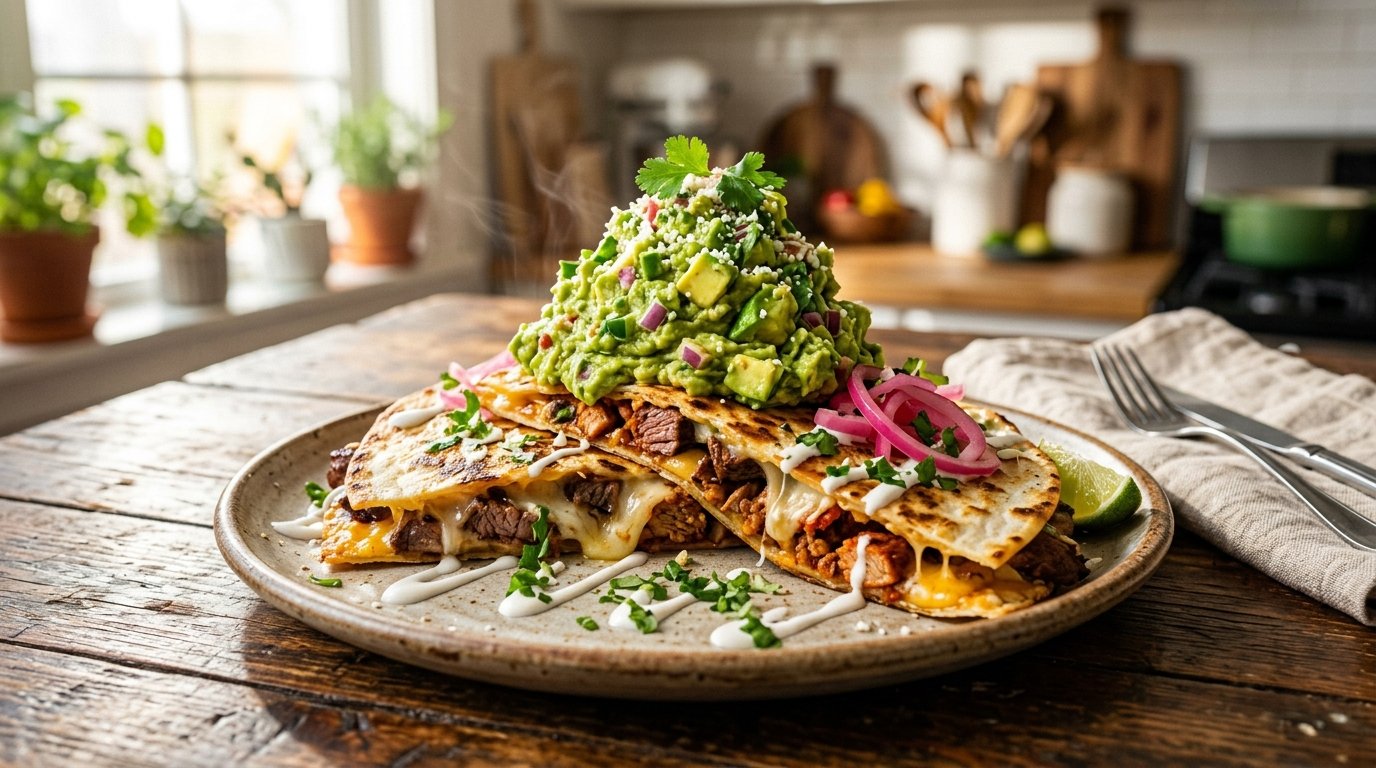
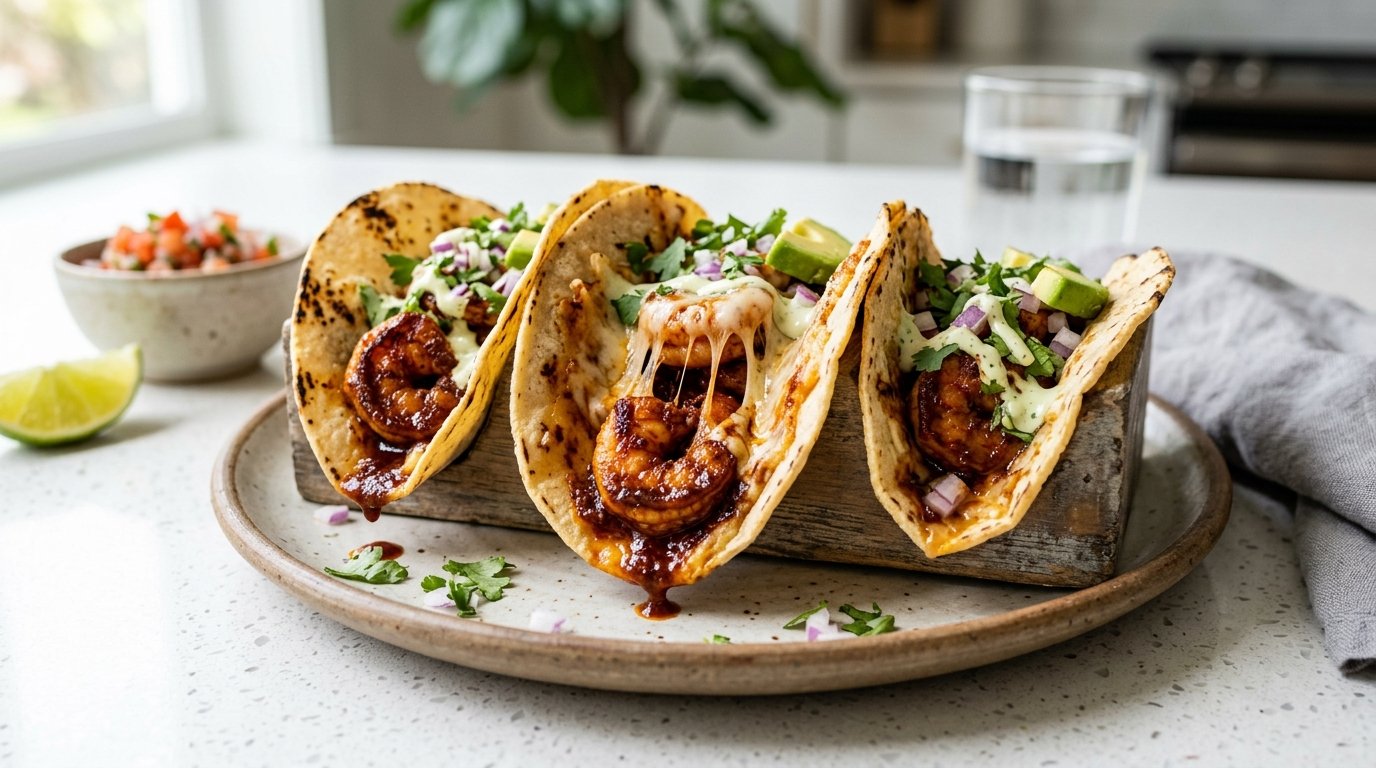
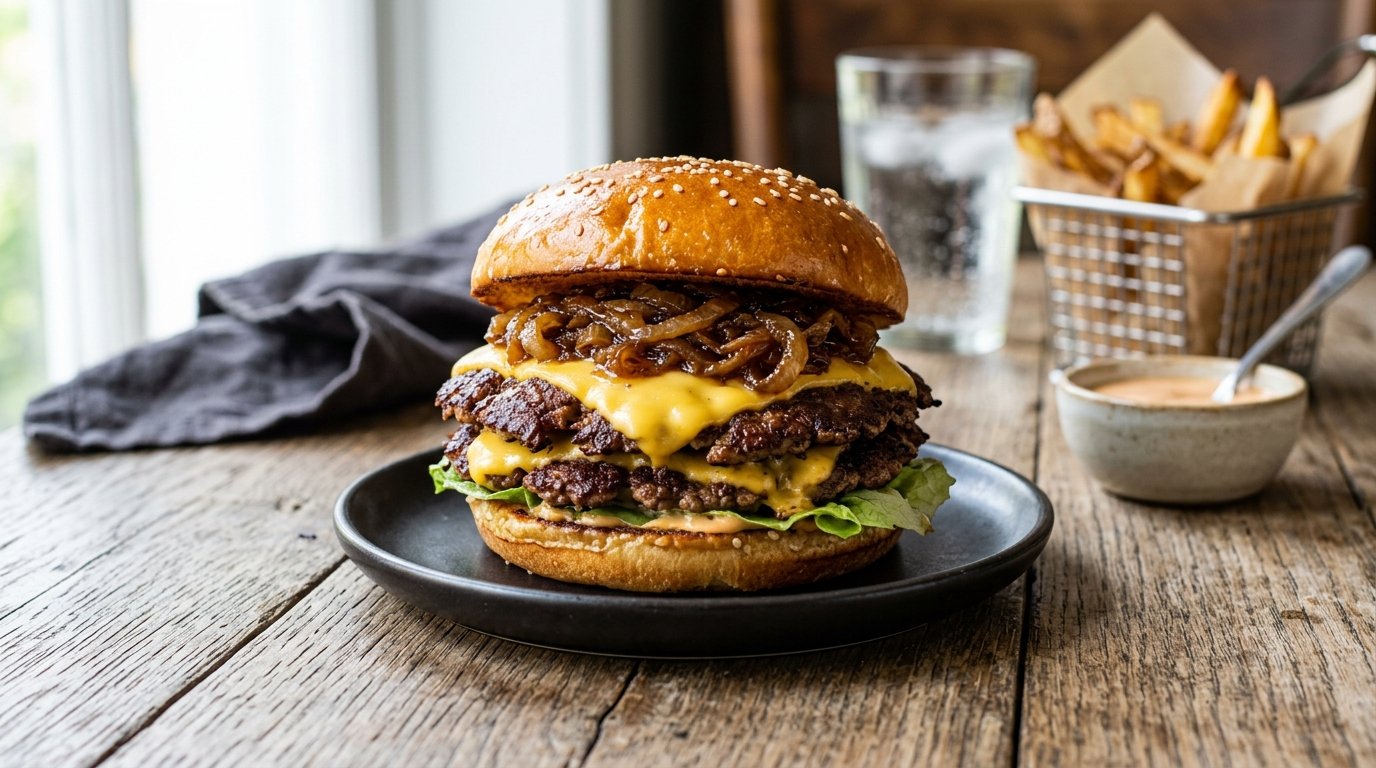
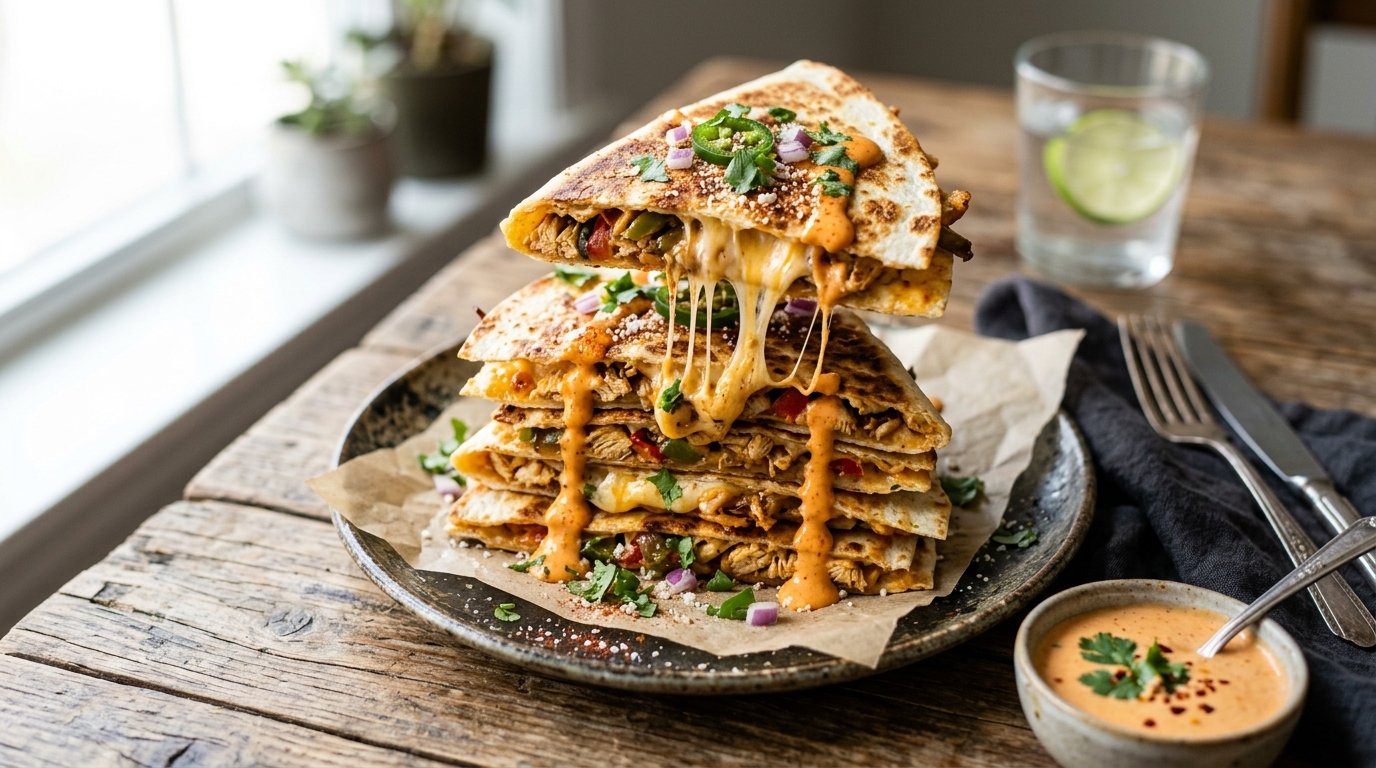
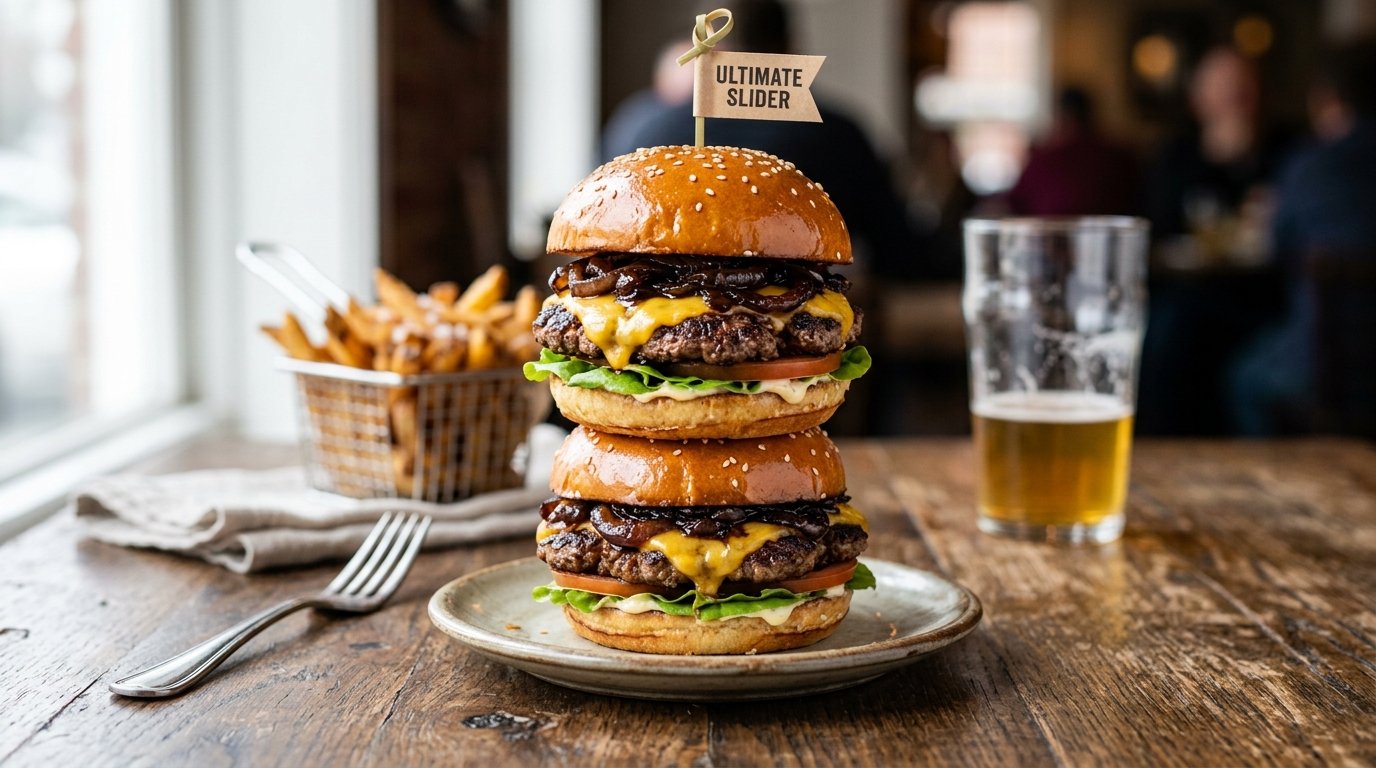
There are burgers, and then there are culinary monuments that redefine what a sandwich can be. Enter the loaded griddle quesadilla burger, a glorious fusion of Tex-Mex comfort food and classic American burger indulgence. This isn’t just a meal; it’s an experience that starts with a sizzling flat top and ends with a cross-section so beautiful you’ll want to frame it. By combining a crispy, cheese-laden tortilla fold with a juicy beef patty, fresh lettuce, and a toasted bun, we create a textural masterpiece that is golden, crunchy, gooey, and utterly addictive.
If you have ever wondered how to elevate your burger game beyond the standard patty-and-bun formula, this recipe is your answer. It leverages the Maillard reaction on a hot griddle to transform a simple flour tortilla into a structural element that adds crunch and flavor without overpowering the meat. Whether you are a home cook looking to impress or a food enthusiast chasing the next viral trend, mastering this loaded griddle quesadilla burger will permanently upgrade your kitchen repertoire. Let’s fire up the heat and build something legendary.
Why This Recipe Works
The genius of this recipe lies in its layering of textures and temperatures. Traditional burgers often suffer from “soggy bottom syndrome” when sauces and juices soak into the bun. Here, the griddle-fried quesadilla acts as a protective barrier and a flavor enhancer simultaneously. The direct contact with the hot metal surface creates a shatteringly crisp exterior on the tortilla while melting the cheese into a cohesive, savory glue that holds the diced meat securely.
Furthermore, cooking the quesadilla component directly on the griddle allows for precise temperature control that a skillet simply cannot match. The even heat distribution ensures that the cheese melts uniformly without burning the tortilla, while the meat filling gets a secondary sear that intensifies its flavor. When stacked atop a fresh, cool lettuce base and a warm beef patty, the contrast between the hot, crispy shell and the refreshing vegetables creates a balanced bite that prevents palate fatigue. It is engineering meets gastronomy, resulting in a burger that is structurally sound and explosively delicious.
Why You’ll Love This Recipe
Unmatched Texture: Experience the satisfying crunch of a fried tortilla combined with the softness of a brioche bun and the juiciness of a beef patty.
Flavor Bomb: The combination of melted cheese, seasoned meat, and fresh produce delivers complex savory notes in every bite.
Visual Spectacle: The assembly process is theatrical, and the final cross-cut reveal is guaranteed to generate awe (and social media likes).
Customizable Foundation: The quesadilla base serves as a blank canvas for any protein or cheese combination you crave.
Restaurant Quality at Home: Achieve professional-grade results using standard kitchen equipment and accessible ingredients.
Satiating Comfort: This hearty meal is designed to satisfy serious hunger with its dense, rich profile.
Ingredient Notes
Flour Tortillas (Large/Burrito Size)
Purpose: Acts as the vessel for the cheese and meat, providing the essential crispy texture when fried.
Substitutions: Corn tortillas (for gluten-free, though they may crack), whole wheat wraps (for a nuttier flavor), or spinach wraps.
Buying Tips: Look for “burrito size” or 10-12 inch tortillas. Avoid “soft taco” size as they won’t cover enough surface area. Fresh bakery tortillas fry better than shelf-stable ones.
Storage Tips: Keep refrigerated if fresh; freeze for long-term storage. Warm slightly before use to prevent cracking during folding.
Purpose: Provides the “glue” for the quesadilla and adds creamy, salty richness.
Substitutions: Pepper Jack (for spice), Oaxaca (for authentic stretch), or American (for meltability).
Buying Tips:Crucial: Buy block cheese and shred it yourself. Pre-shredded cheese contains anti-caking agents (cellulose) that prevent smooth melting and can result in a gritty texture.
Storage Tips: Store shredded cheese in an airtight container in the fridge for up to 5 days.
Diced Seasoned Meat (Chicken/Beef/Pork)
Purpose: The primary protein filling for the quesadilla layer, adding substance and savory depth.
Buying Tips: If using pre-cooked meat (like rotisserie chicken or leftover steak), ensure it is chopped into uniform small pieces for even distribution. Season generously as the cheese dilutes saltiness.
Storage Tips: Cooked meat should be refrigerated within 2 hours and used within 3-4 days.
Beef Patty (Ground Beef)
Purpose: The traditional burger anchor, providing umami and juiciness beneath the quesadilla.
Substitutions: Turkey, bison, lamb, or plant-based patties.
Buying Tips: Use 80/20 fat ratio for maximum juiciness. Leaner blends will dry out under the weight of the toppings. Form patties slightly larger than your bun as they shrink during cooking.
Storage Tips: Keep raw patties chilled until ready to cook. Do not overwork the meat when forming to avoid toughness.
Brioche or Potato Buns
Purpose: The top and bottom foundation. Needs to be sturdy enough to hold the stack but soft enough to bite through.
Substitutions: Sesame seed buns, pretzel buns, or ciabatta rolls.
Buying Tips: Choose buns with a tight crumb structure to resist sogginess. Avoid overly airy breads that collapse under pressure.
Storage Tips: Store in a cool, dry place. Toast immediately before assembly to create a moisture barrier.
Fresh Lettuce (Iceberg/Romaine) & Tomato
Purpose: Adds necessary crunch, freshness, and acidity to cut through the richness of the cheese and meat.
Substitutions: Arugula (peppery), coleslaw (creamy crunch), pickles, or grilled onions.
Buying Tips: Iceberg is superior here for its high water content and neutral flavor. Ensure lettuce is thoroughly dried after washing; wet lettuce = soggy burger.
Storage Tips: Wash and dry greens just before assembly. Store tomatoes at room temperature for best flavor.
Butter or Oil (For Griddle)
Purpose: Facilitates frying the tortilla to golden perfection and prevents sticking.
Substitutions: Ghee, avocado oil, or bacon grease (for extra flavor).
Buying Tips: Unsalted butter allows you to control sodium levels. Clarified butter has a higher smoke point and burns less easily.
Storage Tips: Keep butter cold until ready to use on the hot griddle.
Kitchen Equipment
Flat Top Griddle or Large Cast Iron Skillet: Essential for even heating and sufficient surface area. A griddle is preferred for temperature consistency.
Metal Spatula (Wide): For flipping the heavy quesadilla and pressing down without breaking it.
Sharp Chef’s Knife: For dicing meat and slicing vegetables cleanly.
Bench Scraper: Helpful for cleaning the griddle and maneuvering the quesadilla.
Cheese Grater: For shredding block cheese fresh.
Tongs: For handling hot meat and assembling the stack safely.
Meat Thermometer: To ensure the beef patty reaches safe internal temperature (160°F/71°C).
Toaster or Griddle Space: For toasting the buns.
Preparation Information
Prep Time: 20 Minutes
Cook Time: 15 Minutes
Total Time: 35 Minutes
Servings: 1 Giant Burger
Step-by-Step Instructions
1. Prepping the Griddle and Tortilla Base
Heat your griddle or large cast iron skillet to medium-high heat (approx. 375°F/190°C). Add a tablespoon of butter or oil and let it melt and foam slightly. Place the large flour tortilla directly onto the hot surface. Why this matters: The initial heat sets the structure of the tortilla. If the pan isn’t hot enough, the tortilla will steam rather than fry, resulting in a chewy instead of crispy texture. Visual Cue: You should see small bubbles forming on the surface of the tortilla within 15-20 seconds. Aroma Cue: The smell of toasting wheat and melting fat signals readiness.
2. Loading the Cheese and Meat
Immediately sprinkle a generous layer of shredded cheese evenly across the entire surface of the tortilla, leaving a ½-inch border. Follow with a heaping portion of your diced seasoned meat, distributing it evenly over the cheese. Why this matters: Placing cheese directly on the tortilla creates a seal that protects the bread from burning while anchoring the meat. Texture Cue: The cheese should begin to melt at the edges almost instantly upon contact with the hot tortilla. Professional Tip: Don’t overload one side; keep the filling centered to allow for an even fold later. Overfilling leads to leakage and messy eating.
3. The Fold & Crisp Technique
Once the cheese is fully melted and bubbly (about 1-2 minutes), use your wide spatula to carefully fold the tortilla in half, creating a half-moon shape. Press down gently but firmly with the spatula to ensure good contact between the tortilla and the griddle. Cook for another 2-3 minutes per side. Why this matters: Folding encapsulates the filling, creating a self-contained pocket. Pressing maximizes surface area contact for even browning. Visual Cue: Look for a deep golden-brown color with darker blister spots—this indicates proper caramelization. Texture Cue: The exterior should feel rigid and crisp when tapped with the spatula, not soft or pliable. Common Mistake: Flipping too early causes the cheese to spill out. Wait for the crust to set before attempting to flip.
4. Assembling the Burger Stack
While the quesadilla finishes crisping, toast your buns on the griddle until golden. On the bottom bun, place a bed of shredded lettuce and tomato slices. Once the quesadilla is golden and crispy on both sides, remove it from the griddle and let it rest for 30 seconds (this helps the cheese set slightly). Place the hot quesadilla directly onto the lettuce bed. Top with your cooked beef patty (add a slice of cheese here if desired). Why this matters: The lettuce acts as a moisture barrier, preventing the hot quesadilla from making the bottom bun soggy. Resting the quesadilla prevents the molten cheese from flowing out upon cutting. Assembly Order: Bottom Bun → Lettuce/Tomato → Quesadilla → Beef Patty → Top Bun.
5. The Final Smash and Serve
Place the top bun onto the stack. Using clean hands or gloved palms, apply firm, even downward pressure—”The Final Smash.” This compresses the layers together, integrating the flavors and making the burger manageable to eat. Slice the burger in half diagonally with a sharp serrated knife to reveal the cross-section. Why this matters: Compression improves structural integrity and ensures every bite contains all components. Visual Cue: The cross-section should show distinct layers: bun, green lettuce, golden tortilla, meat filling, beef patty, and top bun. Serve Immediately: This burger waits for no one. The contrast between hot and cold, crisp and soft, is best experienced fresh off the griddle.
Expert Tips
Griddle Maintenance: Keep your griddle seasoned and clean. Residue from previous cooks can impart bitter flavors or cause sticking. A well-seasoned surface is non-stick magic.
Cheese Selection Matters: Avoid pre-shredded cheese at all costs. The cellulose coating prevents proper melting. Invest 2 minutes to grate your own block cheese for a silky, cohesive melt.
Temperature Control: Medium-high is the sweet spot. Too low = greasy, pale tortilla. Too high = burnt outside, cold inside. Adjust based on your equipment’s hot spots.
Meat Prep: Ensure your diced meat filling is warm before adding to the tortilla. Cold meat cools the cheese and extends cooking time, risking a soggy tortilla.
Bun Toasting: Always toast the cut side of the bun with butter or mayo on the griddle. This creates a hydrophobic barrier against sauce and juice migration.
Common Mistakes
Soggy Bottom Bun: Caused by skipping the lettuce barrier or not toasting the bun. Fix: Always use dry, crisp lettuce as the first layer on the bottom bun.
Cheese Leakage: Happens when folding before cheese is tacky or overfilling. Fix: Wait for full melt before folding; leave adequate border space.
Burnt Tortilla, Raw Filling: Heat too high or filling too cold. Fix: Lower heat slightly; pre-warm meat filling; cover briefly with foil dome to trap steam if needed (remove for final crisp).
Structural Collapse: Stacking too high without compression. Fix: Apply “The Final Smash” firmly; use sturdy buns; don’t over-sauce.
Dry Beef Patty: Overcooking or using lean meat. Fix: Use 80/20 beef; cook to 160°F exactly; let rest before stacking.
Recipe Variations
Spicy Diablo: Use pepper jack cheese, add jalapeños to the meat filling, and drizzle chipotle aioli on the bun.
Vegetarian/Vegan: Replace beef with portobello mushroom or black bean patty. Use vegan cheese and dairy-free tortilla. Fill quesadilla with roasted veggies and cashew queso.
Chicken Ranch: Swap beef for crispy chicken tenders. Use ranch dressing, cheddar cheese, and bacon bits in the quesadilla fill.
BBQ Bacon: Fill quesadilla with pulled pork and smoked gouda. Top burger with onion rings and BBQ sauce.
Breakfast Edition: Use scrambled eggs and sausage in the quesadilla. Add hash brown patty and hollandaise sauce.
Low-Carb/Keto: Replace tortilla with two slices of fried halloumi or a large portobello cap. Use lettuce wrap instead of bun.
Seafood Twist: Fill quesadilla with shrimp and crab mix. Top with fish patty and remoulade sauce.
Extra Cheesy: Add a second layer of cheese on top of the folded quesadilla while still on griddle for a double-crust effect.
What to Serve With This Recipe
This burger is a heavyweight, so pair it with lighter or contrasting sides:
Classic Sides: Shoestring fries, onion rings, or tater tots for dipping.
Fresh Contrast: Coleslaw, cucumber salad, or pickle spear to cut the richness.
Soups: Tomato basil soup or chili for dipping the burger halves.
Drinks: Ice-cold craft beer, milkshake (vanilla or chocolate), or sparkling lemonade.
Dessert: Churros with chocolate sauce or key lime pie to continue the Tex-Mex theme.
Make Ahead Tips
You can prep components separately to streamline assembly. Dice and season meat up to 2 days ahead; store refrigerated. Shred cheese and store in airtight container. Wash and dry lettuce; store with paper towel to absorb moisture. Form beef patties and freeze between parchment sheets. When ready to cook, simply thaw patty, reheat meat, and assemble fresh. Never pre-assemble the full burger; it will become soggy and lose its textural integrity.
Meal Prep Tips
For meal prep, focus on component separation. Store cooked meat, shredded cheese, and washed veggies in individual containers. Keep tortillas and buns separate. When reheating, re-crisp the quesadilla in air fryer or skillet to restore texture. Assemble fresh each time. This maintains quality far better than storing a pre-built burger. Label containers with dates; consume within 3-4 days.
Storage Instructions
Refrigerator: Store leftover components separately in airtight containers for up to 3 days. Assembled burgers do not store well; disassemble if possible.
Freezer: Freeze cooked beef patties and meat filling for up to 3 months. Tortillas freeze well; cheese does not (becomes crumbly). Do not freeze assembled burgers.
Thawing: Thaw frozen components overnight in refrigerator. Reheat thoroughly before assembling.
Reheating Instructions
Oven: Best for restoring crispness. Reheat quesadilla and patty separately at 375°F for 5-7 mins on wire rack. Toast bun separately.
Air Fryer: Excellent for quesadilla. 350°F for 3-4 mins flips halfway. Keeps crust crispy without sogginess.
Microwave:Avoid. Will make tortilla rubbery and bun soggy. Only use in emergency; place paper towel underneath to absorb moisture.
Stovetop: Reheat quesadilla in dry skillet over medium-low heat, pressing gently. Reheat patty in same skillet. Toast bun cut-side down.
Nutritional Information
(Per serving estimate)
Calories: 950 kcal
Protein: 48g
Carbohydrates: 65g
Fat: 58g
Fiber: 4g
Sugar: 8g
Sodium: 1450mg
Troubleshooting Guide
Tortilla Not Crisping: Griddle not hot enough or too much moisture. Fix: Increase heat; ensure meat/cheese aren’t wet; cook longer undisturbed.
Cheese Not Melting: Heat too low or wrong cheese type. Fix: Increase heat; use high-moisture cheeses like mozzarella/jack; cover briefly to trap steam.
Burger Falling Apart: Lack of compression or too many wet ingredients. Fix: Apply firm “smash”; reduce sauce quantity; use toothpicks for stability.
Meat Filling Dry: Overcooked or lean cut. Fix: Add splash of broth/butter when reheating; use fattier cuts; don’t overcook initially.
Bun Soggy Despite Lettuce: Lettuce was wet or bun wasn’t toasted. Fix: Spin-dry lettuce thoroughly; always toast bun with fat barrier.
Frequently Asked Questions
Can I use corn tortillas? Yes, but they are smaller and more fragile. Use two overlapping corn tortillas or opt for larger “taco size” corn tortillas. They won’t get as crispy as flour but offer great flavor.
What’s the best cheese for melting? Low-moisture mozzarella, Monterey Jack, and young cheddar melt best. Avoid aged cheeses (parmesan, aged cheddar) as they separate and become oily.
How do I prevent the quesadilla from unfolding? Ensure cheese is fully melted and tacky before folding. Press firmly with spatula to seal edges. Let rest 30 seconds off heat to set.
Can I make this vegetarian? Absolutely! Substitute meat with roasted mushrooms, black beans, or plant-based crumbles. Use veggie patty and vegan cheese.
Why is my tortilla burning before cheese melts? Heat too high. Reduce to medium; move to cooler part of griddle; cover briefly with foil dome to distribute heat.
Do I need a flat top griddle? No, but it helps. Large cast iron skillet works well. Non-stick pans are less ideal as they don’t achieve same level of crispness.
How thick should the beef patty be? About ¾ inch thick. Too thin dries out; too thick won’t cook through before bun burns. Indent center slightly to prevent doming.
Can I prep the quesadilla ahead and reheat? Not recommended. Texture degrades significantly. Components yes, assembled quesadilla no.
What sauce goes best inside the quesadilla? Minimal sauce inside to avoid sogginess. Save sauces for bun or dipping. If needed, use thick spreads like refried beans or cream cheese as adhesive.
Is this burger safe for kids? Yes, but monitor spice levels. Use mild cheese, unseasoned meat, and skip hot sauces. Cut into smaller pieces for easier handling.
Final Thoughts
Creating this loaded griddle quesadilla burger at home is more than following a recipe—it’s embracing a philosophy of bold flavors and fearless combinations. The satisfaction of hearing that perfect crunch as you bite through the golden tortilla, followed by the juicy give of the beef and the fresh snap of lettuce, is unmatched. Don’t be intimidated by the assembly; each step builds toward that triumphant final smash. We encourage you to experiment with fillings, share your creations with friends, and most importantly, enjoy the process. Have you tried this monster yet? Drop a comment below with your favorite variations or tag us in your photos—we’d love to see your griddle masterpieces!