
Recipe Summary
| Detail | Information |
|---|---|
| Prep Time | 20 minutes |
| Cook Time | 20–25 minutes |
| Total Time | 45 minutes |
| Servings | 4–6 (8–12 wraps) |
| Cuisine | Mexican-Inspired / Fusion |
| Course | Main Course, Appetizer |
| Difficulty | Easy |
| Calories | ~350–450 per wrap (estimated) |
Table of Contents
- Introduction
- Why This Recipe Works
- Why You’ll Love This Recipe
- Ingredient Notes
- Kitchen Equipment
- Preparation Information
- Step-by-Step Instructions
- Expert Tips
- Common Mistakes to Avoid
- Recipe Variations
- What to Serve With These Cheesy Baked Meat Tortilla Wraps
- Make-Ahead & Meal Prep Tips
- Storage & Reheating Instructions
- Nutritional Information
- Troubleshooting Guide
- Frequently Asked Questions
- Final Thoughts
Introduction
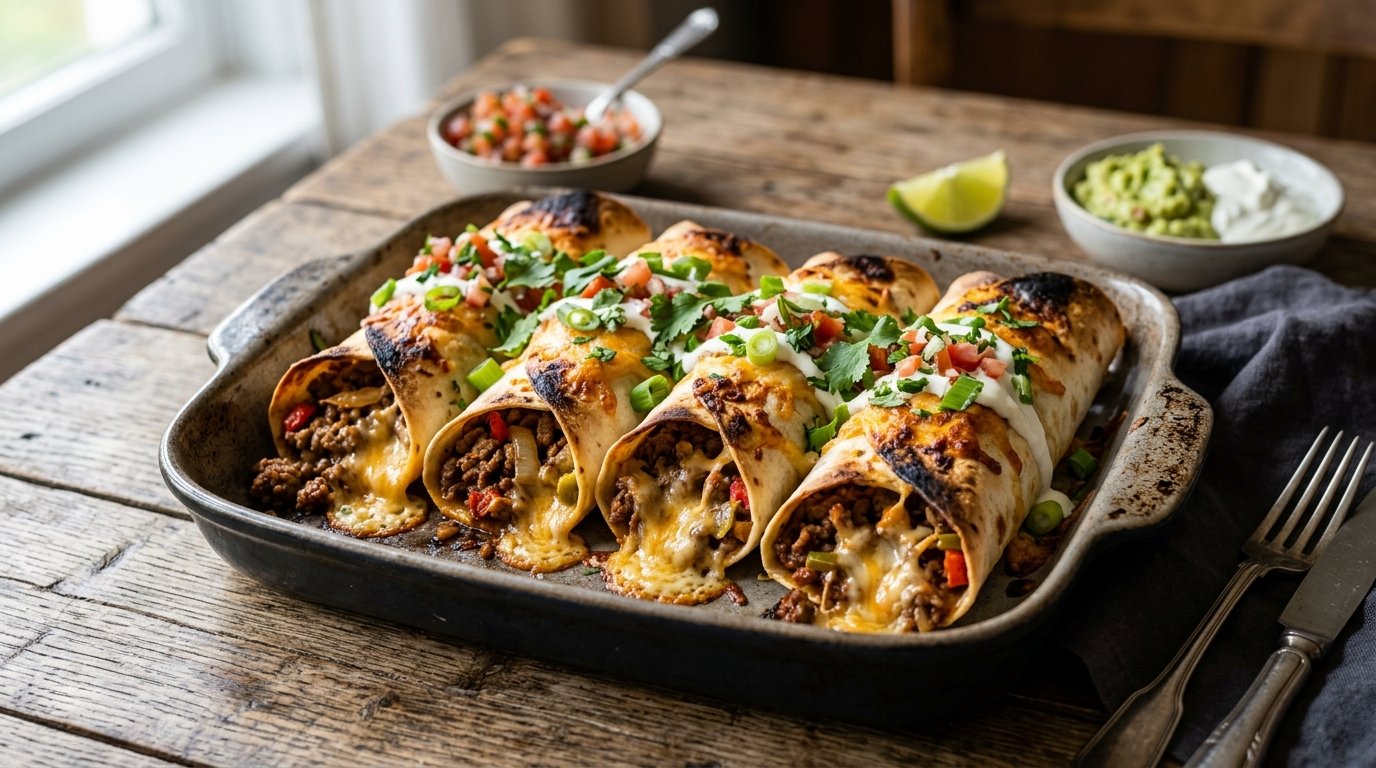
These Cheesy Baked Meat Tortilla Wraps combine seasoned ground beef, colorful veggies, and plenty of melted cheese inside crispy tortilla packets. Baked in a round pan until golden and bubbly, they pull apart beautifully for easy serving. This simple recipe brings comforting, restaurant-style flavors to your table with minimal effort.
Why This Recipe Works
Half-moon tortillas fold neatly around a flavorful beef filling anchored by cheese slices that melt and help seal everything. Baking creates crispy edges while keeping the interior juicy. Yogurt or sauce on the edges aids sealing, and the final mozzarella blanket forms a cheesy, golden top that ties it all together.
Why You’ll Love This Recipe
- One-pan baking for easy cleanup.
- Customizable spice and veggie levels.
- Kid-friendly yet satisfying for adults.
- Great for sharing or meal prep.
- Better than takeout with fresh ingredients.
Ingredient Notes
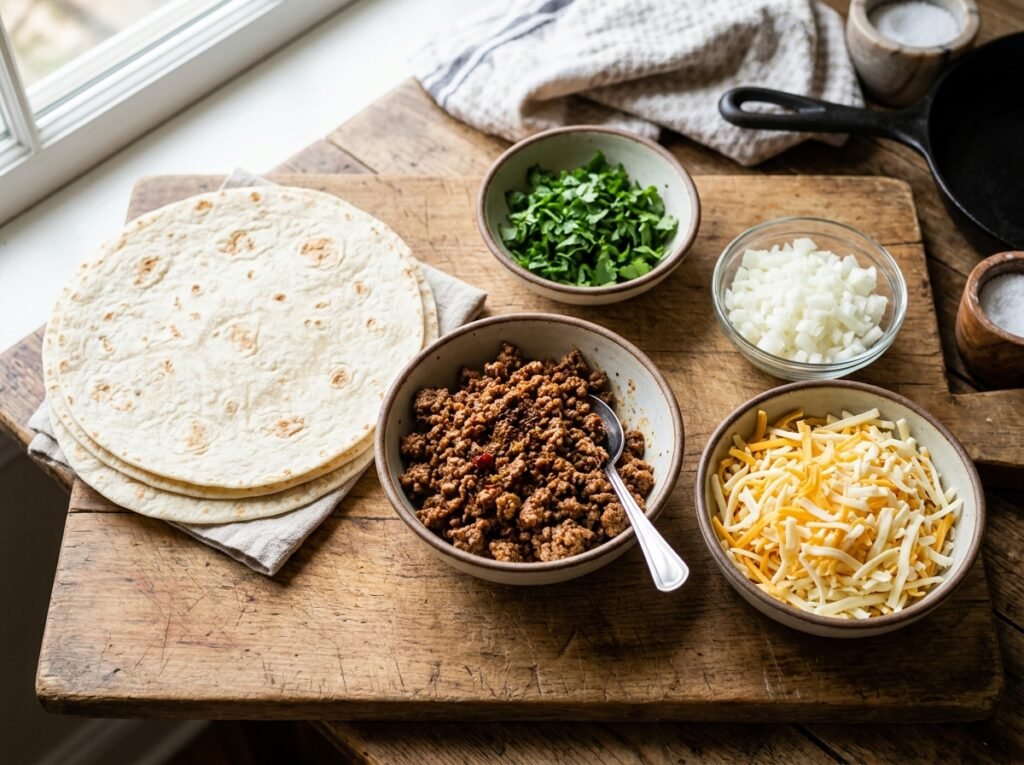
- Large flour tortillas: Soft and pliable for folding. Burrito size works best.
- Ground beef: Lean or regular; browns quickly with vegetables.
- Onions, garlic, bell peppers, tomatoes: Build aromatic, fresh flavor base.
- Cheese slices: Processed or cheddar for the base layer.
- Shredded mozzarella: Creates the melty, stretchy top and filling.
- Spices: Cumin, paprika, chili powder, salt, and pepper for taco-like taste.
- Fresh parsley: Bright finish.
- Yogurt: Spread on edges for better sealing and subtle tang.
Kitchen Equipment
Required:
- Large skillet for filling
- Cutting board and knife
- Round baking pan or dish
- Spatula and spoon
- Parchment paper (optional)
Optional:
- Baking sheet for extra space
- Pastry brush for yogurt
Preparation Information
- Prep Time: 20 minutes
- Cook Time: 20–25 minutes
- Total Time: 45 minutes
- Servings: 4–6
Step-by-Step Instructions
1. Prepare the Tortillas
Cut several large flour tortillas in half. These half-moons create easy-to-fold packets.
2. Make the Beef Filling
In a skillet, sauté diced onions and garlic until fragrant. Add ground beef and cook until browned, breaking it up. Stir in chopped bell peppers, tomatoes, hot peppers (if using), spices, and fresh parsley. Cook until vegetables soften and flavors meld. The mixture should be saucy but not too wet.
3. Assemble the Wraps
On each tortilla half, layer a slice of cheese, then a spoonful of beef filling, and top with shredded mozzarella. Fold or roll into a secure packet, using yogurt on the edges to help seal.
4. Bake the Packets
Arrange folded wraps in a parchment-lined round baking pan. Top generously with more shredded mozzarella. Bake at around 375–400°F until the cheese is bubbly and golden and tortillas are crispy.
5. Serve
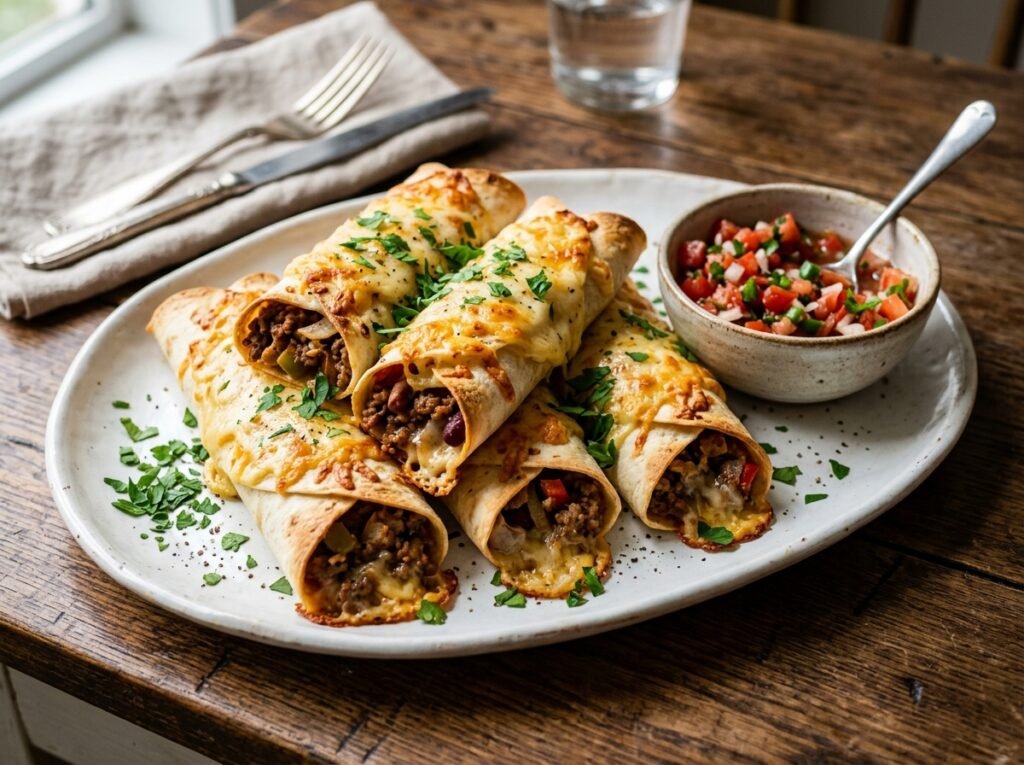
Let cool slightly, then serve warm. The cheese will be stretchy and the filling hot and savory.
Expert Tips
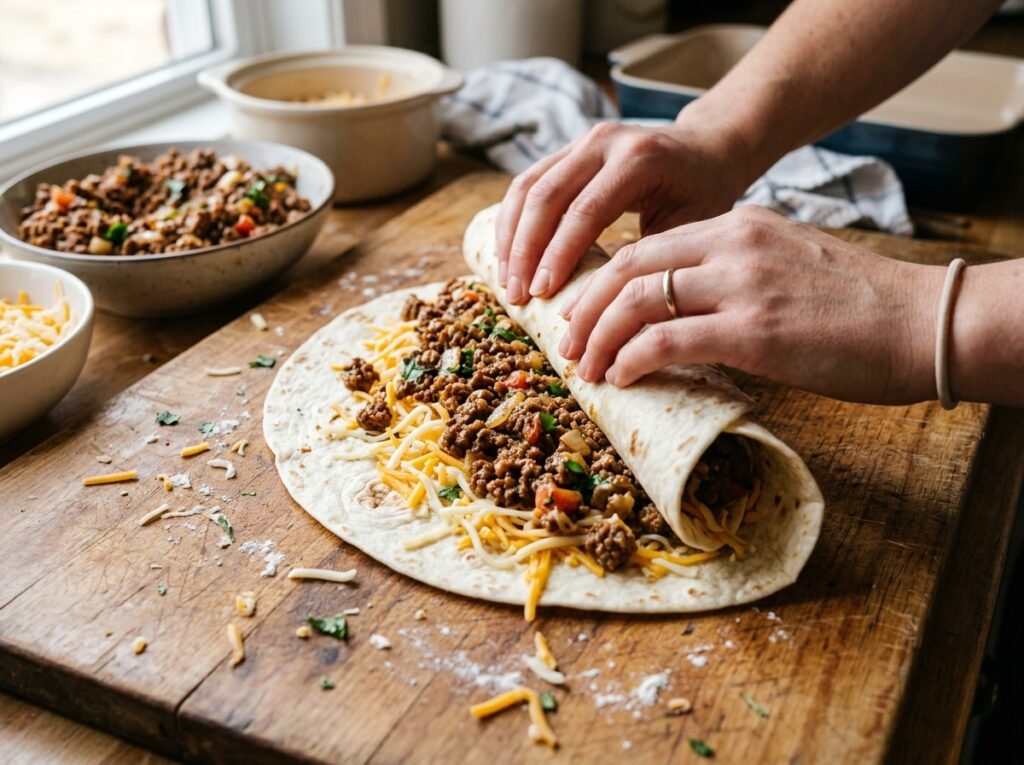
- Warm tortillas briefly for easier folding without cracking.
- Drain excess fat from beef for cleaner flavor.
- Don’t overfill to keep packets neat.
- Broil briefly at the end for extra golden color.
Common Mistakes to Avoid
- Soggy wraps: Drain filling well and bake hot.
- Filling leaking: Seal edges thoroughly with yogurt.
- Dry beef: Add a bit of tomato sauce or water if needed.
- Uneven baking: Arrange packets evenly in the pan.
Recipe Variations
- Spicy: Increase hot peppers or add jalapeños.
- Vegetarian: Swap beef for lentils, beans, or plant-based meat.
- Extra Cheesy: Add more varieties inside.
- Low-Carb: Use low-carb tortillas.
- Chicken Version: Substitute ground chicken.
- Breakfast Style: Add scrambled eggs.
What to Serve With These Cheesy Baked Meat Tortilla Wraps
- Sour cream, guacamole, or salsa.
- Mexican rice or refried beans.
- Fresh salad or roasted veggies.
- Margaritas or horchata.
- Chips and queso.
Make-Ahead & Meal Prep Tips
Prepare filling ahead and refrigerate. Assemble wraps just before baking for crispiness, or bake fully and reheat.
Storage & Reheating Instructions
- Refrigerator: Store leftovers up to 4 days.
- Freezer: Freeze baked wraps up to 2 months.
- Reheating:
- Oven/Air Fryer: Best for crisp restoration.
- Microwave: Quick but softer texture.
Nutritional Information (Approximate per Wrap)
- Calories: 400
- Protein: 20g
- Carbohydrates: 30g
- Fat: 22g
- Fiber: 3g
- Sugar: 4g
- Sodium: 800mg Varies with exact ingredients.
Troubleshooting Guide
- Tortillas cracking: Warm them first.
- Cheese not melting: Ensure even distribution and proper oven temp.
- Filling too wet: Simmer longer to reduce.
- Not crispy: Increase bake time or temperature.
Frequently Asked Questions
Can I use corn tortillas? Flour works best for folding, but corn can be used with care.
How do I prevent leaks? Seal edges well with yogurt or cheese.
Can I make them ahead? Yes—assemble and refrigerate, then bake fresh.
What cheese substitutes work? Any melty cheese like cheddar or Monterey Jack.
Are these freezer-friendly? Yes—bake, cool, and freeze for easy meals.
Final Thoughts
These Cheesy Baked Meat Tortilla Wraps are a delicious, easy way to enjoy bold flavors in a fun handheld (or shareable) format. With savory beef, gooey cheese, and crispy tortillas, they’re sure to satisfy. Give this recipe a try for your next family meal or gathering—you won’t regret it. Let me know in the comments how yours turned out or what twists you added!