
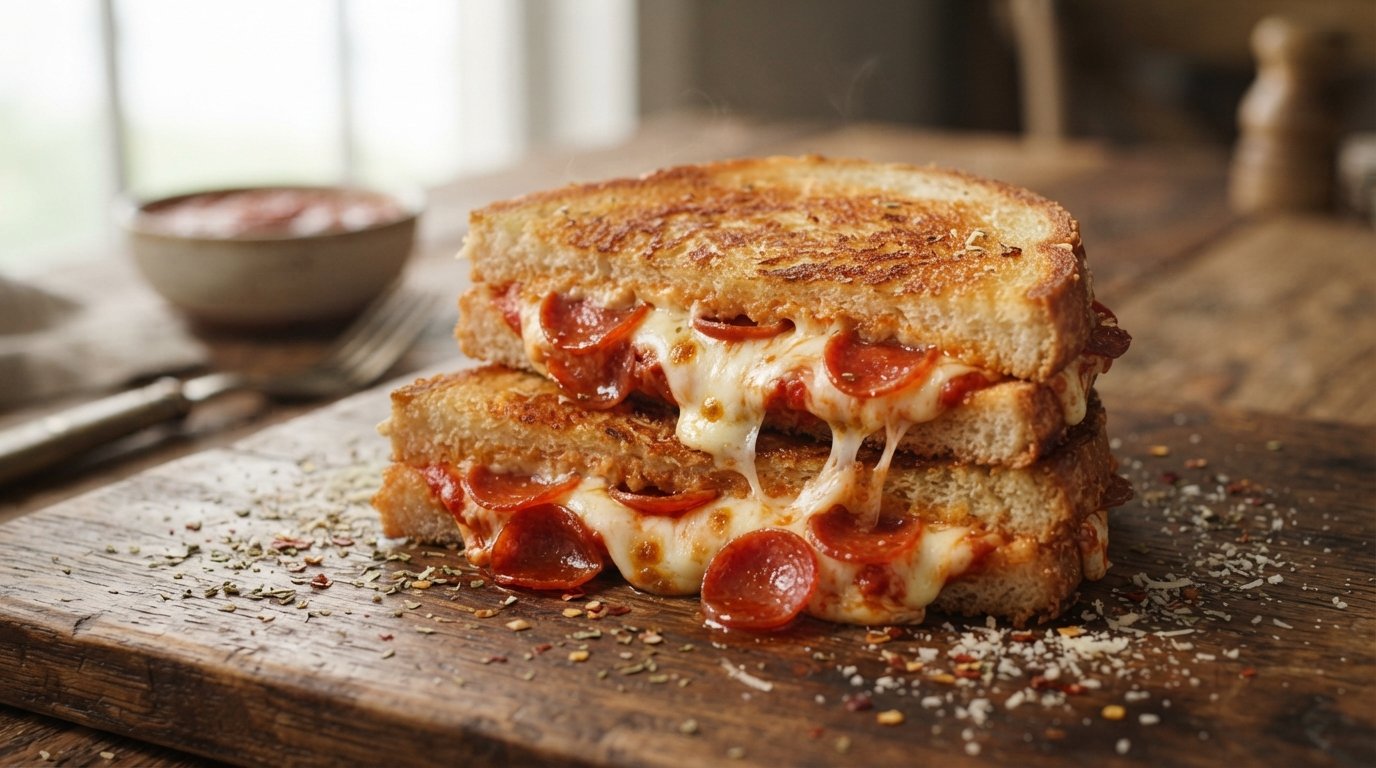
There is a moment in every comfort food lover’s life when you realize that grilled cheese and pizza shouldn’t be separate meals—they should be one. This Pizza Grilled Cheese recipe bridges the gap between two iconic dishes, creating a sandwich that boasts the crispy, buttery exterior of a classic melt with the gooey, savory interior of a pepperoni pizza. By cooking the egg base directly in the pan and pressing bread into it before flipping, you create a structural masterpiece where the bread becomes part of the crust itself. It is messy, it is indulgent, and it is guaranteed to become your new favorite lunch or late-night snack.
Quick Recipe Summary
| Feature | Details |
|---|---|
| Prep Time | 10 Minutes |
| Cook Time | 15 Minutes |
| Total Time | 25 Minutes |
| Servings | 1 Large Sandwich (or 2 halves) |
| Cuisine | American Fusion |
| Course | Lunch / Snack / Light Dinner |
| Difficulty | Easy |
| Calories | ~650 kcal per serving |
This Pizza Grilled Cheese relies on a unique “inside-out” cooking technique. Instead of assembling a cold sandwich and frying it, we build the filling in the pan using eggs as a binding agent. The result is a cohesive unit where the cheese melts perfectly into the egg, and the bread toasts evenly against the hot surface. It’s a 25-minute meal that delivers maximum satisfaction with minimal cleanup.
Table of Contents
- Introduction
- Why This Recipe Works
- Why You’ll Love This Recipe
- Ingredient Notes
- Kitchen Equipment
- Preparation Information
- Step-by-Step Instructions
- Expert Tips
- Common Mistakes
- Recipe Variations
- What to Serve With This Recipe
- Make Ahead & Meal Prep Tips
- Storage & Reheating Instructions
- Nutritional Information
- Troubleshooting Guide
- Frequently Asked Questions
- Final Thoughts
Introduction
If you have ever stared at a slice of leftover pizza and a loaf of bread wondering how to combine them, this Pizza Grilled Cheese is your answer. Unlike traditional sandwiches where ingredients can slide out during cooking, this method uses beaten eggs as a culinary glue. The eggs cook around the cheese and pepperoni, anchoring them to the bread slices that are pressed directly into the mixture.
The magic happens during the flip. When you invert the pan (or use a spatula), the soft, cooked egg side becomes the bottom, and the bread side hits the heat to toast. This creates a dual-texture experience: crisp, golden-brown bread on the outside, and a warm, custardy, cheesy center on the inside. Whether you are feeding kids who refuse to eat vegetables or treating yourself to a nostalgic flavor bomb, this recipe transforms simple pantry staples into something extraordinary.
Why This Recipe Works
The science behind this Pizza Grilled Cheese lies in protein coagulation and moisture management.
- The Egg Binder: Eggs are roughly 75% water and 12% protein. As they heat, the proteins denature and form a mesh that traps the melting cheese and grease from the pepperoni. This prevents the “slide-out” effect common in overloaded grilled cheeses.
- Steam Toasting: Because the bread is placed on top of wet eggs, it steams slightly before it toasts. This ensures the bread stays soft and pliable enough to fold or bite through, rather than becoming rock-hard like an over-fried crouton.
- Flavor Integration: Cooking the pepperoni directly in the egg allows its spiced fat to render into the egg mixture, seasoning the entire base layer rather than just sitting on top as a cold topping.
Why You’ll Love This Recipe
- Structural Integrity: The egg base holds everything together, making it easier to eat than a standard overstuffed sandwich.
- Protein Boost: Adding eggs turns a carb-heavy snack into a balanced meal with significant protein content.
- Customizable Canvas: While pepperoni and mozzarella are classic, the egg base accepts almost any pizza topping imaginable.
- One-Pan Wonder: Minimal cleanup required. Everything cooks in a single skillet.
- Kid-Approved: The combination of familiar pizza flavors in a handheld sandwich format is a guaranteed win with children.
Ingredient Notes
For the Base
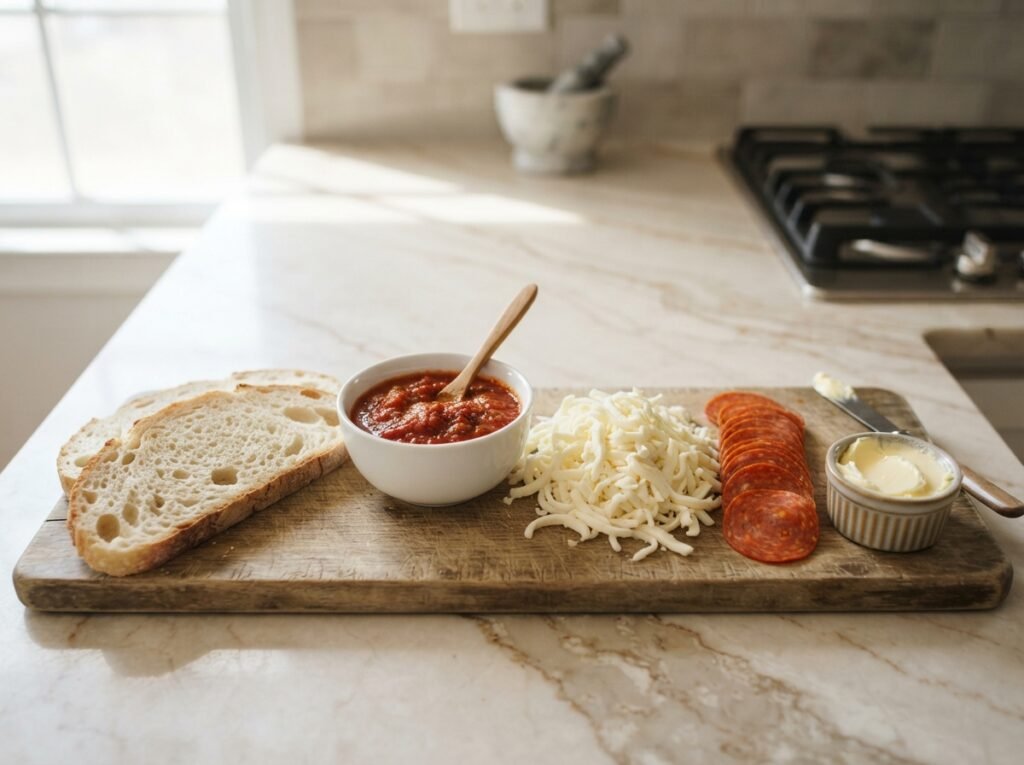
- Eggs: Use large, fresh eggs. Beat them thoroughly until uniform in color; streaks of white will cook unevenly. Substitution: For a fluffier texture, add a splash of milk or cream. For dairy-free, use aquafaba or commercial egg replacer, though texture will differ.
- Butter or Oil: Essential for preventing sticking and aiding browning. Butter adds richness; oil has a higher smoke point. Tip: A mix of both gives you the best of both worlds—flavor and heat tolerance.
For the Filling
- Mozzarella Cheese: Low-moisture, whole-milk mozzarella is ideal. It melts beautifully without releasing too much water. Avoid: Pre-shredded bagged cheese often contains anti-caking agents (cellulose) that inhibit melting and create a gritty texture. Buy a block and shred it yourself.
- Pepperoni: Cup-and-char pepperoni is best for this recipe. The edges curl up and crisp in the heat, creating little cups of flavorful grease. Substitution: Salami, ham, cooked bacon, or sautéed mushrooms for vegetarians.
- Bread: Standard white sandwich bread works best due to its soft texture and even thickness. Sourdough or thick-cut artisan bread may be too dense to cook through before the egg burns. Tip: Remove crusts if you want a seamless seal, though leaving them on adds rustic charm.
Kitchen Equipment
- Non-Stick Skillet (10-12 inch): Crucial for this recipe. The egg needs to release easily for the flip. Cast iron works if well-seasoned, but non-stick is safer for beginners.
- Spatula: A flexible silicone or thin metal spatula for loosening edges.
- Whisk or Fork: For beating eggs uniformly.
- Grater: If buying block cheese.
- Plate or Lid: To assist with the flip if you aren’t confident tossing the pan.
Preparation Information
- Prep Time: 10 Minutes
- Cook Time: 15 Minutes
- Total Time: 25 Minutes
- Servings: 1 Large Sandwich
Step-by-Step Instructions
H3: Prepare the Pan and Eggs
Heat your non-stick skillet over medium-low heat. Add 1 tablespoon of butter or oil and let it melt. In a bowl, whisk 3-4 eggs with a pinch of salt and pepper until fully combined. Pour the egg mixture into the center of the pan. Why this matters: Medium-low heat is critical. High heat will set the bottom of the eggs instantly while the top remains raw, leading to a broken flip. Visual Cue: The eggs should bubble gently, not aggressively sizzle.
H3: Add Cheese and Pepperoni
As soon as the eggs begin to set around the edges but are still wet on top (about 30-60 seconds), sprinkle ½ cup of shredded mozzarella evenly over the surface. Arrange 8-10 slices of pepperoni on top of the cheese. Texture Cue: The cheese should start to soften immediately upon contact with the warm egg. Do not wait for the egg to be fully cooked; the residual heat will finish it.
H3: Place the Bread
Take 4 slices of bread and arrange them in a 2×2 grid (or overlapping circle) directly onto the egg and cheese mixture. Press down gently with your hand or spatula to ensure the bread makes full contact with the egg. Why this matters: This pressure helps the bread adhere to the egg layer, creating the structural bond needed for the flip. Aroma Cue: You should smell the savory scent of cooking eggs and rendering pepperoni fat.
H4: The Flip
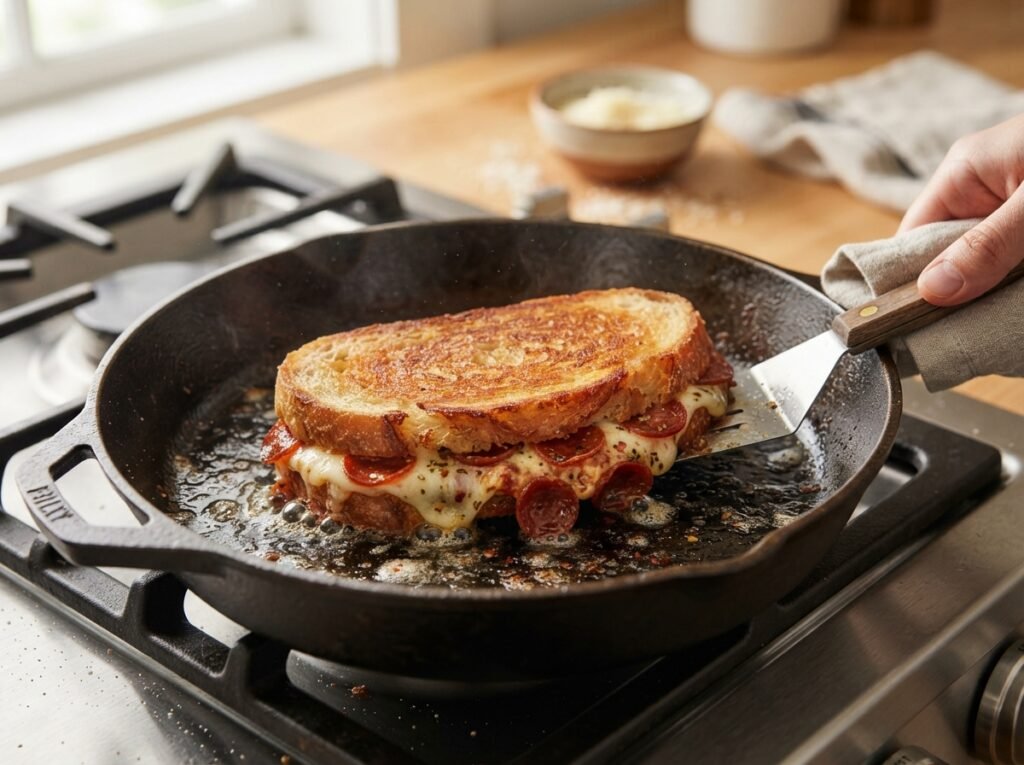
Let the bread sit for 2-3 minutes. Check the underside of the bread by lifting an edge; it should be golden brown. Run your spatula around the perimeter to loosen any stuck bits. Confidently flip the entire assembly over in one motion. If nervous, place a plate over the pan, invert it, then slide it back in uncooked-side down. Visual Cue: The exposed egg side should be fully set and yellow, not translucent. The bread side now facing down should be toasted.
H4: Finish Cooking
Cook the second side for another 2-3 minutes until the bread is golden and the cheese is visibly melted through the sides. Professional Tip: Cover the pan with a lid for the last minute to trap steam and ensure the cheese melts completely without burning the bread.
H3: Slice and Serve
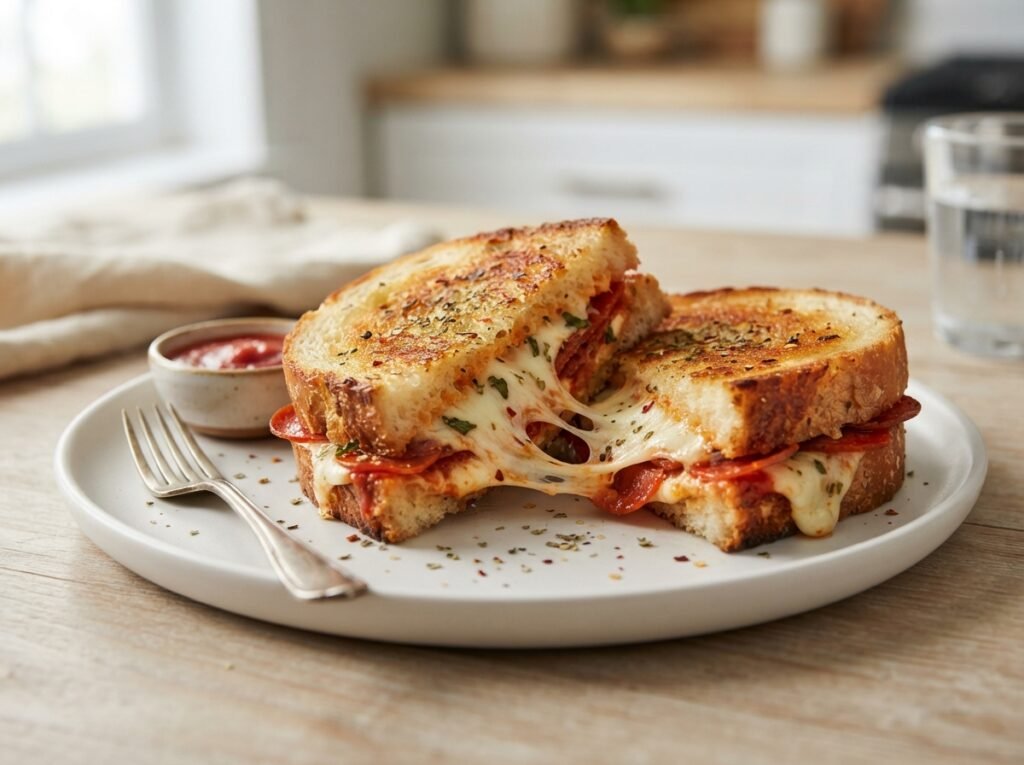
Transfer to a cutting board. Slice diagonally into triangles. Pull apart slowly to showcase the cheese pull. Serve immediately while hot.
Expert Tips
- The “Set” Test: Before flipping, touch the center of the egg gently. It should feel firm, not jiggly. If it’s still liquid, give it another minute. A broken yolk/egg center makes a mess.
- Cheese Distribution: Leave a small border of egg around the edge of the pan without cheese. This pure egg rim acts as a sealant when flipped, helping hold the sandwich together.
- Bread Freshness: Slightly stale bread actually works better here than ultra-fresh bread, as it absorbs less moisture from the egg and maintains structure.
- Season the Eggs: Don’t forget to salt and pepper the eggs themselves. The cheese and pepperoni are salty, but the egg base needs its own seasoning to avoid tasting bland.
Common Mistakes
- Heat Too High: Result: Burnt bread, raw egg. Fix: Lower heat to medium-low and be patient.
- Flipping Too Early: Result: Egg tears, filling spills. Fix: Wait until edges are fully set and release from pan easily.
- Using Wet Vegetables: Result: Soggy sandwich. Fix: If adding veggies like tomatoes or peppers, sauté them first to remove moisture.
- Overloading Cheese: Result: Greasy pool, structural collapse. Fix: Stick to ½ – ¾ cup max. More isn’t always better for structural integrity.
Recipe Variations
- Veggie Supreme: Swap pepperoni for diced bell peppers, onions, olives, and spinach. Sauté veggies first to remove water.
- BBQ Chicken: Use cooked chicken, BBQ sauce, red onion, and cheddar cheese. Brush bread with extra BBQ sauce before placing.
- Breakfast Style: Add cooked bacon and hash browns. Use cheddar instead of mozzarella.
- Spicy Diavola: Use spicy salami, chili flakes in the egg, and provolone cheese.
- Low-Carb/Keto: Replace bread with large portobello mushroom caps or almond flour bread. Note: Texture will be significantly different.
- Extra Cheesy: Add a second layer of cheese after the flip, letting it melt on the hot bread surface before closing.
What to Serve With This Recipe
- Marinara Sauce: Essential for dipping. Warm it up for the best experience.
- Ranch Dressing: A cool, creamy contrast to the hot, greasy sandwich.
- Side Salad: A simple arugula salad with lemon vinaigrette cuts through the richness.
- Tomato Soup: The classic grilled cheese companion works perfectly here too.
- Pickles: Acidic dill pickles provide a necessary palate cleanser.
Make Ahead & Meal Prep Tips
- Pre-Shred Cheese: Shred cheese up to 3 days ahead. Store in airtight container.
- Pre-Beat Eggs: Whisk eggs and store in jar for up to 24 hours. Shake before using.
- Not Recommended for Full Prep: This dish relies on the fresh interaction of hot egg and bread. Assembling ahead leads to soggy bread. Cook fresh for best results.
Storage & Reheating Instructions
- Refrigerator: Store leftovers in airtight container for up to 2 days. Note: Bread will soften.
- Freezer: Not recommended. Egg texture becomes rubbery upon thawing.
- Reheating (Air Fryer – Best): 350°F for 3-4 minutes. Restores crispness to bread.
- Reheating (Oven): 375°F on wire rack for 5-7 minutes.
- Reheating (Microwave): 30-second bursts. Bread will be chewy/soggy. Avoid if possible.
- Reheating (Stovetop): Low heat in dry pan, covered, for 2-3 minutes per side.
Nutritional Information
Values are approximate per serving (whole sandwich).
- Calories: 650
- Protein: 28g
- Carbohydrates: 48g
- Fat: 38g
- Fiber: 2g
- Sugar: 4g
- Sodium: 1100mg
Troubleshooting Guide
- Egg Sticking to Pan: Pan wasn’t non-stick enough or heat was too high. Next time, use more fat and lower heat. Scrape gently with silicone spatula.
- Bread Burning Before Egg Sets: Heat too high. Reduce to low. Cover pan to help egg cook via steam while bread toasts gently.
- Sandwich Falling Apart: Didn’t press bread into egg firmly enough, or flipped too early. Ensure egg is fully set and apply pressure during assembly.
- Cheese Not Melting: Pan too cool or removed from heat too soon. Cover pan for last minute of cooking to trap heat.
- Soggy Bread: Used fresh bread with high moisture content or veggies released water. Use day-old bread and pre-cook wet toppings.
Frequently Asked Questions
1. Can I use gluten-free bread? Yes, but GF bread is often more fragile. Handle gently during the flip. Toasting it lightly before adding to egg can help strengthen it.
2. How do I know when the egg is done? The surface should look matte and dry, not shiny or wet. Jiggle the pan; the center should move as a solid mass, not slosh.
3. Can I make this without pepperoni? Absolutely. Ham, turkey, bacon, or just extra cheese work great. Adjust salt accordingly.
4. Why did my bread get soggy? Likely used very fresh, soft bread or didn’t cook the second side long enough. Day-old bread absorbs less moisture. Ensure second side gets adequate toasting time.
5. Is this safe to eat if egg is runny? For safety, ensure eggs reach 160°F. If you prefer runny yolks, use pasteurized eggs to reduce salmonella risk.
6. Can I add sauce inside? Yes, but sparingly. Too much marinara makes it soggy. Dipping is safer than stuffing.
7. What pan size is best? 10-12 inch skillet accommodates 4 slices comfortably. Smaller pans require folding bread or using fewer slices.
8. Can I use egg whites only? Yes, but texture will be firmer and less rich. Add a tsp of oil to compensate for lost fat.
Final Thoughts
This Pizza Grilled Cheese is more than just a recipe; it’s a reminder that cooking should be playful and satisfying. By combining the comforting familiarity of pizza with the nostalgic warmth of a grilled cheese, you create something that feels both innovative and deeply homey. The technique is simple, but the payoff is immense—a crispy, cheesy, eggy masterpiece that satisfies cravings in ways few other dishes can.
I encourage you to experiment with your favorite pizza toppings and find your perfect combination. Did you try the BBQ chicken variation? Or maybe you added jalapeños for heat? Share your creations in the comments below—I’d love to hear what twists you’ve made! Don’t forget to rate the recipe if you enjoyed it. Happy cooking, and may your cheese pulls always be long and glorious!