
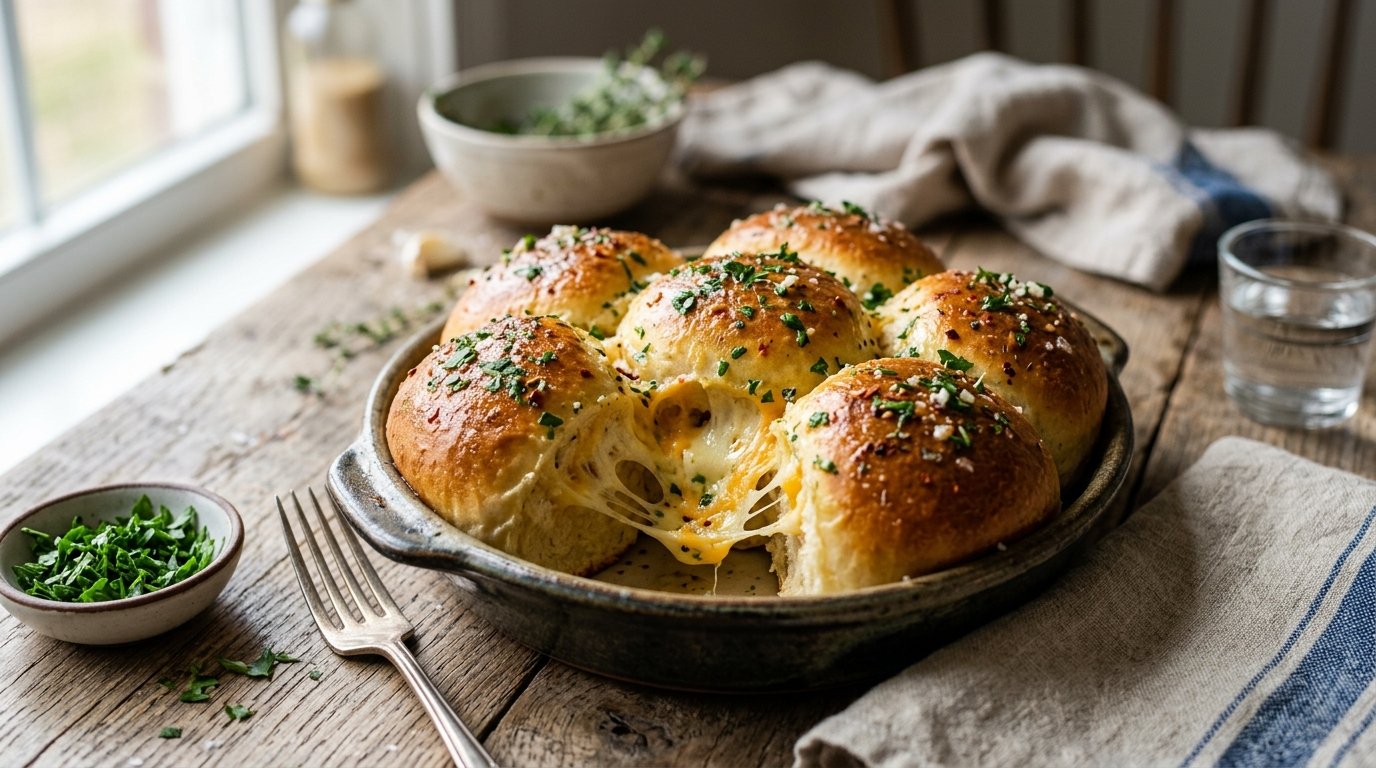
There is nothing quite like the anticipation of pulling apart a warm, golden-brown bun to reveal a molten, stringy cheese center. Cheesy stuffed buns are the perfect intersection of savory bread and creamy, vegetable-laden filling, creating a handheld meal that feels indulgent yet surprisingly simple to assemble. Whether you are looking for a quick lunch, a party appetizer, or a comforting snack, this recipe delivers on texture and flavor without requiring hours in the kitchen.
Quick Recipe Summary
| Feature | Details |
|---|---|
| Prep Time | 20 Minutes |
| Cook Time | 15-20 Minutes (Baking) |
| Total Time | 40 Minutes |
| Servings | 4 Large Buns |
| Cuisine | Fusion / Western |
| Course | Snack, Appetizer, Light Meal |
| Difficulty | Easy |
| Calories | ~380 kcal per bun |
This recipe transforms standard bakery buns into a gourmet experience by hollowing them out and stuffing them with a rich mixture of diced fresh vegetables, creamy mayonnaise, tangy ketchup, and a generous blend of melting cheeses. It is a “hack” style recipe that maximizes flavor while minimizing active cooking time, making it ideal for busy weeknights or last-minute entertaining.
Table of Contents
- Introduction
- Why This Recipe Works
- Why You’ll Love This Recipe
- Ingredient Notes
- Kitchen Equipment
- Preparation Information
- Step-by-Step Instructions
- Expert Tips
- Common Mistakes
- Recipe Variations
- What to Serve With This Recipe
- Make Ahead & Meal Prep Tips
- Storage Instructions
- Reheating Instructions
- Nutritional Information
- Troubleshooting Guide
- Frequently Asked Questions
- Final Thoughts
Introduction
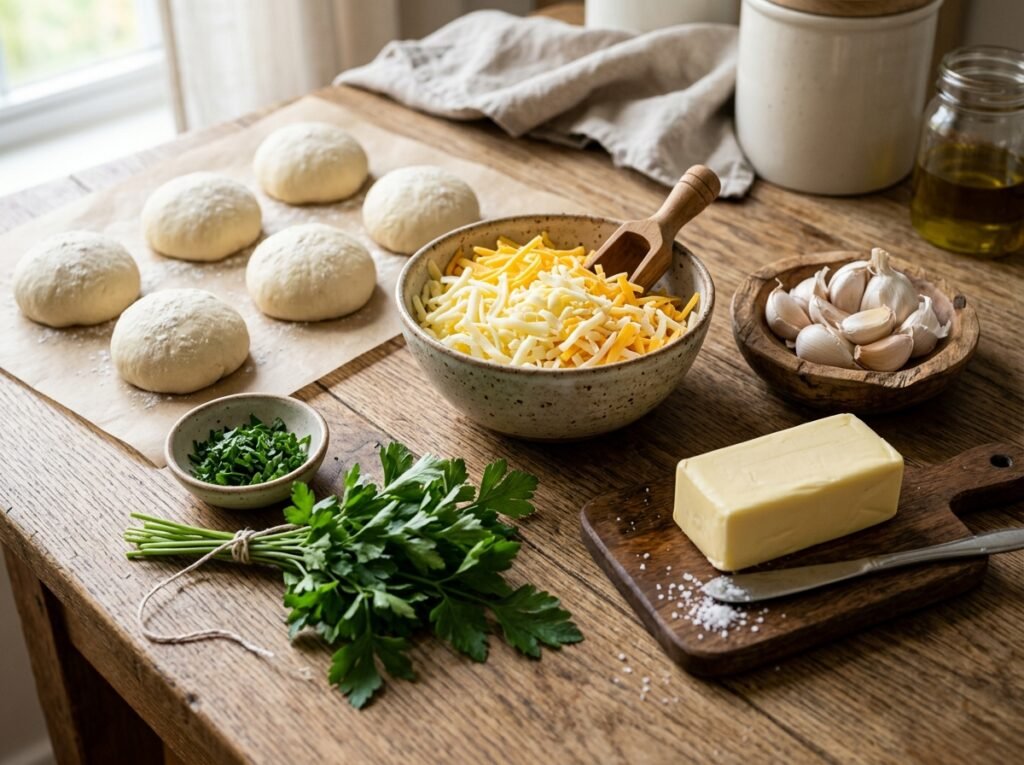
If you have ever scrolled through food social media and stopped dead in your tracks at a video of melted cheese stretching between two halves of a bread roll, you know the allure of cheesy stuffed buns. This dish has exploded in popularity because it takes the humble dinner roll and elevates it into a main event. Unlike traditional sandwiches where the filling can slide out, these buns encapsulate the goodness inside a soft, pillowy vessel that toasts perfectly in the oven.
The beauty of this recipe lies in its versatility. The base—a mix of crisp red onions, bell peppers, and juicy tomatoes—provides a fresh crunch that cuts through the richness of the cheese and mayo. When baked, the top layer of cheese bubbles and browns, creating a textural contrast against the soft interior. It is comfort food engineered for maximum satisfaction, and best of all, it requires zero dough-making skills. You are essentially upgrading store-bought or bakery-fresh buns into something spectacular.
Why This Recipe Works
From a culinary science perspective, this recipe works because of the balance between moisture and fat. The diced vegetables release water as they cook, but because they are bound with mayonnaise and cheese, that moisture creates steam inside the bun rather than making it soggy. The mayonnaise acts as an emulsion, keeping the cheese smooth and preventing it from separating into oil. Furthermore, using a round bun with a sturdy crust ensures the structure holds up against the heavy filling, providing that essential “pull-apart” moment without collapsing.
Why You’ll Love This Recipe
- Incredible Cheese Pull: The combination of mozzarella and cheddar ensures a stretchy, gooey texture that is visually stunning and delicious.
- Customizable Filling: You can swap vegetables based on what is in your fridge or add proteins like ham or chicken.
- Kid-Friendly: The mild, cheesy flavor profile is a hit with children who might otherwise refuse vegetables.
- No Kneading Required: Skip the yeast and flour mess; this recipe uses pre-made buns for instant gratification.
- Perfect Portion Control: Each bun is a self-contained serving, making cleanup and serving effortless.
Ingredient Notes
Round Bread Buns
- Purpose: Acts as the edible bowl and structural base.
- Buying Tips: Choose buns that are round and have a firm crust but a soft interior. Burger buns, milk buns, or Portuguese rolls work best. Avoid flat sandwich bread.
- Substitutions: Sourdough boule (mini), ciabatta rolls, or even large muffins.
Red Onion
- Purpose: Adds sharpness and color.
- Tips: Dice finely (approx. 1/4 inch). If raw onion is too pungent, soak diced pieces in ice water for 10 minutes before mixing.
- Substitutions: White onion, yellow onion, or green onions (scallions).
Green Bell Pepper (Capsicum)
- Purpose: Provides crunch and freshness.
- Tips: Remove all white pith and seeds to prevent bitterness.
- Substitutions: Red, yellow, or orange bell peppers (sweeter), jalapeños (for heat), or zucchini.
Tomatoes
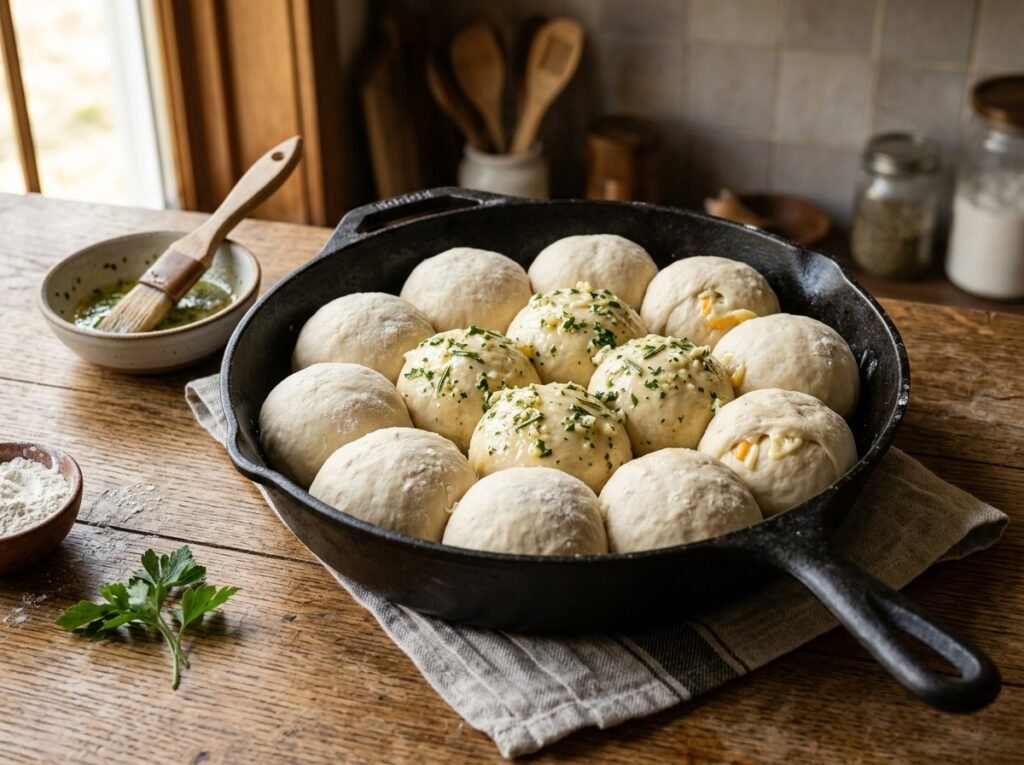
- Purpose: Adds acidity and juiciness.
- Tips: Use firm Roma or vine tomatoes. Crucially, deseed them and pat dry with a paper towel to prevent the filling from becoming watery.
- Substitutions: Sun-dried tomatoes (chopped), roasted red peppers, or omit if you prefer less moisture.
Mayonnaise
- Purpose: Binder and creaminess.
- Tips: Use full-fat mayonnaise for the best melt and flavor. Low-fat versions contain more water and can make the filling runny.
- Substitutions: Greek yogurt (tangier, lighter), cream cheese (richer), or sour cream.
Ketchup / Tomato Sauce
- Purpose: Adds sweetness, umami, and tang.
- Tips: A small amount goes a long way. It balances the saltiness of the cheese.
- Substitutions: Pizza sauce, marinara, chili sauce, or sriracha mayo.
Shredded Cheese Blend
- Purpose: The star ingredient for melt and flavor.
- Tips: A mix of Mozzarella (for stretch) and Cheddar (for flavor/color) is ideal. Grate your own cheese if possible; pre-shredded bags often contain anti-caking agents that hinder melting.
- Substitutions: Monterey Jack, Provolone, Gouda, or Pepper Jack.
Fresh Parsley
- Purpose: Garnish for color and fresh herbal aroma.
- Tips: Add only after baking or just before serving to keep it vibrant green.
- Substitutions: Chives, cilantro, or dried oregano (added before baking).
Kitchen Equipment
- Sharp Chef’s Knife: Essential for uniform dicing of vegetables.
- Cutting Board: Stable surface for prep.
- Mixing Bowl: Medium-sized glass or ceramic bowl for combining filling.
- Spoon or Spatula: For mixing and stuffing.
- Baking Sheet: Lined with parchment paper for easy cleanup.
- Oven: Standard conventional or convection oven.
- Small Knife: For hollowing out the buns.
Preparation Information
- Prep Time: 20 Minutes
- Cook Time: 15-20 Minutes
- Total Time: 40 Minutes
- Servings: 4 Buns
Step-by-Step Instructions
H3: Prepare the Vegetable Base
Start by washing and drying your vegetables thoroughly. Moisture is the enemy of a crispy, cheesy topping. Finely dice the red onion, green bell pepper, and tomato into uniform 1/4-inch cubes. Uniformity ensures that every bite has a balanced distribution of flavors and textures. Place the diced vegetables into a medium mixing bowl. Visual Cue: The veggies should look like a colorful confetti mix, not mushy chunks.
H3: Create the Creamy Cheese Mixture
To the bowl of vegetables, add approximately 2 tablespoons of mayonnaise and 1 tablespoon of ketchup. The mayonnaise coats the vegetables, protecting them from burning and adding richness, while the ketchup provides a necessary acid cut. Next, add about 1 cup of shredded cheese blend and a pinch of dried herbs (like oregano or Italian seasoning) if desired. Mix everything thoroughly until the vegetables are evenly coated in the creamy sauce. Texture Cue: The mixture should hold together when scooped, not be dry or overly wet.
H3: Hollow Out the Buns
Take your round buns and slice off the top third horizontally to create a “lid.” Set the lids aside. Using a small paring knife or your fingers, gently pull out the soft inner crumb of the bun, leaving a wall about 1/2 inch thick. Be careful not to puncture the bottom or sides. You want to create a sturdy bread bowl. Pro Tip: Don’t throw away the removed bread! Toast it and serve it on the side as “soldiers” for dipping.
H3: Fill Generously
Spoon the vegetable-cheese mixture into the hollowed-out buns. Do not be shy here; pack the filling in tightly and mound it slightly above the rim. As the cheese melts, it will settle down. Overfilling ensures you get that overflowing, messy-delicious look. Press the filling down gently with the back of the spoon to eliminate air pockets.
H3: Bake to Golden Perfection
Preheat your oven to 375°F (190°C). Place the stuffed buns on a parchment-lined baking sheet. Bake for 15-20 minutes. You are looking for three specific signs of doneness: the cheese on top should be fully melted and bubbling, the edges of the cheese should be turning golden brown, and the bread walls should feel firm and toasted to the touch. Aroma Cue: Your kitchen should smell like toasted bread and savory melted cheese.
H3: Garnish and Serve
Remove the buns from the oven and let them rest for 2-3 minutes. This brief resting period allows the cheese to set slightly, preventing it from spilling out immediately when cut. Sprinkle freshly chopped parsley over the top for a pop of green color and fresh flavor. Serve warm. The Money Shot: Pull the bun apart with your hands to reveal the steaming, stringy cheese interior.
Expert Tips
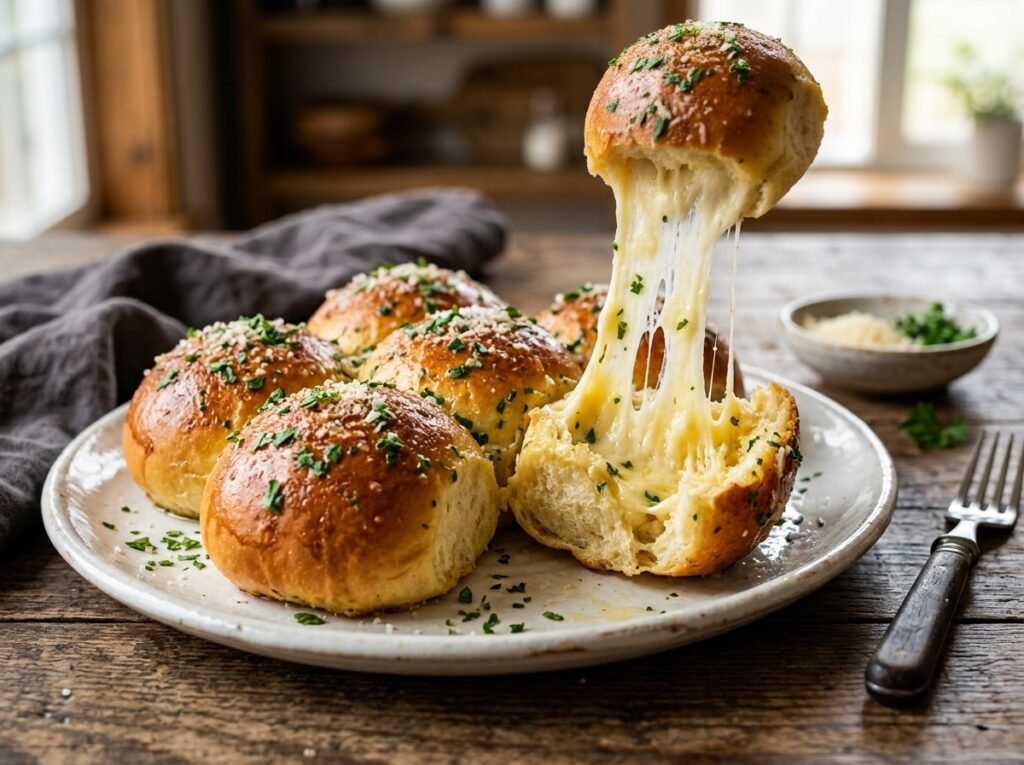
- Toast the Buns First (Optional): If you are worried about sogginess, brush the inside of the hollowed buns with a little butter and toast them in the oven for 3-5 minutes before adding the filling. This creates a moisture barrier.
- Cheese Temperature: Let your shredded cheese come to room temperature before mixing. Cold cheese straight from the fridge takes longer to melt and can result in uneven heating.
- Broil for Color: If the cheese is melted but not browned enough after 20 minutes, switch your oven to broil for the last 1-2 minutes. Watch closely! Cheese goes from golden to burnt in seconds under a broiler.
- Season the Veggies: While the cheese and sauces have salt, a tiny pinch of salt and black pepper directly on the diced vegetables before mixing enhances their natural flavor.
Common Mistakes
- Watery Filling: This happens when tomatoes aren’t deseeded or veggies aren’t dried. Fix: Always pat veggies dry and remove tomato seeds. If the mix looks wet, add more cheese or a sprinkle of breadcrumbs to absorb moisture.
- Burnt Bottoms: Oven heat is often stronger at the bottom rack. Fix: Bake on the middle rack. If using a dark metal pan, reduce temp by 25°F.
- Soggy Bread Walls: Leaving the filling in too long before baking allows moisture to seep in. Fix: Assemble just before baking, or use the pre-toasting method mentioned in expert tips.
- Dry Interior: Overbaking evaporates all moisture. Fix: Trust the visual cues (bubbling cheese) over strict timing. Every oven varies.
Recipe Variations
- Spicy Jalapeño Popper Style: Swap bell peppers for diced jalapeños and add cooked bacon bits to the filling. Use pepper jack cheese.
- Chicken Tikka Masala Bun: Replace the veggie mix with leftover chicken tikka masala and top with mozzarella. A fantastic way to use leftovers.
- BBQ Pulled Pork: Fill with pulled pork tossed in BBQ sauce and top with cheddar. Garnish with coleslaw after baking.
- Vegan Option: Use vegan mayo, vegan cheese shreds, and ensure the buns are egg/dairy-free. Nutritional yeast adds a nice cheesy flavor boost.
- Mediterranean Twist: Use feta cheese, olives, sun-dried tomatoes, and spinach. Drizzle with olive oil instead of mayo.
- Breakfast Bun: Fill with scrambled eggs, sausage crumbles, and cheddar cheese. Perfect for brunch.
What to Serve With This Recipe
These buns are hearty, so pair them with lighter sides:
- Salads: A simple arugula salad with lemon vinaigrette cuts the richness perfectly.
- Soups: Tomato basil soup or broccoli cheddar soup for dipping.
- Drinks: Iced tea, lemonade, or a crisp lager beer.
- Snacks: Pickles or olives on the side provide a salty, acidic contrast.
Make Ahead & Meal Prep Tips
- Prep the Filling: You can dice veggies and mix the filling up to 24 hours in advance. Store in an airtight container in the fridge.
- Hollow Buns Early: Buns can be hollowed out and stored in a ziplock bag at room temperature for a day.
- Freeze Unbaked: Stuff the buns, wrap individually in plastic wrap and foil, and freeze for up to 2 months. Bake from frozen, adding 10-15 minutes to the cook time.
Storage Instructions
- Refrigerator: Store leftover stuffed buns in an airtight container for up to 3 days.
- Freezer: Cooked buns can be frozen for up to 1 month. Wrap tightly to prevent freezer burn. Note that the bread texture may change slightly upon thawing.
Reheating Instructions
- Oven (Best Method): Preheat to 350°F (175°C). Place buns on a baking sheet and heat for 8-10 minutes until warmed through and cheese is melty again.
- Air Fryer: Reheat at 350°F for 3-5 minutes. This restores crispiness to the bread exterior.
- Microwave (Quick Fix): Heat for 30-45 seconds. Warning: The bread will become soft/chewy, not crispy.
- Stovetop: Not recommended as it burns the bottom before heating the center.
Nutritional Information
Approximate values per bun:
- Calories: 380
- Protein: 14g
- Carbohydrates: 42g
- Fat: 18g
- Fiber: 3g
- Sugar: 6g
- Sodium: 650mg
Note: Values vary based on bun size and specific cheese/sauce brands used.
Troubleshooting Guide
| Problem | Cause | Solution |
|---|---|---|
| Cheese didn’t melt | Oven too cool or cheese type wrong | Use low-moisture mozzarella; check oven temp with thermometer. |
| Bun fell apart | Wall too thin or bread too soft | Leave thicker walls; choose denser buns like milk rolls. |
| Filling spilled over | Overfilled or no resting time | Leave 1/4 inch gap at top; let rest 3 mins after baking. |
| Vegetables crunchy/raw | Dice too big or bake time short | Dice smaller (1/4 inch); extend bake time by 5 mins. |
| Bread soggy | Wet filling or no barrier | Deseed tomatoes; pre-toast bun interior. |
Frequently Asked Questions
1. Can I use sliced cheese instead of shredded? Shredded cheese melts more evenly and creates better coverage. Sliced cheese can work but may result in uneven melting and less “pull.”
2. What is the best bread for cheesy stuffed buns? Portuguese rolls, milk buns, or brioche burger buns are ideal. They have a tight crumb that holds up well to stuffing without getting soggy.
3. Can I make these in an air fryer? Yes! Air fry at 350°F (175°C) for 8-10 minutes. Check frequently as air fryers cook faster than ovens.
4. How do I prevent the cheese from burning on top? If browning too fast, cover loosely with aluminum foil for the first 10 minutes of baking, then remove to finish browning.
5. Is this recipe vegetarian? Yes, as written. Ensure your cheese uses vegetarian rennet if strict vegetarianism is required.
6. Can I add meat to this recipe? Absolutely. Cooked ground beef, ham, bacon, or shredded chicken are excellent additions. Mix them into the filling before stuffing.
7. Why is my filling watery after baking? Vegetables release water when heated. To prevent this, salt the diced veggies and let them sit for 10 minutes, then squeeze out excess liquid before mixing.
8. Can I use gluten-free buns? Yes, but GF bread tends to be drier. Brush the inside generously with butter before filling to add moisture and prevent cracking.
Final Thoughts
Making cheesy stuffed buns is more than just following a recipe; it is about embracing the joy of simple, satisfying food. There is a primal pleasure in tearing into warm bread filled with molten cheese and fresh veggies that few dishes can match. Whether you are feeding a family, hosting friends, or treating yourself to a cozy night in, this recipe delivers consistent results with minimal effort. We encourage you to experiment with the fillings and find your perfect combination. Once you try these, plain buns will never look the same again. Don’t forget to leave a comment below with your favorite variation or rate the recipe if you loved it!