
Quick Recipe Summary
| Feature | Details |
|---|---|
| Prep Time | 20 Minutes (Active) |
| Cook Time | 10-12 Minutes |
| Total Time | 2 Hours 30 Minutes (Includes Rise) |
| Servings | 2 Large Pizzas (12-inch) |
| Cuisine | Italian / Neapolitan Style |
| Course | Main Course / Dinner |
| Difficulty | Intermediate |
| Calories | ~280 kcal per slice (dough only) |
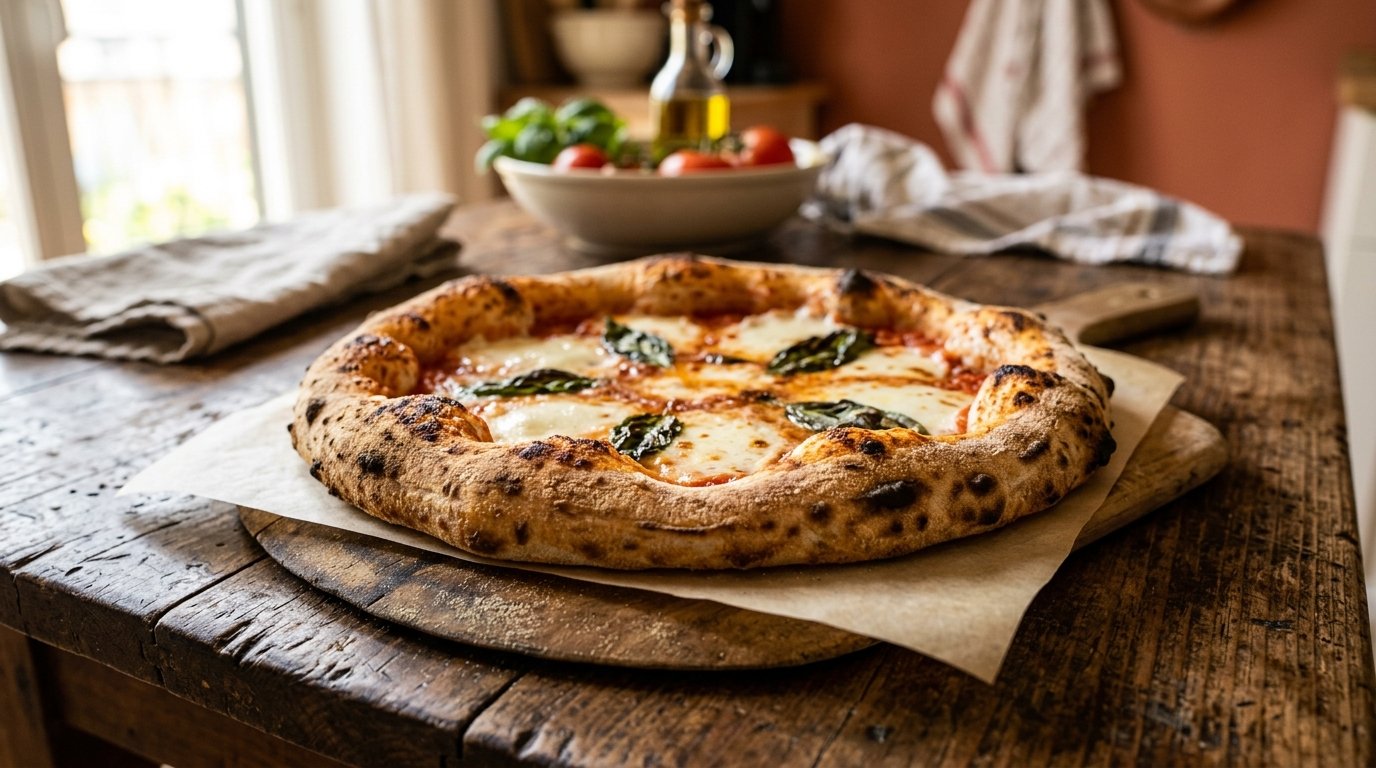
This recipe yields enough dough for two large pizzas or four personal-sized pies. The process relies on a simple “windowpane test” to ensure gluten development, resulting in a chewy, elastic texture that holds up to heavy toppings without becoming soggy. By baking at high heat, we mimic the environment of a professional wood-fired oven, achieving those coveted leopard-spot char marks on the crust.
Table of Contents
- Introduction
- Why This Recipe Works
- Why You’ll Love This Recipe
- Ingredient Notes
- Kitchen Equipment
- Preparation Information
- Step-by-Step Instructions
- Expert Tips
- Common Mistakes
- Recipe Variations
- What to Serve With This Recipe
- Make Ahead & Meal Prep Tips
- Storage Instructions
- Reheating Instructions
- Nutritional Information
- Troubleshooting Guide
- Frequently Asked Questions
- Final Thoughts
Introduction
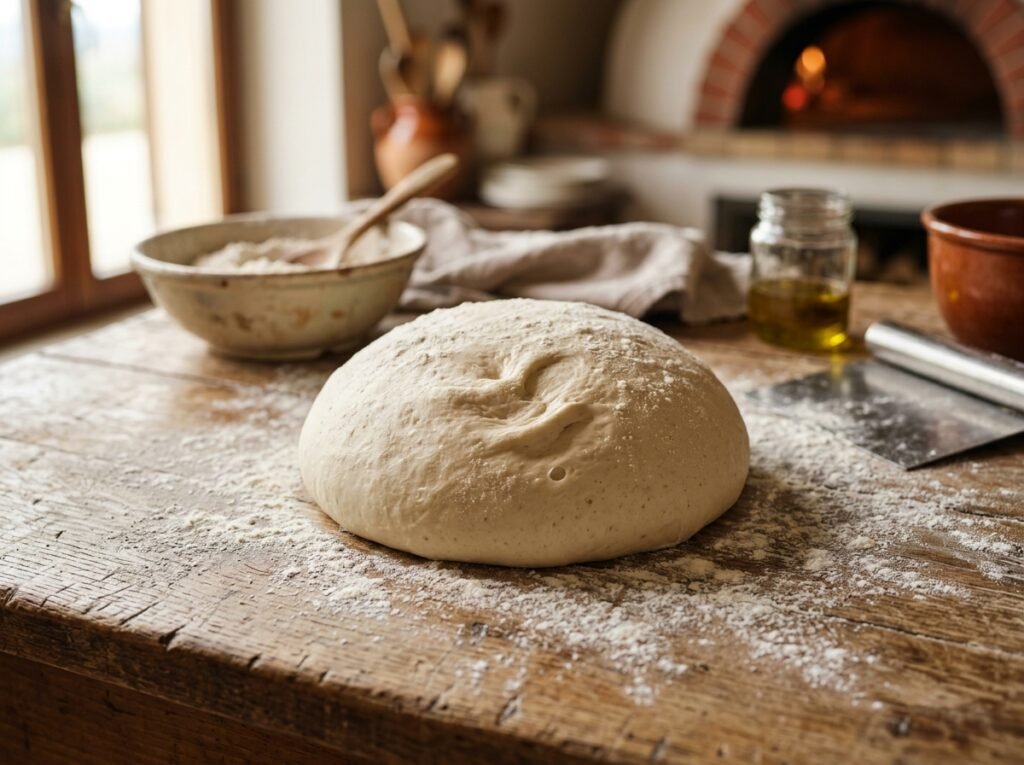
If you have ever been disappointed by a dense, cardboard-like crust from a local pizzeria, you know exactly why learning to make homemade pizza dough is a game-changer. Unlike commercial doughs that often rely on dough conditioners and rapid-rise yeast, this recipe uses time and temperature as ingredients to develop complex flavor and superior texture. The result is a base that tastes like it came from a Naples bakery, with a crumb structure that is open, light, and incredibly satisfying to chew.
The video demonstration highlights the critical importance of the “windowpane test,” a technique often skipped by home cooks but essential for professional results. This simple check ensures your gluten network is strong enough to trap the gases produced by the yeast, creating that signature puffiness in the cornicione (crust rim). Whether you are topping it with classic pepperoni and mozzarella or experimenting with fresh basil and burrata, this dough provides the perfect canvas for your culinary creativity.
Why This Recipe Works
From a food science perspective, this recipe succeeds because of the balance between hydration and gluten development. The warm water activates the yeast efficiently, while the sugar provides an immediate food source for rapid initial fermentation. Olive oil serves a dual purpose: it lubricates the gluten strands, making the dough easier to stretch without tearing, and it contributes to a tender crumb by inhibiting excessive gluten formation.
The high-heat baking method is equally crucial. Standard home ovens rarely reach the 900°F of a pizza oven, so we compensate by preheating to the maximum temperature (usually 500°F-550°F). This thermal shock causes the water in the dough to turn to steam instantly, pushing the crust upward before the structure sets. The olive oil also aids in heat transfer, helping the bottom crust crisp up rather than steam against the pan or stone.
Why You’ll Love This Recipe
- Authentic Texture: Achieves the elusive balance of crispy exterior and soft, airy interior through proper kneading and rising.
- Versatile Base: Works perfectly for thin-crust NY style, thicker Sicilian styles, or even calzones and stromboli.
- Visual Doneness Cues: Teaches you how to read the dough (windowpane test, doubled size) rather than relying solely on timers.
- Freezer Friendly: Makes excellent freezer dough, allowing you to have fresh pizza ready in minutes on busy weeknights.
- Clean Ingredient List: Uses only five basic pantry staples with no preservatives or unpronounceable additives.
Ingredient Notes
Warm Water
- Purpose: Activates yeast and hydrates flour proteins to form gluten.
- Buying/Prep Tips: Temperature is critical. Aim for 105°F–110°F (40°C–43°C). Too hot (>120°F) kills yeast; too cold (<95°F) slows activation significantly. Use a thermometer if unsure.
- Substitutions: None. Water quality matters; filtered water is best if your tap water is heavily chlorinated, which can inhibit yeast.
Active Dry Yeast
- Purpose: Leavening agent that produces CO2 gas for rise and flavor compounds during fermentation.
- Buying Tips: Check expiration dates. If your yeast doesn’t foam after 5-10 minutes in warm water/sugar, it is dead—discard and start over.
- Substitutions: Instant yeast (mix directly with flour, skip proofing step), Fresh yeast (use 3x the weight of dry yeast).
Sugar
- Purpose: Food for yeast; aids browning via Maillard reaction during baking.
- Tips: White granulated sugar dissolves fastest. Honey or maple syrup can be used for added flavor complexity but may darken crust faster.
- Substitutions: Honey, agave, or malt powder (traditional for bagels/pizza).
All-Purpose Flour (or Bread Flour)
- Purpose: Structure builder. Protein content determines chewiness.
- Buying Tips: For chewier crust, use Bread Flour (12-14% protein). For tenderer crust, use All-Purpose (10-12%). Avoid cake flour.
- Substitutions: “00” Flour (Italian double-zero) is ideal for Neapolitan style but harder to find. Whole wheat can replace up to 25% for nuttier flavor (requires more water).
Olive Oil
- Purpose: Tenderizer, flavor enhancer, and moisture retainer.
- Buying Tips: Extra Virgin Olive Oil (EVOO) adds distinct fruitiness. Regular olive oil is milder. Avoid “light” olive oil as it lacks flavor.
- Substitutions: Vegetable oil or melted butter (butter creates a richer, softer crust closer to focaccia).
Salt (Implicit in standard recipes, though not explicitly labeled in video text, it is culinarily necessary)
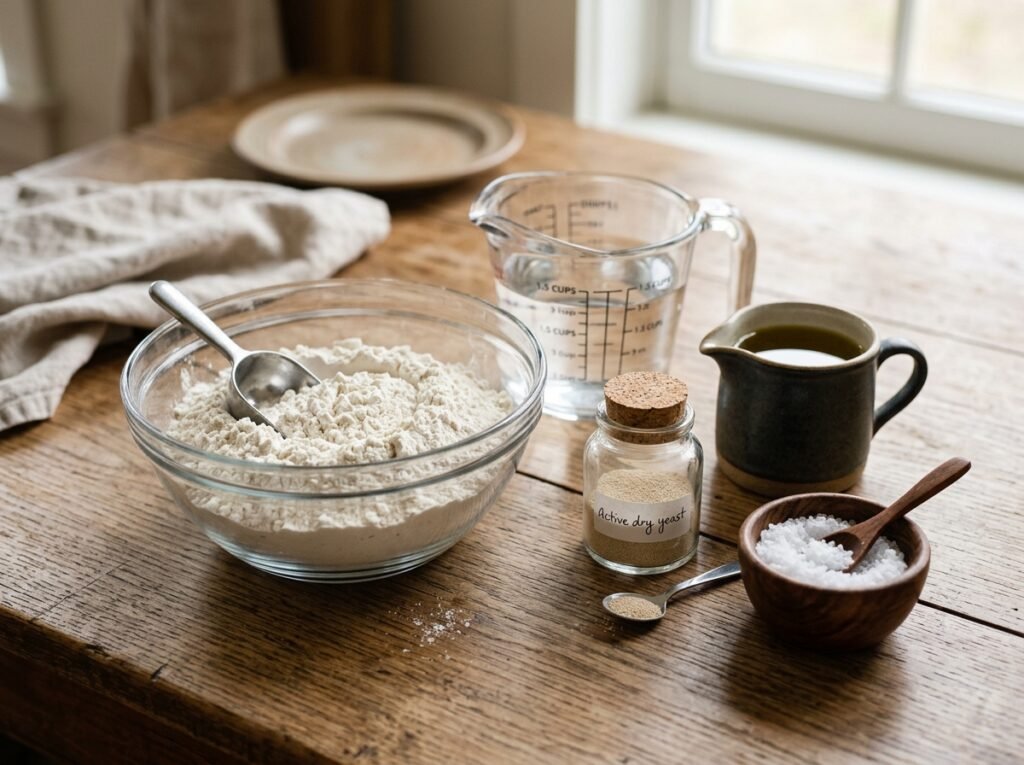
- Purpose: Flavor enhancer and gluten strengthener. Controls yeast activity to prevent over-proofing.
- Tips: Fine sea salt or kosher salt distributes better than coarse table salt. Never mix salt directly with yeast; always separate them initially.
Kitchen Equipment
- Large Mixing Bowl: Glass or stainless steel preferred for easy cleaning and non-reactive surface.
- Whisk: For dissolving yeast and sugar evenly in water.
- Measuring Cups/Spoons: Precision matters in baking. A kitchen scale is highly recommended for flour accuracy.
- Wooden Spoon or Spatula: For initial mixing before hands-on kneading.
- Clean Work Surface: Marble, granite, or wood board for kneading.
- Plastic Wrap or Damp Towel: To cover dough during rising and prevent drying.
- Pizza Stone or Steel (Optional but Recommended): Retains heat for crispier bottom crust.
- Pizza Peel (Optional): For transferring pizza to oven safely.
- Oven Thermometer: Home oven dials are often inaccurate; verify true temperature.
Preparation Information
- Prep Time: 20 Minutes
- Rise Time: 1 Hour 30 Minutes (approx.)
- Cook Time: 10-12 Minutes
- Total Time: 2 Hours 30 Minutes
- Servings: 2 Large Pizzas
Step-by-Step Instructions
H3: Activate the Yeast
In a large bowl, combine warm water (105°F-110°F), active dry yeast, and sugar. Whisk gently to dissolve. Let sit for 5-10 minutes.
- Why it matters: This “proofing” step confirms your yeast is alive. Dead yeast means flat, dense pizza.
- Visual Cue: Mixture should become frothy, bubbly, and smell distinctly yeasty/bready. If it remains flat and watery, your yeast is dead.
- Aroma Cue: Sweet, fermented bread scent.
H3: Mix Flour and Oil
Add flour and olive oil to the yeast mixture. Stir with a wooden spoon until a shaggy mass forms and no dry flour remains.
- Why it matters: Hydrating all flour particles ensures even gluten development. Adding oil early coats some gluten strands, preventing toughness.
- Texture Cue: Dough will look rough and uneven. Do not worry about smoothness yet.
- Tip: Reserve 1/4 cup flour to adjust consistency later if dough is too sticky.
H3: Knead Until Smooth
Turn dough onto a lightly floured surface. Knead vigorously for 8-10 minutes using the heel of your hand: push forward, fold back, rotate 90 degrees, repeat.
- Why it matters: Kneading aligns gluten proteins into a strong, elastic network capable of trapping gas. Under-kneaded dough tears; over-kneaded dough is tough.
- Texture Cue: Dough transforms from sticky/shaggy to smooth, supple, and slightly tacky (not sticky). It should spring back when poked.
- Visual Cue: Surface becomes satin-like and uniform.
H3: First Rise (Bulk Fermentation)
Place dough in a lightly oiled bowl, turning once to coat. Cover tightly with plastic wrap or damp towel. Place in a warm, draft-free spot for 60-90 minutes.
- Why it matters: Yeast consumes sugars, producing CO2 (rise) and organic acids (flavor). Oil prevents skin formation.
- Visual Cue: Dough should visibly double in size. Surface may show bubbles.
- Touch Cue: Gently poke dough; indentation should slowly fill back halfway. If it springs back instantly, it needs more time. If it collapses, it’s over-proofed.
H3: Perform the Windowpane Test
Tear off a small piece of dough (golf ball size). Gently stretch it between your fingers into a thin membrane. Hold up to light.
- Why it matters: Confirms sufficient gluten development. Without this, dough will tear during shaping and won’t hold air pockets.
- Visual Cue: You should see light pass through the stretched dough without it breaking. It should look translucent like a windowpane.
- Fix: If it tears easily, knead 2-3 more minutes and retest.
H3: Shape and Top
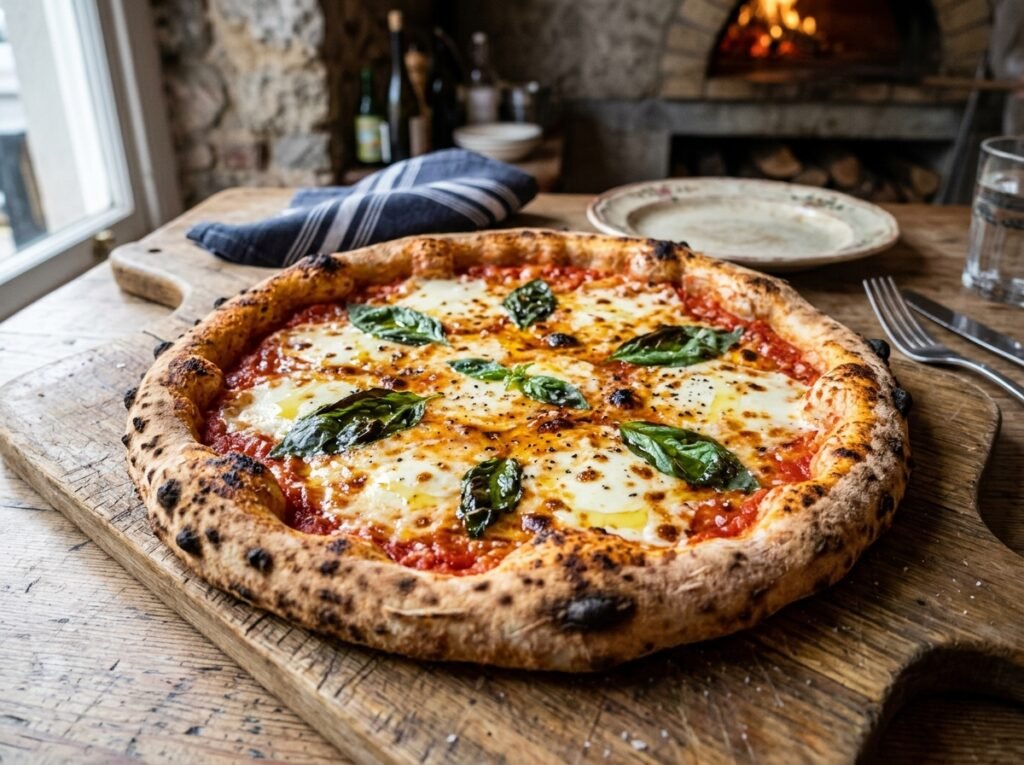
Punch down risen dough gently to degas. Divide into 2 balls if making two pizzas. Rest 10 minutes (relaxes gluten for easier stretching). Stretch by hand from center outward, preserving the outer rim. Transfer to peel or pan. Add sauce, cheese, and toppings sparingly.
- Why it matters: Degassing redistributes yeast and temperature. Resting prevents rubbery shrinkage. Hand-stretching preserves gas bubbles in the crust rim.
- Technique Tip: Never use a rolling pin! It crushes air pockets, resulting in dense crust. Use knuckles or gravity to stretch.
- Topping Tip: Less is more. Overloading weighs down dough, causing soggy center and undercooked crust.
H3: Bake High and Hot
Preheat oven to highest setting (500°F-550°F) for at least 45 minutes with stone/steel inside. Slide pizza onto hot surface. Bake 10-12 minutes until crust is golden brown with char spots and cheese is bubbling.
- Why it matters: High heat creates oven spring (rapid rise) and caramelization. Low heat = pale, tough crust.
- Visual Cue: Crust edges puff and brown. Cheese melts completely with golden spots. Bottom should be crisp (lift edge to check).
- Safety: Oven and stone are extremely hot. Use caution with peel.
Expert Tips
- Cold Fermentation Option: For deeper flavor, refrigerate dough after first rise for 24-72 hours. Cold slows yeast but allows enzymes to break down starches into sugars, creating complex taste and better browning. Bring to room temp 1 hour before shaping.
- Semolina Dusting: Use semolina flour (not AP flour) on your pizza peel. Its coarse texture acts like ball bearings, preventing sticking during launch.
- Sauce Consistency: Cook sauce down to thick paste consistency. Watery sauce = soggy pizza. Blend canned San Marzano tomatoes briefly; don’t over-process.
- Cheese Moisture: Use low-moisture mozzarella. Fresh mozzarella releases too much water unless sliced thin and patted dry thoroughly.
- Oven Position: Bake on lower third rack for crisp bottom, then move to upper third for last 2 minutes to brown top if needed.
Common Mistakes
- Water Too Hot: Kills yeast instantly. Fix: Always use thermometer. Ideal range 105-110°F.
- Over-Flouring During Kneading: Makes dough dry and stiff. Fix: Use minimal flour; wet hands or bench scraper instead. Sticky is okay initially.
- Skipping the Rest After Shaping: Gluten snaps back like rubber band. Fix: Mandatory 10-15 min rest after dividing/shaping balls.
- Over-Topping: Soggy center, raw dough. Fix: Limit sauce to 1/4 cup, cheese to 1 cup max per 12″ pizza. Pre-cook wet veggies (mushrooms, spinach).
- Opening Oven Door Early: Drops temperature drastically, collapsing rise. Fix: Resist urge! Wait until minimum bake time before checking.
Recipe Variations
- Whole Wheat Honey: Replace 25% AP flour with whole wheat; swap sugar for honey. Nutty, hearty flavor. Increase water by 1 tbsp.
- Garlic Herb Crust: Mix 1 tsp garlic powder + 1 tsp dried oregano into flour. Brush baked crust with garlic butter.
- Gluten-Free: Use 1:1 GF baking blend + 1 tsp xanthan gum. Hydration needs adjustment; expect denser crumb.
- Vegan: Omit honey (if used); ensure sugar is vegan-certified. Dough is naturally vegan otherwise.
- Stuffed Crust: Line outer rim with mozzarella sticks before folding edge over. Seal tightly to prevent leakage.
- Spicy Calabrian: Add 1 tbsp Calabrian chili paste to sauce; top with spicy soppressata.
- Breakfast Pizza: Top with scrambled eggs, bacon, and cheddar post-bake. Use thinner crust.
What to Serve With This Recipe
- Salads: Classic Caesar salad or arugula with shaved parmesan and lemon vinaigrette cuts richness.
- Appetizers: Garlic knots made from leftover dough scraps; fried calamari.
- Drinks: Craft lager, Chianti Classico, or sparkling water with lime.
- Dessert: Tiramisu or cannoli for authentic Italian feast experience.
- Sides: Roasted broccoli rabe with chili flakes; marinated white beans.
Make Ahead & Meal Prep Tips
- Dough Balls: Portion and shape into tight balls after first rise. Store in oiled containers in fridge up to 3 days or freezer up to 3 months.
- Par-Bake: Bake crusts 5-6 minutes until set but not colored. Cool completely, wrap, freeze. Finish with toppings and bake 8-10 mins from frozen.
- Sauce Prep: Make large batch of pizza sauce; freeze in 1/4 cup portions. Thaw overnight before use.
Storage Instructions
- Refrigerator: Raw dough balls in oiled airtight container up to 3 days. Baked pizza slices in airtight container up to 4 days.
- Freezer: Raw dough wrapped tightly in plastic + foil up to 3 months. Thaw overnight in fridge before use. Baked pizza freezes well; reheat directly from frozen.
- Room Temp: Only for immediate use (within 2 hours). Do not leave raw dough out >2 hours due to food safety.
Reheating Instructions
- Oven (Best): 375°F for 5-8 mins on rack (not pan). Restores crispness.
- Skillet (Excellent): Medium-low heat in cast iron 3-5 mins covered. Crisps bottom, melts cheese. Add splash of water if cheese isn’t melting.
- Air Fryer: 350°F for 3-4 mins. Quick and crispy. Watch closely to prevent burning.
- Microwave (Avoid): Makes crust rubbery/soggy. Only if desperate; place cup of water alongside to mitigate sogginess.
Nutritional Information
Per slice (1/8 of large pizza, dough only):
- Calories: 280
- Protein: 8g
- Carbohydrates: 48g
- Fat: 6g
- Fiber: 2g
- Sugar: 2g
- Sodium: 420mg
Note: Values exclude toppings/sauce. Varies by flour type and portion size.
Troubleshooting Guide
| Problem | Cause | Solution |
|---|---|---|
| Dough won’t rise | Dead yeast / Water too hot/cold | Proof yeast first next time. Ensure 105-110°F water. |
| Tough/chewy crust | Over-kneaded / Low hydration | Reduce knead time. Increase water by 1-2 tbsp next batch. |
| Soggy center | Too many toppings / Wet sauce | Reduce toppings. Thicken sauce. Pre-bake crust 3 mins. |
| Crust burns before cooking | Oven too hot / Rack too high | Lower rack. Tent foil over top if browning too fast. |
| Dough tears when stretching | Under-kneaded / No rest | Knead longer next time. Always rest shaped balls 10+ mins. |
| Pale crust | Oven not hot enough / No sugar | Preheat longer. Add pinch sugar/honey to dough. |
Frequently Asked Questions
1. Can I use instant yeast instead of active dry? Yes! Skip the proofing step. Mix instant yeast directly with flour. Reduce rise time by ~15 minutes as instant yeast works faster.
2. Why did my dough collapse after rising? Over-proofed. Yeast exhausted food supply; gluten weakened. Next time, reduce rise time or refrigerate to slow fermentation. Poke test helps prevent this.
3. Do I need a pizza stone? Not mandatory, but highly recommended. Stones retain heat for crisp bottoms. Alternative: Invert baking sheet; preheat 45 mins. Cast iron skillet also works excellently.
4. Can I make this dough ahead and freeze? Absolutely. Shape into balls, oil lightly, wrap tightly in plastic + foil. Freeze up to 3 months. Thaw overnight in fridge before use.
5. Why is my crust dense and bread-like? Likely under-kneaded or insufficient rise. Ensure windowpane test passes and dough truly doubles. Rolling pin usage also compresses air pockets—stretch by hand only.
6. What flour is best for pizza? Bread flour (high protein) for chewy NY-style. “00” flour for tender Neapolitan. All-purpose works fine for versatile home pizza. Avoid cake/pastry flour.
7. How do I get charred bubbles on crust? High heat (500°F+) is key. Also, adequate hydration (don’t add too much extra flour) and proper fermentation create gas pockets that blister under intense heat.
8. Can I substitute olive oil with butter? Yes, but texture changes. Butter creates softer, richer crust (more focaccia-like). Olive oil yields crispier, chewier traditional pizza crust. Melt butter if substituting.
Final Thoughts
Mastering homemade pizza dough is one of the most rewarding skills in the home kitchen. The tactile satisfaction of kneading, the anticipation of the rise, and the triumph of that perfect cheese pull make every step worthwhile. Remember, great pizza is about patience and practice—your first attempt might not be perfect, but each batch teaches you something new about gluten, fermentation, and heat. Embrace the process, trust the windowpane test, and don’t fear high heat. Soon, you’ll be pulling masterpiece pizzas from your oven that rival any pizzeria. We’d love to hear about your creations—share your photos and tips in the comments below, and don’t forget to rate the recipe if it helped you achieve pizza perfection!