
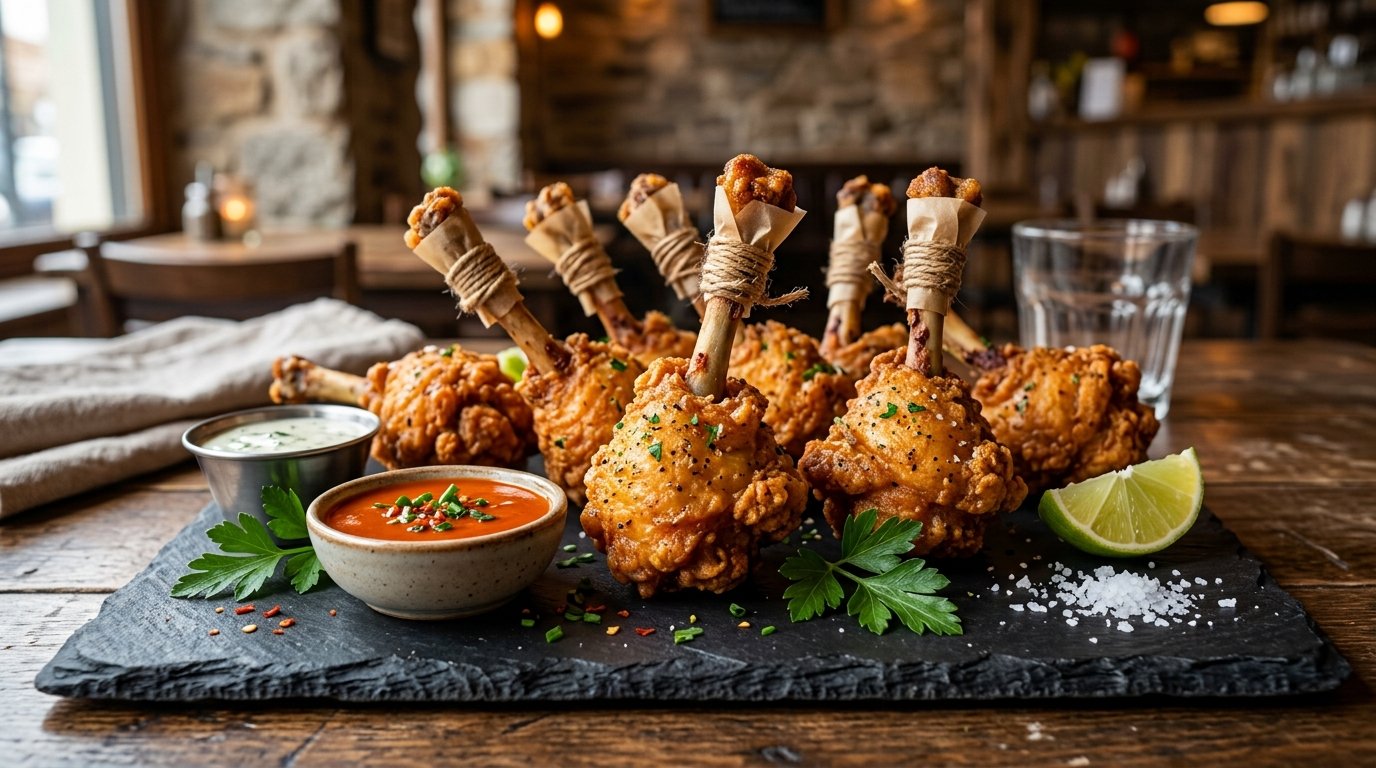
Quick Recipe Summary
| Feature | Details |
|---|---|
| Prep Time | 20 Minutes |
| Cook Time | 10-12 Minutes |
| Total Time | 35 Minutes |
| Servings | 6-8 Lollipops |
| Cuisine | Fusion / Street Food |
| Course | Appetizer / Snack |
| Difficulty | Easy |
| Calories | ~220 kcal per piece |
This recipe transforms simple ground chicken into a gourmet-style handheld treat by using cornstarch as a binder and a classic breading station for maximum crispiness. The result is a golden-brown, crunchy shell that gives way to tender, flavorful meat, making it an instant hit at gatherings or as a satisfying solo snack.
Table of Contents
- Introduction
- Why This Recipe Works
- Why You’ll Love This Recipe
- Ingredient Notes
- Kitchen Equipment
- Preparation Information
- Step-by-Step Instructions
- Expert Tips
- Common Mistakes
- Recipe Variations
- What to Serve With This Recipe
- Make Ahead & Meal Prep Tips
- Storage Instructions
- Reheating Instructions
- Nutritional Information
- Troubleshooting Guide
- Frequently Asked Questions
- Final Thoughts
Introduction
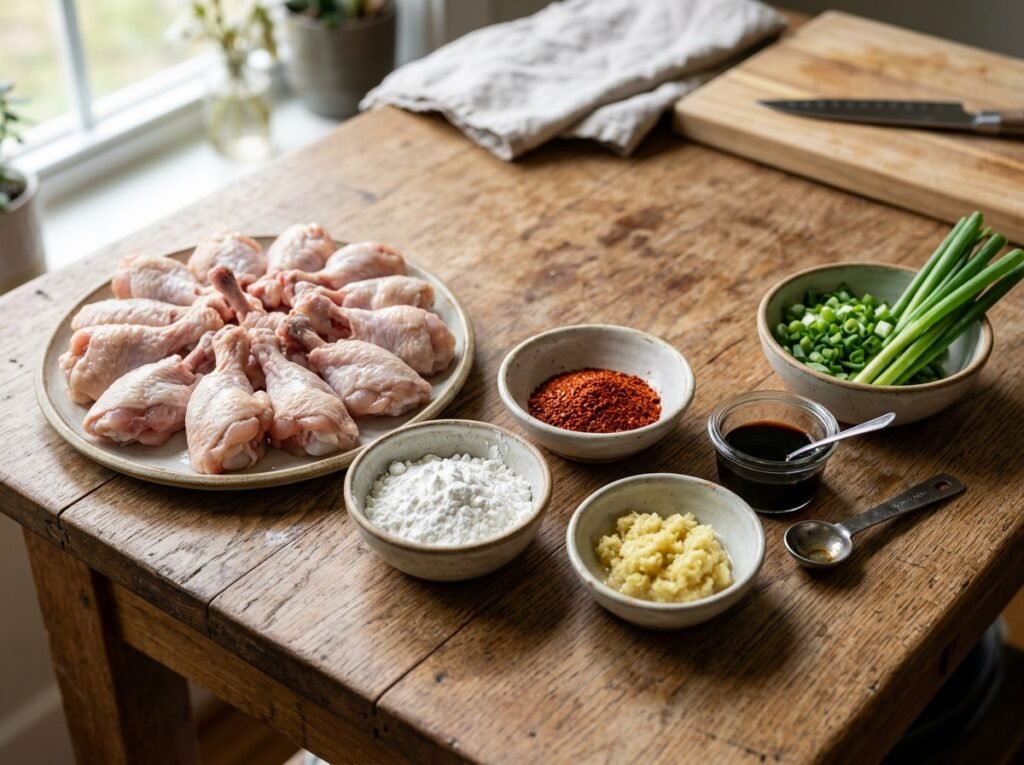
If you have ever struggled with messy, bone-in chicken wings at a party, you will appreciate the elegance and ease of Chicken Lollipops. This innovative take on fried chicken eliminates the mess while amplifying the flavor and texture. By using minced chicken, we ensure every bite is consistent, juicy, and packed with seasoning, without the hassle of navigating around bones.
The secret to their success lies in the binding agents and the breading technique. Cornstarch not only helps hold the minced meat together but also contributes to a lighter, crispier crust when fried. Paired with a sturdy popsicle stick handle, these lollipops are designed for convenience and enjoyment, making them “perfect for selling” or serving to guests who value both taste and presentation.
Why This Recipe Works
From a culinary science perspective, this recipe works because of the protein-starch interaction. Minced chicken has a high surface area, which allows seasonings to penetrate deeply. When mixed with cornstarch and kneaded, the proteins form a sticky matrix that traps moisture. During frying, the cornstarch gelatinizes and dehydrates rapidly, creating a rigid, crispy barrier that prevents the oil from making the interior greasy.
The use of a popsicle stick is also functional, not just aesthetic. It provides a heat-insulated handle, allowing you to eat the hot, freshly fried chicken without burning your fingers. Furthermore, shaping the meat into a flat disc rather than a ball increases the surface-area-to-volume ratio, ensuring the center cooks through before the outside burns—a common issue with spherical fried meats.
Why You’ll Love This Recipe
- No Bone Hassle: Enjoy all the flavor of fried chicken without the mess or difficulty of eating around bones.
- Kid-Friendly: The fun “lollipop” shape makes chicken exciting for children and picky eaters.
- Consistent Texture: Minced meat ensures every single lollipop is equally juicy and tender.
- Quick Preparation: No marinating time required; the flavors are mixed directly into the meat.
- Versatile Serving: Perfect as an appetizer, party snack, or even a main course with sides.
Ingredient Notes
Minced Chicken (150g base)
- Purpose: The primary protein source. Minced meat binds easily and cooks quickly.
- Buying Tips: Look for fresh, pink minced chicken with a mild smell. Avoid meat that looks grey or slimy. A mix of breast and thigh meat offers the best balance of leanness and juiciness.
- Substitutions: Ground turkey, pork, or beef can be used, though cooking times may vary slightly.
- Storage Tips: Keep refrigerated until ready to use. Do not leave raw minced chicken at room temperature for more than 2 hours.
Cornstarch (2 tbsp)
- Purpose: Acts as a binder to hold the minced meat together and creates a crispier coating.
- Substitutions: Potato starch, tapioca starch, or all-purpose flour (though flour yields a heavier crust).
- Why it matters: Without a binder, minced chicken patties can crumble apart during frying. Cornstarch creates a gel-like consistency when mixed with the meat’s natural moisture.
Seasonings (Salt, Pepper, Paprika/Chili Powder)
- Purpose: Flavor enhancement. Salt penetrates the meat to season it throughout, not just on the surface.
- Tips: Use fine salt for even distribution. Paprika adds color and mild warmth; swap for cayenne if you prefer heat.
- Substitutions: Garlic powder, onion powder, dried herbs (oregano/thyme), or pre-made chicken seasoning blends.
Fresh Herbs (Parsley/Cilantro/Green Onion)
- Purpose: Adds freshness and visual appeal to the interior.
- Tips: Chop finely so they distribute evenly and don’t create large pockets of moisture.
- Substitutions: Dried herbs (use 1/3 the amount), chives, or scallions.
Egg (for washing)
- Purpose: Acts as the “glue” between the meat patty and the breadcrumbs.
- Tips: Beat well to ensure a smooth, even coating.
- Substitutions: Buttermilk, heavy cream, or a flax egg (for vegan options, though binding may be weaker).
Breadcrumbs (Panko or Fine)
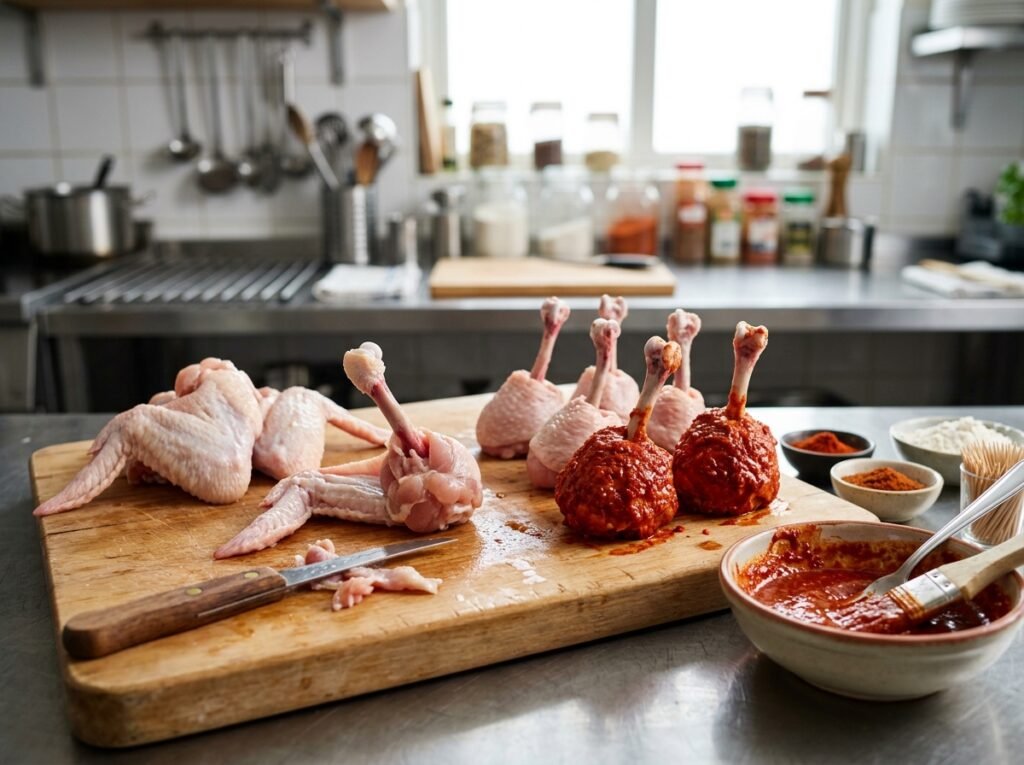
- Purpose: Creates the crunchy outer texture.
- Tips: Panko breadcrumbs yield a shatteringly crisp, airy crust. Fine breadcrumbs create a denser, smoother coating.
- Substitutions: Crushed crackers, cornflakes, or crushed potato chips for extra flavor.
Oil (for frying)
- Purpose: Cooking medium for deep/shallow frying.
- Tips: Use neutral oils with high smoke points like vegetable, canola, or sunflower oil.
- Substitutions: Peanut oil (adds nutty flavor), avocado oil. Avoid olive oil or butter for deep frying due to low smoke points.
Kitchen Equipment
- Mixing Bowl: Large enough to comfortably mix meat and seasonings.
- Disposable Gloves: Essential for hygienic handling of raw meat and preventing sticking.
- Popsicle Sticks: Flat wooden sticks are best for stability. Soak in water for 30 mins beforehand to prevent burning.
- Shallow Plates/Bowls: Three separate stations for egg wash, breadcrumbs, and formed patties.
- Frying Pan/Skillet: Heavy-bottomed pan for even heat distribution. Cast iron is ideal.
- Tongs or Slotted Spoon: For safely flipping and removing lollipops from hot oil.
- Wire Rack or Paper Towels: For draining excess oil after frying.
- Meat Thermometer (Optional): To ensure internal temperature reaches 165°F (74°C).
Preparation Information
- Prep Time: 20 Minutes
- Cook Time: 10-12 Minutes
- Total Time: 35 Minutes
- Servings: 6-8 Lollipops (based on 150g meat)
Step-by-Step Instructions
H3: Season and Bind the Meat
In a large mixing bowl, combine the minced chicken, cornstarch, salt, pepper, paprika/chili powder, and chopped fresh herbs. Using gloved hands, mix thoroughly until the ingredients are evenly distributed and the mixture becomes sticky and cohesive.
- Why it matters: Even seasoning ensures every bite is flavorful. The stickiness indicates the proteins and starch have bonded, which is crucial for structural integrity.
- Texture Cue: The mixture should feel tacky and hold together when squeezed, not crumbly or watery.
- Common Mistake: Overworking the meat can make it tough. Mix just until combined and sticky.
H3: Shape and Insert Sticks
Take a portion of the meat mixture (approx. 25-30g) and roll it into a smooth ball. Flatten it gently into a round disc, about 1/2 inch thick. Insert a popsicle stick firmly into the edge of the patty, pushing it about halfway in. Ensure the stick is centered and secure.
- Why it matters: Uniform size ensures even cooking. Flattening increases surface area for crispiness and reduces cooking time.
- Visual Cue: Patties should be smooth with no cracks. Cracks can cause oil to seep in or the patty to break.
- Pro Tip: If the mixture is too soft, chill it for 15 minutes before shaping. Cold meat holds its shape better.
H3: Bread the Lollipops
Set up a breading station: one plate with beaten egg, another with breadcrumbs. Dip each meat patty (holding the stick) into the egg wash, coating completely. Let excess drip off, then press firmly into the breadcrumbs, ensuring full coverage. Shake off excess crumbs.
- Why it matters: The egg acts as an adhesive. Pressing crumbs ensures they stick during frying. Excess crumbs burn and create bitter bits in the oil.
- Texture Cue: Coating should be even and dry to the touch, not wet or clumpy.
- Common Mistake: Double-dipping (egg-crumb-egg-crumb) creates a thick batter that can detach. Stick to one layer for a crispier result.
H3: Fry Until Golden
Heat oil in a heavy-bottomed pan over medium-high heat (350°F-375°F / 175°C-190°C). Carefully place lollipops in the oil, holding the sticks to avoid splashing. Fry for 3-4 minutes per side, turning once, until deep golden brown and cooked through.
- Why it matters: Correct oil temperature seals the crust quickly, preventing oil absorption. Too cool = greasy; too hot = burnt outside/raw inside.
- Visual Cue: Bubbling should be vigorous but not violent. Color should transition from pale to rich golden brown.
- Aroma Cue: Smell of toasted breadcrumbs and savory chicken. Burnt smell means oil is too hot.
- Safety: Never leave hot oil unattended. Keep handles turned inward.
H3: Drain and Serve
Remove lollipops from oil using tongs or a slotted spoon. Place on a wire rack (preferred) or paper towels to drain excess oil. Let rest for 2-3 minutes before serving to allow juices to redistribute and crust to set.
- Why it matters: Wire racks prevent sogginess by allowing air circulation underneath. Resting prevents steam from softening the crisp coating.
- Texture Cue: Crust should sound crisp when tapped. Interior should be hot and juicy.
- Serving Tip: Serve immediately with dipping sauces like ketchup, sweet chili, or garlic mayo.
Expert Tips
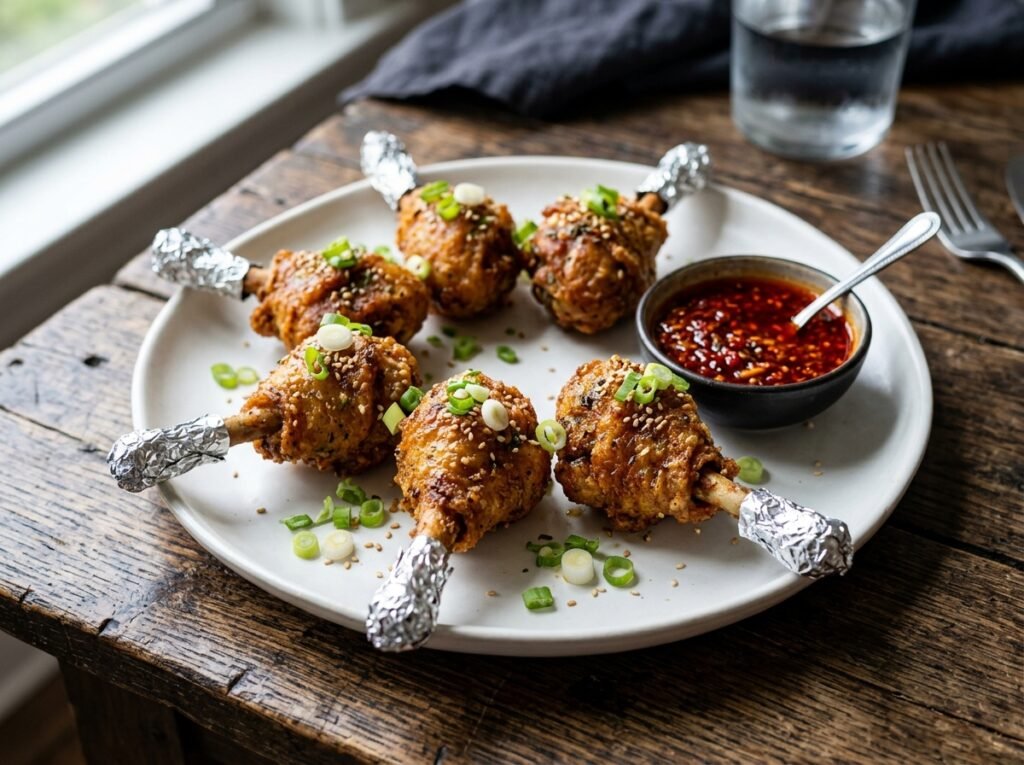
- Chill Before Frying: After shaping and breading, refrigerate lollipops for 20-30 minutes. This firms up the fat and binder, reducing the risk of falling apart in hot oil.
- Oil Temperature is Key: Use a thermometer. If you don’t have one, test with a breadcrumb—it should sizzle and turn golden in 30 seconds.
- Don’t Crowd the Pan: Fry in batches. Overcrowding drops oil temperature drastically, leading to soggy, oily lollipops.
- Soak Your Sticks: Soaking wooden sticks in water for 30 minutes prevents them from charring or burning in the hot oil.
- Season the Breadcrumbs: Add a pinch of salt, garlic powder, or paprika to the breadcrumbs for an extra flavor boost in the crust.
Common Mistakes
- Lollipops Falling Apart: Caused by insufficient binder or warm meat. Fix: Add more cornstarch, chill mixture before shaping, and ensure meat is cold.
- Soggy Coating: Oil too cool or overcrowded pan. Fix: Maintain 350°F+ oil temp, fry in small batches, and drain on wire rack.
- Burnt Outside, Raw Inside: Oil too hot or patties too thick. Fix: Lower heat to medium, flatten patties thinner, or finish in oven at 375°F for 5 mins after browning.
- Breading Detaching: Wet surface or skipped egg wash step. Fix: Pat meat dry if moist, ensure full egg coverage, and press crumbs firmly.
- Dry Interior: Overcooking or lean meat. Fix: Use meat thermometer (165°F), don’t overcook, consider adding a tsp of oil or yogurt to the meat mix for moisture.
Recipe Variations
- Spicy Korean Style: Add gochujang and grated ginger to the meat mix. Coat in gochugaru-spiked breadcrumbs. Serve with spicy mayo.
- Cheesy Center: Wrap a small cube of mozzarella or cheddar inside the meat patty before shaping. Ensure seal is tight to prevent leakage.
- Herb-Crusted: Mix dried parsley, thyme, and rosemary into the breadcrumbs. Adds aromatic complexity.
- Gluten-Free: Use gluten-free breadcrumbs or crushed rice cereal. Substitute cornstarch with potato starch if needed.
- Air Fryer Version: Spray breaded lollipops generously with oil. Air fry at 375°F for 12-15 mins, flipping halfway. Lighter but still crispy.
- Buffalo Style: Toss fried lollipops in buffalo sauce immediately after frying. Serve with blue cheese dip.
- Mediterranean: Add feta, sun-dried tomatoes, and oregano to the meat. Serve with tzatziki.
What to Serve With This Recipe
- Dipping Sauces: Sweet chili sauce, garlic aioli, sriracha mayo, honey mustard, or classic ketchup.
- Side Dishes: Coleslaw, french fries, onion rings, or a simple green salad to cut richness.
- Drinks: Iced tea, lemonade, craft beer, or sparkling water with citrus.
- Appetizer Spread: Pair with other finger foods like spring rolls, samosas, or sliders for a party platter.
- Garnish: Fresh parsley, sesame seeds, or a squeeze of lime for brightness.
Make Ahead & Meal Prep Tips
- Prep Ahead: Mix meat, shape, and bread lollipops up to 24 hours in advance. Store covered in fridge. Fry just before serving for best texture.
- Freezing Uncooked: Freeze breaded lollipops on a baking sheet until solid, then transfer to bags. Fry directly from frozen, adding 2-3 mins to cook time.
- Batch Cooking: Double the recipe for parties. Keep cooked lollipops warm in a 200°F oven on a wire rack while finishing batches.
Storage Instructions
- Refrigerator: Store cooked lollipops in an airtight container for up to 3 days. Reheat to restore crispness.
- Freezer: Cooked lollipops freeze well for up to 2 months. Wrap individually to prevent sticking. Thaw in fridge before reheating.
- Raw Meat: Do not store raw shaped lollipops >24 hours in fridge due to food safety. Freeze if not using promptly.
Reheating Instructions
- Oven (Best): Preheat to 375°F. Place on wire rack over baking sheet. Heat 8-10 mins until hot and crisp.
- Air Fryer (Excellent): 350°F for 4-6 mins. Restores crunch effectively.
- Stovetop: Re-fry briefly in shallow oil (2 mins) for maximum crispness. Drain well.
- Microwave (Avoid): Makes coating soggy. Only use if necessary; place on paper towel and heat 30-sec intervals.
Nutritional Information
Approximate per lollipop (based on 150g meat yielding 6 pieces):
- Calories: 220
- Protein: 14g
- Carbohydrates: 12g
- Fat: 12g
- Fiber: 0.5g
- Sugar: 0.5g
- Sodium: 320mg
Note: Values vary based on oil absorption, breadcrumb type, and exact portion size.
Troubleshooting Guide
| Problem | Cause | Solution |
|---|---|---|
| Meat falls off stick | Insufficient insertion or loose mix | Push stick deeper; chill mix before shaping; add binder. |
| Coating burns before cooking | Oil too hot | Reduce heat to medium; use thermometer; flatten patties. |
| Greasy/soggy lollipops | Oil too cool or crowded pan | Increase oil temp; fry in batches; drain on wire rack. |
| Dry/tough interior | Overmixed or overcooked | Mix gently; use thermometer; add moisture (oil/yogurt) to mix. |
| Breadcrumb coating uneven | Wet surface or poor pressing | Pat meat dry; press crumbs firmly; ensure full egg coverage. |
Frequently Asked Questions
1. Can I bake these instead of frying? Yes, but texture differs. Bake at 400°F on oiled rack for 20-25 mins, flipping halfway. Spray generously with oil for crispness. Won’t be as crunchy as fried.
2. Why did my lollipops fall apart in the oil? Usually due to warm meat, insufficient binder, or oil too cool. Chill shaped lollipops 30 mins before frying, ensure cornstarch is well-mixed, and maintain proper oil temp.
3. Can I use chicken breast instead of minced? Not recommended. Whole breast won’t bind to the stick or hold shape. Minced is essential for this recipe’s structure. You can mince breast yourself if preferred.
4. How do I know they’re cooked through? Internal temperature should reach 165°F (74°C). Cut one open to check—meat should be white with no pink, juices clear. Visual cue: golden brown crust and firm feel.
5. Can I make these ahead for a party? Absolutely. Shape and bread up to 24 hrs ahead; refrigerate. Fry just before serving for best quality. Alternatively, fry, keep warm in 200°F oven, and re-crisp in air fryer before serving.
6. What’s the best oil for frying? Neutral oils with high smoke points: vegetable, canola, peanut, or sunflower. Avoid olive oil or butter—they burn at frying temps and impart unwanted flavors.
7. Can I substitute the cornstarch? Yes. Potato starch, tapioca starch, or all-purpose flour work. Cornstarch gives the crispiest result; flour yields a heavier coating. Adjust quantity slightly if needed for binding.
8. Why soak the popsicle sticks? Prevents wood from charring, burning, or absorbing oil during frying. Soak 30 mins in water; pat dry before inserting into meat.
Final Thoughts
These Chicken Lollipops prove that delicious finger food doesn’t have to be complicated. By focusing on simple techniques—proper binding, even shaping, and controlled frying—you can create a snack that rivals any restaurant version. The beauty of this recipe lies in its adaptability; tweak the seasonings, try different coatings, or experiment with dips to make it your own. Whether you’re hosting a game day party, packing a fun lunch, or treating yourself to a crispy craving, these lollipops deliver joy in every bite. Don’t forget to share your creations and tag us—we’d love to see your golden-brown masterpieces! Leave a comment below with your favorite variation or dipping sauce pairing.