
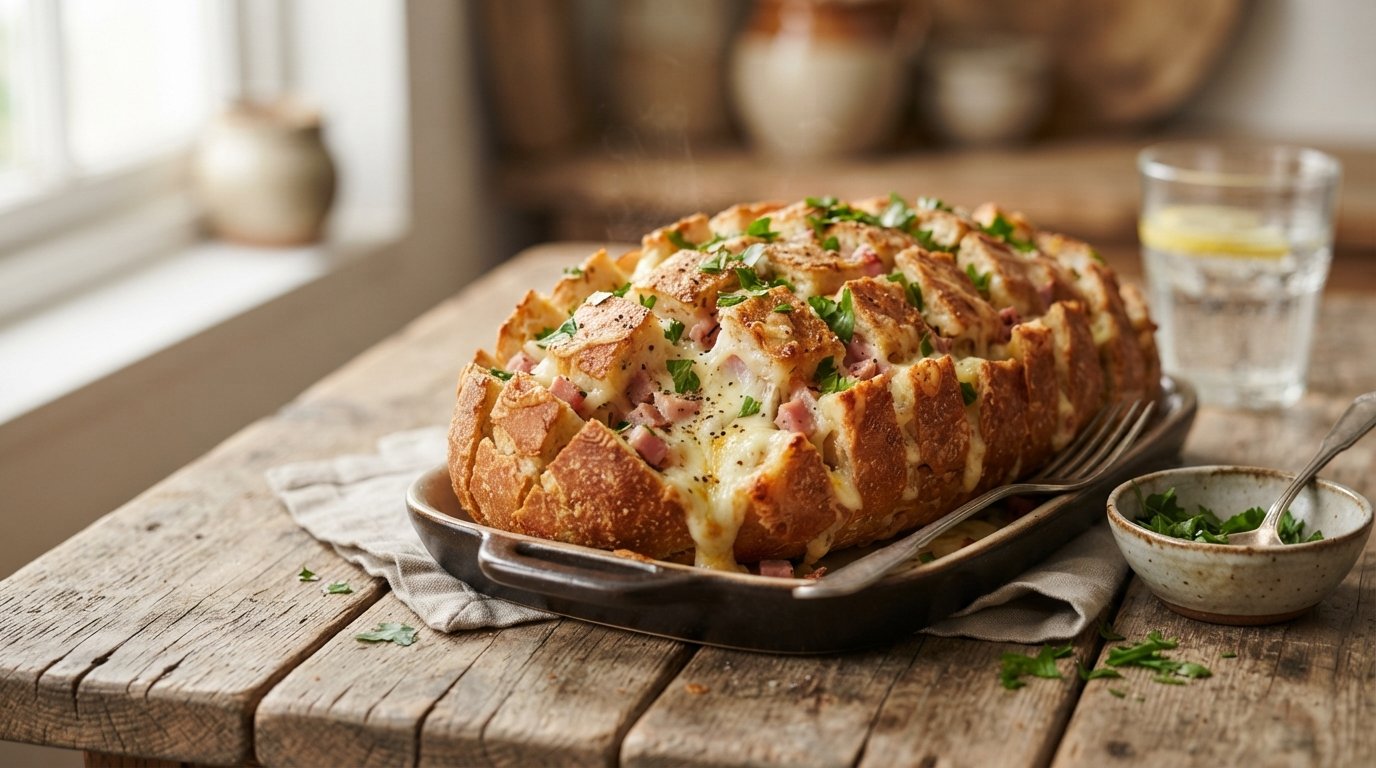
There’s something deeply satisfying about pulling apart a warm piece of bread and watching melted cheese stretch in long, glossy strands. This easy cheesy ham pull-apart bread delivers exactly that moment—soft, golden, herb-flecked on the outside and loaded with diced ham and gooey cheese inside. Made from a simple blender batter poured into a pan, it comes together fast and fills the kitchen with the kind of aroma that makes everyone hover near the oven.
Quick Recipe Summary
| Prep Time | Cook Time | Total Time | Servings | Cuisine | Course | Difficulty | Calories (approx.) |
|---|---|---|---|---|---|---|---|
| 15 minutes | 35–40 minutes | 50–55 minutes | 8–9 | American / Brazilian-inspired | Breakfast, Brunch, Appetizer, Snack | Easy | 320–360 per serving |
This no-knead, pour-and-bake bread starts with a smooth batter, gets layered with ham and cheese, and bakes into a puffy, golden loaf that pulls apart beautifully. Perfect for weekend brunch, game-day snacks, or a quick dinner side.
Table of Contents
| Section |
|---|
| Introduction |
| Why This Recipe Works |
| Why You’ll Love This Recipe |
| Ingredient Notes |
| Kitchen Equipment |
| Preparation Information |
| Step-by-Step Instructions |
| Expert Tips |
| Common Mistakes |
| Recipe Variations |
| What to Serve With This Recipe |
| Make Ahead Tips |
| Meal Prep Tips |
| Storage Instructions |
| Reheating Instructions |
| Nutritional Information |
| Troubleshooting Guide |
| Frequently Asked Questions |
| Final Thoughts |
Introduction
If you’ve ever wanted bakery-style cheesy ham pull-apart bread without the yeast, kneading, or long rise times, this recipe is for you. A quick blender batter is poured into a square pan, topped with diced ham and shredded cheese, then finished with another layer of batter. After baking, the top turns golden and crisp while the inside stays soft and stretchy with melted cheese. Fresh herbs on top add aroma and color. It’s the kind of recipe that looks impressive yet requires almost no skill—just pour, sprinkle, bake, and pull apart.
Why This Recipe Works
The batter is thin enough to pour smoothly yet thick enough to hold the fillings in place. Baking powder gives reliable lift without yeast. Layering the ham and cheese between two pours of batter keeps the cheese from sinking and creates distinct pockets of flavor. A hot oven sets the structure quickly so the bread rises tall and the top browns evenly. The final result has an open, airy crumb that still holds together when sliced or pulled, plus the dramatic cheese pull everyone loves.
Why You’ll Love This Recipe
- Ready from start to finish in under an hour
- No yeast, no kneading, no special techniques
- Uses everyday pantry ingredients
- Incredible cheese pull and savory ham flavor
- Kid-friendly and crowd-pleasing
- Easy to customize with different cheeses or add-ins
- Perfect for brunch, potlucks, or weeknight sides
- Freezes and reheats beautifully
Ingredient Notes
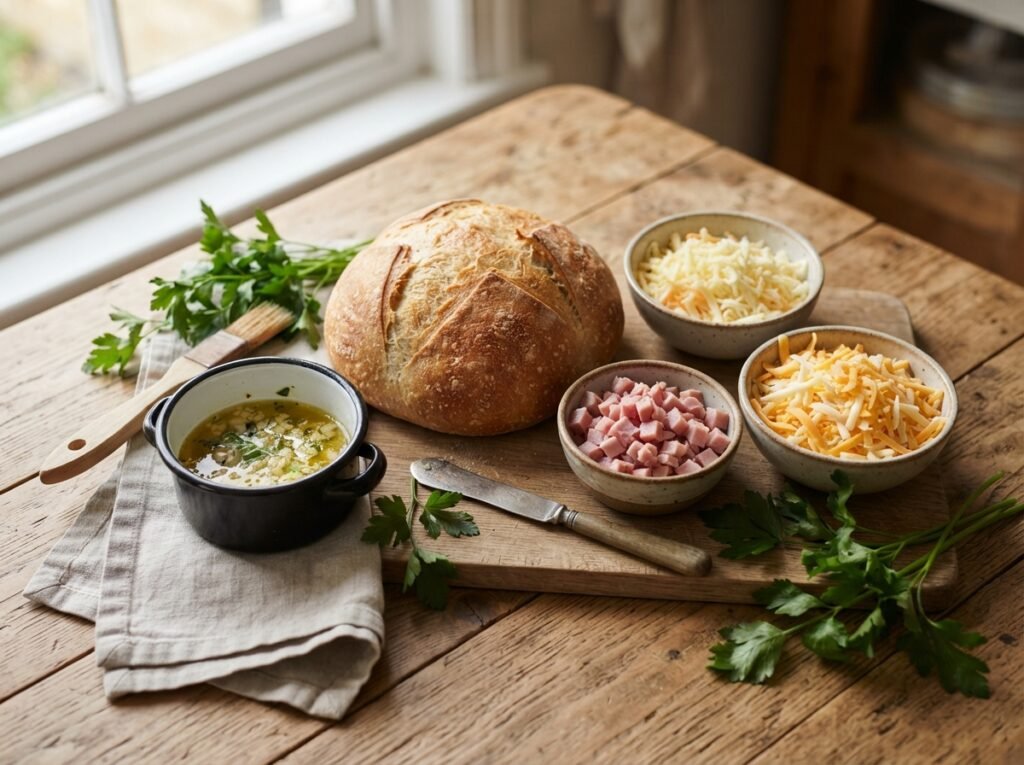
All-purpose flour Provides structure. Use regular all-purpose; bread flour can make the crumb denser. Store in a cool, dry place.
Eggs Bind the batter and add richness. Room-temperature eggs incorporate more evenly. Large eggs are standard.
Milk Creates a tender crumb. Whole milk gives the best texture; 2% works in a pinch. Plant-based milks can be substituted but may slightly alter browning.
Neutral oil or melted butter Keeps the bread moist. Vegetable, canola, or light olive oil all work. Butter adds extra flavor if preferred.
Baking powder The sole leavening agent. Make sure it is fresh for maximum rise.
Salt Balances the richness of the cheese and ham. Kosher or fine sea salt both work.
Diced ham Adds salty, savory bites. Use pre-diced ham or cut thicker slices into small cubes. Look for good-quality cooked ham without excess water.
Shredded melting cheese Mozzarella is ideal for the stretch; a mix of mozzarella and mild cheddar or provolone is excellent. Freshly shredded melts better than pre-shredded (which often contains anti-caking agents).
Dried or fresh herbs (rosemary, thyme, or oregano) Sprinkled on top for aroma and color. Fresh herbs give brighter flavor; dried are convenient and still effective.
Optional seasonings A pinch of garlic powder or black pepper in the batter enhances overall taste without overpowering the ham and cheese.
Kitchen Equipment
Required
- Blender or food processor
- 8- or 9-inch square metal baking pan
- Measuring cups and spoons
- Spatula or spoon for spreading
- Oven
Optional but helpful
- Kitchen scale for more precise measurements
- Pastry brush (if brushing the top with oil or butter)
- Wire rack for cooling
- Spatula or server for lifting slices
Preparation Information
- Prep Time: 15 minutes
- Cook Time: 35–40 minutes
- Total Time: 50–55 minutes
- Servings: 8–9 generous pieces
Step-by-Step Instructions
Step 1: Prepare the Pan and Preheat the Oven
Preheat the oven to 375°F (190°C). Lightly grease an 8- or 9-inch square metal baking pan. Metal conducts heat well and gives better browning than glass. A well-greased pan ensures clean release and golden edges.
Step 2: Make the Batter
Add the wet ingredients (eggs, milk, oil) to the blender first, then the dry ingredients (flour, baking powder, salt). Blend just until smooth—about 20–30 seconds. Over-blending can develop the gluten and make the bread tough. The finished batter should be pourable, similar to a thick pancake batter, with no lumps.
Step 3: Pour the First Layer
Pour roughly half to two-thirds of the batter into the prepared pan. Tilt the pan gently so the batter covers the bottom in an even layer. This base layer supports the fillings and prevents them from sticking to the pan.
Step 4: Add the Ham and Cheese
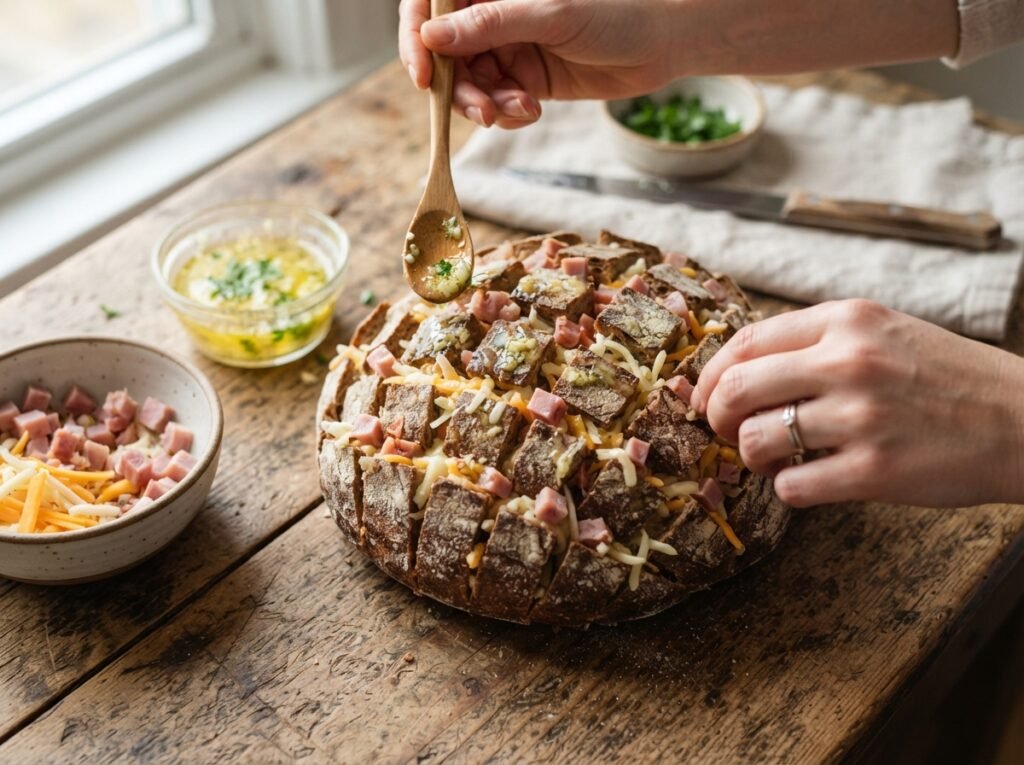
Scatter the diced ham evenly over the batter, then sprinkle a generous layer of shredded cheese on top. Leave a little space near the edges so the batter can rise and seal around the fillings. The cheese will melt into pockets while the ham stays tender and flavorful.
Step 5: Cover with Remaining Batter
Pour the rest of the batter over the ham and cheese. Use a spatula to gently spread it if needed, but don’t press hard—let the batter settle naturally. Some fillings may peek through; that is fine and creates attractive pockets after baking.
Step 6: Add Herbs and Bake
Sprinkle the top with dried or fresh herbs. Place the pan on the middle rack and bake for 35–40 minutes. The bread is done when the top is deep golden brown, the center feels firm when gently pressed, and a toothpick inserted in the middle comes out clean or with just a few moist crumbs. The kitchen will smell richly of baked cheese and herbs.
Step 7: Cool Slightly and Serve
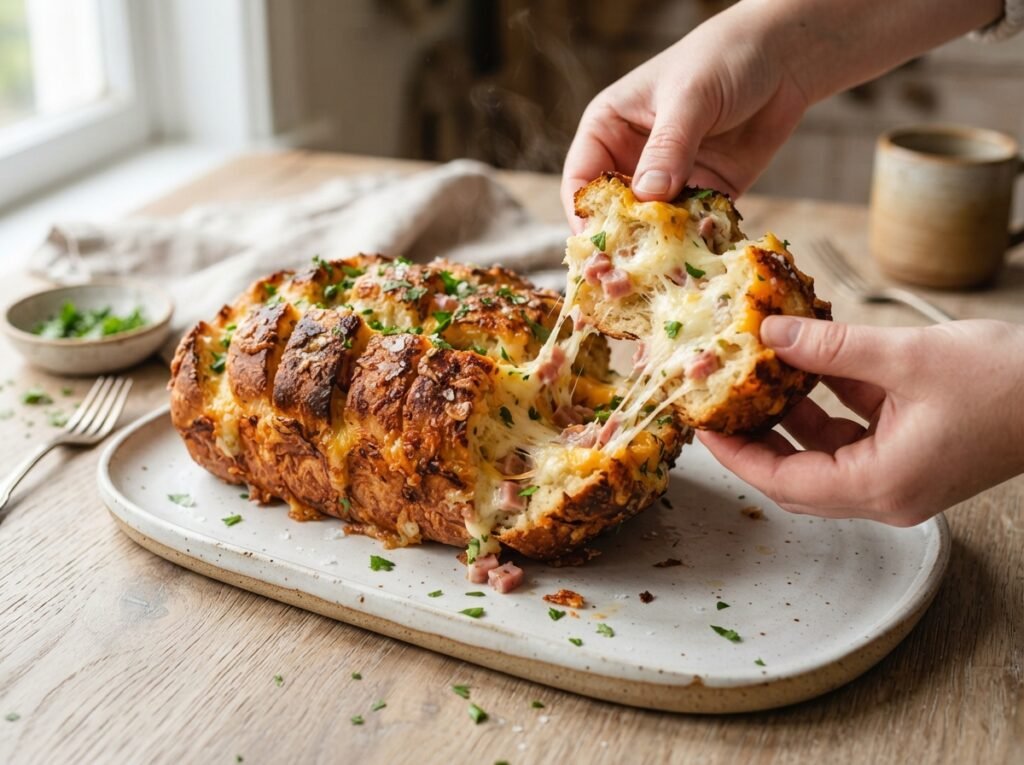
Let the bread rest in the pan for 8–10 minutes. This allows the cheese to set slightly so the pieces hold together when pulled or cut. Serve warm for the best cheese pull.
Expert Tips
Use room-temperature ingredients for a smoother batter and more even rise. Freshly shredded cheese melts more cleanly than packaged shredded cheese. If your ham is very wet, pat it dry with a paper towel so excess moisture doesn’t make the center soggy. For extra browning and flavor, brush the top lightly with oil or melted butter before adding the herbs. Bake on the middle rack; the bottom rack can over-brown the base while the top remains pale.
Common Mistakes
Batter too thick or too thin Too thick and the bread won’t rise properly; too thin and the fillings sink. Stick to the pourable consistency of a thick pancake batter.
Overfilling the pan Leave at least half an inch of headspace so the batter can rise without overflowing.
Opening the oven door too early Sudden temperature drops can cause the bread to collapse. Wait until at least 30 minutes have passed before checking.
Cutting while piping hot The cheese will run everywhere. A short rest makes cleaner pulls and better structure.
Recipe Variations
- Extra Cheesy: Double the cheese or add a second layer in the middle.
- Spicy: Mix in diced jalapeños or a pinch of red pepper flakes with the ham.
- Vegetarian: Omit the ham and add sautéed mushrooms, spinach (well-drained), or roasted red peppers.
- Chicken: Replace ham with diced cooked chicken or turkey.
- Herb-forward: Add chopped fresh rosemary or thyme directly into the batter.
- Garlic Butter Finish: Brush the hot bread with garlic butter right after baking.
- Low-Carb Lean: Reduce the amount of batter slightly and increase the cheese-to-ham ratio (texture will be denser).
What to Serve With This Recipe
Pair with a simple green salad dressed in lemon vinaigrette, tomato soup, or roasted vegetables. It also works well alongside scrambled eggs for brunch or as a side for grilled chicken. Cold drinks such as iced tea, sparkling water with citrus, or a light lager complement the richness. For dessert, keep it simple—fresh fruit or a light yogurt parfait.
Make Ahead Tips
The batter can be blended and refrigerated for up to 4 hours before baking. Assemble the pan (batter + fillings) up to 2 hours ahead, cover, and refrigerate; add 5 extra minutes to the bake time if starting from cold. Fully baked bread can be made one day ahead, cooled completely, wrapped, and refrigerated.
Meal Prep Tips
Bake a full pan, cool, and portion into individual squares. Store in airtight containers for grab-and-go breakfasts or lunches. Reheat as needed. The bread also freezes well in single portions for up to 2 months.
Storage Instructions
Cool completely, then wrap tightly or store in an airtight container. Refrigerator: up to 4 days. Freezer: wrap individual pieces in plastic then place in a freezer bag for up to 2 months. Thaw overnight in the refrigerator before reheating.
Reheating Instructions
Oven: 350°F (175°C) for 8–12 minutes until warmed through and the cheese softens again. Air Fryer: 320°F (160°C) for 4–6 minutes. Microwave: 20–30 seconds per piece (cheese will be soft but the exterior less crisp). Stovetop: Warm gently in a covered skillet over low heat with a lid to trap steam.
Nutritional Information
Approximate values per serving (based on 9 servings):
- Calories: 320–360
- Protein: 14–16 g
- Carbohydrates: 28–32 g
- Fat: 16–18 g
- Fiber: 1 g
- Sugar: 2–3 g
- Sodium: 550–650 mg
Values vary with exact cheese and ham used.
Troubleshooting Guide
Bread didn’t rise enough Check that the baking powder is fresh and the oven was fully preheated.
Center is gummy Bake a few minutes longer; the center should feel set when pressed.
Cheese leaked out the sides Leave a small border of plain batter around the edges when adding fillings.
Top is pale Move the pan to a higher rack for the last 5–8 minutes or brush with oil before baking.
Bottom is too dark Use a lighter-colored metal pan or place the pan on a higher rack.
Frequently Asked Questions
Can I use a different pan size? Yes. An 8-inch square works well; a 9-inch will be slightly thinner and may bake a few minutes faster. Avoid glass if possible for best browning.
Can I make this without a blender? Whisk the wet ingredients thoroughly, then stir in the dry ingredients until just combined. A few small lumps are fine.
What cheese melts best? Low-moisture mozzarella gives the longest stretch. A blend with cheddar or provolone adds more flavor.
Is this recipe freezer-friendly? Yes. Cool completely, wrap well, and freeze up to 2 months. Reheat from thawed or straight from frozen (add a few extra minutes).
Can I add vegetables? Yes—well-drained spinach, sautéed onions, or diced bell peppers work. Pat them dry so excess moisture doesn’t affect the texture.
Why is my bread dense? Over-mixing the batter or old baking powder are the usual culprits. Mix just until smooth.
Can I double the recipe? Yes. Use two pans or a larger rectangular pan and watch the baking time closely.
How do I know when it’s fully baked? The top should be deep golden, the edges pull slightly from the pan, and a toothpick in the center comes out mostly clean.
Final Thoughts
This easy cheesy ham pull-apart bread proves that impressive results don’t require complicated techniques. A simple blender batter, a handful of ham and cheese, and a hot oven are all it takes to create a golden, herb-scented loaf with that irresistible cheese pull. Whether you serve it for brunch, as a party appetizer, or alongside a weeknight meal, it consistently disappears fast. Give it a try this weekend—then come back and tell me how the cheese pull turned out. I’d love to hear your favorite variations in the comments.