
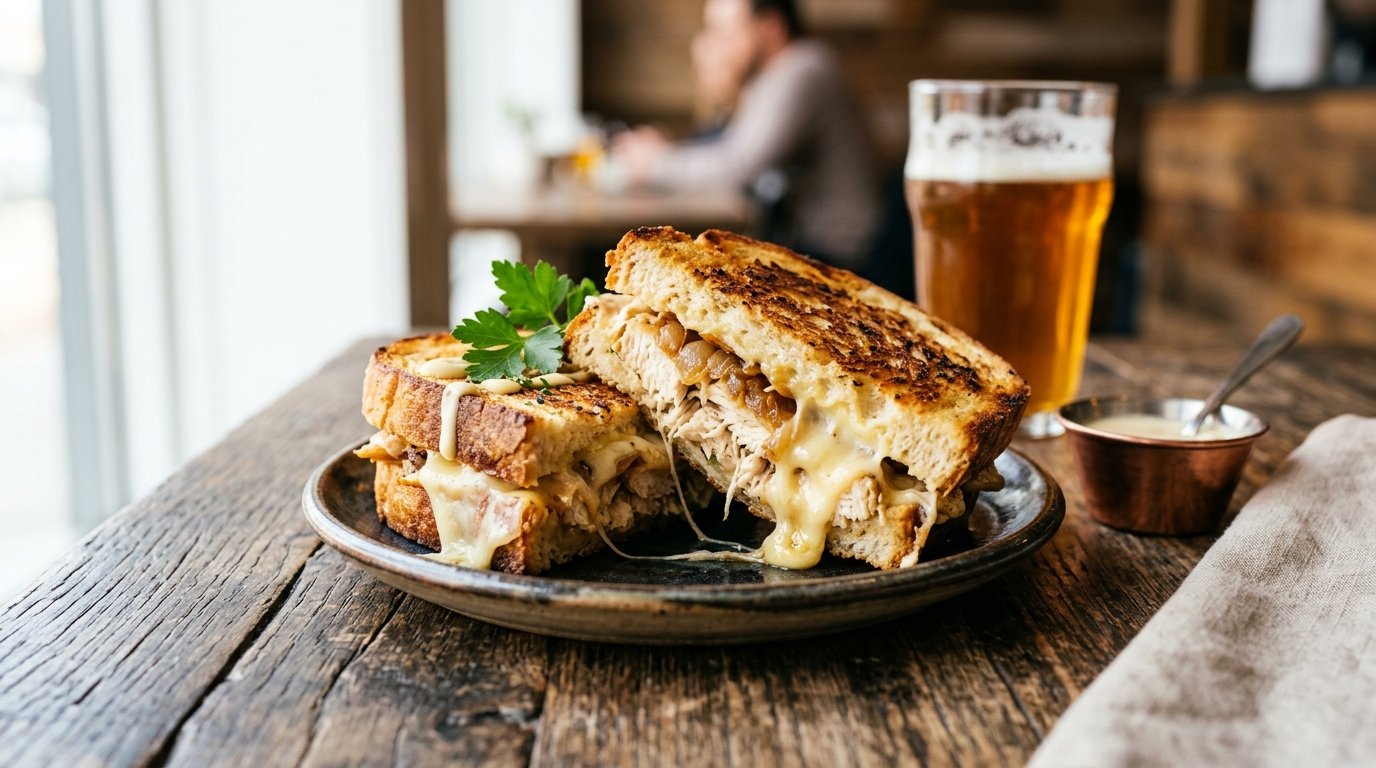
Soft white bread toasted to golden perfection, a rich creamy chicken filling loaded with veggies and spices, melted cheese, and a smoky-sweet special sauce—this chicken melt sandwich is pure comfort in every bite. Better (and far cheaper) than restaurant versions, it’s ideal for lunchboxes, quick dinners, or weekend treats.
Quick Recipe Summary
| Prep Time | Cook Time | Total Time | Servings | Cuisine | Course | Difficulty | Calories |
|---|---|---|---|---|---|---|---|
| 15 minutes | 10 minutes | 25 minutes | 3–4 sandwiches | American / Fusion | Lunch / Snack | Easy | ~420 kcal |
This chicken melt sandwich features shredded boiled chicken mixed with crisp vegetables, mayonnaise, cream, and warm spices, then layered with cheese and a homemade chipotle-honey sauce. Pan-toasted in butter until the outside is super crispy and the inside is molten and creamy.
Table of Contents
| Section |
|---|
| Introduction |
| Why This Recipe Works |
| Why You’ll Love This Recipe |
| Ingredient Notes |
| Kitchen Equipment |
| Preparation Information |
| Step-by-Step Instructions |
| Expert Tips |
| Common Mistakes |
| Recipe Variations |
| What to Serve With This Recipe |
| Make Ahead Tips |
| Meal Prep Tips |
| Storage Instructions |
| Reheating Instructions |
| Nutritional Information |
| Troubleshooting Guide |
| Frequently Asked Questions |
| Final Thoughts |
Introduction
Restaurant chicken melt sandwiches can cost a small fortune, but you can make an even creamier, cheesier version at home in under 30 minutes. This chicken melt sandwich recipe starts with tender shredded chicken, adds crunchy vegetables and a well-seasoned creamy binder, then gets finished with melted cheese and a special sauce that balances heat, sweetness, and tang. Toasted in butter until golden and crisp on the outside while staying soft and molten inside, it truly lives up to the “melt in your mouth” promise.
Why This Recipe Works
Using already-cooked shredded chicken keeps prep fast and ensures the filling stays moist. The combination of mayonnaise and fresh cream creates a luxurious, spreadable texture that doesn’t dry out when heated. Finely chopped vegetables add freshness and crunch without releasing excess water. A separate special sauce brushed on the bread layers flavor throughout and prevents the sandwich from tasting one-note. Butter on the outside of the bread creates that signature golden, crispy crust while the gentle heat melts the cheese perfectly.
Why You’ll Love This Recipe
- Creamy, cheesy filling that stays moist
- Super crispy golden exterior
- Ready in about 25 minutes
- Perfect lunchbox or quick meal idea
- Customizable heat level and toppings
- Uses simple, everyday ingredients
- Tastes better than most café versions
Ingredient Notes
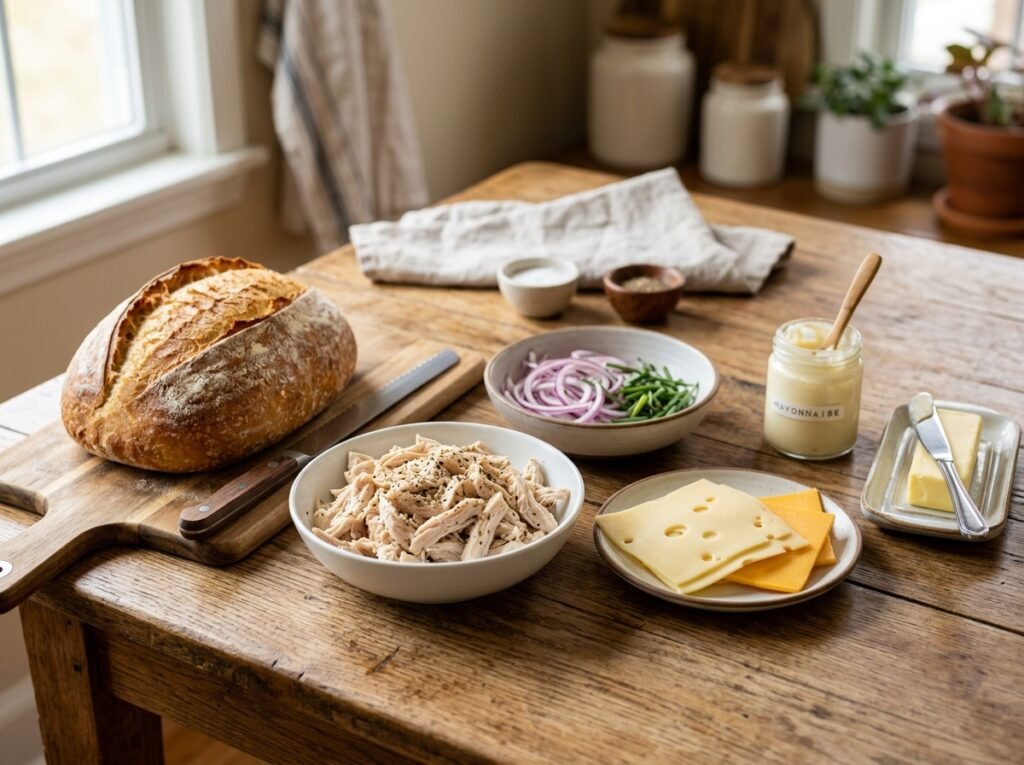
Boiled shredded chicken (2 cups) Purpose: Tender, protein-rich base of the filling. Substitutions: Rotisserie chicken or leftover grilled chicken. Buying tips: Use chicken breast or thigh; shred while still warm for best texture. Storage: Refrigerate cooked chicken up to 3 days.
Bell pepper, cabbage, onion, coriander leaves Purpose: Fresh crunch, color, and mild sweetness. Substitutions: Carrot, celery, or green onion. Buying tips: Choose firm, bright vegetables. Storage: Refrigerate chopped veggies in airtight containers.
Mustard paste, garlic powder, black pepper, paprika, salt Purpose: Season the chicken mixture for depth and mild heat. Substitutions: Dijon mustard; smoked paprika for extra flavor. Buying tips: Fresh spices give the brightest taste. Storage: Cool, dry place.
Mayonnaise + fresh cream Purpose: Create the creamy, binding sauce. Substitutions: Greek yogurt (thicker result) or all mayonnaise. Buying tips: Full-fat versions yield the richest texture. Storage: Refrigerate after opening.
Hot sauce + Chipotle sauce + honey Purpose: Build the special sauce with heat, smoke, and sweetness. Substitutions: Sriracha + a pinch of smoked paprika; maple syrup instead of honey. Buying tips: Adjust quantities to your preferred spice level. Storage: Refrigerate sauces after opening.
White bread slices Purpose: Soft interior that toasts crisp on the outside. Substitutions: Soft milk bread, brioche, or sandwich loaf. Buying tips: Fresh, soft slices work best. Storage: Room temperature or freeze.
Cheese slices Purpose: Melty, stretchy layer that holds everything together. Substitutions: Cheddar, mozzarella, or processed cheese. Buying tips: Slices melt more evenly than shredded. Storage: Refrigerate.
Butter Purpose: Creates the golden, crispy exterior. Substitutions: Oil or margarine. Buying tips: Softened butter spreads easily. Storage: Refrigerate.
Optional: Jalapeño slices Purpose: Extra heat and tang. Buying tips: Fresh or pickled both work.
Kitchen Equipment
- Mixing bowls
- Spoon or spatula
- Cutting board and knife
- Non-stick skillet or frying pan
- Spatula or tongs
- Butter knife
- Measuring spoons and cups
Optional: Sandwich press or griddle.
Preparation Information
- Prep Time: 15 minutes
- Cook Time: 10 minutes
- Total Time: 25 minutes
- Servings: 3–4 sandwiches
Step-by-Step Instructions
Prepare the Chicken Filling
Place 2 cups boiled shredded chicken in a large bowl. Add ¼ cup chopped bell pepper, ¼ cup chopped cabbage, 1 small chopped onion, and 2 tablespoons chopped coriander leaves. Sprinkle in 1 teaspoon mustard paste, 1 teaspoon garlic powder, ½ teaspoon black pepper, 1 teaspoon paprika, and salt to taste. The vegetables add freshness and texture while the spices build savory depth. Mix well so every strand of chicken is coated.
Make the Creamy Binder
Add ⅓ cup mayonnaise, ⅓ cup fresh cream, and 2 tablespoons hot sauce to the chicken mixture. Stir thoroughly until the filling becomes creamy, cohesive, and evenly colored. The cream keeps the filling moist during toasting; the mayonnaise adds richness and helps it hold together. Taste and adjust salt or heat if needed.
Prepare the Special Sauce
In a small bowl combine ⅓ cup mayonnaise, 1 teaspoon mustard paste, 1 tablespoon hot sauce, 1 tablespoon chipotle sauce, 1 teaspoon garlic powder, and 1 teaspoon honey. Mix until smooth and uniform. This sauce layers smoky heat and subtle sweetness onto the bread and elevates the overall flavor far beyond plain mayo.
Assemble the Sandwiches
Lay out bread slices. Spread a thin layer of the special sauce on one side of each slice. On half the slices, spread a generous amount of the chicken filling. Top with a cheese slice (and optional jalapeño slices). Cover with the remaining bread slices, sauce-side down. Press gently so everything sticks together. Even spreading prevents sogginess and ensures every bite is balanced.
Butter and Toast
Spread softened butter evenly on the outer sides of each sandwich. Heat a non-stick skillet over medium heat. Place the sandwiches butter-side down and cook 3–4 minutes until deep golden and crisp. Flip carefully and cook the second side until equally golden and the cheese has melted. Medium heat allows the exterior to crisp without burning while the filling heats through and the cheese melts completely.
Serve
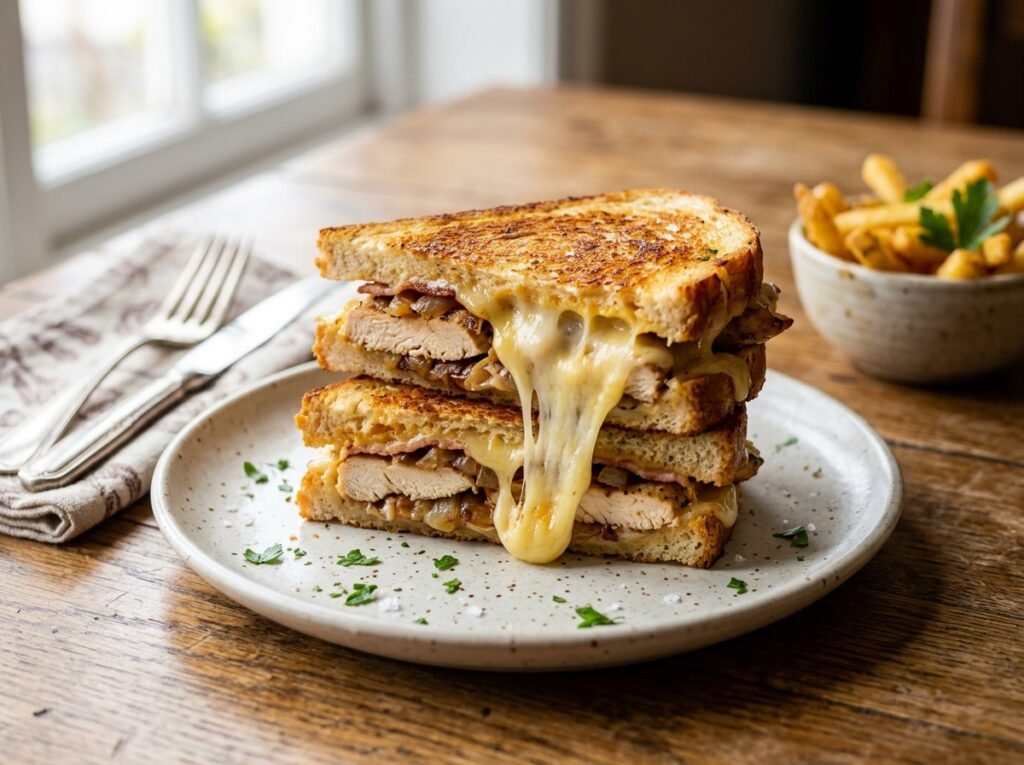
Transfer to a plate, slice diagonally if desired, and serve hot with French fries, extra special sauce, and ketchup. The contrast of the crispy golden crust against the creamy, cheesy interior is at its best right off the pan.
Expert Tips

Shred the chicken finely so the filling spreads smoothly and stays cohesive. Keep the heat at medium—too high burns the bread before the cheese melts. Press the sandwich lightly with a spatula while toasting for even contact and better browning. Make the filling slightly thicker than you think; it softens a little when heated. Use room-temperature butter for easy spreading without tearing the bread. For extra crispiness, toast both sides a little longer on lower heat.
Common Mistakes
Soggy bread Why: Too much sauce or filling, or heat too low. Prevent: Use a moderate amount of filling and medium heat. Fix: Re-toast briefly on higher heat.
Cheese not melting Why: Heat too high or sandwich not pressed. Prevent: Medium heat and gentle pressing. Fix: Cover the pan for the last minute to trap heat.
Filling falling out Why: Overfilled or edges not sealed by pressing. Prevent: Leave a small border and press firmly when assembling. Fix: Use a bit less filling next time.
Burnt exterior Why: Heat too high or uneven buttering. Prevent: Medium heat and even butter layer. Fix: Lower the heat and flip more frequently.
Recipe Variations
- Spicy: Increase hot sauce and add extra jalapeños or chili flakes.
- Extra Cheesy: Use two cheese slices or add shredded mozzarella inside.
- Healthier: Use whole-wheat bread, light mayo, and Greek yogurt instead of cream.
- Low-Carb: Serve the filling open-faced on lettuce wraps or low-carb bread.
- High-Protein: Add extra chicken and use Greek yogurt in the binder.
- Vegetarian: Replace chicken with mashed chickpeas or paneer.
- Bacon Chicken Melt: Stir crispy bacon bits into the filling.
What to Serve With This Recipe
Classic French fries, potato wedges, simple green salad, coleslaw, or cucumber sticks. Extra special sauce and ketchup for dipping. Drinks: iced tea, lemonade, or a cold soft drink. Keep dessert light—fresh fruit or a small cookie.
Make Ahead Tips
Prepare the chicken filling and special sauce up to 1 day ahead and store covered in the refrigerator. Assemble and toast just before serving for the crispiest results.
Meal Prep Tips
Make a double batch of filling. Store in the fridge for 3 days. Assemble fresh sandwiches each day or toast a few in the morning and reheat briefly at lunch.
Storage Instructions
Refrigerate leftover toasted sandwiches in an airtight container for up to 2 days. Store extra filling separately for up to 3 days. Freezing is not ideal for the finished sandwich (bread texture suffers), but the filling freezes well for up to 1 month.
Reheating Instructions
Stovetop: Reheat in a lightly buttered skillet over medium-low heat, flipping once, until warm and re-crisped. Air Fryer: 350°F for 3–4 minutes. Oven: 350°F for 8–10 minutes. Microwave: Only if necessary—wrap in a paper towel and heat briefly, then finish in a pan for crispness.
Nutritional Information (Approximate per sandwich)
- Calories: 420
- Protein: 24 g
- Carbohydrates: 32 g
- Fat: 22 g
- Fiber: 2 g
- Sugar: 5 g
- Sodium: 780 mg
Values vary with bread size, cheese, and exact sauce amounts.
Troubleshooting Guide
Filling too dry Add a spoonful more mayonnaise or cream and mix again.
Filling too loose Add a little more shredded chicken or a spoonful of breadcrumbs.
Bread tearing when buttering Use softer, fresher bread and room-temperature butter.
Uneven browning Rotate the sandwich or move it around the pan; ensure even butter coverage.
Frequently Asked Questions
Can I use leftover rotisserie chicken? Yes—shred it and proceed with the recipe. It’s an excellent shortcut.
What bread works best? Soft white sandwich bread or milk bread gives the classic melt texture. Brioche is a richer option.
Can I make these without cream? Yes—replace the cream with extra mayonnaise or Greek yogurt.
How spicy is the sandwich? Mild to medium as written. Reduce or omit the hot sauce and chipotle for a milder version.
Can I bake them instead of pan-toasting? Yes—assemble, brush with melted butter, and bake at 375°F for 10–12 minutes, flipping halfway.
Are these good for lunchboxes? Yes—toast in the morning, wrap in foil, and they stay tasty at room temperature for a few hours. Reheat if possible.
Can I add more vegetables? Absolutely—finely chopped carrot, cucumber, or lettuce work well. Keep pieces small so the sandwich stays neat.
How do I get maximum crispiness? Medium heat, even butter layer, and don’t rush the toasting. A light press with the spatula helps.
Can I freeze the filling? Yes—freeze in an airtight container for up to 1 month. Thaw overnight in the fridge before using.
What cheese melts best? Processed cheese slices or mozzarella give the classic stretchy melt. Cheddar adds sharper flavor.
Final Thoughts
This chicken melt sandwich recipe proves you don’t need to spend restaurant prices for a creamy, cheesy, perfectly toasted sandwich. With tender shredded chicken, a rich special sauce, melted cheese, and that irresistible golden crust, every bite delivers comfort and satisfaction. It’s quick enough for busy weeknights and special enough to impress. Make a batch this week, serve with fries, and enjoy the melt-in-your-mouth experience at home. Leave a comment or rating below—I’d love to hear how your sandwiches turned out and any twists you added!