
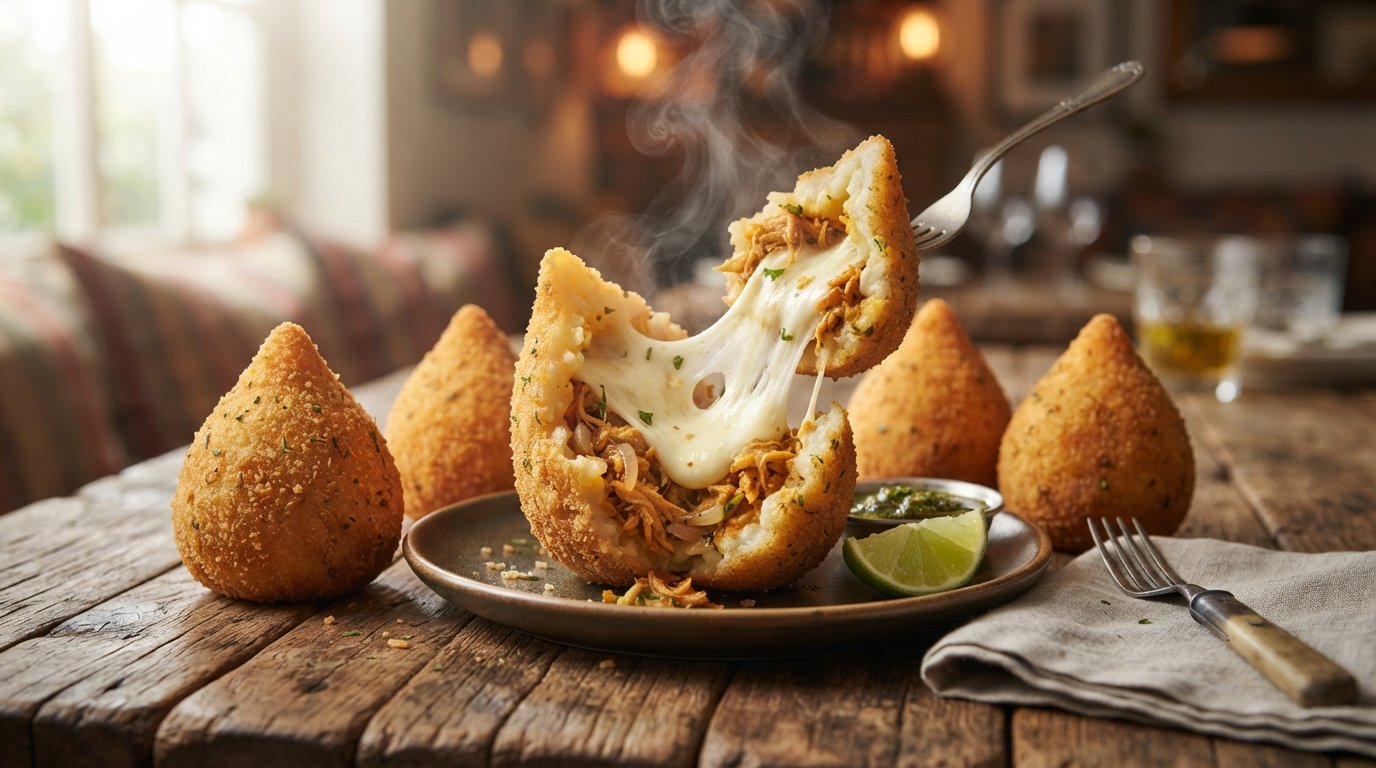
Traditional coxinha gets an irresistible upgrade with this simple griddle method. Golden chicken-filled croquettes are split, stuffed with creamy cheese, and pressed on a hot griddle until the exterior turns ultra-crispy and the cheese melts into stretchy perfection. The result is a dramatic cheese pull and incredible texture contrast. It feels indulgent yet takes only minutes once the coxinhas are ready. This hack turns a classic Brazilian snack into something unforgettable.
Worth trying next: Easy Chicken Club Sandwich
Why you’ll love this recipe
This griddled cheese-stuffed coxinha delivers maximum cheese pull and crispy texture with minimal extra work.
- Creamy cheese creates an epic melty center
- Hot griddle forms an incredible golden crust
- Quick upgrade for store-bought or homemade
- Perfect shareable snack with serious wow factor
Ingredients
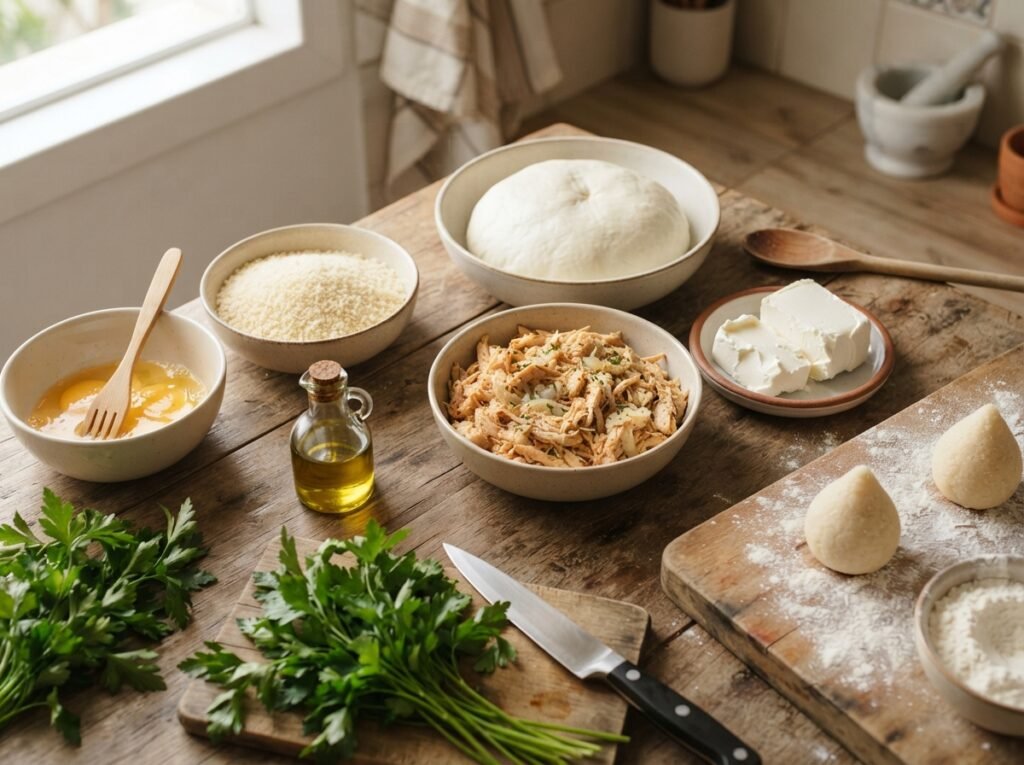
These few ingredients transform ordinary coxinhas into crispy, cheese-stuffed griddled bites full of flavor.
- 6 cooked coxinhas
- 1 cup creamy cheese
- 1 tablespoon oil
- Salt to taste
Use fully cooked and cooled coxinhas, either homemade or good-quality store-bought. A thick cream cheese, processed cheese sauce, or catupiry-style spread works best for piping and melting. Mozzarella can be mixed in for extra stretch. A light brush of oil on the griddle prevents sticking and helps the crust develop evenly.
Don’t miss: Spicy Grilled Chicken Wings
Step-by-step instructions
These simple steps turn classic coxinhas into crispy, cheese-stuffed griddled snacks with amazing texture.
Step 1: Prepare the coxinhas
Ensure the coxinhas are fully cooked and cooled enough to handle. Place them on a cutting board ready for splitting.
Step 2: Split each coxinha
Use a sharp knife to carefully cut each coxinha in half lengthwise. Keep the halves attached at the bottom if possible for easier handling.
Step 3: Add the cheese
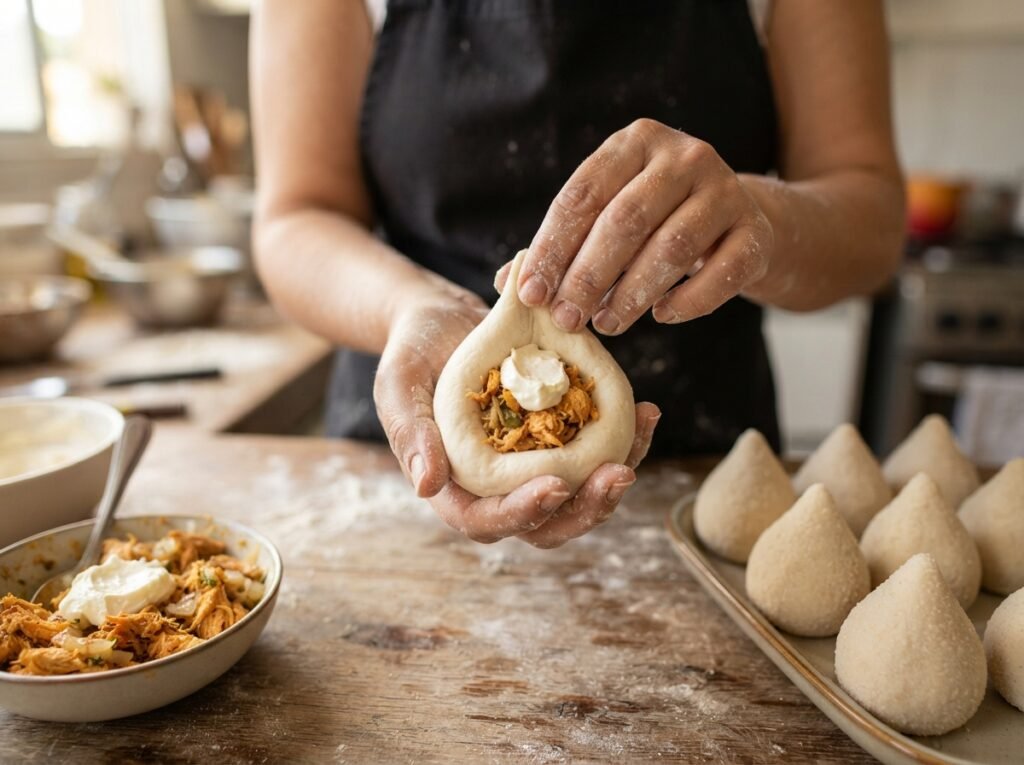
Pipe or spoon a generous amount of creamy cheese into the open center of each coxinha. Fill evenly so the cheese melts consistently.
Step 4: Heat the griddle
Preheat a flat griddle or large skillet over medium heat. Add a light film of oil and let it get hot before adding the coxinhas.
Step 5: Place on the griddle
Set the cheese-filled coxinhas cut-side down or press them gently onto the hot surface. The cheese should begin to melt and contact the griddle.
Step 6: Create the crust
Cook undisturbed for a few minutes until the cheese forms a golden, crispy layer. Press lightly with a spatula for better contact if needed.
Step 7: Flip and finish
Carefully flip the coxinhas and cook the other side briefly until heated through and the exterior is evenly crisp. Watch for the cheese to stretch when moved.
Step 8: Serve immediately
Transfer the griddled coxinhas to a plate while the cheese is still molten. Serve hot for the best stretch and texture contrast.
Tips & common mistakes
A few key details ensure the cheese melts properly and the crust turns perfectly golden every time.
- Use thick creamy cheese that holds its shape when piped
- Make sure the griddle is properly preheated before starting
- Do not move the coxinhas too early or the crust may tear
- Serve right away while the cheese is still stretchy

Griddled Cheese-Stuffed Coxinha
Equipment
- 1 | Sharp knife | for splitting
- 1 | Piping bag or spoon | for cheese
- 1 | Griddle or large skillet |
- 1 | Spatula |
Ingredients
- 6 | | cooked coxinhas | chicken-filled
- 1 | cup | creamy cheese | cream cheese or catupiry-style
- 1 | tablespoon | oil | for the griddle
- 1 | | salt | to taste
Instructions
- Ensure coxinhas are fully cooked and cool enough to handle.
- Carefully split each coxinha in half lengthwise.
- Pipe or spoon creamy cheese into the open centers.
- Preheat a griddle or skillet over medium heat and add oil.
- Place the filled coxinhas on the hot surface.
- Cook until the cheese forms a golden crispy crust.
- Flip briefly to heat through and crisp the other side.
- Serve immediately while the cheese is molten.
- Tip: Use a thick cheese that pipes well and melts smoothly for the best results.
Notes
Store leftover ungriddled stuffed coxinhas in the refrigerator.
Reheat on a skillet or in an air fryer to restore texture.
Mix in shredded mozzarella for extra cheese pull.
Recipe variations
Easy tweaks let you customize this griddled coxinha hack to different tastes or what you have on hand.
- Mix shredded mozzarella into the creamy cheese for stretch
- Add a pinch of chili flakes for gentle heat
- Use leftover shredded chicken mixed with the cheese
- Try the same method with other fried croquettes
What to serve with this recipe
These simple pairings complement the rich, cheesy griddled coxinhas for a complete snack or light meal.
- Spicy mayonnaise or garlic aioli for dipping
- Fresh green salad to balance the richness
- Cold beer or sparkling water
- Extra hot sauce on the side
One more to try: Crispy Garlic Parmesan Hashbrowns Recipe You’ll Crave
Frequently asked questions
Here are clear answers to common questions about making griddled cheese-stuffed coxinhas at home.
Can I use frozen coxinhas?
Yes, thaw them completely and reheat or fry first if needed so they are fully cooked before stuffing and griddling. Cold centers will prevent even melting.
What cheese works best for stuffing?
A thick, spreadable cheese like cream cheese, catupiry, or a processed cheese sauce pipes easily and melts smoothly. Avoid very firm cheeses that may not flow.
Do I need a special griddle?
A flat cast-iron skillet or nonstick pan works well. The key is even medium heat so the cheese crisps without burning too quickly.
How do I reheat leftovers?
Reheat gently in a skillet or air fryer to restore some crispness. The microwave will soften the crust, so it is better avoided if possible.
Final thoughts
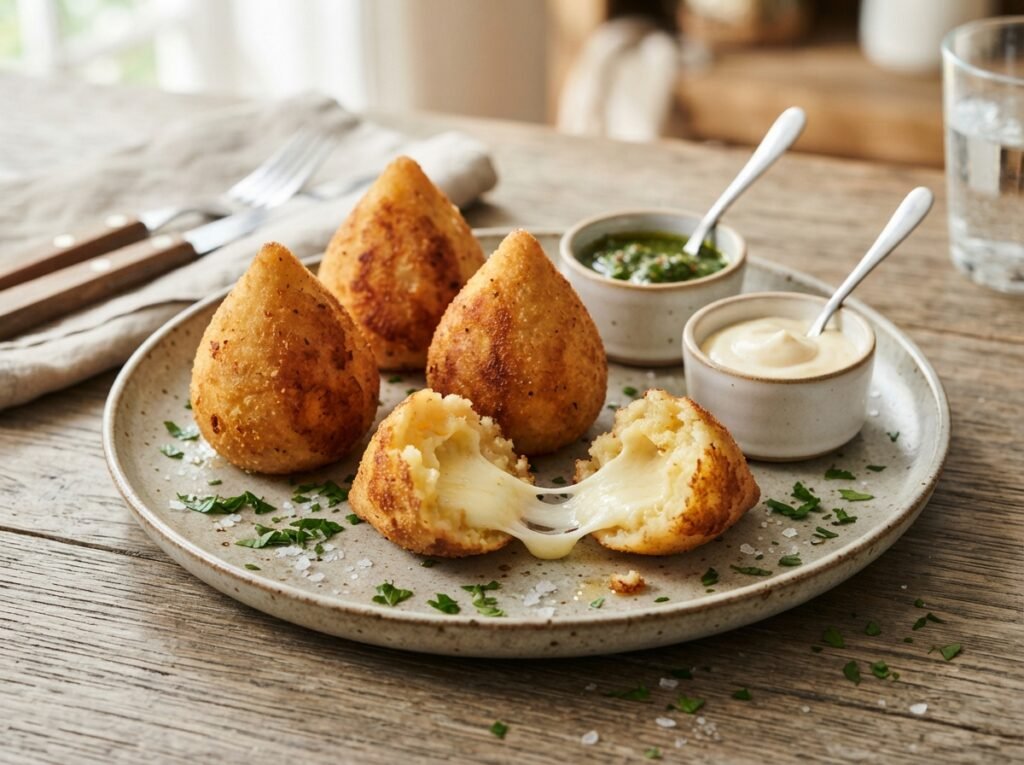
This griddled cheese-stuffed coxinha hack takes a beloved Brazilian classic and makes it even more irresistible. The combination of crispy exterior, savory chicken, and molten cheese is pure comfort with a fun twist. It is perfect for sharing or treating yourself. Try the method soon and leave a comment or rating below to share how your cheesy coxinhas turned out.