
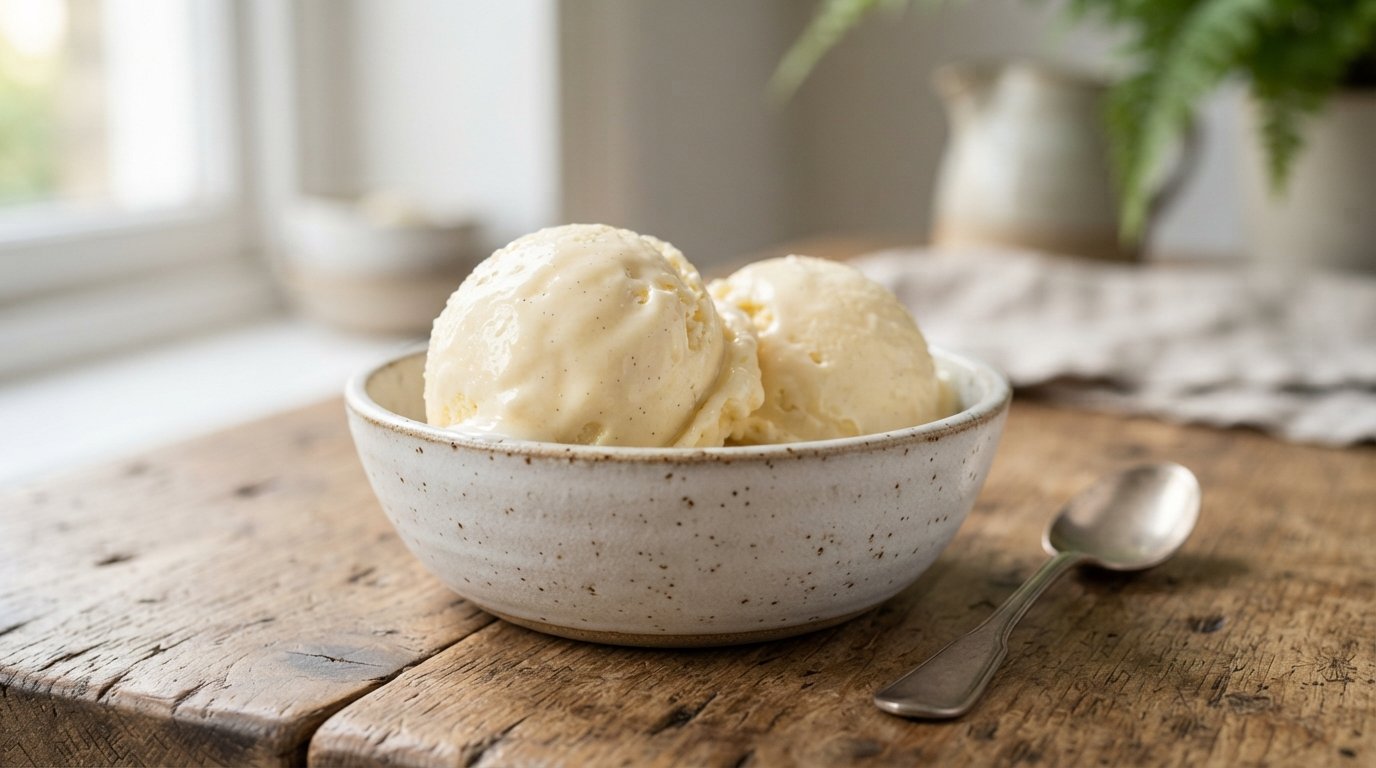
Homemade ice cream is a summer non-negotiable, and this version needs no machine. Just cream, condensed milk, a splash of regular milk, and vanilla go into a jar. Shake until the mixture thickens, freeze for three hours, then scoop. It is creamy, customizable, and ready whenever the craving hits. Once you try it, store-bought will feel optional.
You might also like: Dirty Martini Pasta Salad: Upgraded Girl Dinner
Why you’ll love this recipe
No machine, minimal ingredients, and creamy results make this ice cream a winner.
- Shakes up in a jar with almost no effort
- Freezes firm yet scoops beautifully after three hours
- Easy to customize with any mix-ins you love
- Perfect for hot days or last-minute desserts
Ingredients
These four simple ingredients create rich, no-churn ice cream in a jar.
- 1 cup heavy cream
- 1/2 cup sweetened condensed milk
- 1/4 cup milk
- 1 tsp vanilla extract
- Optional mix-ins of choice
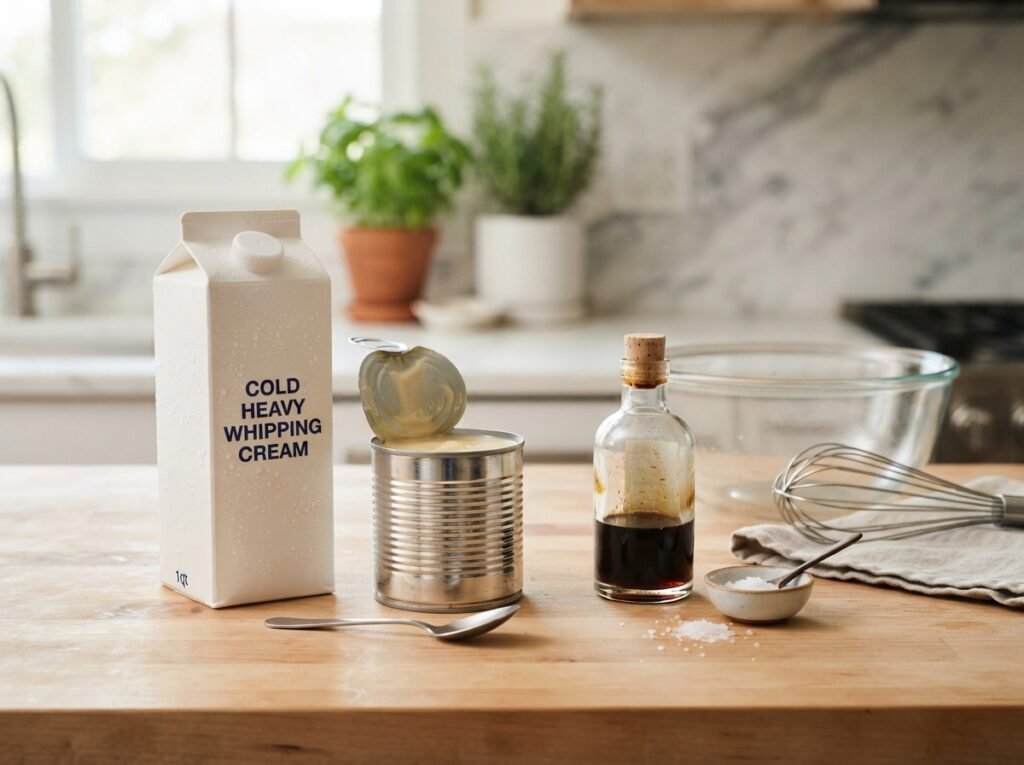
Heavy cream gives the richest texture, but half-and-half can work in a pinch for a lighter result. Full-fat sweetened condensed milk is essential for sweetness and body. Pure vanilla extract delivers the best flavor. Mix-ins such as chocolate chips, crushed cookies, or fruit swirl can be folded in before freezing.
Check this out too: Classic Herring Potato Salad with Mustard Dressing
Step-by-step instructions
These easy steps turn a few ingredients into creamy no-churn ice cream.
Step 1: Gather the jars
Choose clean glass jars with tight-fitting lids. Pint-sized jars work especially well and make individual or small-batch portions easy to handle.
Step 2: Add the cream
Pour the heavy cream into each jar, leaving a little room at the top. The cream forms the rich base that will thicken as you shake.
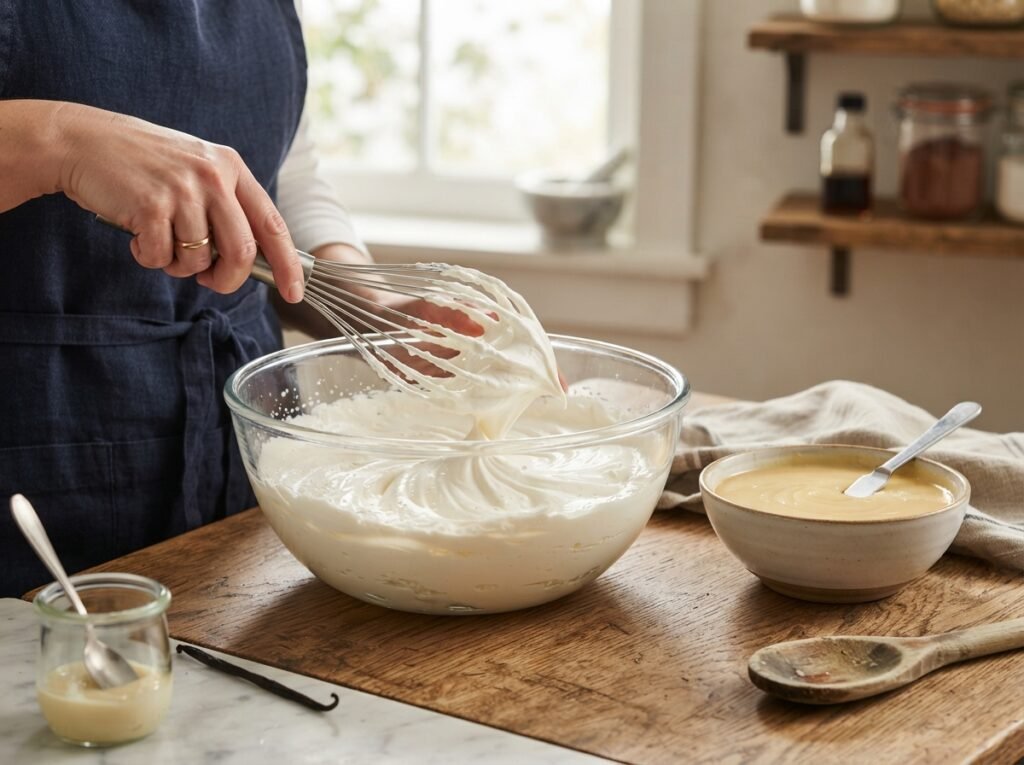
Step 3: Add condensed milk
Spoon or pour the sweetened condensed milk into the jar. Its thickness and sweetness are what create the classic ice cream texture without churning.
Step 4: Add milk and vanilla
Pour in the regular milk and the vanilla extract. The milk loosens the mixture just enough so it shakes smoothly and freezes evenly.
Step 5: Seal and shake
Screw the lid on tightly and shake the jar vigorously for three to five minutes. The mixture will thicken and become slightly frothy as air is incorporated.
Step 6: Check the texture
Open the lid and look for a noticeably thicker consistency. If it still seems thin, seal again and shake for another minute or two until it coats the sides.
Step 7: Freeze the jars
Place the sealed jars in the freezer, ideally nestled in a cooler with ice packs for even freezing. Leave them undisturbed for about three hours.
Step 8: Scoop and serve
Remove the jars, let them sit for a minute if needed, then scoop the ice cream into bowls. Add any final toppings and enjoy right away.
Tips & common mistakes
A few simple habits guarantee creamy texture and easy scooping every time.
- Shake long enough for the mixture to thicken properly
- Use full-fat cream for the richest results
- Do not overfill the jars or they may leak while shaking
- Let the ice cream soften slightly before scooping if too hard
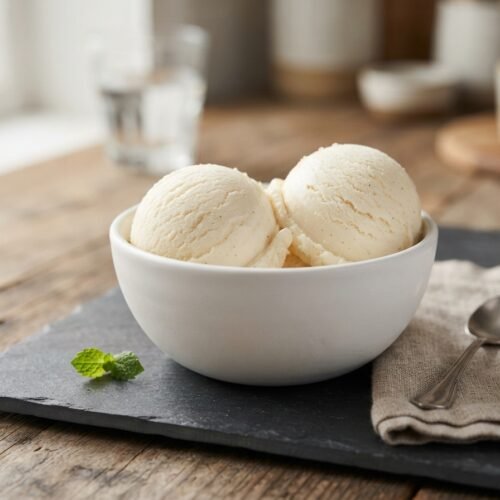
No-Churn Homemade Ice Cream
Equipment
- 1 | Glass jar with lid | pint-sized preferred
- 1 | Measuring cups |
- 1 | Spoon |
Ingredients
- 1 | cup | heavy cream |
- 1/2 | cup | sweetened condensed milk |
- 1/4 | cup | milk |
- 1 | tsp | vanilla extract |
- 1 | | optional mix-ins | chocolate chips fruit, cookies
Instructions
- Add heavy cream to a clean jar with a tight-fitting lid.
- Pour in sweetened condensed milk.
- Add milk and vanilla extract.
- Seal the jar tightly.
- Shake vigorously for 3–5 minutes until the mixture thickens.
- Check consistency; shake longer if still thin.
- Place sealed jar in the freezer for about 3 hours.
- Scoop and serve, adding mix-ins or toppings as desired.
- Tip: Shake until the mixture coats the sides of the jar for the creamiest texture.
Notes
Let sit a minute or two at room temperature if too hard to scoop.
Full-fat ingredients give the smoothest, least icy results.
Fold mix-ins in after shaking and before freezing for even distribution.
Recipe variations
Easy mix-ins let you turn the base into countless summer flavors.
- Fold in chocolate chips for classic cookies-and-cream vibes
- Swirl in strawberry puree for a fruity ribbon
- Add crushed cookies or brownie pieces for texture
- Stir in a spoonful of peanut butter or cocoa powder
What to serve with this recipe
This creamy ice cream pairs perfectly with simple summer extras.
- Fresh berries or sliced stone fruit
- Warm brownie or cookie crumbles
- A drizzle of chocolate or caramel sauce
- Crisp wafer cones or waffle bowls
One more to try:Low Carb Portobello Mushroom Burgers with Cream Cheese
Frequently asked questions
Helpful answers to common questions about this no-churn jar ice cream.
How long does it keep in the freezer?
The ice cream stays good for up to two weeks when stored tightly sealed. Press a piece of parchment on the surface to limit ice crystals.
Can I use a different milk?
Whole milk works best for creaminess. Lower-fat milks will freeze harder and may produce a less smooth texture.
Why is my ice cream icy?
Insufficient shaking or low-fat ingredients can cause ice crystals. Shake until thick and use full-fat cream and condensed milk for best results.
Can I double the recipe?
Yes, simply scale the ingredients and use larger jars or multiple jars. Shake each one thoroughly so the texture stays consistent.
Final thoughts
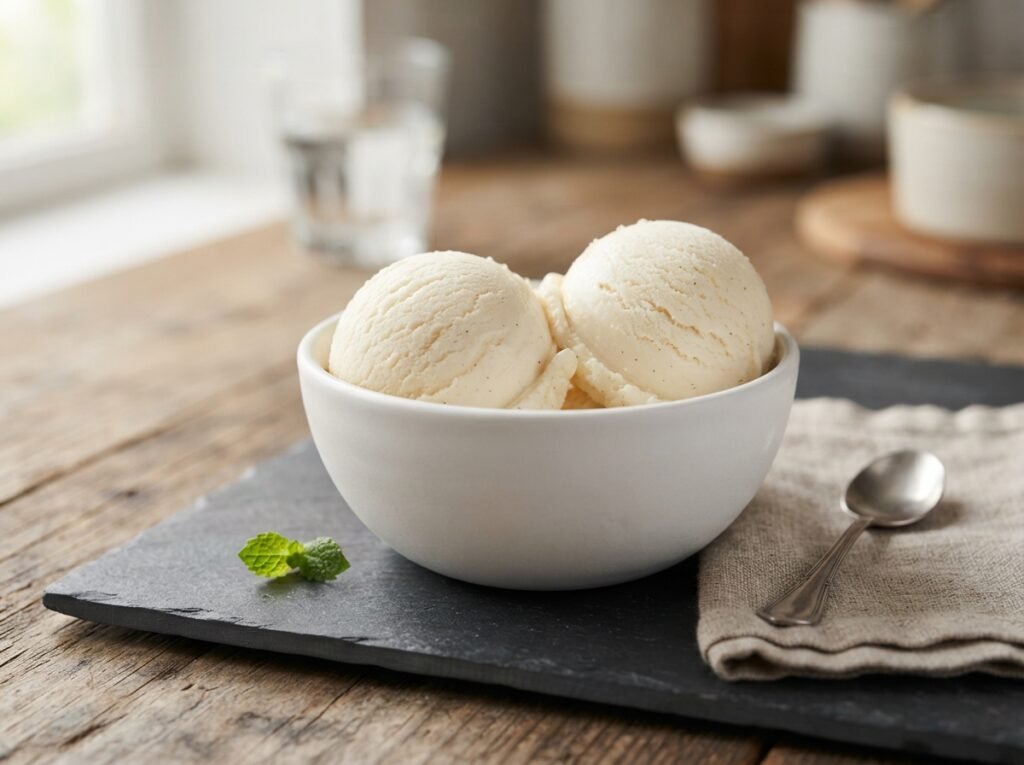
This no-churn homemade ice cream proves you do not need special equipment for a creamy summer treat. A few shakes, a short freeze, and you have scoops ready for any hot afternoon. Try a batch with your favorite mix-ins and share how it turned out or what flavor you created in the comments below. A quick rating helps others find the recipe too.