
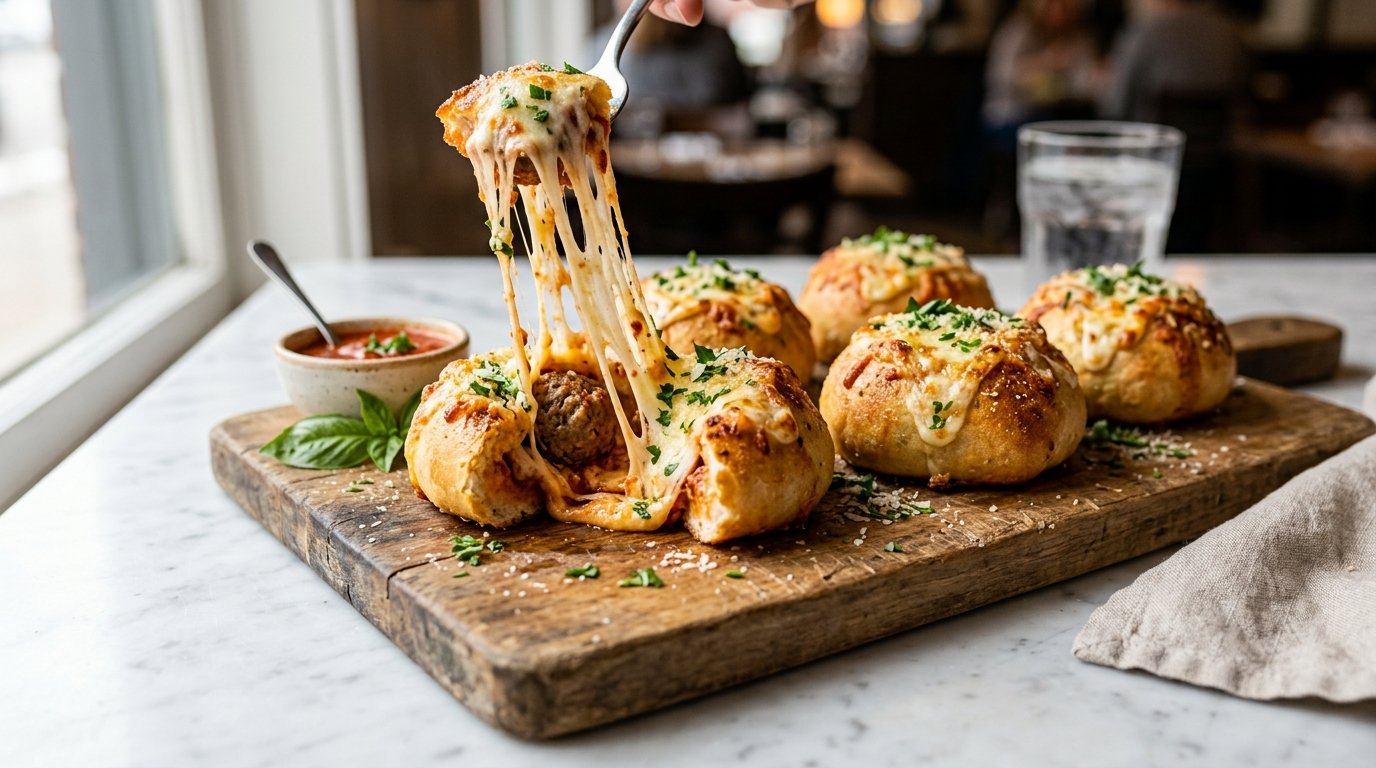
These cheesy garlic meatball bombs are the ultimate comfort food—soft bread rolls hollowed out, stuffed with juicy meatballs, tangy marinara sauce, and plenty of melted mozzarella, then finished with garlic butter and herbs. Cooked in the air fryer for crispy edges and gooey centers, they’re perfect for game day, family dinners, or quick appetizers.
Quick Recipe Summary
| Detail | Info |
|---|---|
| Prep Time | 15 minutes |
| Cook Time | 10-15 minutes |
| Total Time | 25-30 minutes |
| Servings | 4-6 (one pull-apart cluster or 4 individual) |
| Cuisine | American / Italian-inspired |
| Course | Appetizer, Main, Snack |
| Difficulty | Easy |
| Calories (approx.) | 350-450 per bomb |
Table of Contents
- Introduction
- Why This Recipe Works
- Why You’ll Love This Recipe
- Ingredient Notes
- Kitchen Equipment
- Step-by-Step Instructions
- Expert Tips
- Common Mistakes to Avoid
- Recipe Variations
- What to Serve With Garlic Meatball Bombs
- Make-Ahead and Meal Prep Tips
- Storage and Reheating
- Nutritional Information
- Troubleshooting Guide
- Frequently Asked Questions
- Final Thoughts
Introduction
Looking for a crowd-pleasing, cheesy bite that’s ready in minutes? These garlic meatball bombs combine everything you love about garlic bread, meatballs, and melty cheese into one irresistible pull-apart treat. The air fryer gives them a golden finish while keeping the centers gooey and flavorful—ideal for busy weeknights or entertaining.
Why This Recipe Works
Hollowing out soft rolls creates the perfect vessel for juicy meatballs and sauce without sogginess. Garlic butter brushed on the bread infuses every bite with savory aroma, while the air fryer delivers even cooking and crispy edges faster than traditional baking. Minimal ingredients come together for maximum flavor impact.
Why You’ll Love This Recipe
- Ready in under 30 minutes using simple shortcuts
- Gooey cheese pulls and hearty meatballs in every bite
- Air fryer method means less oil and faster results
- Customizable for spice level or dietary needs
- Fun, shareable presentation that wows guests
- Kid-approved and great for parties
Ingredient Notes
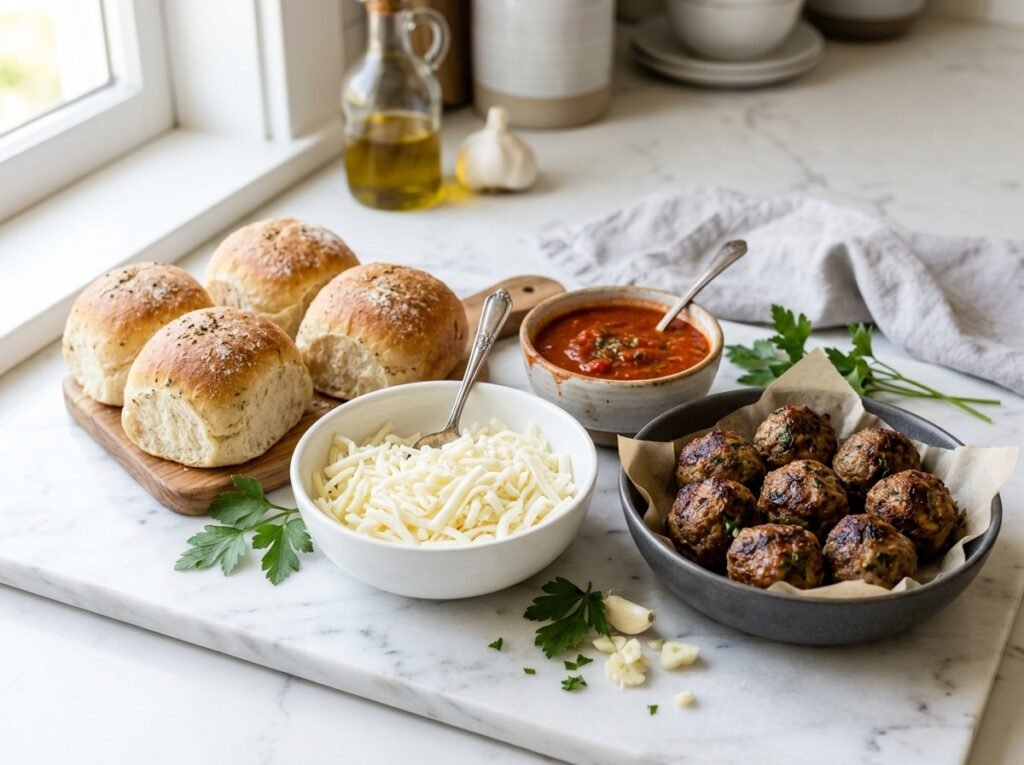
- Dinner Rolls or Bread Rolls (4 connected or individual): Soft, slightly sweet rolls work best. Look for bakery-fresh or frozen dinner rolls.
- Cooked Meatballs (4-8, depending on size): Juicy beef or Italian-style. Homemade or frozen pre-cooked both work well.
- Shredded Mozzarella Cheese: Melts beautifully for stretchy pulls. Use low-moisture for best results.
- Marinara or Pizza Sauce: Adds tangy moisture. Choose a thick sauce to avoid excess liquid.
- Garlic Butter: Butter, minced garlic, herbs, and Parmesan for brushing. Provides rich flavor and golden color.
- Fresh Herbs (parsley): Garnish for freshness and color.
- Optional: Grated Parmesan, red pepper flakes.
Substitutions: Turkey or plant-based meatballs for lighter versions; gluten-free rolls; vegan cheese and butter alternatives.
Kitchen Equipment
Required:
- Air fryer
- Sharp serrated knife
- Spoon or small scoop for hollowing
- Pastry brush
- Tongs
- Wooden serving board
Optional: Mixing bowl for garlic butter, cheese grater.
Step-by-Step Instructions
1. Prepare the Bread Base
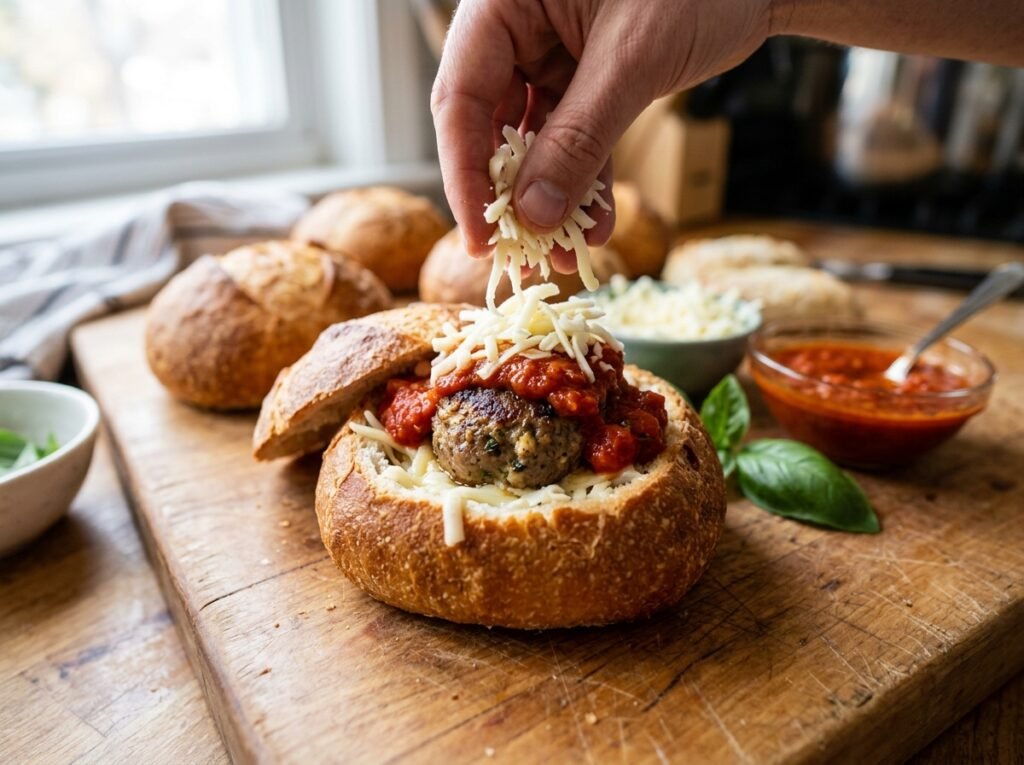
Start with a cluster of four connected dinner rolls on a wooden board. Use a sharp knife to carefully cut and hollow out the center of each roll, creating a well without piercing the bottom.
Why it matters: Creates space for fillings while keeping the structure intact for easy pulling.
Visual cue: Clean, bowl-shaped cavities.
2. Brush with Garlic Butter
Mix melted butter with minced garlic, herbs, and a pinch of salt. Brush generously inside and outside the rolls. This step infuses aromatic garlic flavor into the bread.
Aroma cue: Strong, savory garlic scent.
3. Add Cheese Base
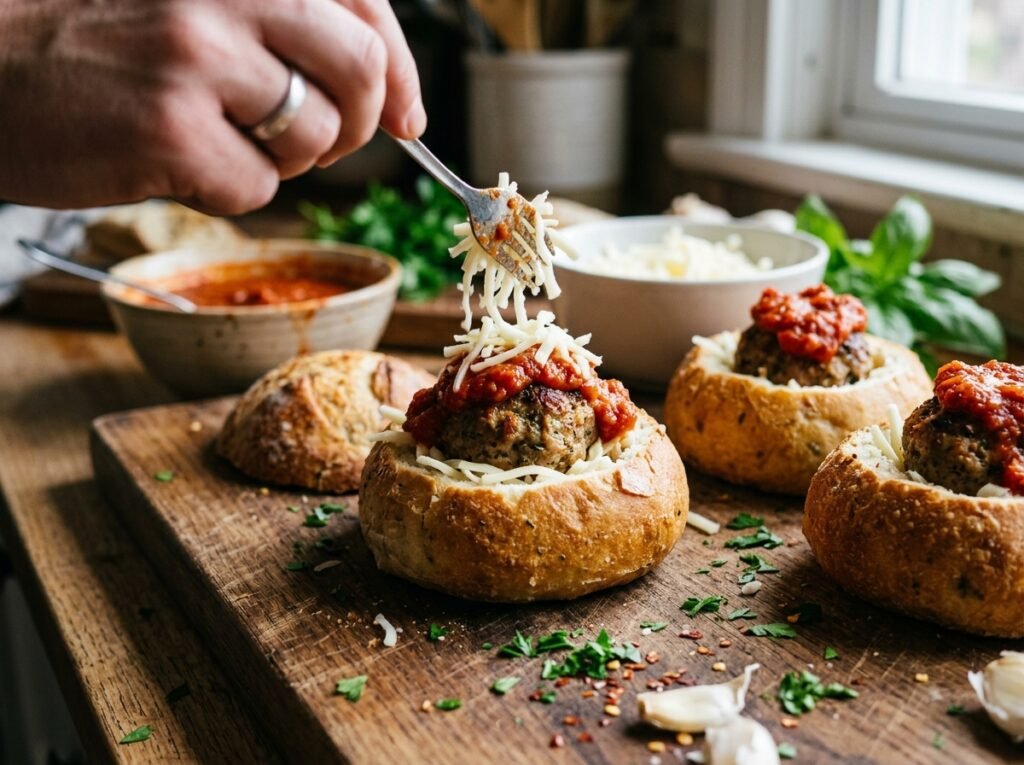
Sprinkle shredded mozzarella into the bottom of each hollowed roll. The cheese acts as a barrier and melts into the filling.
4. Stuff with Meatballs
Place a cooked meatball into each well on top of the cheese. Press gently to secure.
Texture cue: Firm meatball nestled snugly.
5. Add Sauce
Spoon marinara sauce over each meatball. Don’t overfill to prevent overflow during cooking.
6. Top with More Cheese
Generously sprinkle additional shredded mozzarella on top. This creates the signature gooey, browned cheese layer.
7. Air Fry
Preheat air fryer if needed. Place the assembled bombs in the basket. Air fry at around 380-400°F (190-200°C) for 7-10 minutes until cheese is melted and bubbly and bread is golden. Check at 5-6 minutes to avoid over-browning.
Doneness cues: Golden-brown tops, bubbling cheese, hot throughout.
8. Garnish and Serve
Sprinkle with chopped parsley and extra Parmesan. Serve immediately while the cheese pulls beautifully.
Expert Tips
- Use day-old rolls for better structure when hollowing.
- Pre-cook meatballs thoroughly before stuffing.
- For extra crispiness, lightly spray the outside with oil.
- Work quickly once hollowed to prevent drying.
Common Mistakes to Avoid
- Over-hollowing: Weakens the bread and causes collapse. Leave a thick base.
- Too much sauce: Leads to soggy bread. Use sparingly.
- Overcrowding air fryer: Prevents even cooking and crisping.
- Skipping garlic butter: Misses the signature flavor boost.
Recipe Variations
- Spicy: Add red pepper flakes or use spicy meatballs and arrabbiata sauce.
- Extra Cheesy: Mix cheeses like cheddar or provolone.
- Chicken or Turkey: Swap beef meatballs for lighter protein.
- Vegetarian: Use meatless meatballs and extra veggies.
- Low-Carb: Try with keto-friendly bread or hollowed bell peppers.
- Mini Version: Use smaller rolls for bite-sized appetizers.
What to Serve With Garlic Meatball Bombs
Pair with a crisp green salad, roasted vegetables, or garlic breadsticks. Dipping sauces like extra marinara, ranch, or garlic aioli elevate them. Serve alongside pasta, soup, or as part of an Italian-inspired spread with wine.
Make-Ahead and Meal Prep Tips
Assemble up to the cheese-topping stage and refrigerate for a few hours. Add a few extra minutes to air fryer time from cold. Great for meal prep—make a big batch and reheat as needed.
Storage and Reheating
Storage: Refrigerate leftovers in an airtight container up to 3 days. Freeze up to 1 month (wrap individually).
Reheating:
- Air Fryer (best): 350°F for 3-5 minutes until heated and cheese re-melts.
- Oven: 375°F for 8-10 minutes.
- Microwave: 30-60 seconds (cheese may not crisp).
Nutritional Information (Approximate per Bomb)
- Calories: 380-450
- Protein: 18-22g
- Carbohydrates: 30-35g
- Fat: 20-25g
- Fiber: 2-3g
- Sugar: 4-6g
- Sodium: 700-900mg
Troubleshooting Guide
- Soggy bread: Use less sauce and ensure meatballs are drained.
- Cheese not melting: Increase time or preheat air fryer.
- Bread too hard: Brush more butter and don’t overcook.
- Filling falling out: Ensure wells have a solid base.
Frequently Asked Questions
Can I use frozen meatballs? Yes—cook them fully first according to package directions.
What if I don’t have an air fryer? Bake in a preheated oven at 400°F for 12-18 minutes.
How do I make homemade meatballs? Mix ground beef with breadcrumbs, egg, garlic, herbs, and Parmesan; cook separately before assembling.
Can I make them ahead for a party? Yes—assemble and refrigerate, then air fry just before serving.
Are they spicy? Base recipe is mild; add heat with seasonings as desired.
What kind of rolls work best? Soft Hawaiian or dinner rolls hold up well and add slight sweetness.
How do I prevent cheese from sticking to the basket? Use parchment paper or lightly oil the basket.
Can I freeze the assembled bombs? Yes—wrap well and reheat from frozen with extra time.
Final Thoughts
These garlic meatball bombs deliver big flavor with minimal effort, making them a go-to recipe for busy cooks and hungry crowds alike. The combination of garlicky bread, savory meatballs, and stretchy melted cheese is simply addictive. Whip up a batch tonight—you’ll love how quickly they disappear. Share your twists or photos in the comments, and rate the recipe if you try it! Enjoy every cheesy pull