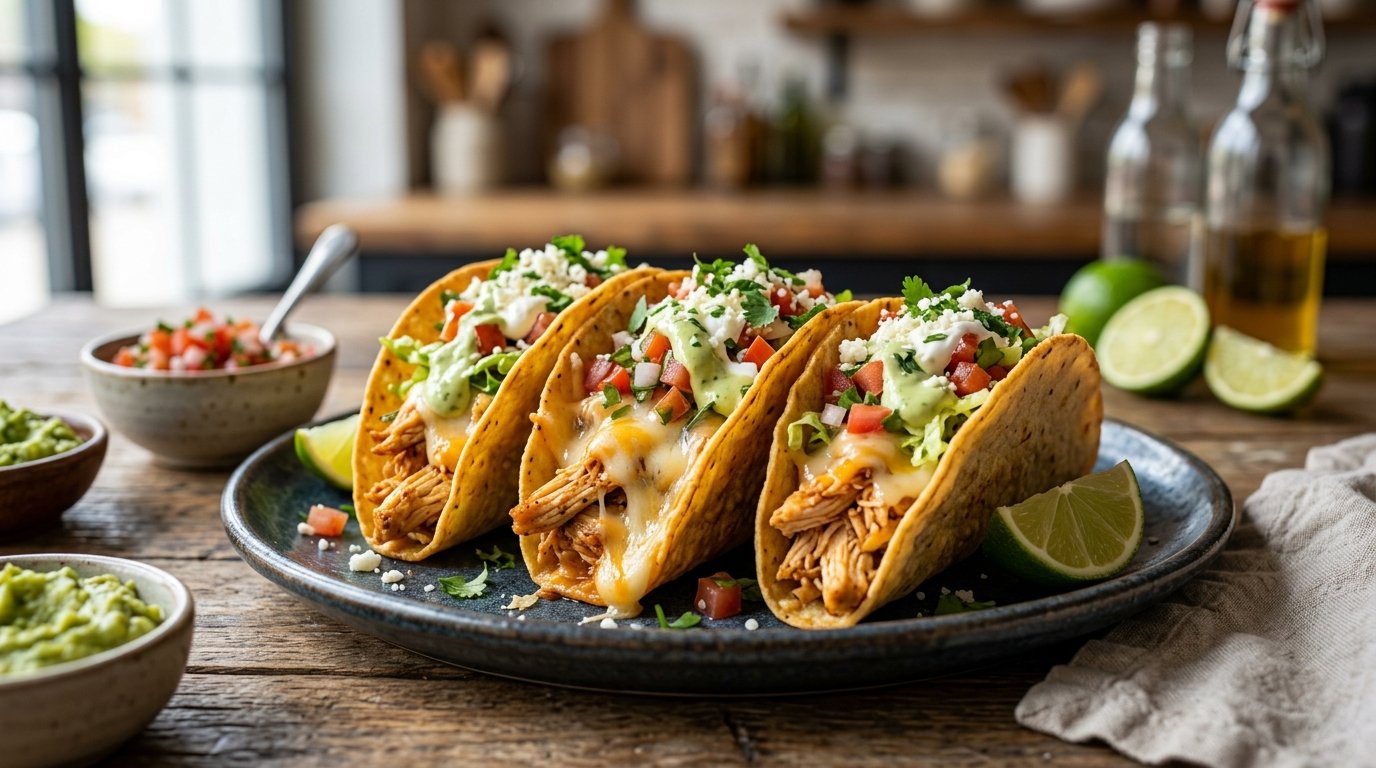
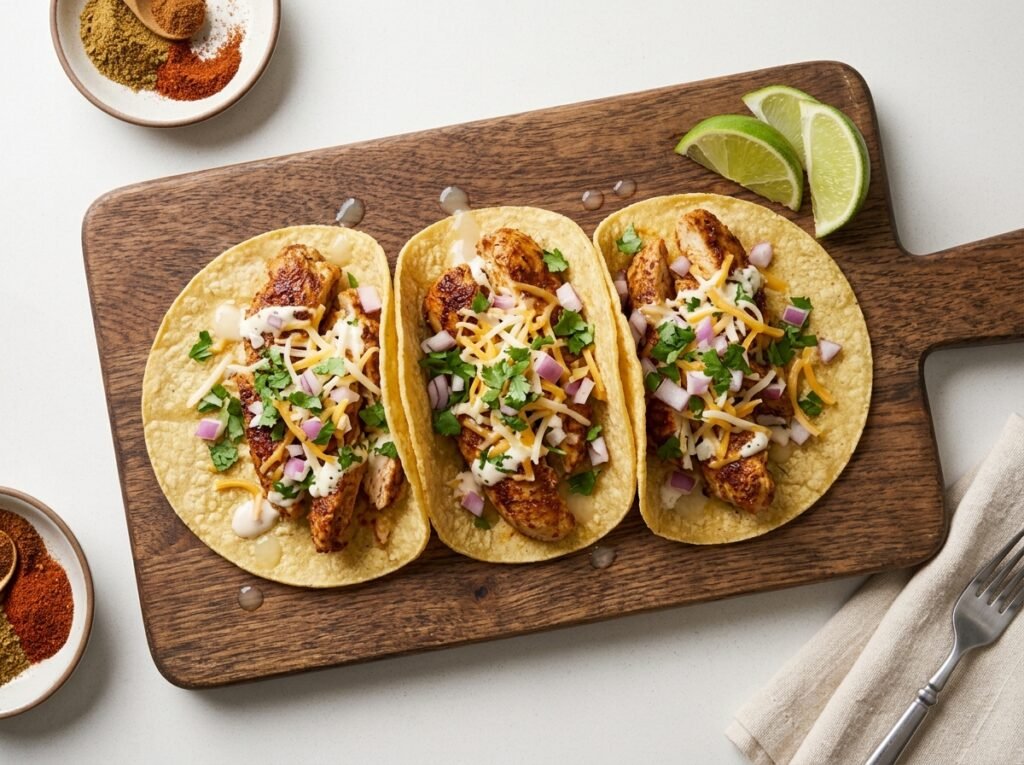
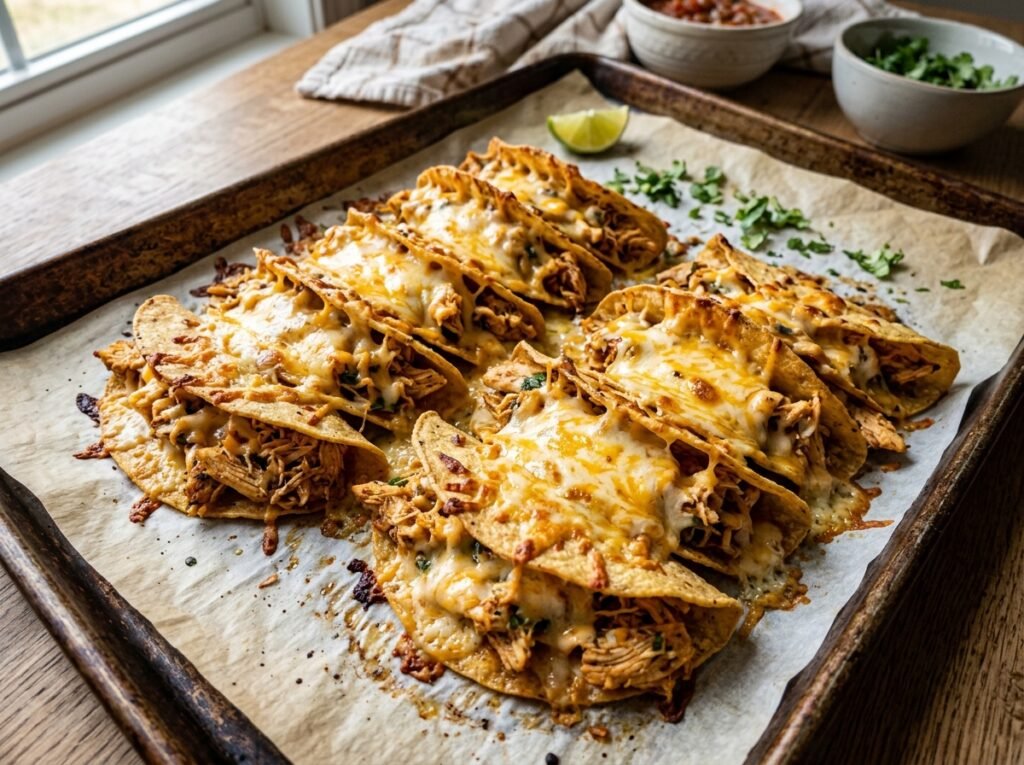
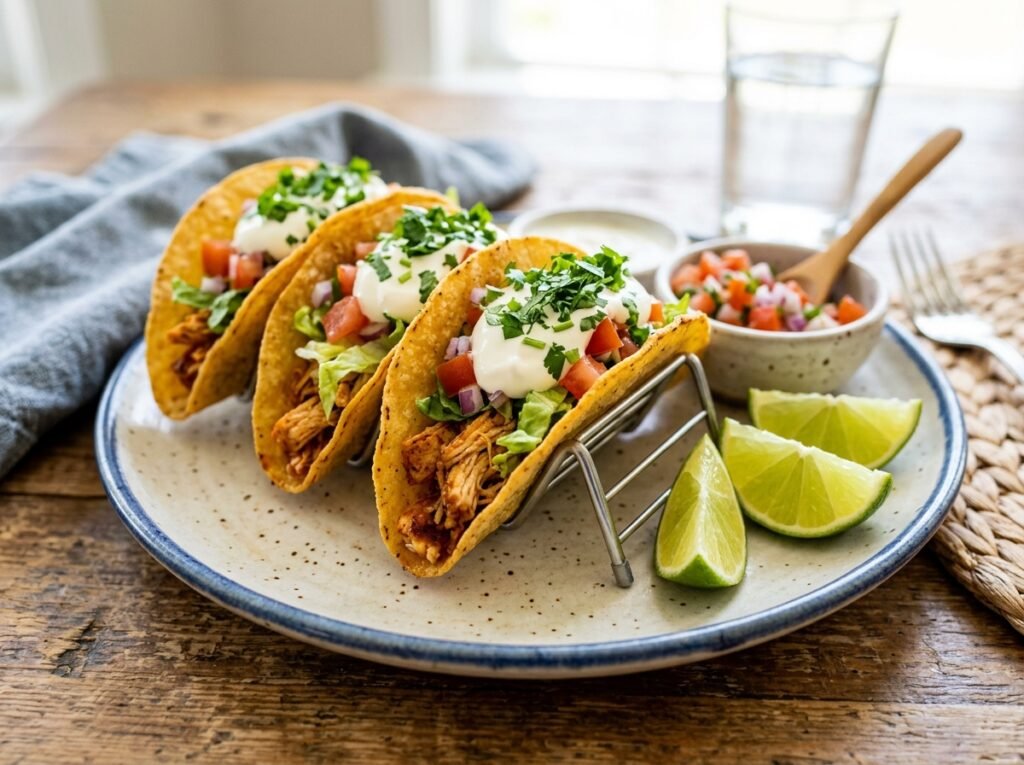
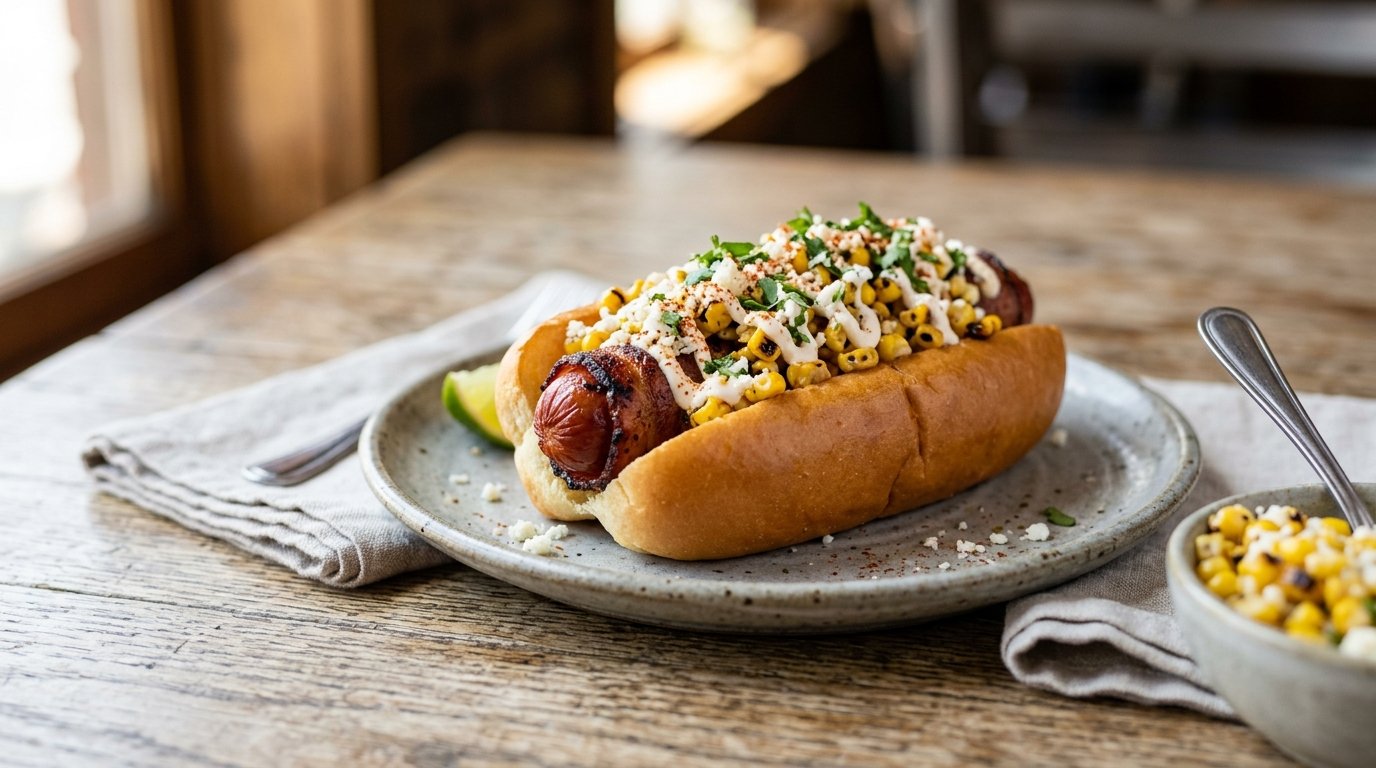
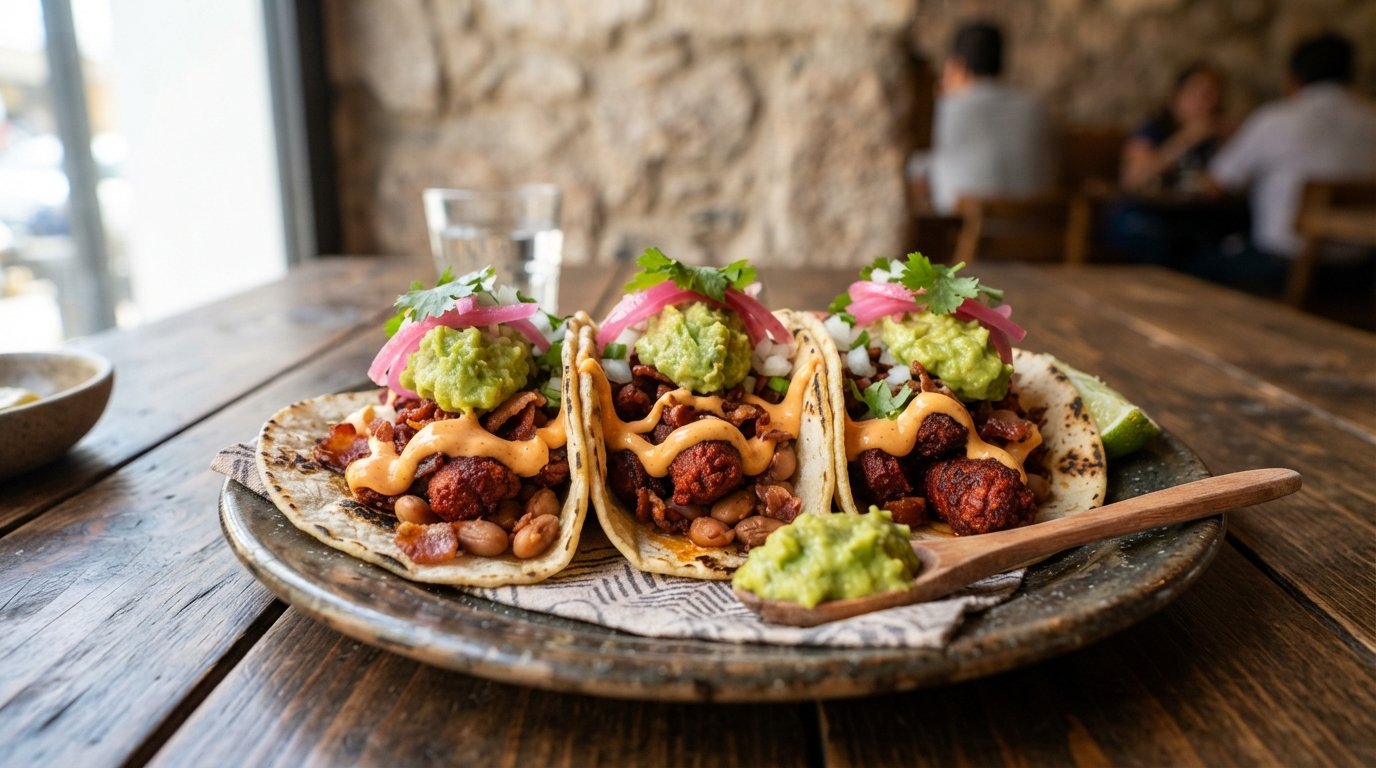
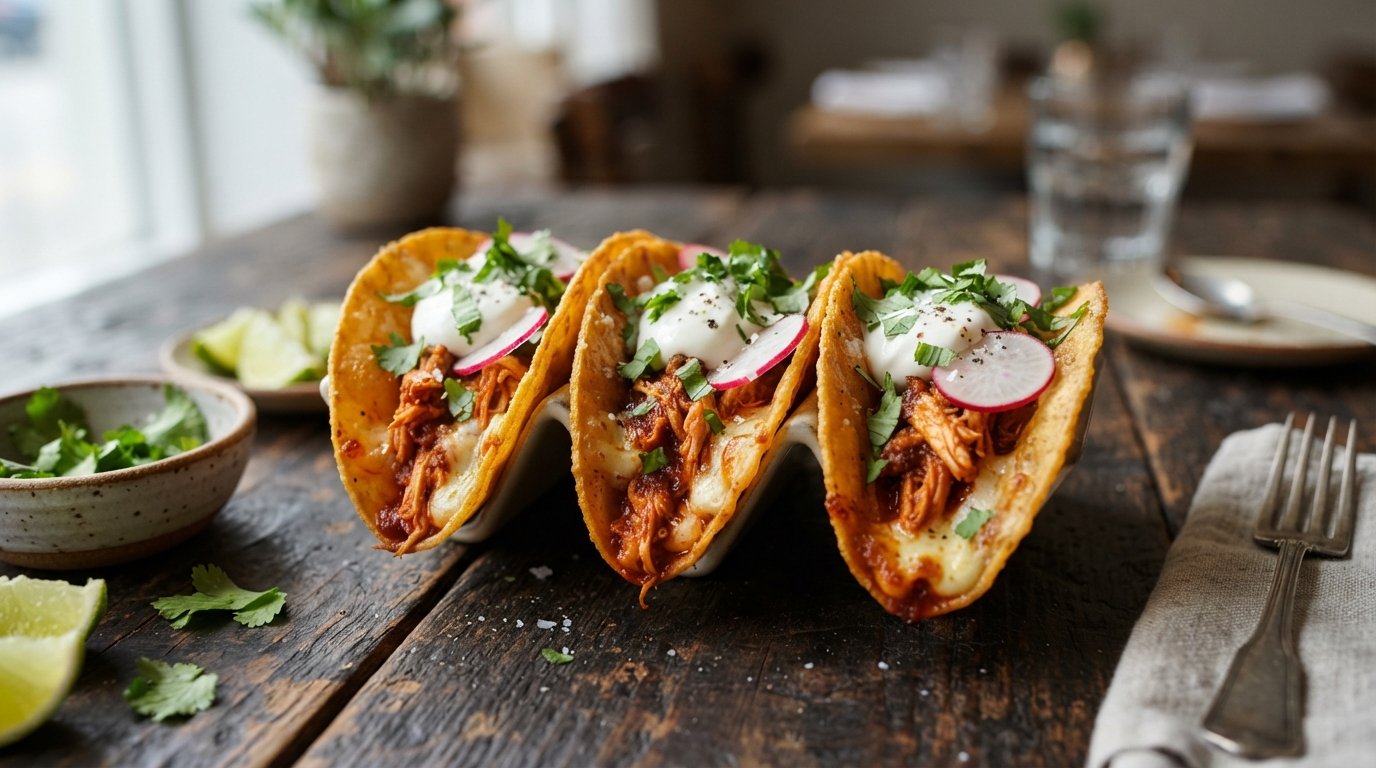
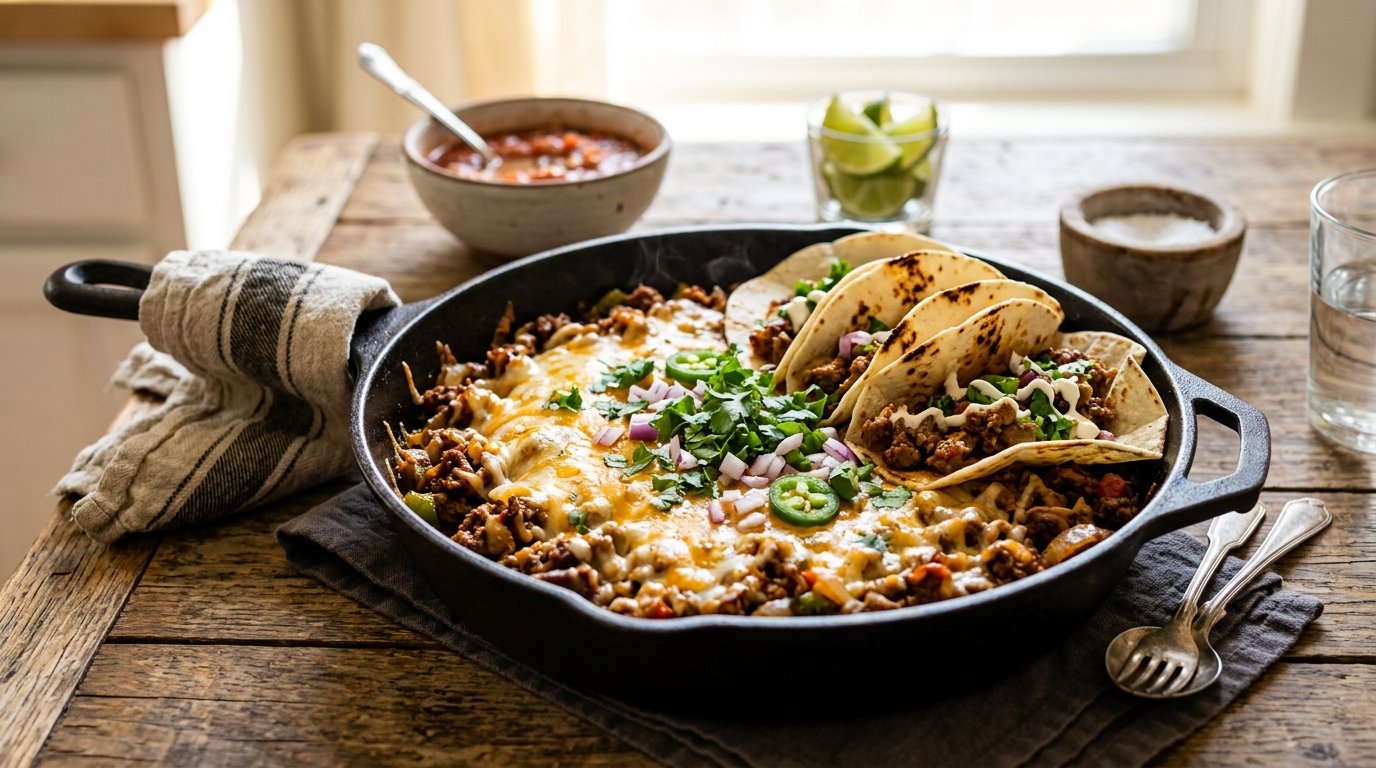
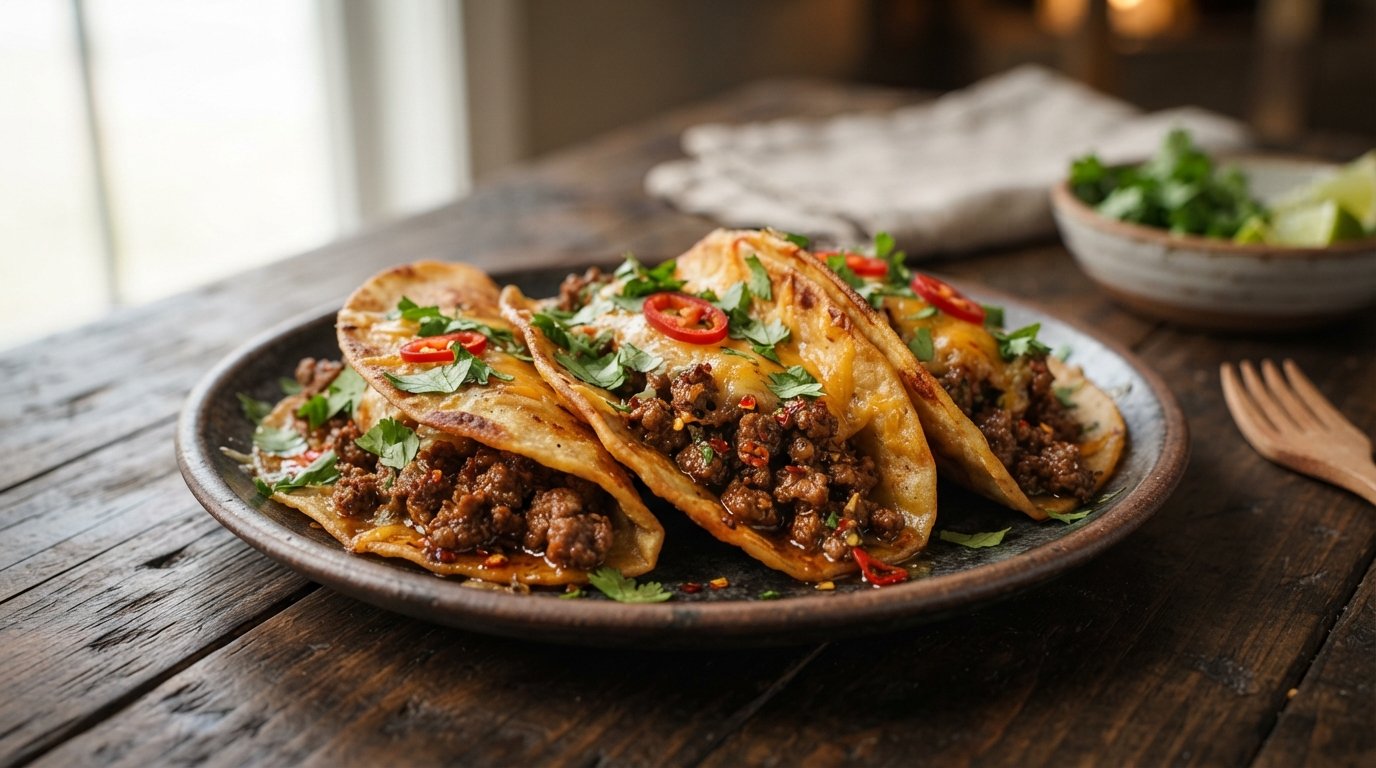
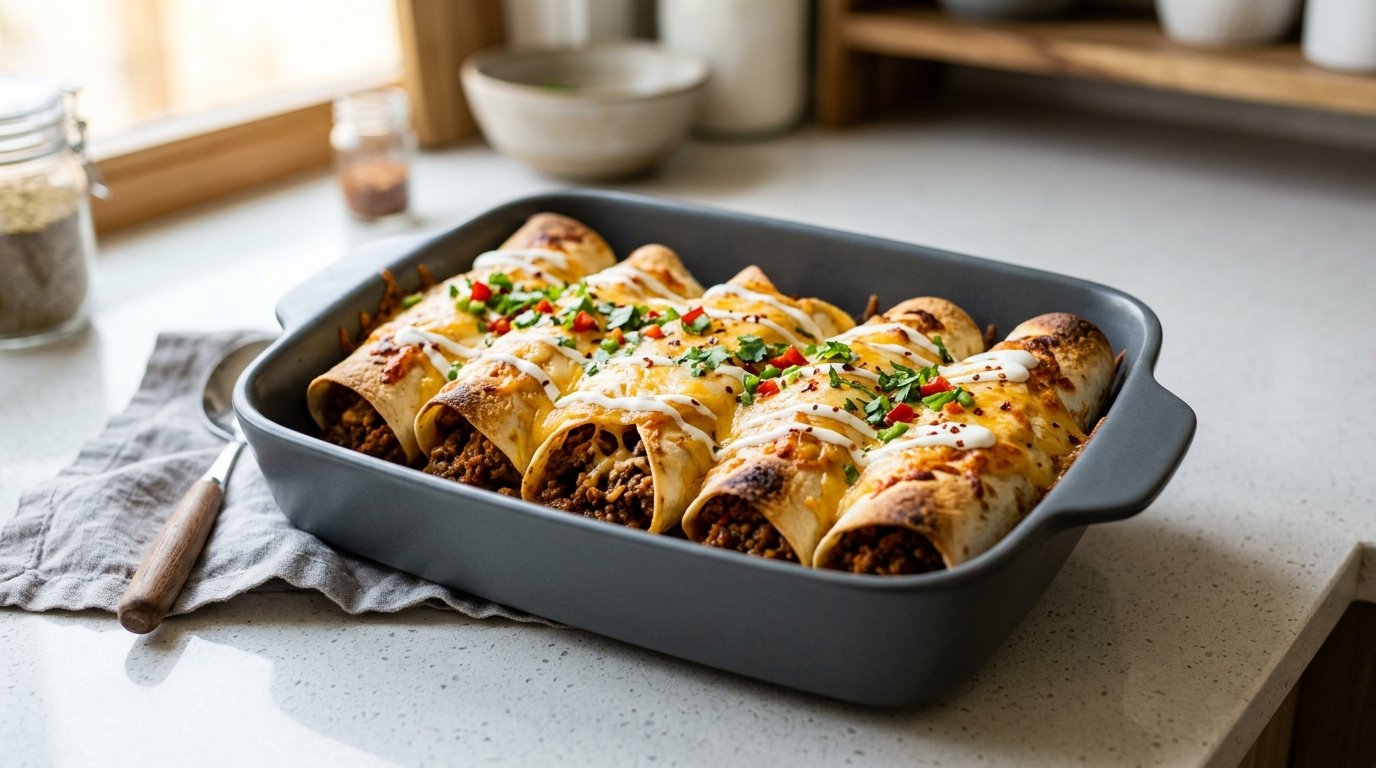
These golden, cheese-pulled oven-baked chicken tacos bring restaurant-style flavor straight to your kitchen. Juicy diced chicken breast is sautéed with colorful bell peppers, sweet corn, and aromatic spices, then tucked into soft tortillas and baked in a stunning circular arrangement until the cheese is irresistibly gooey and the edges crisp up beautifully.
Quick Recipe Summary
Detail
Information
Prep Time
15 minutes
Cook Time
20-25 minutes
Total Time
35-40 minutes
Servings
4-6 (about 12-15 tacos)
Cuisine
Mexican-inspired / Fusion
Course
Main Course / Dinner
Difficulty
Easy
Calories
~350-420 per serving (2-3 tacos)
Table of Contents
Introduction
Why This Recipe Works
Why You’ll Love This Recipe
Ingredient Notes
Kitchen Equipment
Step-by-Step Instructions
Expert Tips
Common Mistakes to Avoid
Recipe Variations
What to Serve With These Tacos
Make-Ahead & Meal Prep Tips
Storage & Reheating
Nutritional Information
Troubleshooting Guide
Frequently Asked Questions
Final Thoughts
Introduction
If you’re craving tacos that are crispy on the edges, packed with flavor, and finished with that perfect cheese pull, these oven-baked chicken tacos are about to become your new weeknight hero. This recipe transforms simple diced chicken breast into a vibrant filling with sautéed vegetables and spices, then assembles everything in a beautiful baking dish for effortless oven finishing. It’s family-friendly, customizable, and delivers big payoff with minimal cleanup.
Why This Recipe Works
The magic happens in layers: searing the chicken builds flavor through browning (Maillard reaction), while the vegetables release just enough moisture without sogginess. Baking in the oven crisps the tortilla edges and melts the cheese into a gooey blanket that holds everything together. Arranging the tacos in a circle ensures even heat distribution and creates an impressive presentation straight from the oven.
Chicken Breast (Boneless, Skinless): About 1–1.5 lbs (450-700g). Provides lean protein that stays juicy when diced and quickly sautéed. Fresh or thawed frozen works; pat dry for best browning.
Bell Peppers (Red & Green): Add sweetness, crunch, and color. Red for mild sweetness, green for freshness. Use about 1 of each.
Onion: 1 medium white or yellow. Builds savory base.
Corn Kernels: 1 cup (fresh, frozen, or canned/drained). Brings natural sweetness that balances spices.
Spices: Paprika (smoked or sweet), chili powder or cumin, garlic powder, salt, and black pepper. A simple homemade taco seasoning blend.
Shredded Cheese: Mozzarella, cheddar, or Mexican blend (about 2–3 cups). Essential for that stretchy melt.
Tortillas: Small soft corn or flour tortillas (6-inch). They crisp beautifully in the oven.
Garnish: Fresh chopped parsley or cilantro, optional lime wedges.
Substitutions: Use chicken thighs for extra juiciness. Swap peppers for zucchini or mushrooms for variation.
Kitchen Equipment
Required:
Large skillet or frying pan
Sharp knife & cutting board
Wooden spoon or spatula
Baking dish (round or oval preferred for circular arrangement)
Oven
Optional: Tongs, cheese grater, measuring spoons.
Step-by-Step Instructions
1. Prepare the Chicken
Dice the chicken breasts into small, even bite-sized pieces (about ½-inch). This ensures quick, uniform cooking. Season lightly with salt and pepper.
2. Cook the Chicken Filling
Heat 1–2 tablespoons oil in a large skillet over medium-high heat. Add the diced chicken and cook until no longer pink and lightly browned (5–7 minutes). Remove and set aside if needed.
In the same pan, sauté diced onion until translucent. Add chopped red and green peppers and corn. Cook 3–4 minutes until vegetables soften slightly but retain some bite.
Return chicken to the pan. Sprinkle generously with spices (paprika, cumin/chili, garlic powder, salt). Stir well and cook another 2–3 minutes until everything is fragrant and coated. Taste and adjust seasoning. The filling should look vibrant and glossy.
3. Prepare Tortillas and Assemble
Warm tortillas slightly if needed for flexibility. Spoon the chicken-vegetable mixture into each tortilla. Sprinkle shredded cheese inside and on top.
Arrange filled tacos upright in a circular pattern in your baking dish, leaning against each other for support. Top with extra cheese.
4. Bake to Perfection
Preheat oven to 400–425°F (200–220°C). Bake for 10–15 minutes until cheese is melted and bubbly, and tortilla edges are golden and slightly crispy. Garnish with chopped herbs right after removing from the oven.
Visual Cues: Cheese should be golden in spots with nice stretch. Tortillas lightly toasted.
Expert Tips
Dice chicken uniformly for even cooking.
Don’t overcrowd the pan — brown in batches if necessary for better texture.
For extra crispiness, lightly brush tortilla edges with oil before baking.
Let tacos rest 2–3 minutes after baking so cheese sets slightly for cleaner pulls.
Common Mistakes to Avoid
Overcooking chicken: Leads to dry texture. Cook just until done (internal 165°F) and rely on carryover heat.
Soggy filling: Drain any excess liquid from veggies/corn before mixing.
Tortillas tearing: Warm them briefly or use sturdier ones.
Uneven baking: Arrange symmetrically and rotate dish halfway if needed.
Recipe Variations
Spicy Version: Add jalapeños, cayenne, or hot sauce to the filling.
Vegetarian: Swap chicken for black beans, chickpeas, or extra veggies.
Extra Cheesy: Add cheese layer on the bottom of the dish before arranging tacos.
Low-Carb: Use lettuce wraps or cheese shells instead of tortillas.
High-Protein: Add beans or use Greek yogurt as a topping.
What to Serve With These Tacos
Fresh guacamole or avocado slices
Mexican rice or cilantro-lime rice
Simple green salad or street corn (elote)
Sour cream, salsa, or pico de gallo
Margaritas or iced hibiscus tea
Make-Ahead & Meal Prep Tips
Prepare the filling up to 2 days ahead and store in the fridge. Assemble tacos just before baking for best texture. The full assembled dish (unbaked) can be refrigerated for up to 24 hours.
Storage & Reheating
Refrigerator: Store leftovers in an airtight container up to 3–4 days. Freezer: Freeze filling separately up to 2 months. Reheating: Oven or air fryer at 350°F for 8–10 minutes for crispiness. Microwave works but softens tortillas.
Nutritional Information (Approximate per serving, 2–3 tacos)
Calories: 380
Protein: 28g
Carbohydrates: 32g
Fat: 16g
Fiber: 4g
Sugar: 5g
Sodium: 650mg
Values vary based on exact portions and brands.
Troubleshooting Guide
Dry chicken: Use thighs or add a splash of broth/stock while cooking.
Cheese not melting well: Use freshly shredded cheese (pre-shredded has anti-caking agents).
Tortillas too soft: Bake longer or broil briefly at the end (watch closely).
Frequently Asked Questions
Can I use ground chicken instead? Yes! Brown it like taco meat for a quicker alternative.
What kind of tortillas work best? Small corn tortillas crisp up wonderfully, but flour tortillas are softer and more flexible.
How do I make these spicier? Incorporate diced jalapeños, chipotle powder, or serve with hot salsa.
Can I make this gluten-free? Use certified gluten-free corn tortillas.
Is this recipe good for meal prep? Absolutely — filling stores well and assembly is quick.
Final Thoughts
These oven-baked chicken tacos prove that impressive, cheesy, restaurant-quality meals don’t need complicated techniques or hours in the kitchen. The combination of tender spiced chicken, colorful vegetables, sweet corn, and that glorious melty cheese pull makes every bite satisfying. Whether it’s a busy weeknight or weekend gathering, this recipe delivers flavor, texture, and wow-factor every single time.