
Quick Recipe Summary
| Feature | Details |
|---|---|
| Prep Time | 15 Minutes (Active) |
| Rise Time | 1 Hour |
| Cook Time | 20-25 Minutes |
| Total Time | 1 Hour 40 Minutes |
| Servings | 6-8 Slices |
| Cuisine | Universal / Rustic |
| Course | Side Dish / Staple |
| Difficulty | Easy / Intermediate |
| Calories | ~230 kcal per slice |
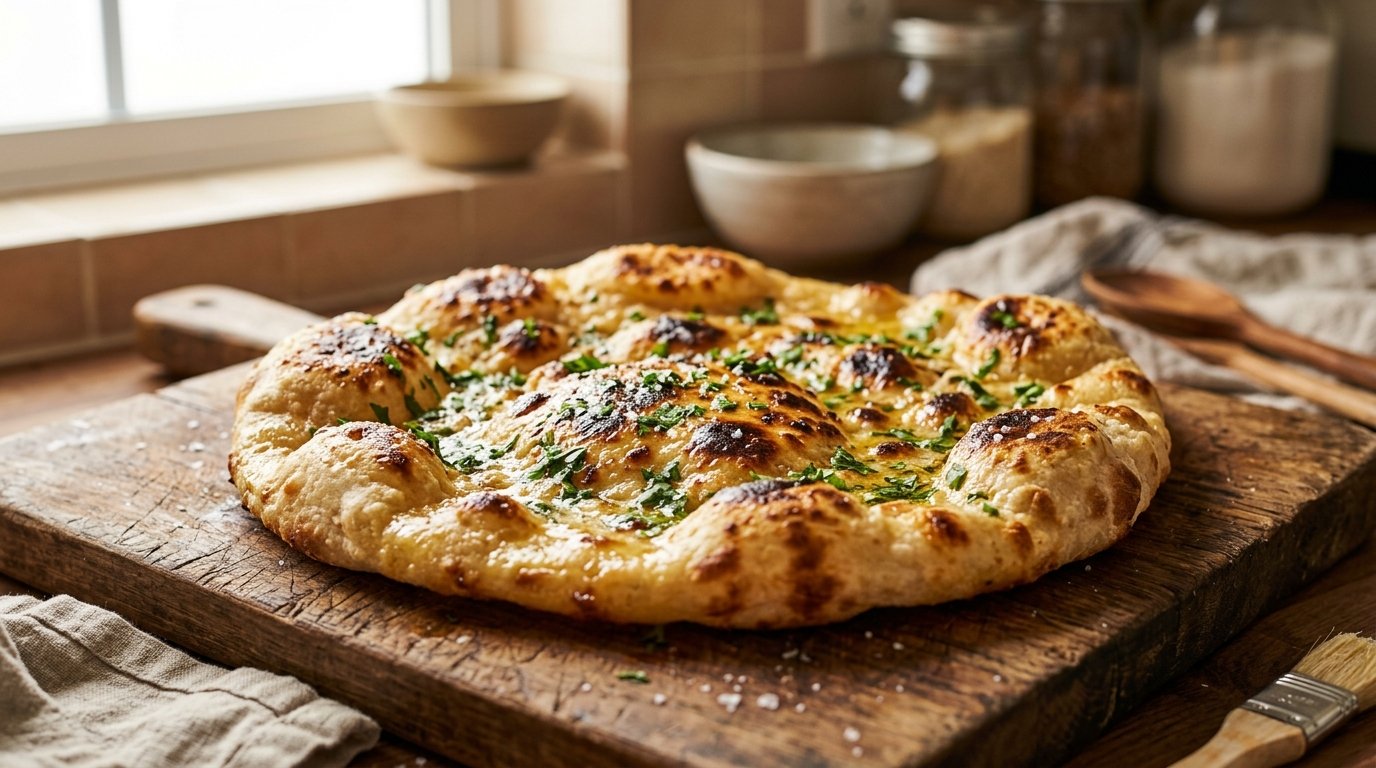
This recipe yields one spectacular large flatbread that serves as both a side dish and a communal eating experience. The process relies on a high-hydration dough that ferments for just one hour, developing enough gluten structure to trap steam during the stovetop cooking process. The result is a bread with distinct leopard-spot charring and a tender interior that rivals sourdough loaves baked for hours.
Table of Contents
- Introduction
- Why This Recipe Works
- Why You’ll Love This Recipe
- Ingredient Notes
- Kitchen Equipment
- Preparation Information
- Step-by-Step Instructions
- Expert Tips
- Common Mistakes
- Recipe Variations
- What to Serve With This Recipe
- Make Ahead & Meal Prep Tips
- Storage Instructions
- Reheating Instructions
- Nutritional Information
- Troubleshooting Guide
- Frequently Asked Questions
- Final Thoughts
Introduction
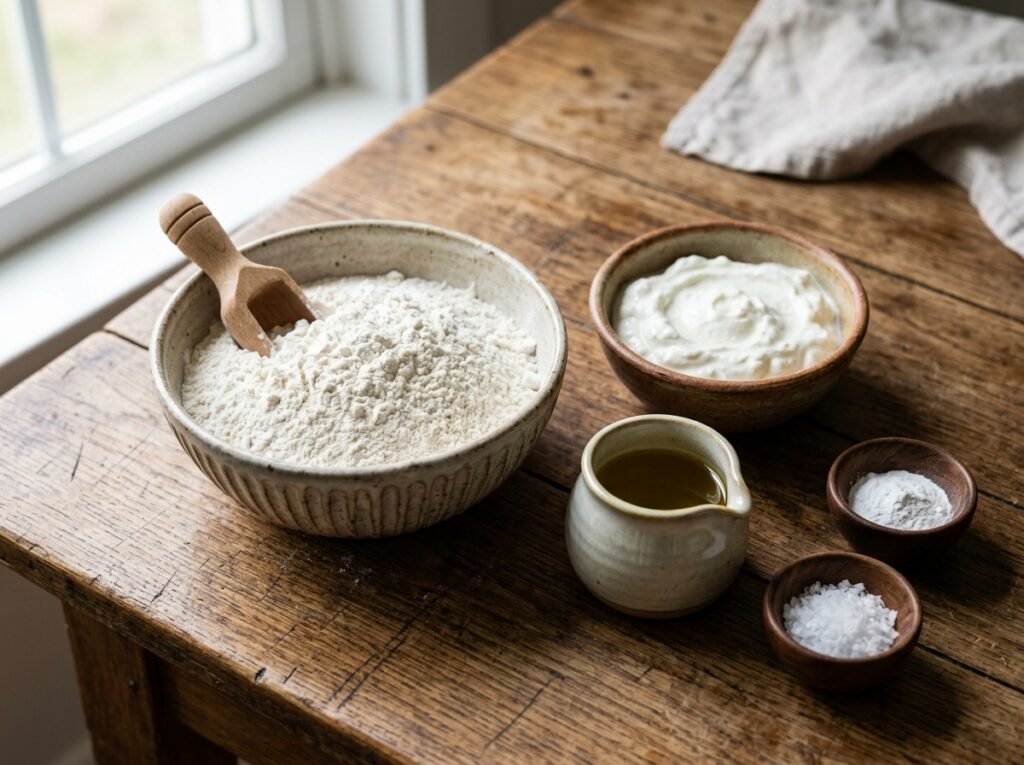
Bread baking often feels intimidating, reserved for those with stand mixers and Dutch ovens, but this Giant Pan Flatbread shatters that myth entirely. It brings the joy of fresh-baked bread to anyone with a stove and a heavy-bottomed pan, making it accessible for apartment dwellers, students, and busy parents alike. The technique mimics traditional tandoor or wood-fired oven methods by using direct conductive heat to puff the dough rapidly while creating complex Maillard browning on the surface.
Unlike quick breads that rely on chemical leaveners, this yeast-leavened version develops a depth of flavor and texture that only fermentation can provide. The visual appeal is undeniable; the bread emerges from the pan with a rustic, blistered top that begs to be slathered with salted butter or dipped in olive oil. It is versatile enough to accompany a hearty stew, serve as a pizza base, or simply be torn apart and enjoyed warm with friends and family.
Why This Recipe Works
The science behind this flatbread lies in the balance of hydration and heat management. Using 1 cup of water to 3 cups of flour creates a dough with approximately 65-70% hydration (depending on flour absorption), which is wet enough to produce an open crumb structure but manageable enough to handle without excessive stickiness. During the one-hour rise, wild yeasts and bacteria produce carbon dioxide and organic acids, strengthening the gluten network and enhancing flavor.
Cooking on medium-low heat is the critical variable. High heat would burn the exterior before the interior cooks through, while low heat allows the steam generated inside the dough to expand the gluten pockets slowly. This “steam oven” effect within the pan creates the signature puffiness. The cast iron’s superior heat retention ensures consistent temperature even when the cold dough hits the surface, promoting even browning and that coveted crispy bottom crust.
Why You’ll Love This Recipe
- Zero Oven Required: Perfect for summer cooking, small kitchens, or saving energy.
- Minimal Ingredients: Uses only flour, water, yeast, and salt—no sugar, oil, or milk needed.
- Impressive Visuals: The leopard-spot blistering looks professional and artisanal.
- Versatile Texture: Crispy edges with a soft, chewy center that stays pliable when cooled.
- Budget Friendly: Costs pennies to make compared to store-bought artisan breads.
- Customizable Size: Scale up or down based on your pan size and hunger levels.
Ingredient Notes
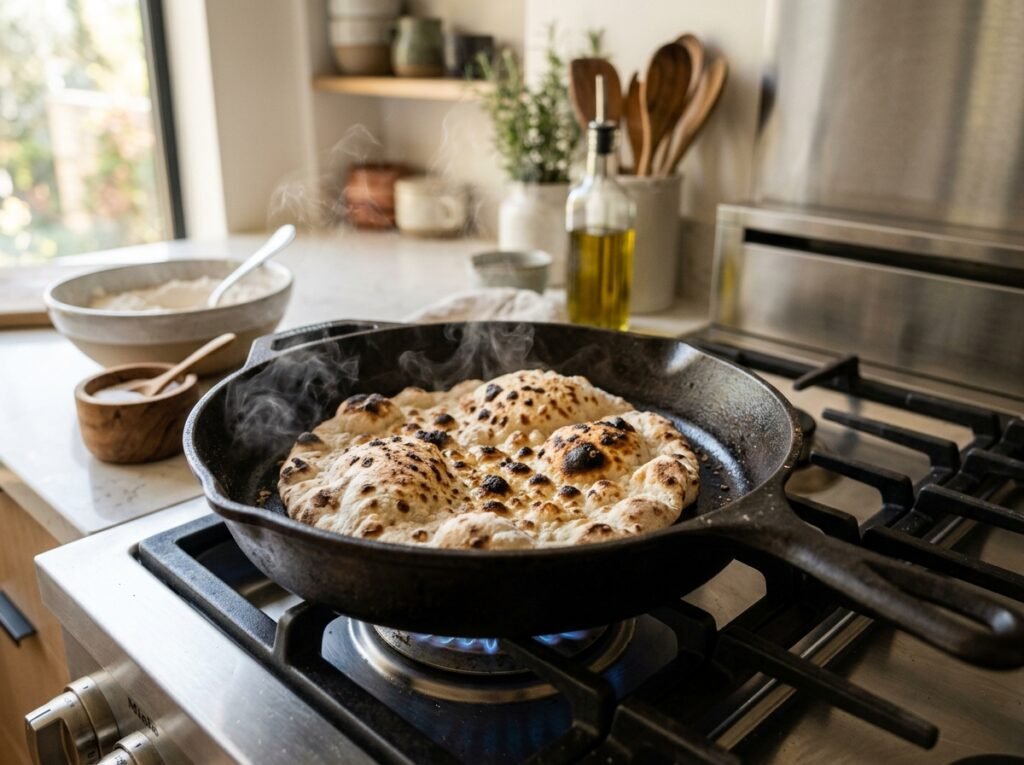
All-Purpose Flour (3 Cups)
- Purpose: Provides structure and gluten formation.
- Substitutions: Bread flour (for chewier texture), Whole Wheat (replace up to 50% for nuttier flavor; may need extra water).
- Buying Tips: Look for unbleached flour with 10-12% protein content. Avoid cake or pastry flour as they lack sufficient protein.
- Storage Tips: Store in airtight container in cool, dark place. Freeze for long-term storage to prevent rancidity.
Warm Water (1 Cup)
- Purpose: Hydrates flour, activates yeast, and regulates dough temperature.
- Temperature Guide: Aim for 105°F-110°F (40°C-43°C). Too hot kills yeast; too cold slows activation.
- Substitutions: None essential, but filtered water tastes better if tap water is heavily chlorinated.
- Tips: Use a thermometer for accuracy. If no thermometer, water should feel like warm bath water—not hot to touch.
Instant Yeast (1 Tsp)
- Purpose: Leavening agent that produces CO2 for rise and flavor compounds.
- Substitutions: Active Dry Yeast (dissolve in warm water first, add 5 min rest time), Fresh Yeast (use 3x weight).
- Buying Tips: Check expiration date. Store opened packets in fridge or freezer to maintain potency.
- Visual Cue: Dough should visibly double in size after 1 hour. If not, yeast may be dead or environment too cold.
Salt (1 Tsp)
- Purpose: Enhances flavor, strengthens gluten, controls yeast activity.
- Substitutions: Kosher salt (use 1.5 tsp due to larger crystals), Sea Salt. Avoid iodized table salt if possible (can impart metallic taste).
- Tips: Mix salt thoroughly with flour before adding water to ensure even distribution and prevent yeast inhibition.
- Why it matters: Without salt, bread tastes bland and has weak structure. Don’t skip it!
Kitchen Equipment
- Large Mixing Bowl: For combining ingredients and rising dough.
- Cast Iron Skillet (10-12 inch): Essential for even heat distribution and crust development. Non-stick works but won’t brown as well.
- Spatula/Turner: Sturdy metal or silicone spatula for flipping the heavy bread.
- Lid or Large Plate: To cover skillet during cooking, trapping steam for even rise.
- Measuring Cups/Spoons: For accurate ingredient ratios. Kitchen scale preferred for precision.
- Clean Kitchen Towel/Plastic Wrap: For covering dough during rise.
- Pastry Brush (Optional): For applying butter or oil after cooking.
Preparation Information
- Prep Time: 15 Minutes
- Rise Time: 1 Hour
- Cook Time: 20-25 Minutes
- Total Time: 1 Hour 40 Minutes
- Servings: 6-8 Slices
Step-by-Step Instructions
H3: Mix and Knead the Dough
In a large bowl, whisk together 3 cups flour, 1 tsp yeast, and 1 tsp salt. Gradually add 1 cup warm water while stirring with a wooden spoon until a shaggy dough forms. Turn onto floured surface and knead for 5-7 minutes until smooth and elastic.
- Why it matters: Kneading aligns gluten proteins into a strong network capable of trapping gas. Under-kneaded dough will be dense; over-kneaded becomes tough.
- Texture Cue: Dough should pass the windowpane test—stretch a small piece thin enough to see light through without tearing.
- Visual Cue: Surface transforms from rough/shaggy to smooth/satin-like.
- Common Mistake: Adding too much flour during kneading makes dough dry. Use bench scraper or wet hands instead.
H3: First Rise (Bulk Fermentation)
Place dough in lightly oiled bowl, turning once to coat. Cover tightly with towel or plastic wrap. Let rise in warm spot (75°F-80°F ideal) for 1 hour or until doubled in size.
- Why it matters: Fermentation develops flavor and texture. Yeast consumes sugars, producing CO2 (rise) and organic acids (taste).
- Visual Cue: Dough volume doubles. Surface shows bubbles. Indentation from finger poke springs back slowly.
- Aroma Cue: Pleasant yeasty, slightly sour bread smell.
- Pro Tip: If kitchen is cold, place bowl in turned-off oven with light on, or near warm stove.
H3: Shape and Rest
Gently deflate risen dough. Shape into round disc matching your skillet size (about 1/2 inch thick). Let rest 10-15 minutes on counter. This relaxes gluten for easier stretching.
- Why it matters: Shaping creates surface tension for even rise. Resting prevents dough from snapping back when stretched.
- Texture Cue: Dough feels relaxed and pliable, not rubbery.
- Visual Cue: Disc holds shape without shrinking back significantly.
- Tip: Handle gently to preserve gas bubbles. Don’t punch down aggressively.
H3: Cook on Medium-Low Heat
Preheat cast iron skillet over medium-low heat for 3-5 minutes. Place dough in dry skillet (no oil needed initially). Cover with lid. Cook 8-10 minutes until bottom is golden brown and top begins to bubble/puff.
- Why it matters: Lid traps steam, cooking top while bottom browns. Medium-low heat prevents burning before interior sets.
- Visual Cue: Bottom develops deep golden spots. Top surface blisters and puffs dramatically.
- Aroma Cue: Toasted bread scent fills kitchen.
- Safety: Skillet handle gets HOT. Use oven mitt. Keep lid handy to manage steam.
H3: Flip and Finish Cooking
Carefully flip bread using sturdy spatula. Cook uncovered 5-8 minutes until second side is golden and bread sounds hollow when tapped. Internal temp should reach 200°F-210°F.
- Why it matters: Uncovered second side allows moisture escape for crispness. Hollow sound indicates fully cooked interior.
- Visual Cue: Second side matches first in color. Bread maintains puffiness.
- Texture Cue: Firm crust, springy interior. Not doughy or gummy.
- Common Mistake: Flipping too early causes collapse. Wait for set crust and visible puff.
H3: Butter and Serve
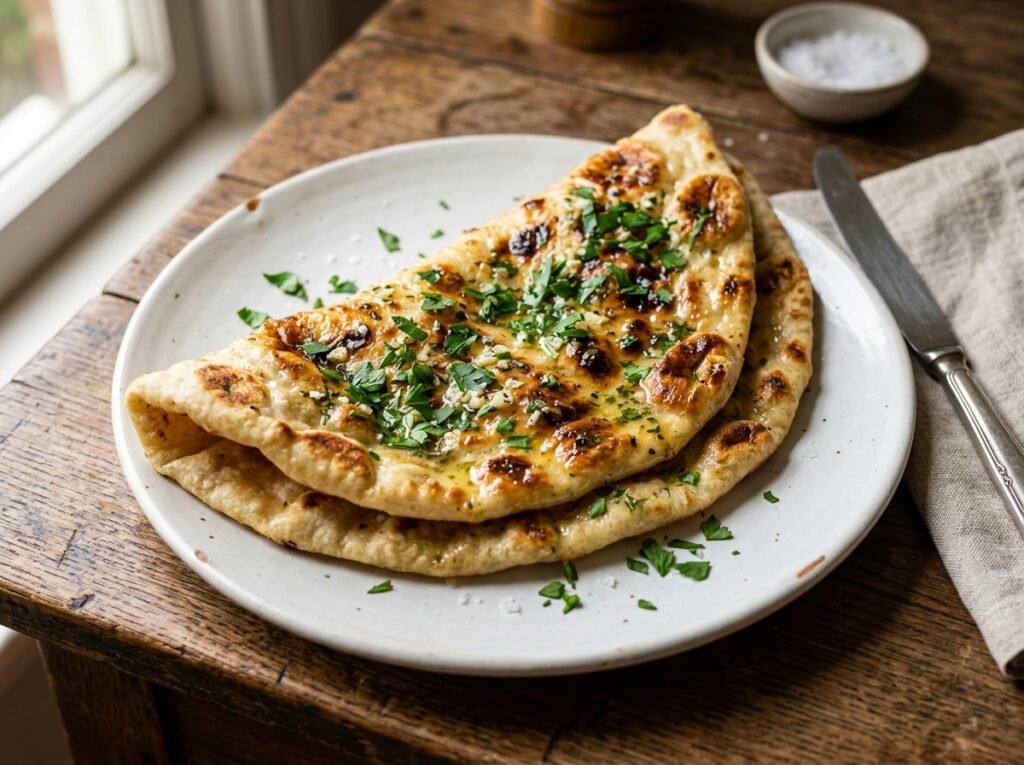
Immediately brush hot bread with melted butter or drizzle with olive oil. Transfer to wire rack briefly to prevent sogginess, then serve warm.
- Why it matters: Fat applied while hot penetrates crust, adding flavor and moisture. Wire rack preserves crispness.
- Visual Cue: Butter melts instantly into crevices. Steam rises visibly.
- Serving Tip: Tear by hand for rustic presentation. Slice with serrated knife for neat portions.
Expert Tips
- Pan Preheating is Crucial: Cold pan = pale, dense bread. Always preheat 3-5 minutes. Test with few drops of water—they should dance/sizzle gently.
- Don’t Peek Early: Lifting lid releases steam, collapsing rise. Trust timing. Only check after minimum cook time.
- Hydration Adjustment: Flour brands vary. If dough feels stiff, add water 1 tbsp at a time. If sticky, sprinkle flour sparingly. Target soft, tacky consistency.
- Butter Timing: Apply butter IMMEDIATELY after cooking. Delayed application won’t absorb properly. Use unsalted butter to control sodium.
- Skillet Seasoning: Well-seasoned cast iron prevents sticking and enhances browning. If new/unseasoned, use minimal oil to start.
Common Mistakes
- Burnt Bottom/Raw Top: Heat too high or lid not used. Fix: Reduce to medium-low, always cover first side. Flip earlier if browning too fast.
- Dense/Bread-y Texture: Under-risen or over-kneaded. Fix: Ensure full 1-hour rise in warm spot. Knead only until smooth (5-7 min max).
- Sticking to Pan: Pan not preheated or insufficient seasoning. Fix: Preheat properly. Use well-seasoned cast iron. Dust pan lightly with flour if needed.
- Pale Color: Heat too low or insufficient cook time. Fix: Increase heat slightly. Extend cook time. Ensure pan is adequately preheated.
- Tough Crust: Overcooked or no fat applied. Fix: Monitor closely. Apply butter/oil immediately after cooking. Store covered to soften.
Recipe Variations
- Garlic Herb: Mix 2 minced garlic cloves + 1 tbsp chopped rosemary/thyme into dough. Brush with garlic butter after cooking.
- Cheese-Stuffed: Sprinkle 1/2 cup shredded mozzarella/cheddar on half the dough before folding over. Seal edges tightly. Cook as directed.
- Everything Bagel: Top with sesame seeds, poppy seeds, dried onion/garlic flakes before cooking. Press gently to adhere.
- Whole Wheat Honey: Replace 1 cup AP flour with whole wheat. Add 1 tbsp honey to water. Nutty, slightly sweet flavor.
- Vegan: Recipe is naturally vegan! Use olive oil instead of butter for finishing.
- Spicy Chili: Add 1 tsp chili flakes + 1/2 tsp cayenne to dough. Drizzle with chili oil after cooking.
- Sweet Cinnamon Sugar: Brush with melted butter, sprinkle cinnamon-sugar mix while hot. Serve as dessert bread.
What to Serve With This Recipe
- Soups/Stews: Tomato basil soup, beef stew, lentil dal, or chicken noodle soup for dipping.
- Dips/Spreads: Hummus, baba ganoush, whipped feta, tzatziki, or marinara sauce.
- Salads: Greek salad, Caesar salad, or arugula with shaved parmesan.
- Main Dishes: Grilled meats, roasted vegetables, pasta dishes, or curry.
- Breakfast: Eggs, avocado toast topping, or jam/honey spread.
- Drinks: Red wine, craft beer, iced tea, or sparkling water with lemon.
Make Ahead & Meal Prep Tips
- Dough Refrigeration: After first rise, refrigerate dough up to 24 hours. Cold fermentation enhances flavor. Bring to room temp 30 mins before shaping/cooking.
- Par-Cook Option: Cook bread 75% done, cool completely, freeze. Finish cooking in skillet/oven when needed. Great for meal prep.
- Double Batch: Make two doughs simultaneously. Cook one, refrigerate/freeze second shaped dough for later.
- Flavored Dough Prep: Mix herbs/spices into dough ahead. Freeze portioned dough balls for instant flavored bread.
Storage Instructions
- Room Temperature: Wrap tightly in foil/plastic wrap. Keeps 2-3 days. Best consumed day-of.
- Refrigerator: Store wrapped up to 5 days. May stale faster than room temp. Reheat before serving.
- Freezer: Cool completely. Wrap tightly in plastic + foil. Freeze up to 3 months. Thaw at room temp before reheating.
- Avoid: Don’t store in bread box if humid—promotes mold. Don’t refrigerate unless necessary—accelerates staling.
Reheating Instructions
- Skillet (Best): Medium-low heat, 2-3 mins per side. Restores crispness perfectly.
- Oven: 350°F for 5-8 mins wrapped in foil. Good for multiple slices.
- Air Fryer: 320°F for 3-4 mins. Quick and effective for single servings.
- Microwave (Last Resort): 15-20 secs with damp paper towel. Softens but loses crispness. Avoid if possible.
- Toaster: Works for sliced bread. Medium setting. Watch closely to prevent burning.
Nutritional Information
Per slice (1/8 of loaf):
- Calories: 230
- Protein: 6g
- Carbohydrates: 45g
- Fat: 2g
- Fiber: 2g
- Sugar: 0.5g
- Sodium: 290mg
Note: Values exclude added butter/oil. Varies by flour type and slice size.
Troubleshooting Guide
| Problem | Cause | Solution |
|---|---|---|
| Dough didn’t rise | Dead yeast / Too cold | Proof yeast first. Ensure warm environment (75°F+). |
| Burnt bottom | Heat too high | Reduce to medium-low. Preheat pan less time. |
| Raw/doughy center | Heat too low / Lid off | Increase heat slightly. Always cover first side. Extend cook time. |
| Tough/chewy crust | Overcooked / No fat | Reduce cook time. Apply butter immediately after cooking. |
| Sticks to pan | Cold pan / Poor seasoning | Preheat pan 3-5 mins. Use seasoned cast iron. Light flour dusting. |
| Dense texture | Under-risen / Over-kneaded | Ensure full rise time. Knead only 5-7 mins. Check yeast viability. |
Frequently Asked Questions
1. Can I use active dry yeast instead of instant? Yes! Dissolve 1 tsp active dry yeast in the warm water first. Let sit 5-10 minutes until foamy before adding to flour. Instant yeast can be mixed directly with flour.
2. Why is my bread pale and not blistered? Pan wasn’t hot enough or heat was too low. Preheat skillet 3-5 minutes. Maintain steady medium-low heat. Ensure lid is on to trap steam for puffing.
3. Can I make this gluten-free? Not successfully with this method. GF flours lack gluten needed for stretch/puff. Use dedicated GF flatbread recipes with xanthan gum/psyllium.
4. How do I know when it’s fully cooked? Bottom should be deep golden brown. Top should be puffed and set. Tap center—it should sound hollow. Internal temp 200°F-210°F if using thermometer.
5. Can I cook this on electric stove? Yes, but temperature control is trickier. Use medium setting initially, reduce to medium-low once dough is in. Electric coils retain heat longer—adjust accordingly.
6. Why did my bread collapse after flipping? Flipped too early before crust set, or lid removed prematurely. Wait for visible puff and golden bottom before flipping. Keep lid on entire first side cook time.
7. Can I add oil to the dough? Traditional recipe uses none, but 1-2 tbsp olive oil adds tenderness and richness. Reduce water slightly if adding oil. Oil inhibits gluten slightly, yielding softer crumb.
8. How big should the dough disc be? Match your skillet size exactly. For 10-inch pan, roll/stretch to 10-inch diameter. Too small = thick edges. Too large = folds/uneven cooking.
Final Thoughts
Mastering this Giant Pan Flatbread opens a world of possibilities for home bakers seeking simplicity without sacrificing quality. The ritual of watching dough transform into golden, blistered perfection on your stovetop is meditative and deeply rewarding. Whether you’re serving it alongside a weeknight dinner or impressing guests at a gathering, this bread delivers authentic artisan results with minimal fuss. Remember, great bread is about patience and attention—not expensive equipment. Embrace the process, trust the cues, and enjoy the incredible aroma filling your kitchen. We’d love to hear how yours turned out—share photos, variations, or questions in the comments below, and don’t forget to rate the recipe if it brought joy to your table!