
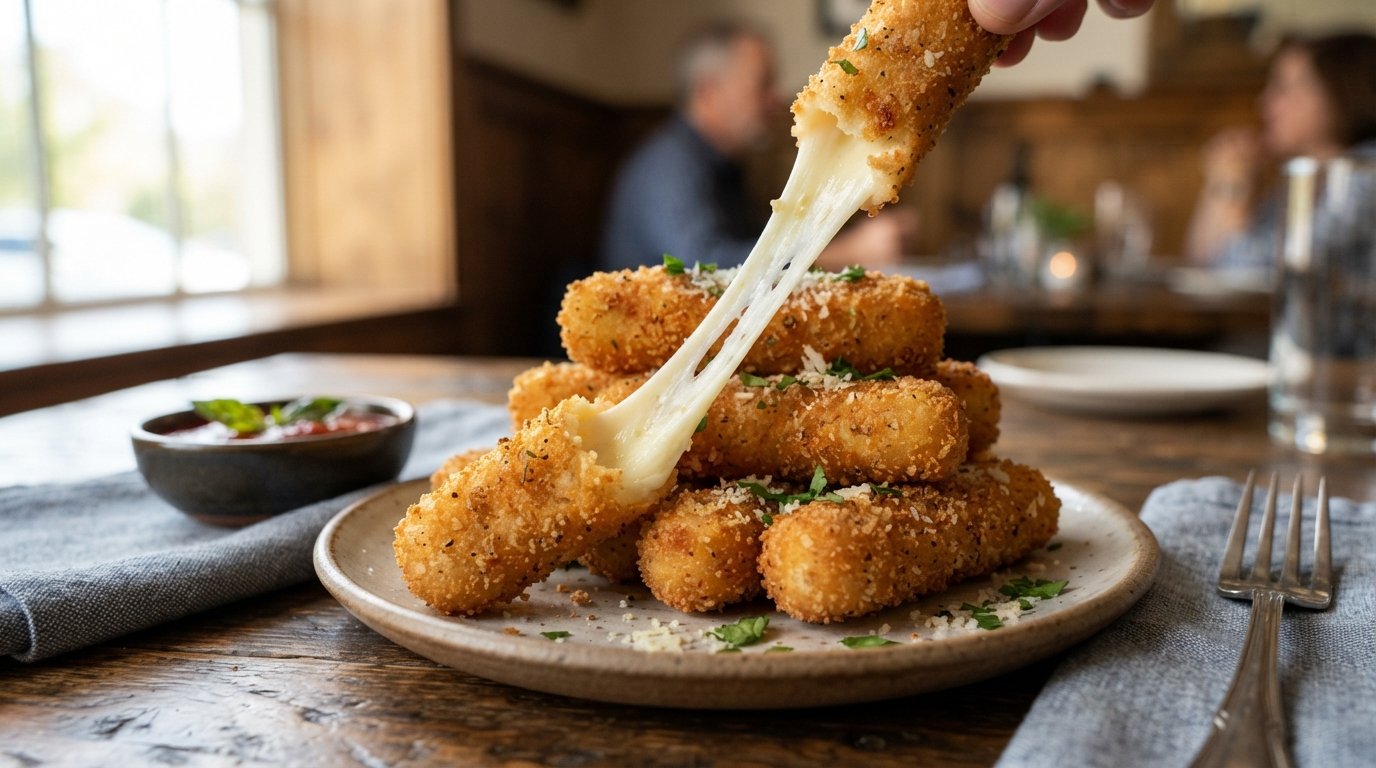
Crispy on the outside, soft and stretchy inside—these homemade fried cheese sticks deliver pure snack satisfaction in every bite. Made from a simple dough of soft cheese, egg, and flour, they fry up golden and irresistible in minutes. Perfect for parties, game nights, or anytime you crave something crunchy and cheesy.
Quick Recipe Summary
| Prep Time | Cook Time | Total Time | Servings | Cuisine | Course | Difficulty | Calories |
|---|---|---|---|---|---|---|---|
| 15 minutes | 10 minutes | 25 minutes | 4 (about 12–16 sticks) | American / Snack | Appetizer / Snack | Easy | ~180 kcal per stick |
These golden fried cheese sticks start with a quick soft-cheese dough that comes together in one bowl. Shaped into neat cylinders and fried until crisp and bubbly, they offer a light crunch outside and warm, creamy cheese flavor inside—no breadcrumbs needed.
Table of Contents
| Section |
|---|
| Introduction |
| Why This Recipe Works |
| Why You’ll Love This Recipe |
| Ingredient Notes |
| Kitchen Equipment |
| Preparation Information |
| Step-by-Step Instructions |
| Expert Tips |
| Common Mistakes |
| Recipe Variations |
| What to Serve With This Recipe |
| Make Ahead Tips |
| Meal Prep Tips |
| Storage Instructions |
| Reheating Instructions |
| Nutritional Information |
| Troubleshooting Guide |
| Frequently Asked Questions |
| Final Thoughts |
Introduction
Homemade fried cheese sticks are the ultimate easy appetizer when you want something crispy, cheesy, and ready fast. Unlike traditional breaded mozzarella sticks, this version uses a simple dough made from soft cheese, egg, and a touch of flour. The result is a golden exterior that shatters lightly and a warm, creamy interior that stays soft. Serve them hot in a paper cone for that classic snack-bar feel, and watch them disappear.
Why This Recipe Works
The soft cheese provides richness and stretch while the egg binds everything into a smooth, pliable dough. A small amount of flour gives just enough structure so the sticks hold their shape in hot oil without becoming dense. Frying at the right temperature creates rapid surface browning and a light crisp crust that protects the cheese inside. Because the dough is already flavored, every bite tastes cheesy through and through.
Why You’ll Love This Recipe
- Only three main ingredients plus oil
- Ready from bowl to plate in under 30 minutes
- No breadcrumbs or complicated coating steps
- Crispy outside, soft and creamy inside
- Perfect for dipping
- Easy to scale for a crowd
- Kid-friendly and party-ready
- Looks impressive served in a paper cone
Ingredient Notes
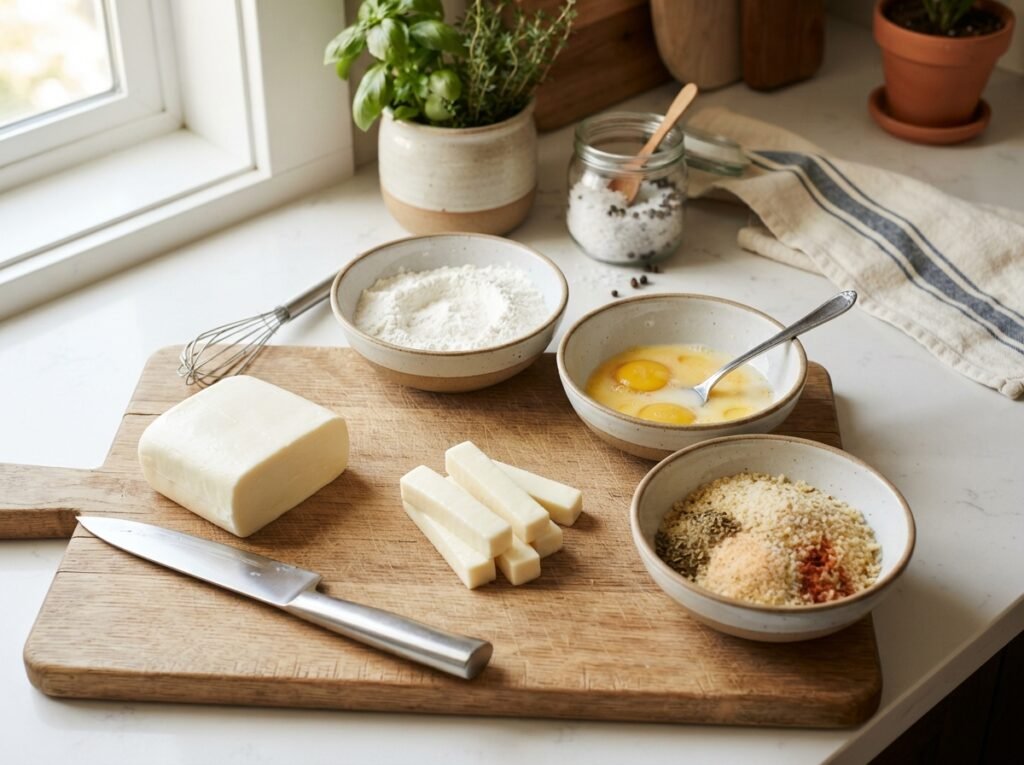
Soft cheese (8 oz / 225 g block, such as cream cheese) Purpose: Forms the creamy, flavorful base of the dough. Substitutions: Full-fat cream cheese works best; Neufchâtel or a soft farmer’s cheese can be used. Avoid very wet cheeses. Buying tips: Choose a firm block-style cream cheese, not the whipped tub variety. Storage: Keep refrigerated and use by the date on the package.
Egg (1 large) Purpose: Binds the dough and adds richness. Substitutions: One large egg is ideal; a flax egg will not provide the same structure. Buying tips: Room-temperature eggs mix more evenly. Storage: Refrigerate until ready to use.
All-purpose flour or cornstarch (about ¼–⅓ cup / 30–40 g) Purpose: Gives the dough structure so the sticks hold their shape while frying. Substitutions: Cornstarch creates a slightly lighter, crispier exterior; a gluten-free 1:1 flour blend also works. Buying tips: Spoon and level the flour for accuracy. Storage: Keep in an airtight container in a cool cupboard.
Neutral oil for frying (enough for ½–¾ inch depth) Purpose: Creates the golden, crispy crust. Substitutions: Vegetable, canola, sunflower, or peanut oil. Avoid strongly flavored oils. Buying tips: Choose an oil with a high smoke point. Storage: Store in a cool, dark place.
Optional salt or seasoning A small pinch of salt or garlic powder can be mixed into the dough if desired.
Kitchen Equipment
- Medium mixing bowl
- Spoon or spatula
- Black gloves or clean hands for shaping (optional but helpful)
- Sharp knife or bench scraper
- Large skillet or frying pan
- Fork or tongs for turning
- Paper towels for draining
- Paper cone or serving plate (optional)
Optional: Kitchen scale for consistent sizing, thermometer for oil temperature.
Preparation Information
- Prep Time: 15 minutes
- Cook Time: 10 minutes
- Total Time: 25 minutes
- Servings: 4 (makes 12–16 sticks)
Step-by-Step Instructions
Mix the Cheese Dough
Place the block of soft cheese in a mixing bowl. Crack in the egg and add the flour. Using a spoon or your hands, mix until a smooth, soft dough forms and no dry flour remains. The dough should feel pliable and slightly sticky but hold together when pressed.
Why it matters: Thorough mixing creates an even texture so the sticks fry uniformly. Visual cues: Pale yellow dough that comes away cleanly from the bowl sides. Texture cues: Soft and workable, similar to soft play-dough. Tip: If the dough feels too wet, add flour 1 teaspoon at a time. If too dry, a few drops of water or a touch more egg yolk help.
Knead Briefly
Press and fold the dough in the bowl for 30–60 seconds until it becomes smooth and uniform. Avoid over-kneading, which can make the sticks tough.
Why it matters: Light kneading develops just enough cohesion without activating too much gluten. Visual cues: Smooth surface with no cracks or dry spots.
Shape the Sticks
Divide the dough into equal portions (about 12–16). Roll each piece between your palms into a short, even cylinder roughly 2½–3 inches long and ½–¾ inch thick. Place them on a clean surface as you work.
Why it matters: Uniform size ensures even cooking. Visual cues: Smooth, cylindrical shapes with rounded ends. Tip: Lightly oil or flour your hands if the dough sticks.
Heat the Oil
Pour oil into a large skillet to a depth of about ½–¾ inch. Heat over medium heat until the oil reaches 350–365°F (175–185°C), or until a small piece of dough sizzles gently on contact.
Why it matters: Correct temperature gives a crisp exterior without absorbing excess oil. Visual cues: Oil shimmers; a test piece bubbles steadily but does not smoke.
Fry the Cheese Sticks
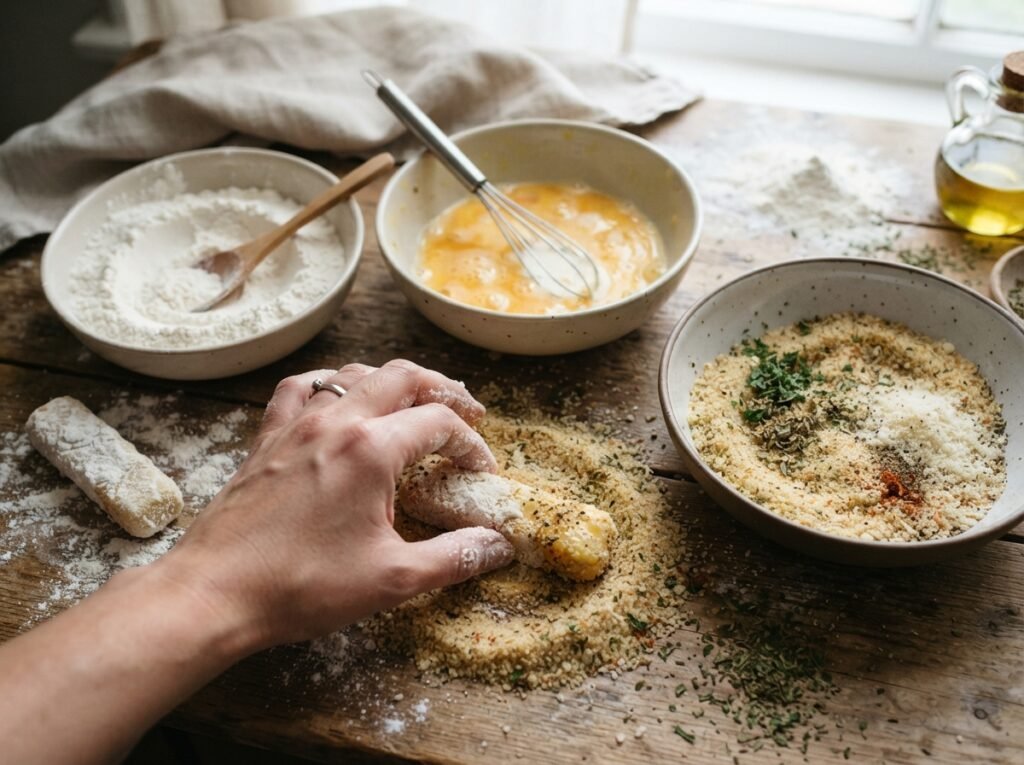
Carefully add the sticks in a single layer, leaving space between them. Fry 2–3 minutes per side, turning with a fork or tongs, until evenly golden brown and crisp. Work in batches if needed.
Why it matters: Turning ensures even browning and prevents one side from overcooking. Visual cues: Light golden color that deepens to a rich golden-brown; active bubbling that slows as moisture evaporates. Aroma: Toasty, cheesy fragrance. Doneness: Firm exterior that feels crisp when tapped; interior remains soft.
Drain and Serve
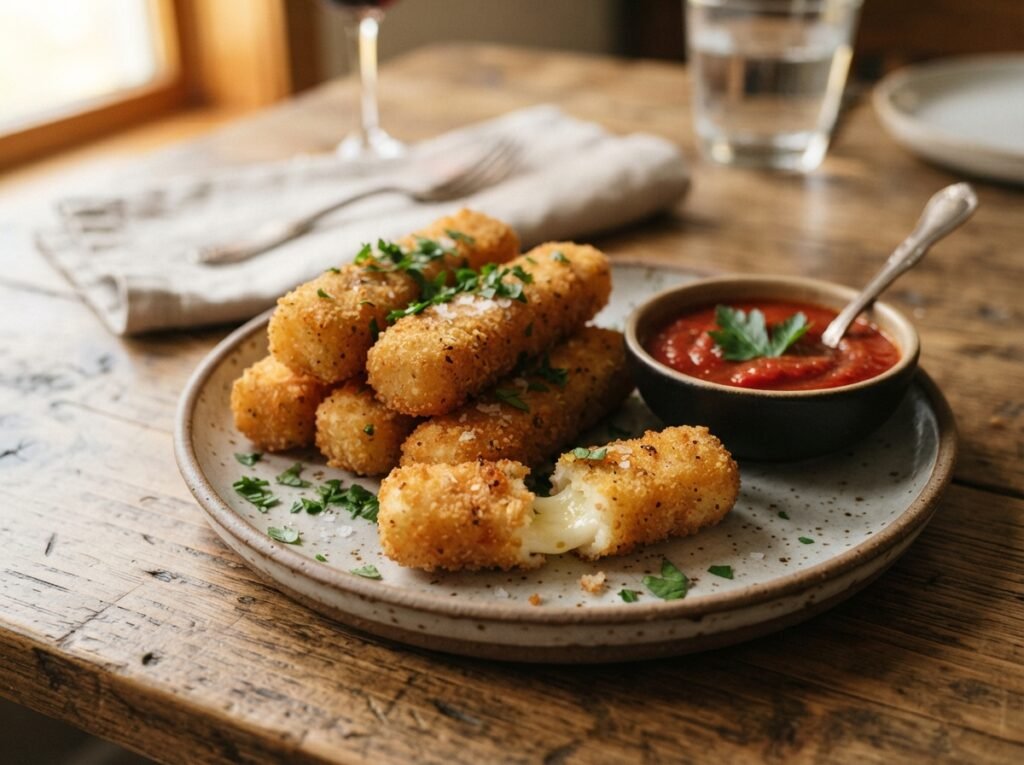
Transfer the fried sticks to a paper-towel-lined plate to remove excess oil. Serve immediately while hot and crisp, ideally in a paper cone for a fun presentation.
Why it matters: Draining keeps the crust light and prevents sogginess. Visual cues: Glossy golden surface with tiny bubbles of oil still visible.
Expert Tips
- Keep the dough cool; if it softens too much while shaping, chill it for 5–10 minutes.
- Fry in small batches so the oil temperature stays steady.
- A light dusting of flour on the sticks right before frying can add extra crispness.
- Serve within minutes of frying for the best texture contrast.
- For extra flavor, mix a pinch of garlic powder, smoked paprika, or dried herbs into the dough.
Common Mistakes
- Dough too sticky: Too little flour or warm cheese. Add flour gradually and chill the dough briefly.
- Sticks fall apart in oil: Dough not mixed thoroughly or oil too cool. Ensure the dough is cohesive and oil is hot enough.
- Greasy results: Oil temperature too low. Maintain 350–365°F and avoid overcrowding.
- Pale or uneven color: Oil not hot enough or sticks not turned. Test with a small piece first.
- Dense texture: Over-kneading or too much flour. Mix just until smooth.
Recipe Variations
- Spicy: Add a pinch of cayenne or finely chopped jalapeño to the dough.
- Extra Cheesy: Fold in a handful of shredded mozzarella or cheddar before shaping.
- Herb: Mix in dried oregano, parsley, or Italian seasoning.
- Garlic: Add garlic powder or finely minced fresh garlic.
- Sweet version: Skip savory seasonings and roll the hot sticks in cinnamon sugar.
- Gluten-free: Use a gluten-free flour blend or cornstarch.
- Air-fryer: Lightly spray shaped sticks with oil and air-fry at 375°F for 8–10 minutes, shaking halfway.
What to Serve With This Recipe
- Classic marinara or pizza sauce for dipping
- Ranch dressing or garlic aioli
- Sweet chili sauce
- Simple green salad
- Fresh vegetable sticks
- Cold beer, sparkling lemonade, or iced tea
- Light fruit dessert to balance the richness
Make Ahead Tips
Mix and shape the sticks up to 4 hours ahead. Arrange on a parchment-lined tray, cover, and refrigerate. Fry just before serving for maximum crispness.
Meal Prep Tips
Shape a double batch and freeze the uncooked sticks on a tray until solid, then transfer to a freezer bag. Fry from frozen, adding 1–2 extra minutes.
Storage Instructions
Best eaten fresh. Leftovers can be refrigerated in an airtight container up to 2 days. Freezing after frying is possible but the crust softens; re-crisp before serving.
Reheating Instructions
- Oven or toaster oven: 375°F for 5–7 minutes until hot and crisp.
- Air Fryer: 350°F for 3–4 minutes.
- Stovetop: Reheat gently in a lightly oiled skillet over medium heat, turning often.
- Microwave: Not recommended—makes the exterior soft.
Nutritional Information
Approximate values per stick (based on 14 sticks): Calories: 180 | Protein: 4 g | Carbohydrates: 6 g | Fat: 16 g | Fiber: 0 g | Sugar: 1 g | Sodium: 180 mg
Values vary with exact cheese brand, oil absorption, and portion size.
Troubleshooting Guide
- Dough too soft to shape: Chill 10 minutes or add a teaspoon of flour.
- Sticks burst or leak: Oil too hot or dough too thin in spots. Lower heat slightly and shape more evenly.
- Not crispy enough: Oil temperature dropped or sticks were crowded. Fry in smaller batches and ensure oil is hot.
- Bland flavor: Add a pinch of salt or seasonings to the dough next time.
- Overly browned exterior, soft interior: Oil too hot. Reduce heat and fry a minute longer at moderate temperature.
Frequently Asked Questions
Can I use mozzarella instead of cream cheese? This recipe relies on soft cheese for the dough. Traditional mozzarella sticks require a different breading method.
Why did my sticks absorb too much oil? The oil was likely not hot enough. Always test with a small piece first.
Can I bake these instead of frying? Baking yields a softer result. For best texture, frying or air-frying is preferred.
How do I keep them crispy for a party? Fry in batches and keep finished sticks in a low oven (200°F) on a wire rack for up to 20 minutes.
Is the dough supposed to be sticky? Slightly sticky is normal. Flour your hands lightly if needed.
Can I make these gluten-free? Yes—substitute a 1:1 gluten-free flour blend or use cornstarch.
What oil is best for frying? Any neutral high-smoke-point oil such as canola, vegetable, or sunflower.
How many sticks does one batch make? Typically 12–16, depending on the size you roll them.
Final Thoughts
Homemade fried cheese sticks prove that a few simple ingredients can create something truly crave-worthy. The combination of a golden, crisp exterior and warm, soft cheese inside makes them perfect for sharing—or keeping all to yourself. Whip up a batch the next time you need a quick appetizer or satisfying snack, then let us know how they turned out. Leave a comment or rating below and share your favorite dipping sauce. Enjoy every crispy, cheesy bite!