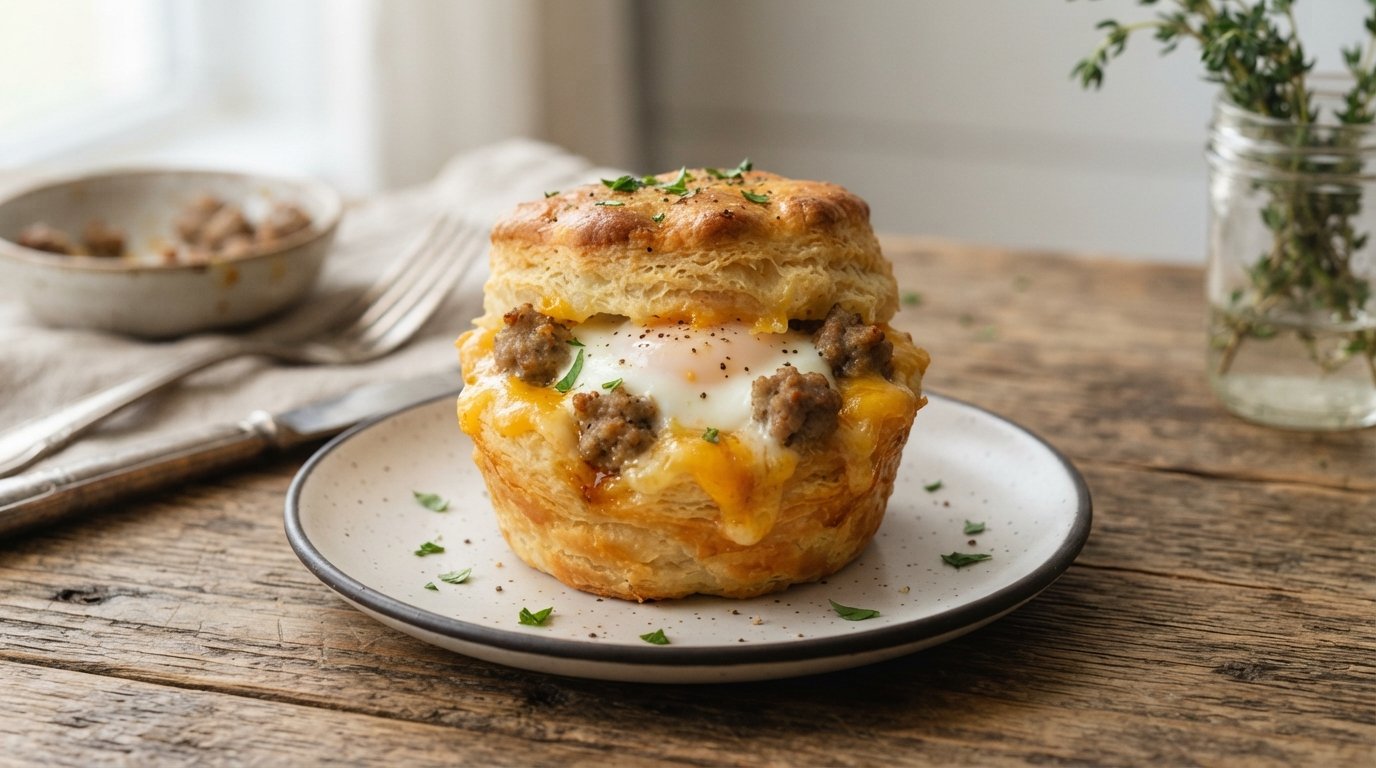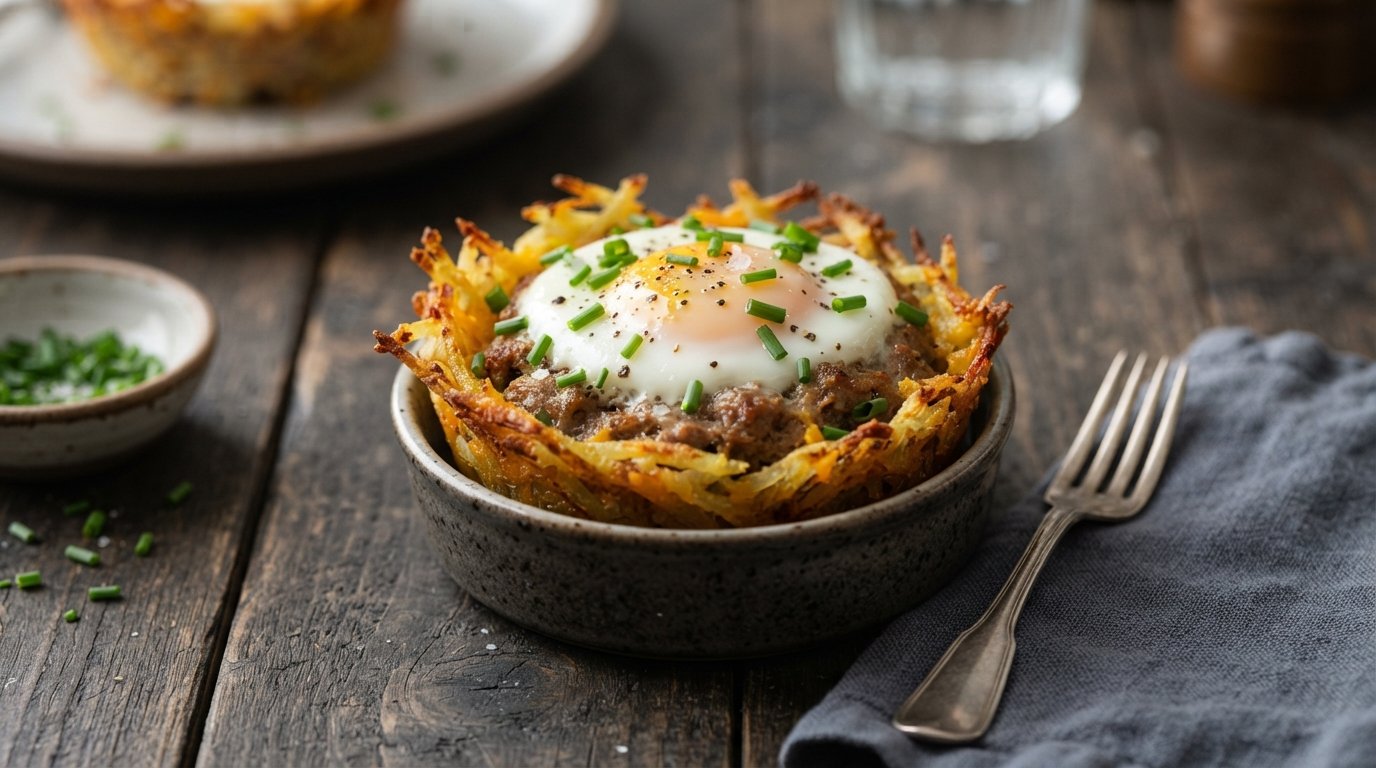
These golden, crispy potato nests filled with juicy chicken and stretchy melted cheese are the ultimate comfort food upgrade. Made in a muffin tin for perfect individual portions, they deliver crunchy edges, creamy centers, and serious cheese pulls in every bite.
Quick Recipe Summary
| Category | Details |
|---|---|
| Prep Time | 20 minutes |
| Cook Time | 25–30 minutes |
| Total Time | 45–50 minutes |
| Servings | 6–8 nests |
| Cuisine | American / Comfort Food |
| Course | Appetizer, Main, Snack |
| Difficulty | Easy |
| Calories (approx) | 280–320 per nest |
Crispy shredded-potato cups hold a savory chicken-and-cheese filling that stays moist and gooey after baking. The contrast of crunchy exterior and stretchy, cheesy interior makes these nests perfect for weeknight dinners, potlucks, or game-day spreads.
Table of Contents
| Section |
|---|
| Introduction |
| Why This Recipe Works |
| Why You’ll Love This Recipe |
| Ingredient Notes |
| Kitchen Equipment |
| Preparation Information |
| Step-by-Step Instructions |
| Expert Tips |
| Common Mistakes |
| Recipe Variations |
| What to Serve With This Recipe |
| Make Ahead Tips |
| Meal Prep Tips |
| Storage Instructions |
| Reheating Instructions |
| Nutritional Information |
| Troubleshooting Guide |
| Frequently Asked Questions |
| Final Thoughts |
Introduction
Cheesy chicken potato nests turn simple shredded potatoes into golden, edible cups that cradle tender chicken and melted cheese. The muffin-tin method creates perfectly portioned, crispy-edged nests that look impressive yet require almost no special skill. Within the first bite you get crunch, creaminess, and a long cheese pull — exactly what makes these a repeat request at the table. Whether you serve them as a main with a simple salad or as a hearty appetizer, they deliver big flavor with minimal fuss.
Why This Recipe Works
The egg and flour bind the shredded potatoes so they hold their shape while baking into sturdy cups. Pressing the mixture firmly into the muffin tin creates thin, even walls that crisp on the outside yet stay tender inside. The chicken filling stays moist because it is mixed with a little creamy element and cheese before baking; the cheese melts into the filling and forms a golden top layer. Baking at a moderate-high temperature simultaneously sets the potato structure and browns the cheese without drying out the chicken.
Why You’ll Love This Recipe
- Crispy potato exterior with a soft, cheesy center
- Individual portions that look restaurant-ready
- Uses everyday ingredients you probably already have
- Ready in under an hour from start to finish
- Kid-friendly and highly shareable
- Excellent for meal prep or freezing
- Naturally gluten-free adaptable with simple swaps
Ingredient Notes
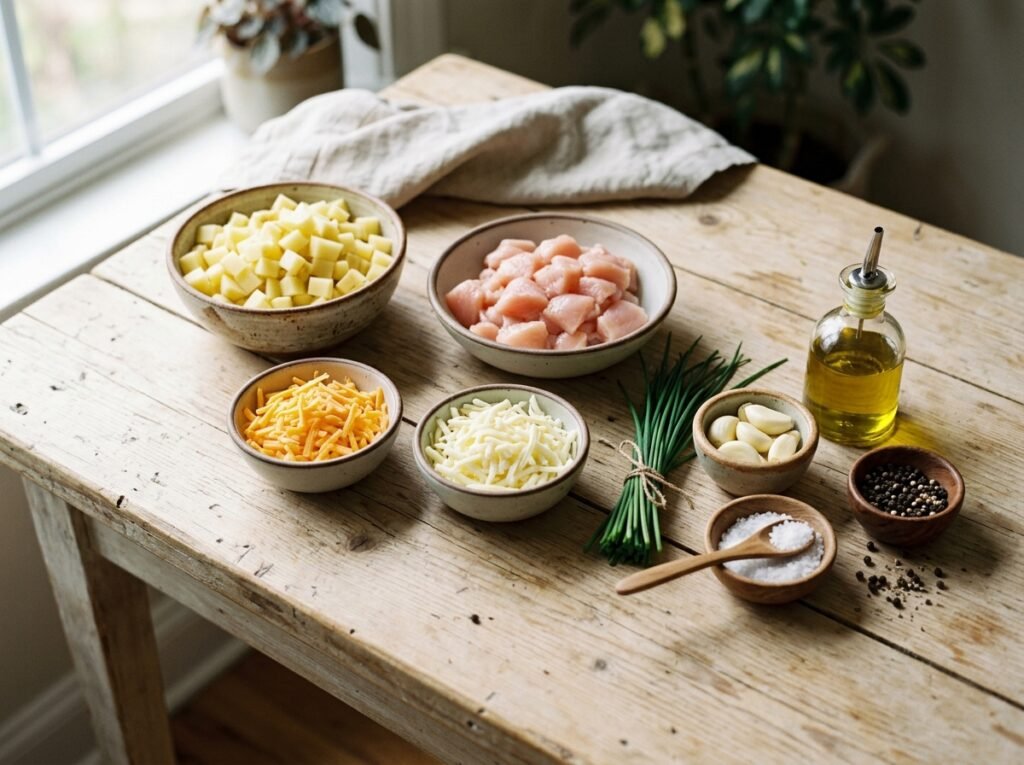
Shredded potatoes Purpose: Form the crispy nest structure. Substitutions: Pre-shredded frozen hash browns (thawed and well-drained) or sweet potatoes for a different flavor. Buying tips: Choose firm, starchy potatoes such as Russet for the best crisp. Storage: Shredded potatoes oxidize quickly; use within a few hours or store submerged in cold water in the fridge for up to 24 hours.
Egg Purpose: Binds the potato mixture so the nests hold together. Substitutions: Flax egg (1 tbsp ground flax + 3 tbsp water) for egg-free. Buying tips: Fresh large eggs work best. Storage: Keep refrigerated until use.
All-purpose flour Purpose: Absorbs moisture and strengthens the potato cups. Substitutions: Gluten-free all-purpose blend or cornstarch (use slightly less). Buying tips: Any standard flour is fine. Storage: Store in a cool, dry place.
Boneless chicken Purpose: Provides the hearty, protein-rich filling. Substitutions: Cooked leftover chicken, turkey, or diced ham. Buying tips: Use breast or thigh meat; dice into small, even pieces for quick cooking. Storage: Keep raw chicken refrigerated and use within 1–2 days.
Onion Purpose: Adds savory depth and slight sweetness. Substitutions: Shallots or green onions. Buying tips: Yellow or white onion works well. Storage: Store whole onions in a cool, dry place.
Cheese (cheddar or similar melting cheese) Purpose: Creates the stretchy, gooey texture and golden top. Substitutions: Monterey Jack, mozzarella, or a blend. Buying tips: Freshly grated melts better than pre-shredded. Storage: Keep wrapped in the fridge.
Creamy element (sour cream or similar) Purpose: Keeps the chicken filling moist and adds richness. Substitutions: Greek yogurt, mayonnaise, or cream cheese. Buying tips: Full-fat gives the best texture. Storage: Refrigerate after opening.
Green onions / chives Purpose: Fresh, bright garnish and mild onion flavor. Substitutions: Parsley or finely chopped scallions. Buying tips: Look for vibrant green tops. Storage: Store in a glass of water in the fridge or wrapped in a damp paper towel.
Kitchen Equipment
Required
- Large mixing bowls
- Box grater or food processor
- 12-cup muffin tin
- Measuring cups and spoons
- Spoon or spatula
- Oven
Optional but helpful
- Kitchen scale
- Parchment liners or non-stick spray
- Microplane for extra-fine cheese
- Instant-read thermometer
Preparation Information
- Prep Time: 20 minutes
- Cook Time: 25–30 minutes
- Total Time: 45–50 minutes
- Servings: 6–8 nests
Step-by-Step Instructions
Prepare the Potato Mixture
Place the shredded potatoes in a large bowl. Add the flour and egg. Mix thoroughly until every strand is coated. The mixture should feel slightly sticky but not wet. This binding step is essential so the nests hold their shape and crisp properly.
Season and Press into Muffin Tin
Lightly grease a muffin tin. Divide the potato mixture evenly among the cups. Using your fingers or the back of a spoon, press the mixture firmly against the bottom and up the sides to form thin, even cups. Leave a well in the center for the filling. Firm pressure creates crisp edges and prevents the nests from collapsing.
Make the Chicken Filling
In a separate bowl combine diced chicken, finely chopped onion, a spoonful of the creamy element, and a portion of the shredded cheese. Season lightly with salt and pepper. The creamy element keeps the chicken moist during baking while the cheese begins melting into the filling.
Fill the Nests
Spoon the chicken mixture into each potato cup, filling almost to the top. Sprinkle a generous layer of remaining cheese over each nest. The extra cheese forms a golden, stretchy lid that seals in the juices.
Bake Until Golden
Place the muffin tin in a preheated oven at 375–400°F (190–200°C). Bake 25–30 minutes until the potato edges are deep golden and crispy and the cheese is melted and lightly browned. Visual cues: the nests should pull slightly away from the tin sides and the cheese should show a few golden spots.
Cool Briefly and Garnish
Remove from the oven and let the nests rest in the tin for 3–5 minutes. This short rest firms the structure so they release cleanly. Gently loosen the edges with a thin spatula or knife, then lift out. Sprinkle with chopped green onions or chives just before serving.
Expert Tips
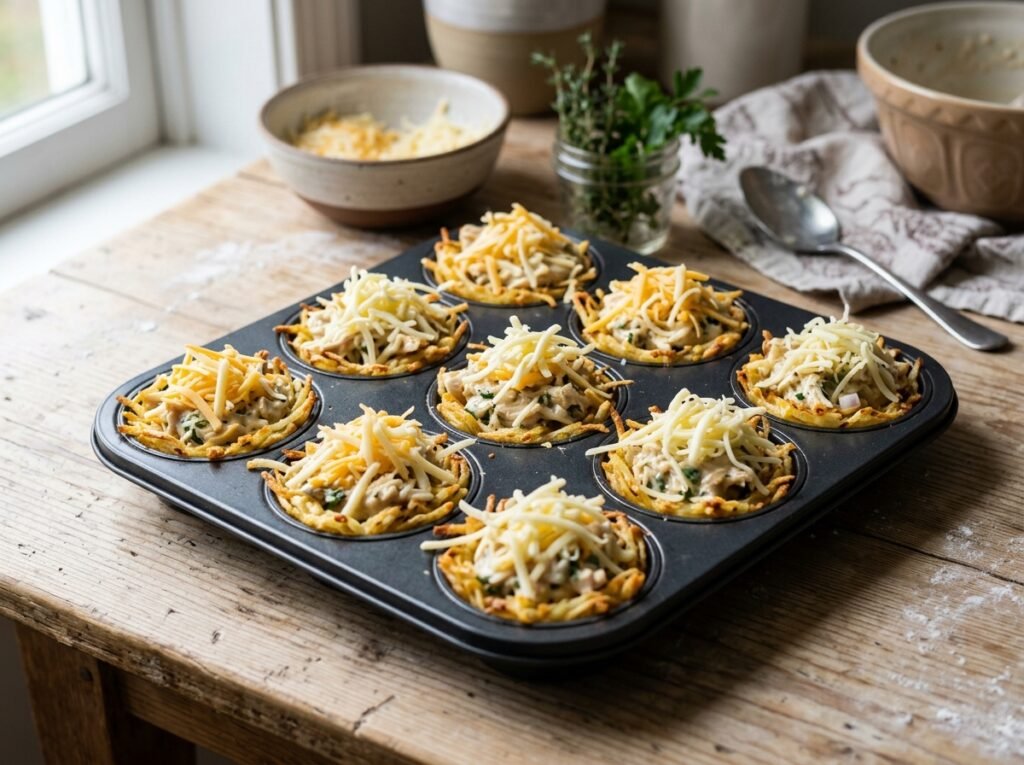
Press the potato mixture firmly and evenly — thin walls crisp better than thick ones. Pat shredded potatoes dry if they release excess liquid; too much moisture prevents browning. Use freshly grated cheese for superior melt and stretch. Do not overfill the cups or the filling may bubble over. Rotate the tin halfway through baking for even color. For extra-crisp bottoms, place the muffin tin on a preheated baking sheet.
Common Mistakes
Wet potato mixture Why it happens: Potatoes release water after shredding. Prevention: Squeeze excess liquid in a clean towel before mixing. Fix: Add a little extra flour if the mixture still feels soggy.
Nests sticking to the tin Why it happens: Insufficient greasing or under-baking. Prevention: Grease thoroughly or use a non-stick tin. Fix: Run a thin knife around the edges while still warm.
Dry chicken filling Why it happens: Overcooking or insufficient creamy element. Prevention: Dice chicken small and mix with a moist binder. Fix: Serve with a side of sour cream or gravy.
Cheese not melting properly Why it happens: Pre-shredded cheese contains anti-caking agents. Prevention: Grate your own. Fix: Broil for 1–2 minutes at the end if needed.
Recipe Variations
Spicy — Add diced jalapeños or a pinch of cayenne to the chicken mixture. Vegetarian — Replace chicken with sautéed mushrooms, spinach, and extra cheese. Extra Cheesy — Mix cheese into the potato mixture as well as the filling. Healthy — Use Greek yogurt instead of sour cream and reduce cheese slightly. Low-Carb — Swap flour for almond flour and use cauliflower rice mixed with a little potato. High-Protein — Add a spoonful of cottage cheese to the filling. Breakfast Version — Use scrambled eggs and cooked bacon in place of chicken.
What to Serve With This Recipe
- Simple green salad with lemon vinaigrette
- Steamed broccoli or roasted asparagus
- Sour cream, ranch, or garlic aioli for dipping
- Coleslaw for crunch and freshness
- Light white wine or sparkling water with lemon
- Fresh fruit for a sweet contrast after the savory nests
Make Ahead Tips
Prepare the potato cups and filling separately up to one day ahead. Store covered in the refrigerator. Assemble and bake just before serving for maximum crispness.
Meal Prep Tips
Bake a full batch, cool completely, then store in airtight containers. Reheat individual nests as needed throughout the week. They travel well for lunches when packed with a small container of dip.
Storage Instructions
Refrigerator: Store cooled nests in an airtight container for up to 3–4 days. Freezer: Flash-freeze on a tray, then transfer to a freezer bag for up to 2 months. Separate layers with parchment to prevent sticking.
Reheating Instructions
Oven: 350°F (175°C) for 10–12 minutes until heated through and re-crisped. Air Fryer: 350°F for 5–7 minutes. Microwave: 45–60 seconds (texture will be softer). Stovetop: Warm gently in a covered skillet with a splash of water to create steam.
Nutritional Information (Approximate per nest)
- Calories: 280–320
- Protein: 18–22 g
- Carbohydrates: 18–22 g
- Fat: 14–18 g
- Fiber: 2 g
- Sugar: 1–2 g
- Sodium: 350–450 mg
Values vary based on exact ingredients and portion size.
Troubleshooting Guide
Potato nests fall apart Likely cause: Not enough binding or insufficient pressing. Solution: Ensure the egg and flour are fully mixed and press firmly into the tin.
Cheese leaks out Likely cause: Overfilling or cheese placed only on top without mixing some into the filling. Solution: Mix a portion of cheese into the chicken mixture and leave a little headspace.
Undercooked centers Likely cause: Oven temperature too low or nests too thick. Solution: Use an oven thermometer and keep potato walls thin.
Overly dry texture Likely cause: Over-baking or lean chicken without enough moisture. Solution: Check at 25 minutes and add a bit more creamy element next time.
Frequently Asked Questions

Can I use frozen hash browns? Yes. Thaw completely and squeeze out as much liquid as possible before mixing with the egg and flour.
Do I need to cook the chicken first? No. Small dice will cook through during the baking time. If using larger pieces, partially cook them first.
Can these be made gluten-free? Absolutely. Replace the flour with a gluten-free blend or cornstarch.
How do I get the longest cheese pull? Use a good melting cheese such as cheddar or mozzarella and serve the nests while still hot.
Are they freezer-friendly? Yes. Freeze after baking and cooling. Reheat from frozen in the oven for best texture.
Can I make them in a regular baking dish instead of a muffin tin? You can form free-form nests or use a larger dish, but the muffin tin gives the best individual cups and crispy sides.
What if my potatoes turn gray? They oxidize when exposed to air. Work quickly or keep them in cold water until ready to mix.
How spicy can I make them? Add chili flakes, hot sauce, or diced jalapeños to the filling to taste. Start mild if serving a mixed crowd.
Final Thoughts
Cheesy chicken potato nests prove that a handful of everyday ingredients can create something truly crave-worthy. The crispy potato shells, juicy chicken, and molten cheese come together in a package that feels special yet stays simple enough for any night of the week. Once you pull one apart and watch the cheese stretch, you’ll understand why these nests disappear so quickly. Give them a try, then leave a comment or rating to let others know how they turned out in your kitchen. Enjoy every crispy, cheesy bite!