| Quick Recipe Summary | |
|---|---|
| Prep Time | 20 minutes |
| Cook Time | 20–25 minutes |
| Total Time | 40–45 minutes |
| Servings | 6–8 (makes 10–12 cups) |
| Cuisine | American / Comfort Food |
| Course | Appetizer, Side Dish, Light Main |
| Difficulty | Easy |
| Calories | Approximately 210–240 per cup |
Table of Contents
- Introduction
- Why This Recipe Works
- Why You’ll Love This Recipe
- Ingredient Notes
- Kitchen Equipment
- Preparation Information
- Step-by-Step Instructions
- Expert Tips
- Common Mistakes
- Recipe Variations
- What to Serve With This Recipe
- Make Ahead Tips
- Meal Prep Tips
- Storage Instructions
- Reheating Instructions
- Nutritional Information
- Troubleshooting Guide
- Frequently Asked Questions
- Final Thoughts
Introduction
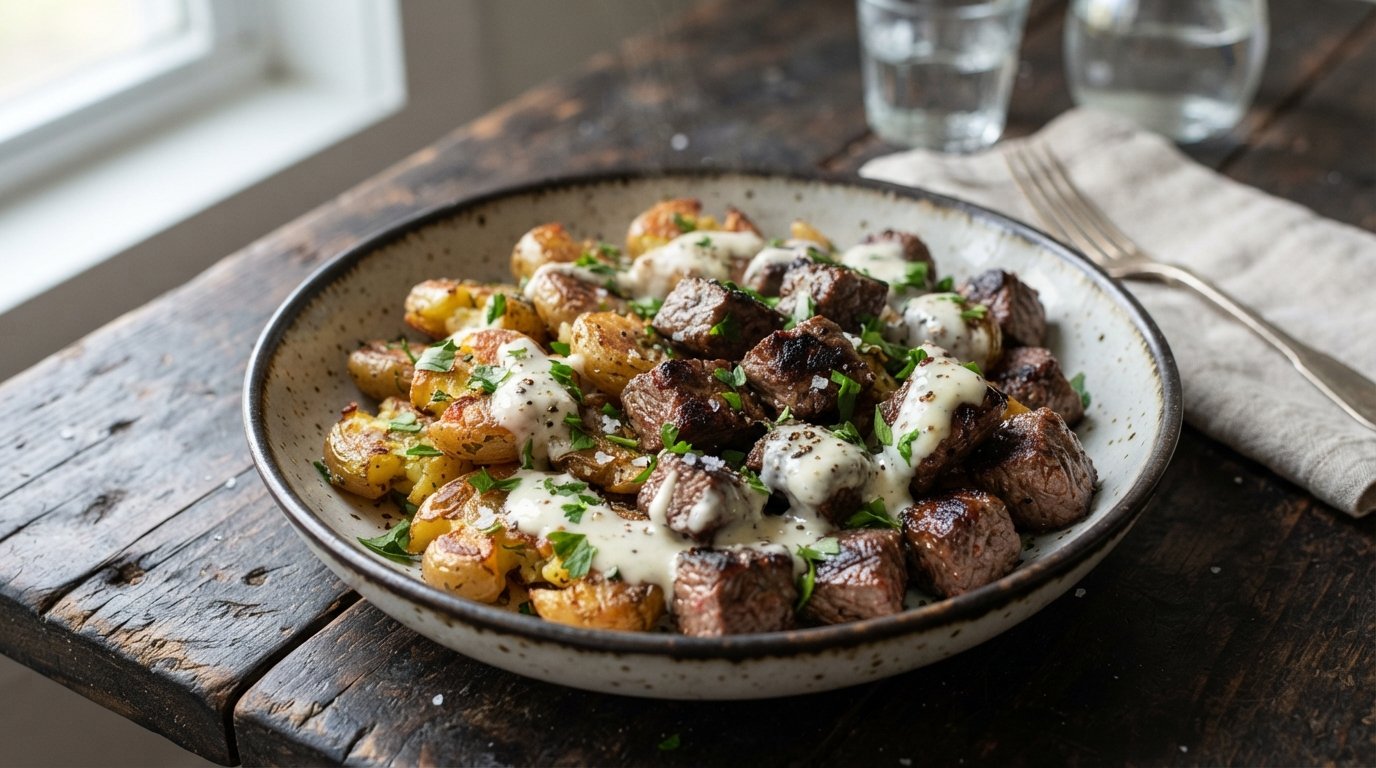
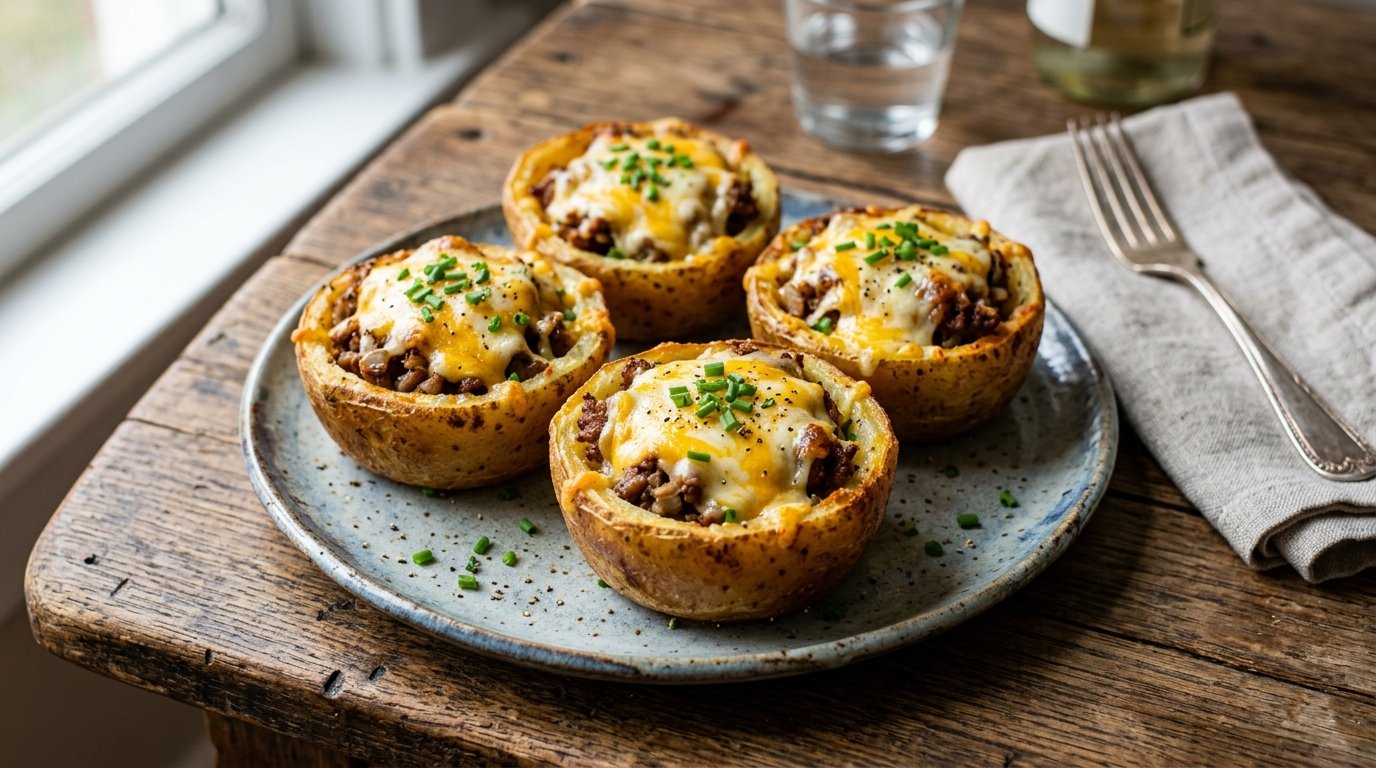
These cheesy stuffed potato cups turn humble baby potatoes into golden, crispy vessels filled with savory ground beef, a cool dollop of sour cream, and melted cheese. The result is a bite-sized, crowd-pleasing dish that works as an appetizer, side, or light main course. By pressing cooked potatoes into muffin cups and loading them with simple toppings, you get the best of both worlds: crispy potato edges and a creamy, cheesy center. Everything comes together in one baking sheet with almost no fuss, making these perfect for weeknights, game days, or casual entertaining.
Why This Recipe Works
The silicone muffin tin creates perfectly shaped potato cups that hold their filling without collapsing. Softening the potatoes first allows them to smash easily into a cup shape while keeping the skins intact for structure and flavor. The ground beef adds hearty protein and savory depth, while the sour cream brings cool contrast and moisture. Cheese melts over the top, sealing everything together and creating those irresistible golden, stretchy edges. Baking at the right temperature crisps the potato exteriors without drying out the filling. The combination of textures—crispy, creamy, and cheesy—makes every bite satisfying.
Why You’ll Love This Recipe
- Ready in about 45 minutes from start to finish
- Uses simple, everyday ingredients
- Naturally portion-controlled and perfect for sharing
- Crispy edges with a soft, flavorful center
- Easy to customize with different fillings
- Kid-friendly and adult-approved
- Great for meal prep or make-ahead entertaining
- Minimal cleanup thanks to the muffin tin
Ingredient Notes
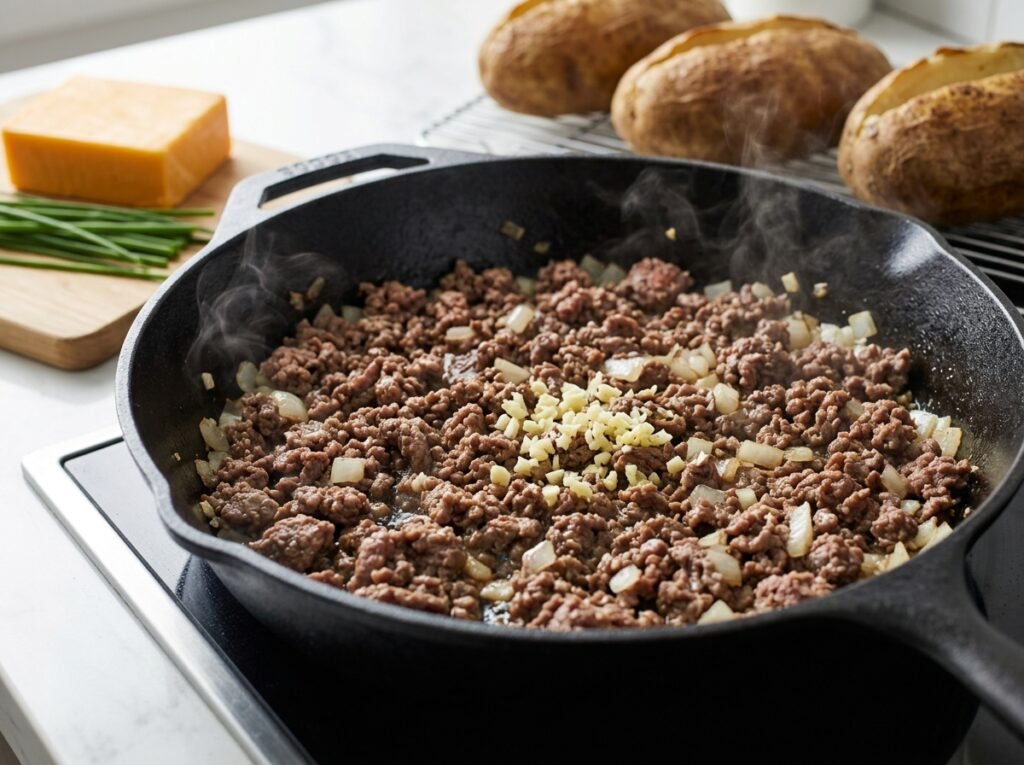
Baby potatoes (or small yellow potatoes) These are ideal because they fit neatly into muffin cups and have thin skins that crisp beautifully. Choose firm, evenly sized potatoes about 2 inches long. Store in a cool, dark place. Larger potatoes can be halved if needed.
Ground beef Cooked and seasoned ground beef forms the hearty filling. Use 80/20 or 85/15 for good flavor without excess grease. Drain well after cooking. Ground turkey, chicken, or plant-based crumbles work as substitutes.
Sour cream A spoonful adds cool creaminess that balances the savory beef and melted cheese. Full-fat gives the best texture. Greek yogurt can be used for a lighter option.
Shredded cheese Mozzarella or a mild cheddar melts smoothly and creates those desirable stretchy strands. Freshly shredded cheese melts better than pre-shredded. A Mexican blend or Monterey Jack also works well.
Red bell pepper Thin strips or small pieces add color, slight sweetness, and a fresh crunch. Any color bell pepper can be used.
Oil or cooking spray A light coating helps the potato skins crisp and prevents sticking.
Salt and pepper Essential for seasoning the potatoes and beef.
Kitchen Equipment
- 12-cup silicone muffin tin (preferred for easy release)
- Rimmed baking sheet (to support the muffin tin)
- Tall drinking glass or similar flat-bottomed tool for smashing
- Spoon for filling
- Mixing bowl (for the cooked beef if needed)
- Knife and cutting board
Optional: potato masher (if you prefer not to use a glass), parchment paper.
Preparation Information
- Prep Time: 20 minutes
- Cook Time: 20–25 minutes
- Total Time: 40–45 minutes
- Servings: 6–8 (makes 10–12 potato cups)
Step-by-Step Instructions
Cook the Potatoes Until Tender
Place the baby potatoes in a pot of salted water and bring to a boil. Cook until they are fork-tender but not falling apart, about 12–15 minutes depending on size. Drain well and let them cool just enough to handle. This step is essential—the potatoes must be soft enough to smash into cups without breaking the skins.
Prepare the Muffin Tin
Place a silicone muffin tin on a rimmed baking sheet. Lightly oil or spray the cups. This setup keeps the tin stable and catches any drips while making cleanup easy.
Smash the Potatoes into Cups
Place one cooked potato into each muffin cup. Take a tall glass and firmly press the bottom of the glass onto each potato, pushing it down and outward to form a cup shape with raised edges. The potato should fill the bottom and sides of the cup. Work gently but firmly so the skins stay intact. This creates the perfect vessel for the filling.
Fill with Ground Beef
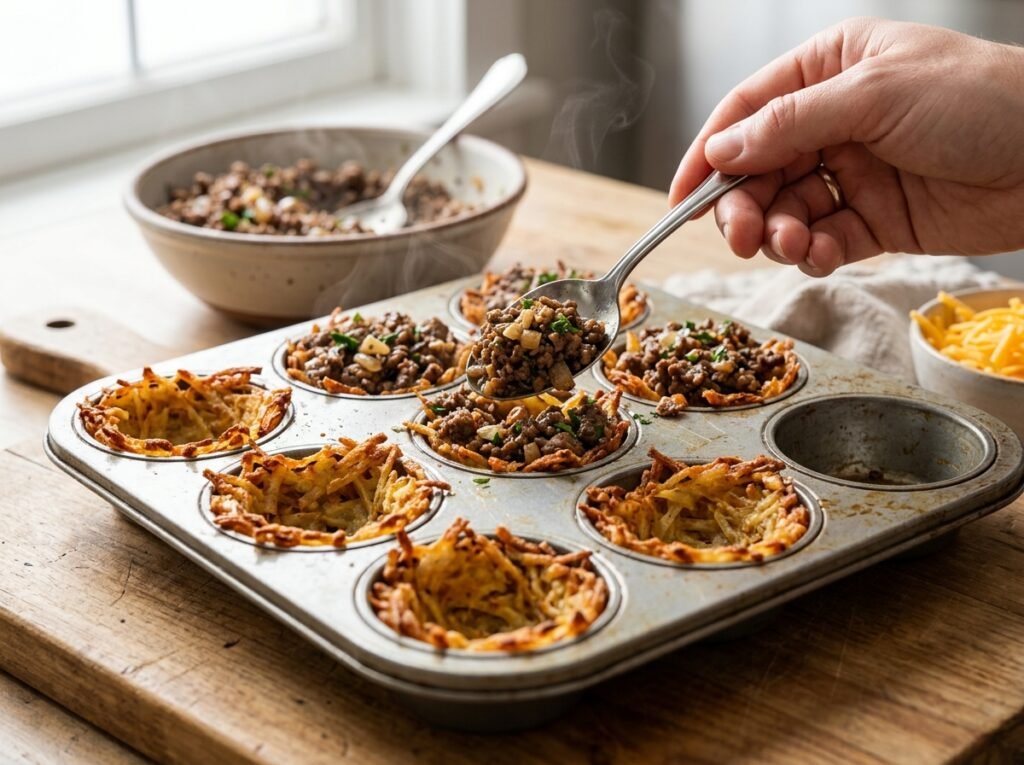
Spoon a generous amount of cooked, seasoned ground beef into each potato cup. Press it lightly so it sits evenly. The beef should come close to the top but leave a little room for the remaining toppings.
Add Sour Cream
Place a small dollop of sour cream in the center of the beef in each cup. The cool creaminess will melt slightly during baking and keep the filling moist.
Top with Cheese and Pepper
Sprinkle shredded cheese generously over each cup so it covers the sour cream and beef. Add a few thin strips or small pieces of red bell pepper on top for color and freshness. The cheese will melt and brown, holding everything together.
Bake Until Golden and Bubbly
Place the baking sheet in a preheated 400°F (200°C) oven. Bake for 18–22 minutes, or until the cheese is fully melted and golden in spots and the potato edges are crisp and lightly browned. The tops should look bubbly and appetizing. Remove from the oven and let the cups rest for 2–3 minutes before carefully lifting them out.
Serve
Transfer the stuffed potato cups to a serving plate. They are best enjoyed hot while the cheese is still stretchy and the potatoes are crispy.
Expert Tips
- Choose potatoes that are similar in size so they cook and smash evenly.
- A silicone muffin tin releases the cups much more easily than metal.
- Season the ground beef well while cooking—it is the main flavor base.
- Do not overfill the cups or the cheese may overflow excessively.
- For extra crispiness, brush the potato edges lightly with oil before baking.
- Let the finished cups rest a couple of minutes; they firm up and are easier to remove.
- If the potatoes resist smashing, they need a bit more cooking time.
Common Mistakes
Potatoes crack or fall apart when smashed They were either undercooked or overcooked. Aim for fork-tender but still holding their shape. Let them cool slightly before smashing.
Cups stick to the tin The muffin cups were not lightly oiled, or a metal tin was used without proper greasing. Silicone is far more forgiving.
Soggy bottoms Potatoes were not drained well enough, or the oven temperature was too low. Make sure potatoes are dry before smashing and bake at 400°F.
Cheese burns before potatoes crisp The oven rack was too high or the cheese was added too early in a very hot oven. Bake on the middle rack and check at the 18-minute mark.
Filling overflows Too much beef or sour cream was added. Leave a little headspace for the cheese.
Recipe Variations
- Spicy: Add chili powder or diced jalapeños to the ground beef and top with a few slices of fresh chili.
- Vegetarian: Replace the beef with seasoned black beans, lentils, or sautéed mushrooms.
- Chicken: Use cooked shredded chicken or ground chicken instead of beef.
- Extra Cheesy: Add a second layer of cheese or mix cream cheese into the sour cream.
- Breakfast Style: Fill with scrambled eggs, cooked sausage, and cheese.
- Loaded: Top with chopped green onions, crumbled bacon, or a drizzle of hot sauce after baking.
- Healthier: Use ground turkey, Greek yogurt instead of sour cream, and reduced-fat cheese.
- Low-Carb Option: Not ideal as written, but you can serve fewer potato cups alongside a big salad.
What to Serve With This Recipe
- Simple green salad with vinaigrette
- Steamed broccoli or roasted vegetables
- Coleslaw or cucumber salad
- Garlic bread or dinner rolls
- Sour cream or salsa on the side for dipping
- A light beer or sparkling water with lime
Make Ahead Tips
Cook and smash the potatoes up to one day ahead. Store the formed cups covered in the refrigerator. Cook the ground beef ahead as well. Assemble and bake just before serving for the best texture.
Meal Prep Tips
These reheat reasonably well. Bake a full batch, cool completely, and store in an airtight container. Reheat in the oven or air fryer to restore crispiness. They make a convenient high-protein snack or lunch component.
Storage Instructions
Cool completely, then store in an airtight container in the refrigerator for up to 3 days. Freezing is possible but the texture of the potato softens; freeze on a tray first, then transfer to a freezer bag for up to 1 month.
Reheating Instructions
- Oven (best method): Place on a baking sheet at 350°F (175°C) for 8–10 minutes until heated through and crisp.
- Air Fryer: 350°F for 4–6 minutes.
- Microwave: Use only if necessary; heat in 30-second intervals. The potatoes will be softer.
- Stovetop: Not recommended.

Nutritional Information
Approximate values per stuffed potato cup (based on 12 cups):
- Calories: 210–240
- Protein: 11–13 g
- Carbohydrates: 16–18 g
- Fat: 12–14 g
- Fiber: 1.5–2 g
- Sugar: 1–2 g
- Sodium: 280–350 mg (varies with seasoning and cheese)
Values are estimates and will change with exact ingredients and portion sizes.
Troubleshooting Guide
Potatoes won’t form a good cup They need more cooking time. Return them to boiling water for a few extra minutes until very tender.
Cheese slides off The sour cream or beef surface was too wet. Pat the beef dry and use a thicker dollop of sour cream.
Edges are pale instead of golden Bake a few minutes longer or switch to broil for the last 1–2 minutes, watching closely.
Cups collapse when removed They needed a longer rest after baking, or the potatoes were too soft. Let them sit 3 minutes before lifting.
Frequently Asked Questions
Do I have to use a silicone muffin tin? It is highly recommended for easy release, but a well-greased metal tin can work.
Can I use larger potatoes? Yes. Cut them in half and place the cut side down before smashing.
Is the sour cream necessary? It adds creaminess and moisture, but you can omit it or replace it with a little cream cheese or Greek yogurt.
Can I make these ahead for a party? Yes. Assemble them a few hours ahead, cover, and refrigerate. Bake just before serving, adding 2–3 extra minutes if they are cold.
What kind of ground beef is best? 80/20 or 85/15 gives good flavor. Drain excess fat after cooking.
Can I air-fry these instead of baking? Yes. Air-fry at 375°F for 10–12 minutes, checking for melted cheese and crisp edges.
Are these gluten-free? Yes, as long as all packaged ingredients (cheese, seasonings) are certified gluten-free.
How do I keep the potato skins from tearing? Do not overcook the potatoes, and press straight down with even pressure using the glass.
Final Thoughts
These cheesy stuffed potato cups deliver big comfort-food flavor in a fun, handheld package. Crispy potato edges, savory ground beef, cool sour cream, and melted cheese come together in a recipe that feels special yet stays completely doable on a busy weeknight. Whether you serve them as an appetizer, side dish, or light main, they disappear fast. Give them a try the next time you want something satisfying without a lot of work—then come back and let me know how you customized the fillings. I’d love to hear your favorite variations in the comments. Enjoy!