
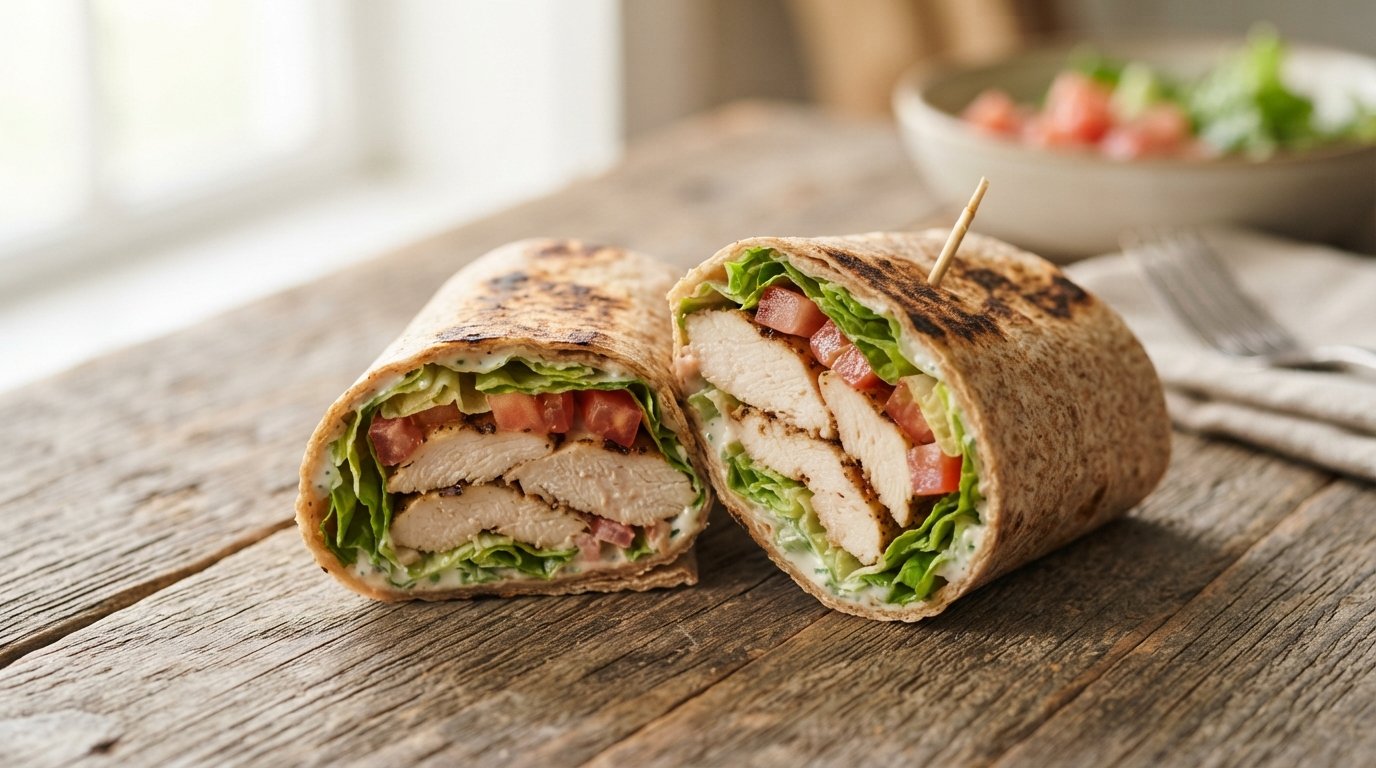
Juicy seasoned chicken, melted cheese, crisp lettuce and tomato wrapped in a warm tortilla and finished with golden grill marks. This easy grilled chicken wrap delivers big flavor in every bite.
Quick Recipe Summary
| Prep Time | Cook Time | Total Time | Servings | Cuisine | Course | Difficulty | Calories |
|---|---|---|---|---|---|---|---|
| 15 minutes | 20 minutes | 35 minutes | 2–3 | American / International | Main / Lunch | Easy | ~480 per wrap |
This grilled chicken wrap starts with thinly sliced, well-seasoned chicken breast cooked until golden. A quick creamy sauce made from pantry staples brings everything together, while a final sear on the grill pan creates those irresistible crispy edges and melted cheese.
Table of Contents
| Section |
|---|
| Introduction |
| Why This Recipe Works |
| Why You’ll Love This Recipe |
| Ingredient Notes |
| Kitchen Equipment |
| Preparation Information |
| Step-by-Step Instructions |
| Expert Tips |
| Common Mistakes |
| Recipe Variations |
| What to Serve With This Recipe |
| Make Ahead Tips |
| Meal Prep Tips |
| Storage Instructions |
| Reheating Instructions |
| Nutritional Information |
| Troubleshooting Guide |
| Frequently Asked Questions |
| Final Thoughts |
Introduction
A good grilled chicken wrap is hard to beat when you want something satisfying yet quick. This version features tender, spice-rubbed chicken, a tangy-creamy sauce, fresh vegetables, and melted cheese all tucked inside a warm tortilla that gets finished on a hot grill pan. The result is a wrap with crispy edges, juicy chicken, and just the right amount of sauce in every bite. It works perfectly for lunch, a light dinner, or an easy meal-prep option that still feels special.
Why This Recipe Works
Slicing the chicken breast into thinner pieces helps it cook quickly and evenly while staying juicy. A simple seasoning of salt, pepper, paprika, and a touch of dark sauce builds flavor without extra steps. Cooking the chicken first, then assembling and grilling the wrap, creates two layers of texture: tender meat inside and a lightly crisp, golden exterior. The creamy sauce ties the ingredients together and doubles as a dipping sauce for extra richness.
Why You’ll Love This Recipe
- Ready in about 35 minutes
- Uses everyday ingredients
- Juicy chicken with bold seasoning
- Melty cheese and fresh crunch
- Perfect for lunch or light dinner
- Easy to customize
- Great for meal prep
Ingredient Notes
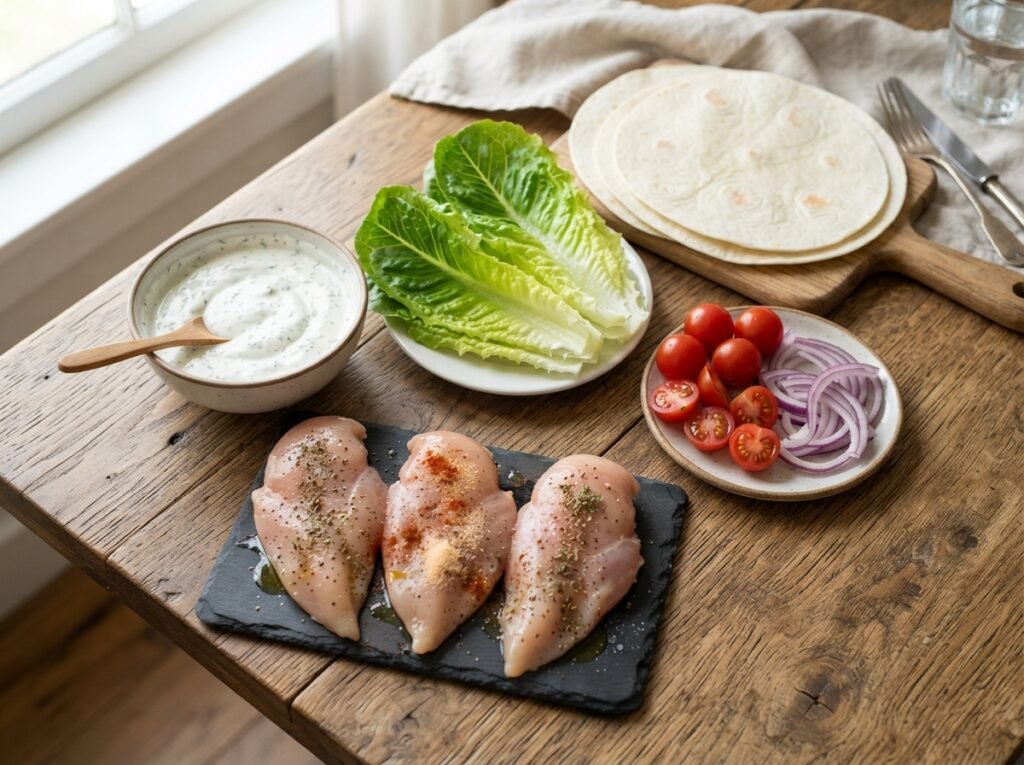
Chicken breast Boneless, skinless chicken breast is lean and cooks quickly when sliced thin. Choose fresh, firm pieces with a pale pink color. Store in the refrigerator and use within 1–2 days of purchase.
Seasonings (salt, black pepper, paprika) Paprika adds color and mild sweetness; salt and pepper bring out the natural flavor of the chicken. Freshly ground pepper tastes brighter.
Dark sauce (soy or similar) A small drizzle adds savory depth and helps the spices stick. Low-sodium versions work well if preferred.
Tortillas Large flour tortillas are soft and flexible for wrapping. Look for fresh packages without cracks. Store sealed at room temperature.
Creamy sauce ingredients (mayonnaise, ketchup, mustard, spices) Mayonnaise forms the base, ketchup adds sweetness and color, mustard brings tang, and a pinch of garlic powder, paprika, and pepper rounds out the flavor. Use full-fat mayo for the best texture.
Lettuce and tomato Provide freshness and crunch. Choose crisp lettuce leaves and ripe but firm tomatoes.
Shredded cheese Melts into creamy pockets. Cheddar, mozzarella, or a blend works well. Freshly shredded melts more evenly than pre-shredded.
Kitchen Equipment
Required
- Sharp knife and cutting board
- Non-stick or regular skillet
- Tongs
- Small mixing bowl
- Grill pan or second skillet
- Pastry brush (optional)
Optional
- Meat thermometer
- Spatula
Preparation Information
- Prep Time: 15 minutes
- Cook Time: 20 minutes
- Total Time: 35 minutes
- Servings: 2–3 wraps
Step-by-Step Instructions
Slice and Season the Chicken
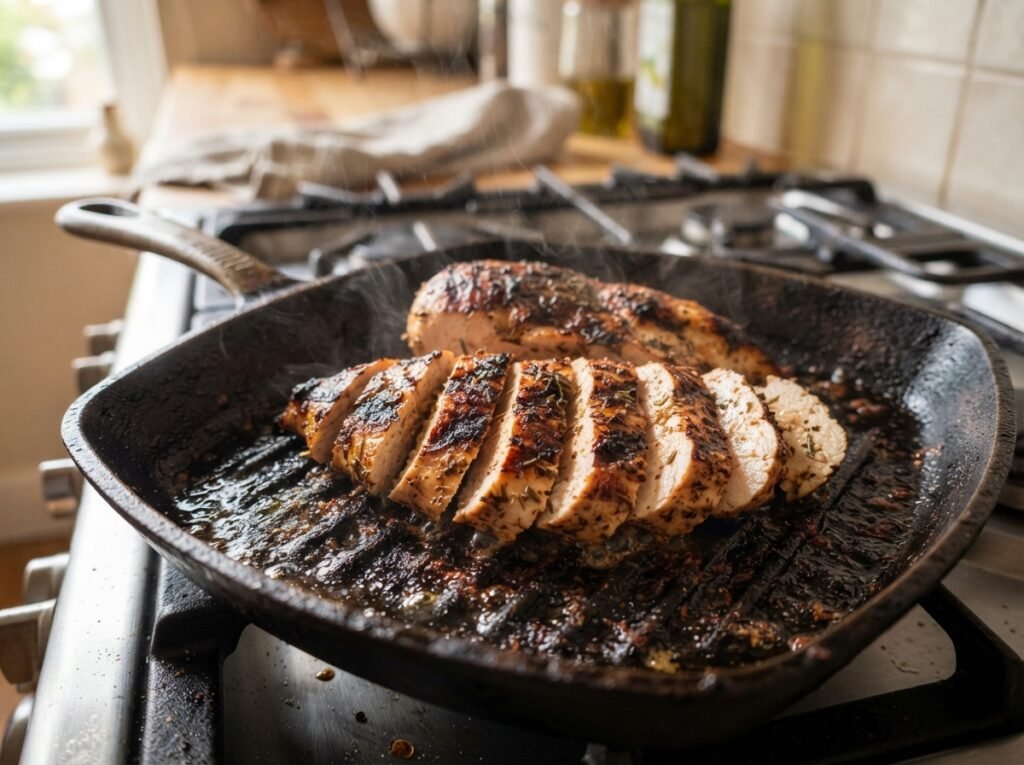
Place the chicken breast on a cutting board and slice it horizontally into thinner cutlets, about ½-inch thick. This helps the chicken cook faster and more evenly. Season both sides generously with salt, black pepper, paprika, and a light drizzle of dark sauce. Rub the seasonings in so they coat the surface. The thin slices and seasoning create flavorful, juicy pieces that are ready in minutes.
Cook the Chicken
Heat a light coating of oil in a skillet over medium heat. Add the seasoned chicken and cook for 3–4 minutes per side until the exterior is golden and the internal temperature reaches 165°F (74°C). The chicken should feel firm and show clear grill-style browning. Remove from the pan and let it rest for a couple of minutes before slicing. Resting keeps the juices inside.
Make the Creamy Sauce
In a small bowl, combine mayonnaise, a spoonful of ketchup, a spoonful of mustard, and a pinch each of garlic powder, paprika, and black pepper. Stir until smooth and evenly pinkish-orange. Taste and adjust seasoning if needed. This sauce adds moisture and a balanced tangy-sweet flavor that complements the chicken perfectly.
Assemble the Wrap
Warm a large flour tortilla briefly if desired. Spread a generous layer of the creamy sauce down the center. Add sliced cooked chicken, shredded cheese, crisp lettuce, and tomato slices. Fold the sides in, then roll tightly from the bottom to form a secure wrap. A tight roll prevents the filling from falling out during grilling.
Grill the Wrap
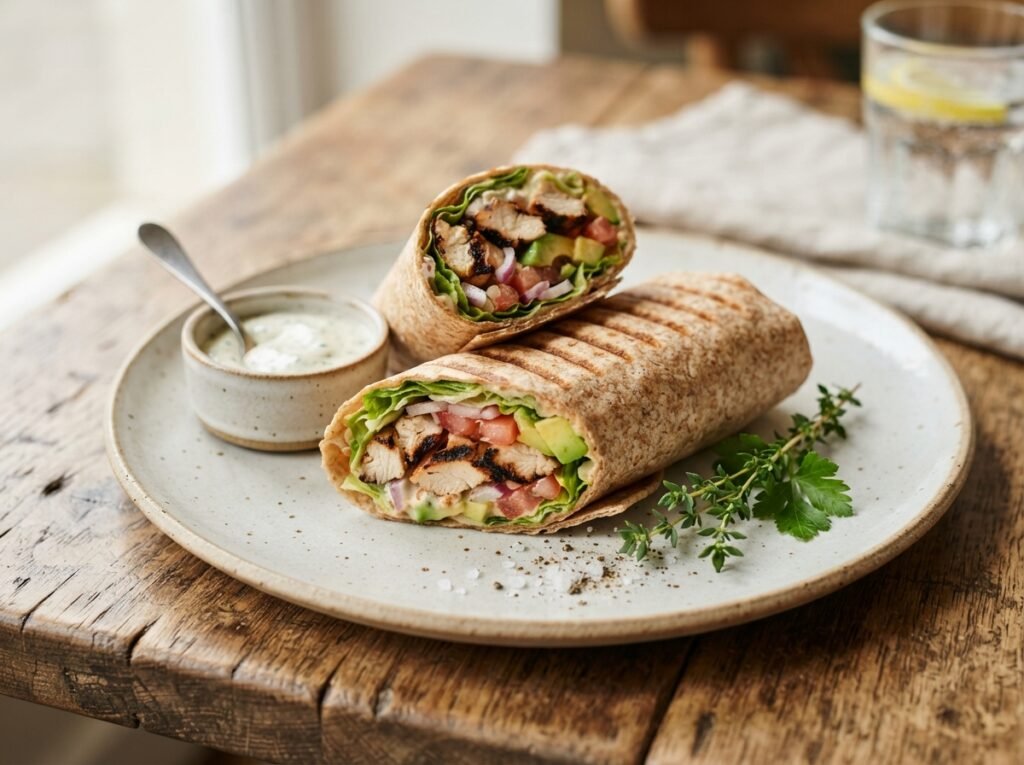
Heat a grill pan or skillet over medium heat. Place the wrap seam-side down and cook for 2–3 minutes per side, pressing gently, until golden grill marks appear and the cheese melts. Brush the outside lightly with a bit of the sauce or oil for extra color and flavor. The exterior should be crisp and the cheese fully melted.
Serve
Slice the wrap in half on a diagonal if desired and serve immediately with extra creamy sauce on the side for dipping. The combination of warm, melty filling and cool, crisp vegetables makes every bite satisfying.
Expert Tips
Slice the chicken evenly so all pieces finish cooking at the same time. Do not overcrowd the pan when cooking the chicken—work in batches if needed. Warm the tortilla for a few seconds so it rolls without cracking. Press the wrap gently while grilling to help the cheese melt and create better contact with the pan. Let the cooked chicken rest before slicing to keep it juicy.
Common Mistakes
Dry chicken Usually from overcooking or slicing too thick. Use thinner cutlets and remove the chicken as soon as it reaches 165°F.
Wrap falls apart The tortilla was not rolled tightly enough or was too cold. Warm it slightly and tuck the sides firmly.
Soggy exterior The grill pan was not hot enough or the wrap sat too long after cooking. Grill over medium heat and serve right away.
Bland flavor Season the chicken generously and taste the sauce before assembling. A little extra paprika or pepper makes a noticeable difference.
Recipe Variations
- Spicy: Add a pinch of cayenne or hot sauce to the seasoning and sauce.
- Extra cheesy: Double the shredded cheese or add a slice of cheese inside.
- Vegetarian: Swap the chicken for grilled halloumi or seasoned chickpeas.
- Low-carb: Use a large lettuce wrap or low-carb tortilla.
- BBQ style: Replace the dark sauce with barbecue sauce on the chicken.
- Mediterranean: Add cucumber, red onion, and a yogurt-based sauce.
What to Serve With This Recipe
- Simple green salad
- Sweet potato fries or regular fries
- Coleslaw
- Fresh fruit
- Iced tea or lemonade
- Light soup
Make Ahead Tips
Cook and slice the chicken up to 2 days ahead and store it in the refrigerator. Mix the sauce ahead as well. Assemble and grill the wraps just before serving for the best texture.
Meal Prep Tips
Prepare the chicken and sauce in advance. Store components separately. Assemble and quickly grill individual wraps when ready to eat. This keeps the tortilla from becoming soggy.
Storage Instructions
Store leftover assembled wraps tightly wrapped in the refrigerator for up to 1 day. For longer storage, keep cooked chicken and sauce separate for up to 3 days. Freezing is not recommended for the assembled wrap because the vegetables and tortilla lose quality.
Reheating Instructions
Oven or toaster oven: Wrap in foil and heat at 350°F for 10–12 minutes. Air Fryer: 350°F for 3–4 minutes until warmed through. Skillet: Warm over medium-low heat, turning once, until heated. Microwave: Heat in short 20-second bursts (the exterior will be softer).
Nutritional Information
Approximate values per wrap (based on 2 servings):
- Calories: 480
- Protein: 38 g
- Carbohydrates: 32 g
- Fat: 22 g
- Fiber: 3 g
- Sugar: 5 g
- Sodium: 780 mg
Values will vary based on exact ingredients and portion size.
Troubleshooting Guide
Chicken sticks to the pan Make sure the pan and oil are hot before adding the chicken.
Cheese not melting Grill a little longer or cover the pan briefly to trap heat.
Wrap too greasy Use only a light coating of oil and drain the chicken well after cooking.
Sauce too thick or thin Adjust with a splash of water or extra mayo as needed.
Frequently Asked Questions
Can I use chicken thighs instead of breast? Yes. Boneless thighs stay very juicy; adjust cooking time slightly as needed.
How do I keep the wrap from getting soggy? Assemble just before grilling and serve immediately. Avoid over-saucing the inside.
Can I make this without a grill pan? A regular skillet works fine. You will still get a nice golden exterior.
Is the sauce spicy? No. It is mild and creamy. Add cayenne or hot sauce if you prefer heat.
Can I bake the wrap instead of grilling? Yes. Bake at 400°F for 8–10 minutes, flipping once, until heated and lightly crisp.
How long does the cooked chicken keep? Up to 3 days in the refrigerator in an airtight container.
What other vegetables can I add? Cucumber, red onion, or avocado work well for extra freshness.
Can I make a larger batch for a crowd? Yes. Cook the chicken in batches and keep it warm, then assemble wraps to order.
Final Thoughts
This grilled chicken wrap with creamy sauce is the kind of simple, satisfying meal you will make on repeat. Juicy seasoned chicken, melted cheese, fresh vegetables, and a flavorful sauce come together quickly inside a warm, crisp tortilla. Whether you need a fast lunch or an easy dinner, this recipe delivers every time. Give it a try and let me know how it turned out in the comments or with a rating.