
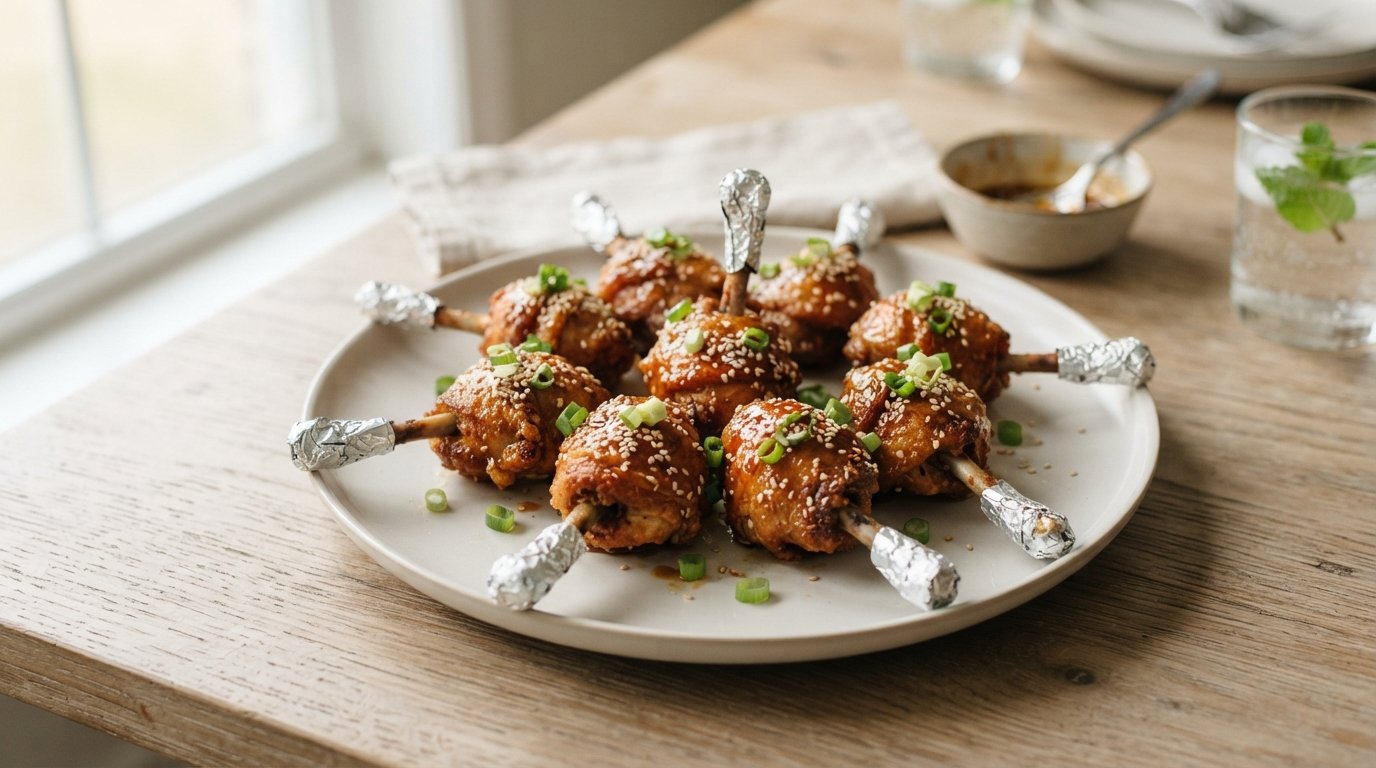
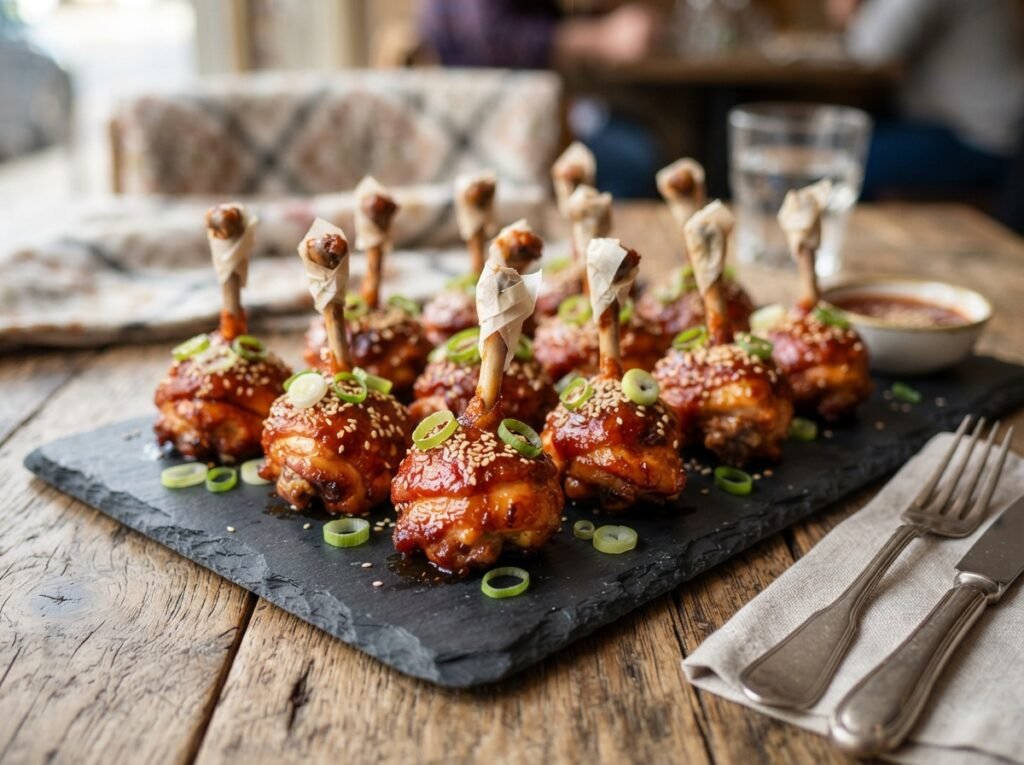
These golden chicken lollipops bring pure joy to any table. I first tried shaping seasoned ground chicken around sticks after craving fair-style bites at home. The result is crunchy outside, juicy inside, and endlessly fun to eat. Kids and adults both reach for seconds every time. This simple method turns basic mince into an impressive appetizer that feels special without complicated techniques or hard-to-find ingredients.
While you’re at it: Double-Fried Crispy Chicken Feet Recipe
Why you’ll love this recipe
These chicken lollipops deliver big flavor and crunch with minimal effort required.
- Perfect party finger food everyone grabs first
- Uses simple pantry spices and ground chicken
- Kid-friendly shape makes mealtime more exciting
- Freezer-friendly for quick future snacks anytime
Ingredients
Gather these everyday items to create golden, crispy chicken lollipops that taste restaurant-worthy at home.
- 500 g ground chicken
- 2 tbsp cornstarch
- 1 tsp paprika
- 1 tsp dried mixed herbs
- 1/2 tsp salt
- 1/4 tsp black pepper
- 1 large egg
- 1 cup panko breadcrumbs
- 8-10 wooden sticks
- Oil for deep frying
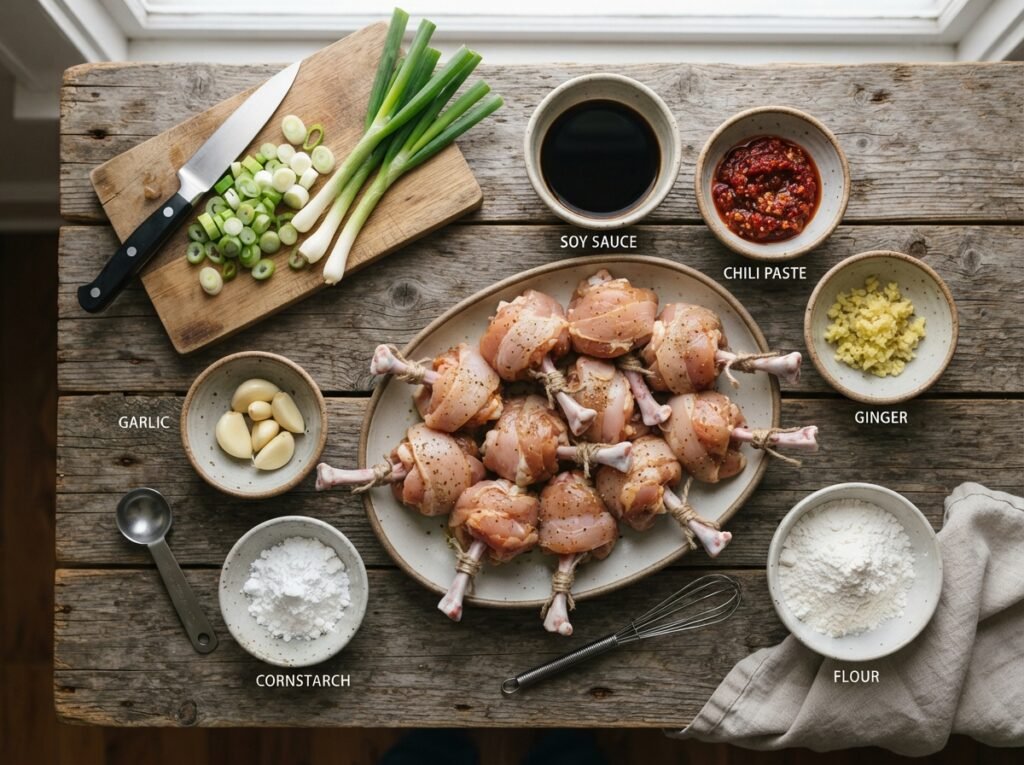
If you lack cornstarch, plain flour works in a pinch for binding. Swap paprika for chili powder when you want more heat. Fresh parsley can replace dried herbs for brighter color and taste. Panko gives the best crunch, yet regular breadcrumbs still deliver solid results.
Worth trying next: Caramelised Onion Baked Mac and Cheese
Step-by-step instructions
Follow these clear stages to shape, coat, and fry perfect chicken lollipops every single time.
Step 1: Season the chicken
Place ground chicken in a mixing bowl and add cornstarch, paprika, herbs, salt, and pepper. Stir thoroughly until the mixture becomes sticky and evenly colored throughout.
Step 2: Shape the lollipops
Wet your hands lightly and divide the seasoned mixture into equal portions. Mold each portion firmly around one end of a wooden stick into a neat oval or drumstick shape.
Step 3: Chill the formed pieces
Arrange the shaped lollipops on a plate and refrigerate them for fifteen minutes. This short rest helps the meat firm up so the coating sticks better later.
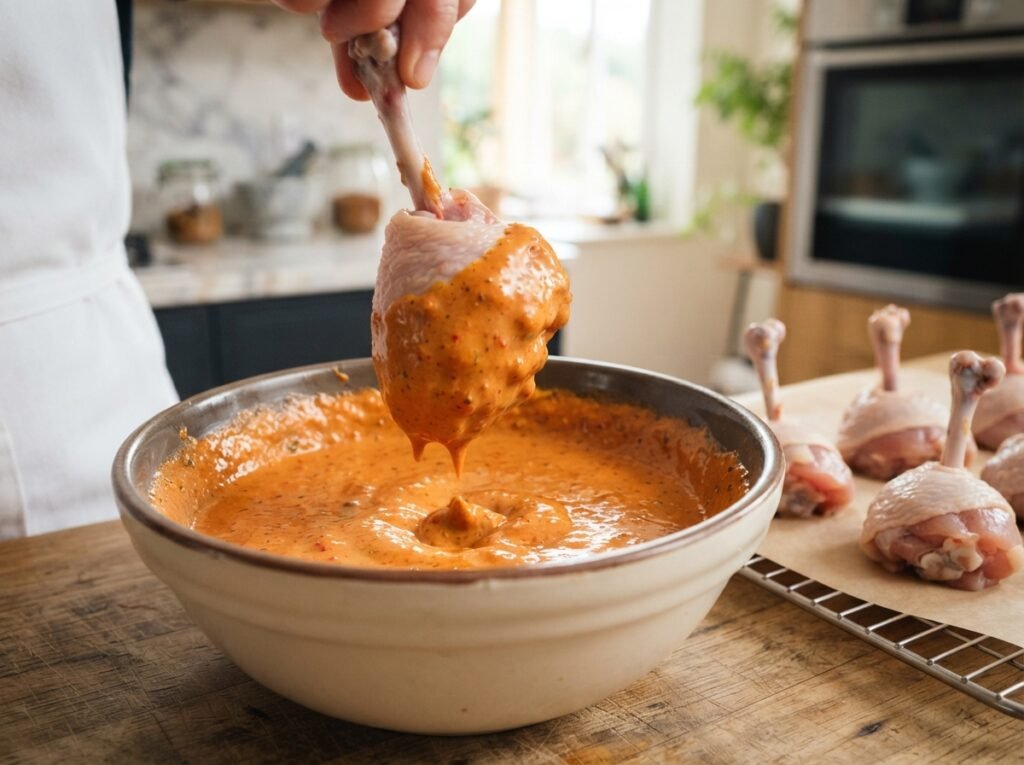
Step 4: Prepare the egg wash
Crack the egg into a shallow bowl and beat it until smooth and uniform. Keep the bowl nearby for easy dipping of each chilled lollipop.
Step 5: Coat in breadcrumbs
Pour panko into a separate plate. Dip each lollipop first in the egg wash, then roll thoroughly in breadcrumbs until fully covered.
Step 6: Heat the oil
Pour enough oil into a deep pan to submerge the pieces and heat it to medium-high. Test readiness by dropping in a breadcrumb that should sizzle immediately.
Step 7: Fry until golden
Carefully lower a few lollipops into the hot oil without crowding the pan. Fry three to four minutes per side until deep golden and fully cooked through.
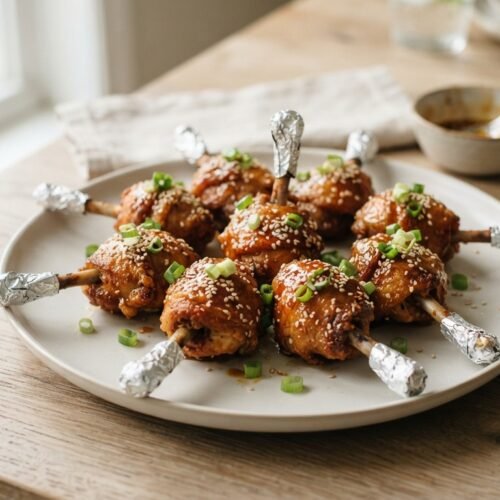
Crispy Homemade Chicken Lollipops
Equipment
- 1 | Mixing bowl |
- 1 | Wooden sticks | 8-10 pieces
- 1 | Shallow bowls | for egg and breadcrumbs
- 1 | Deep frying pan |
- 1 | Tongs | for flipping
- 1 | Paper towels | for draining
Ingredients
- 500 | g | ground chicken |
- 2 | tbsp | cornstarch |
- 1 | tsp | paprika |
- 1 | tsp | dried mixed herbs |
- 1/2 | tsp | salt |
- 1/4 | tsp | black pepper |
- 1 | | large egg | beaten
- 1 | cup | panko breadcrumbs |
- 8-10 | | wooden sticks |
- 1 | | oil | for deep frying
Instructions
- Mix ground chicken with cornstarch, paprika, herbs, salt, and pepper until sticky.
- Shape portions of mixture firmly around one end of each wooden stick.
- Chill shaped lollipops in the refrigerator for 15 minutes.
- Beat the egg in a shallow bowl.
- Dip each lollipop in egg, then coat thoroughly in panko breadcrumbs.
- Heat oil in a deep pan to medium-high.
- Fry lollipops in batches 3-4 minutes per side until golden and cooked.
- Drain on paper towels and serve hot.
- Tip: Keep oil temperature steady to avoid greasy results.
Notes
Reheat in a 180°C oven for 8-10 minutes to restore crispness.
Freeze uncooked coated lollipops for up to 1 month.
Swap panko for regular breadcrumbs if needed.
Step 8: Drain and serve
Lift the finished lollipops onto a paper towel-lined plate to remove excess oil. Serve hot while the coating stays crisp and inviting.
Tips & common mistakes
Avoid these simple errors to guarantee crisp, well-shaped chicken lollipops every batch.
- Chill shaped pieces before coating always
- Keep oil temperature steady for even browning
- Do not overcrowd the pan while frying
- Press breadcrumbs firmly so coating adheres
Recipe variations
Try these easy twists to customize the chicken lollipops for different tastes and occasions.
- Add chili flakes for a spicier kick version
- Bake instead of fry for a lighter option
- Swap chicken for turkey mince as alternative
- Mix in grated cheese for richer flavor
What to serve with this recipe
Pair these crispy lollipops with simple sides and dips that balance the rich fried coating.
- Sweet chili sauce for classic dipping
- Cool cucumber yogurt raita on the side
- Fresh garden salad for light contrast
- Iced lemonade to refresh the palate
One more to try: Hasselback Pork Roast with Bacon and Cheese
Frequently asked questions
Here are quick answers to the most common questions about making chicken lollipops at home.
Can I bake these instead of frying?
Yes, bake at 200°C for twenty minutes, flipping halfway, until golden and cooked through for a lighter result.
How do I store leftover lollipops?
Cool completely, then refrigerate in an airtight container up to three days or freeze for one month maximum.
What can replace the wooden sticks?
Use sturdy bamboo skewers or clean popsicle sticks as easy alternatives that hold the shape securely during cooking.
Are these suitable for children?
Absolutely, the fun shape and mild seasoning make them a hit with kids when served with familiar dipping sauces.
Final thoughts
These homemade chicken lollipops turn ordinary ground chicken into a crowd-pleasing treat that disappears fast. The crispy coating and juicy interior never fail to impress. Make a double batch next time because they vanish quickly. Share your photos and rating in the comments so others can see how yours turned out. Enjoy every crunchy bite.