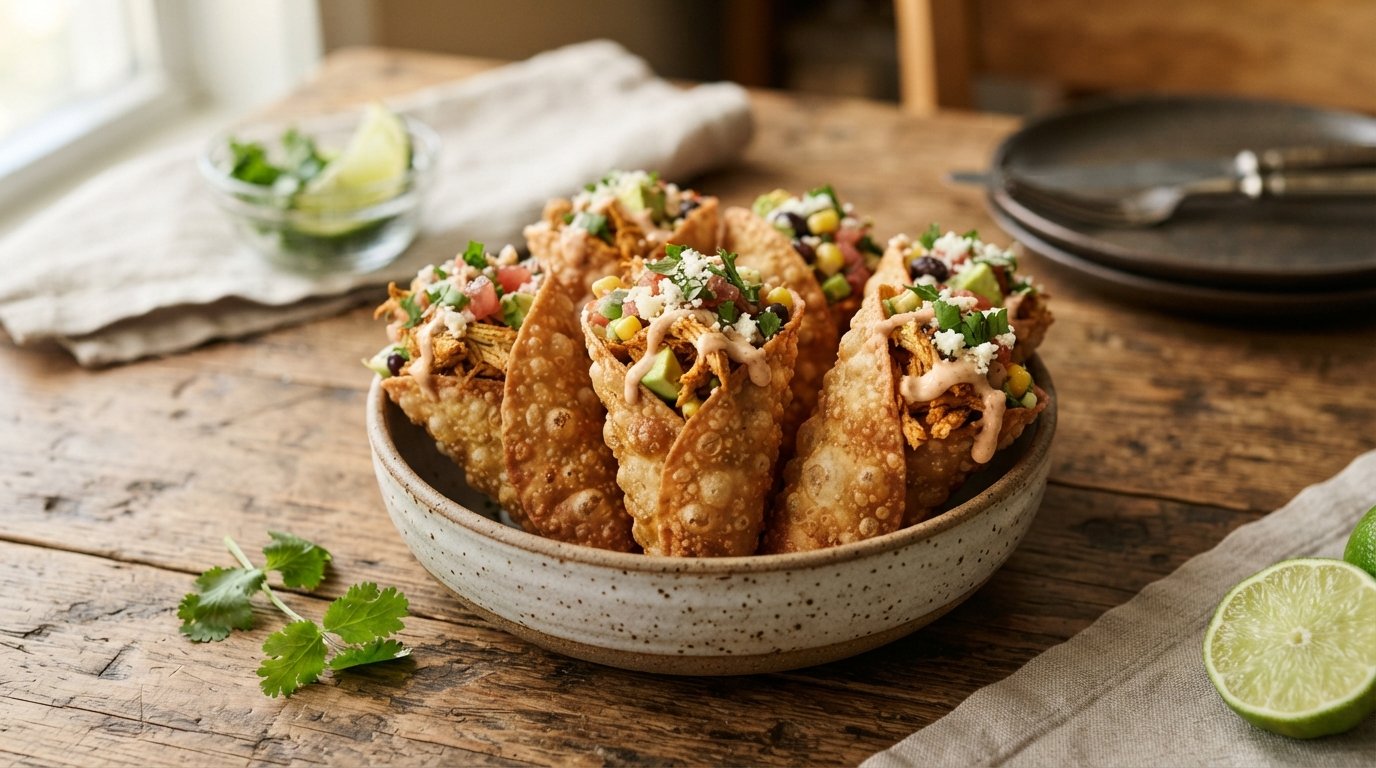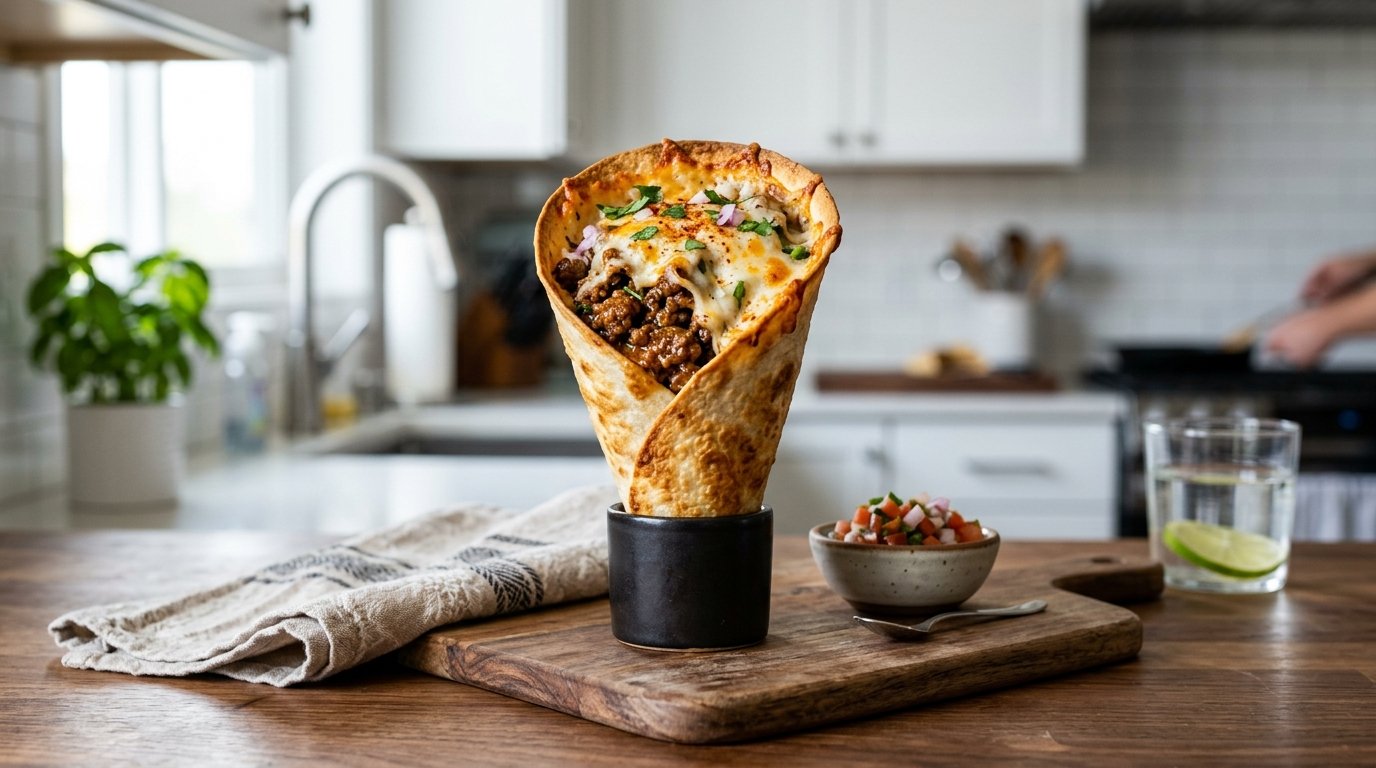
Crispy golden cones filled with creamy spiced chicken are pure party food magic. These chicken tortilla cones start with seasoned chicken and onions simmered in a rich sauce, then get rolled into soft tortillas, coated, and fried until shatteringly crisp. The final dip into molten cheese sauce creates that irresistible stretch everyone loves. They look impressive yet come together faster than you might expect.
Don’t miss: Crispy Bacon Cheeseburger Egg Rolls
Why you’ll love this recipe
These fun handheld cones deliver big flavor and satisfying crunch in every bite.
- Golden crispy exterior with creamy chicken inside
- Melty cheese sauce that stretches for days
- Perfect for parties or casual weeknight fun
- Easy to customize with your favorite spices
Ingredients
Simple ingredients create crispy chicken tortilla cones packed with creamy, savory flavor.
- 1 lb chicken breast
- 1 medium onion
- 1 tsp mixed spices
- 1 cup cream sauce
- 4 large tortillas
- 1 cup crushed nuts
- 2 cups oil
- 1 cup cheese sauce
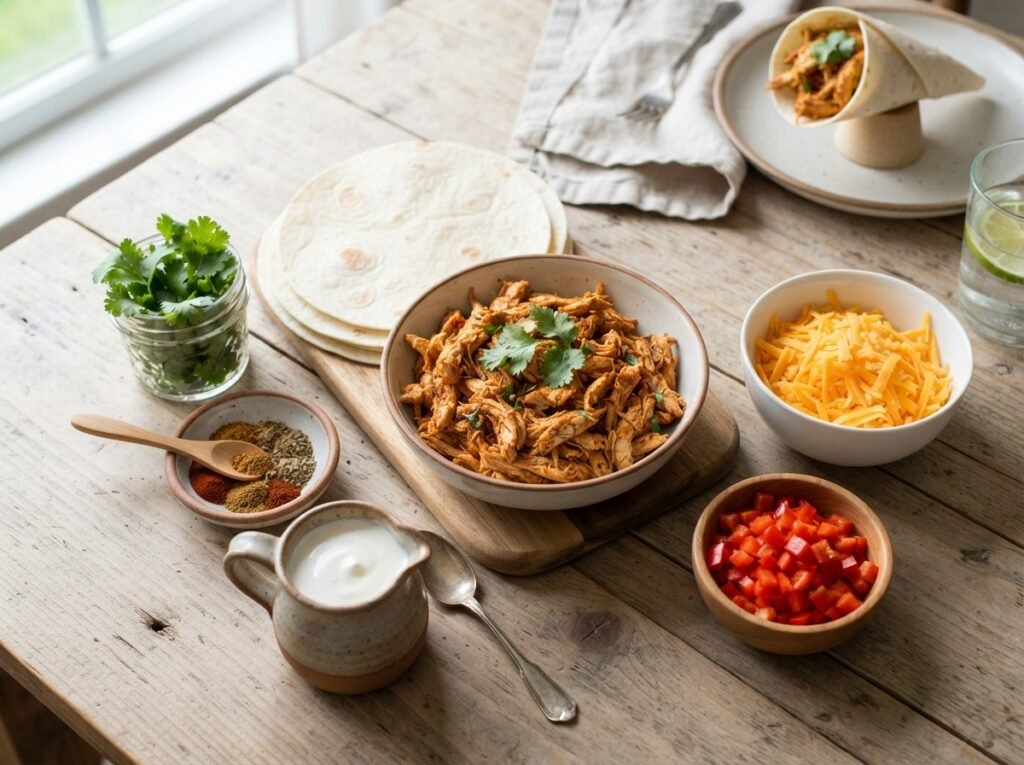
Swap the cream sauce for a lighter Greek yogurt version if preferred, or use crushed tortilla chips instead of nuts for extra crunch. Flour or corn tortillas both work well depending on the texture you want.
Another reader favorite: Crispy Baked Crab Balls with Garlic Butter Sauce
Step-by-step instructions
These clear steps turn simple ingredients into crispy, cheesy chicken tortilla cones.
Step 1: Season the chicken
Cut the chicken into bite-sized cubes and season generously with the mixed spices. Dice the onion so it cooks evenly alongside the meat.
Step 2: Cook chicken and onion
Heat a skillet over medium-high and add the seasoned chicken with diced onion. Cook until the chicken is golden and the onion turns soft and translucent.
Step 3: Add the cream sauce
Pour the cream sauce over the cooked chicken and onion mixture. Stir gently and simmer a few minutes until everything is coated and slightly thickened.

Step 4: Form the tortilla cones
Warm the tortillas slightly so they stay flexible. Roll each one into a tight cone shape and secure the bottom if needed to hold the filling.
Step 5: Fill the cones
Spoon the creamy chicken mixture into each tortilla cone. Fill them generously but leave a little space at the top for dipping later.
Step 6: Coat the cones
Dip the filled cones into extra cream sauce if desired, then roll them thoroughly in the crushed nuts. Press gently so the coating sticks well.
Step 7: Fry until golden
Heat the oil in a deep pan and carefully lower the coated cones into the hot oil. Fry until the outside turns deep golden and crisp on all sides.

Crispy Chicken Tortilla Cones
Equipment
- 1 | Skillet | for cooking chicken
- 1 | Deep pan | for frying
- 1 Tongs
- 1 Mixing bowls
- 1 | Spoon | for filling
Ingredients
- 1 | lb | chicken breast | cubed
- 1 | medium | onion | diced
- 1 | tsp | mixed spices |
- 1 | cup | cream sauce |
- 4 | large | tortillas |
- 1 | cup | crushed nuts | for coating
- 2 | cups | oil | for frying
- 1 | cup | cheese sauce | for dipping
Instructions
- Season cubed chicken and dice the onion.
- Cook chicken and onion in a hot skillet until golden.
- Pour cream sauce over the mixture and simmer briefly.
- Warm tortillas and roll each into a cone shape.
- Fill the cones with the creamy chicken mixture.
- Coat the filled cones in crushed nuts.
- Fry in hot oil until deep golden and crisp.
- Serve immediately with warm cheese sauce for dipping.
Notes
Store leftover filling separately in the fridge for up to 2 days.
Reheat filling gently and assemble cones just before serving.
Use a neutral oil with a high smoke point for frying.
Step 8: Dip and serve
Lift the hot cones out and let excess oil drain briefly. Serve immediately with warm cheese sauce for dipping and that perfect stretchy pull.
Tips & common mistakes
A few smart moves keep the cones crisp outside and creamy inside every time.
- Do not overfill or the cones may split
- Keep oil hot for a truly crispy shell
- Drain well after frying to avoid sogginess
- Serve right away while the coating stays crunchy

Recipe variations
Easily switch up these chicken tortilla cones to suit different tastes or diets.
- Make them spicier with chili powder and jalapeños
- Use shredded leftover chicken for faster prep
- Try a baked version for a lighter option
- Swap chicken for shrimp or plant-based protein
What to serve with this recipe
These crispy cones pair perfectly with fresh and cool sides that balance the richness.
- Fresh pico de gallo or salsa
- Cool cucumber yogurt dip
- Simple green salad with lime
- Ice-cold lemonade or beer
You might also like: Easy Saffron Bread Milk Cake
Frequently asked questions
Here are helpful answers to the most common questions about these cones.
Can I prepare the filling ahead of time?
Yes, cook the chicken mixture up to a day in advance and store it covered in the fridge. Reheat gently before filling the tortillas.
How do I keep the cones from unrolling?
Warm the tortillas first so they stay pliable, and tuck the bottom edge tightly. A small toothpick can secure them during frying if needed.
Can these be baked instead of fried?
Absolutely. Brush the coated cones with oil and bake at 400°F until golden and crisp, turning once halfway through.
What can I use instead of crushed nuts?
Crushed tortilla chips, panko breadcrumbs, or even crushed cornflakes all create a great crunchy coating and work well.
Final thoughts
These crispy chicken tortilla cones bring fun, flavor, and that satisfying cheese pull to any table. They are easier than they look and always disappear fast. Give them a try this week, then share your results or rating in the comments so others can see how delicious they turned out.