Quick Recipe Summary
| Metric | Details |
|---|---|
| Prep Time | 20 Minutes |
| Cook Time | 15 Minutes |
| Total Time | 35 Minutes |
| Servings | 8-10 Cones |
| Cuisine | Fusion / American |
| Course | Appetizer / Snack |
| Difficulty | Easy |
| Calories | ~280 kcal per cone |
Table of Contents
- Introduction
- Why This Recipe Works
- Why You’ll Love These Tortilla Cones
- Ingredient Notes & Substitutions
- Kitchen Equipment
- Step-by-Step Instructions
- Expert Tips for Perfect Cones
- Common Mistakes to Avoid
- Recipe Variations
- What to Serve With This Recipe
- Make Ahead & Meal Prep Tips
- Storage & Reheating Instructions
- Nutritional Information
- Troubleshooting Guide
- Frequently Asked Questions
- Final Thoughts
Introduction
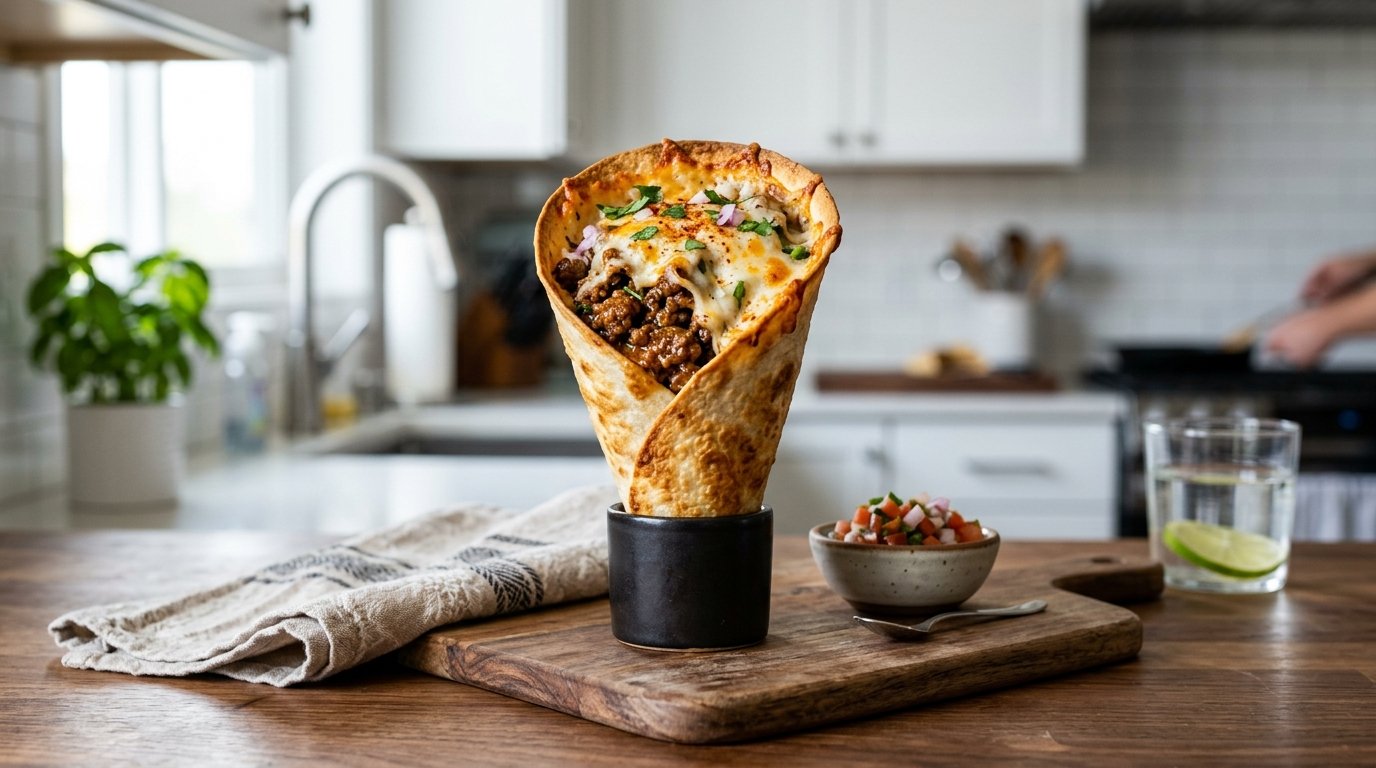
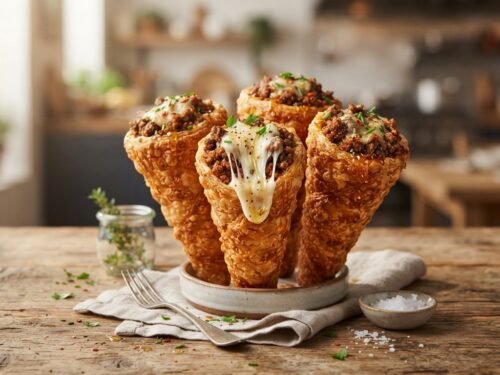
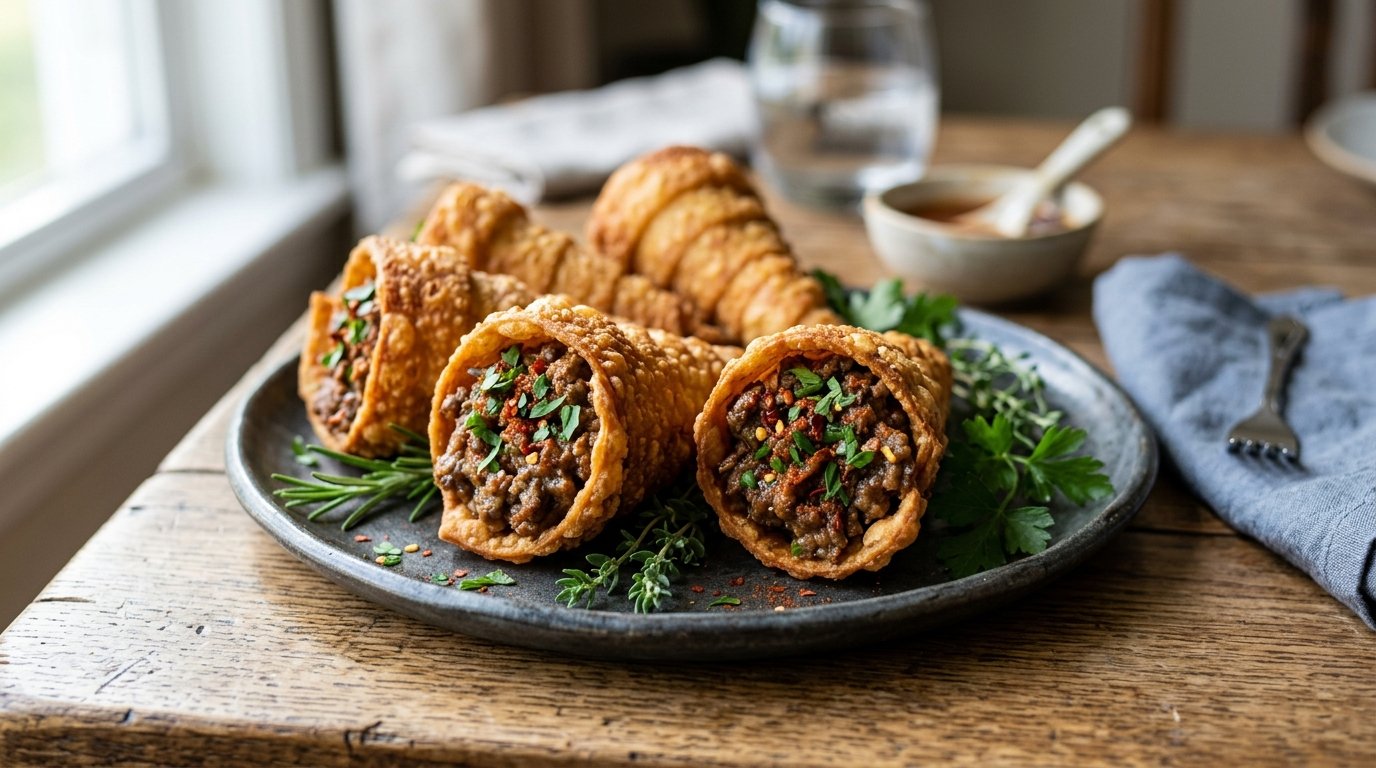
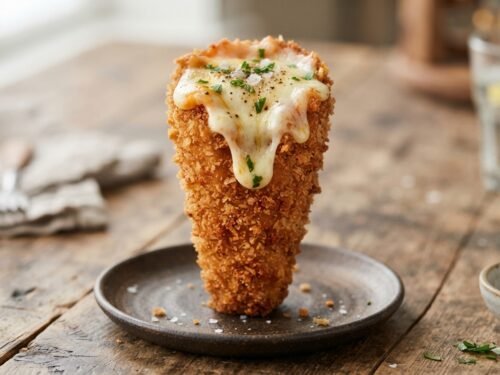
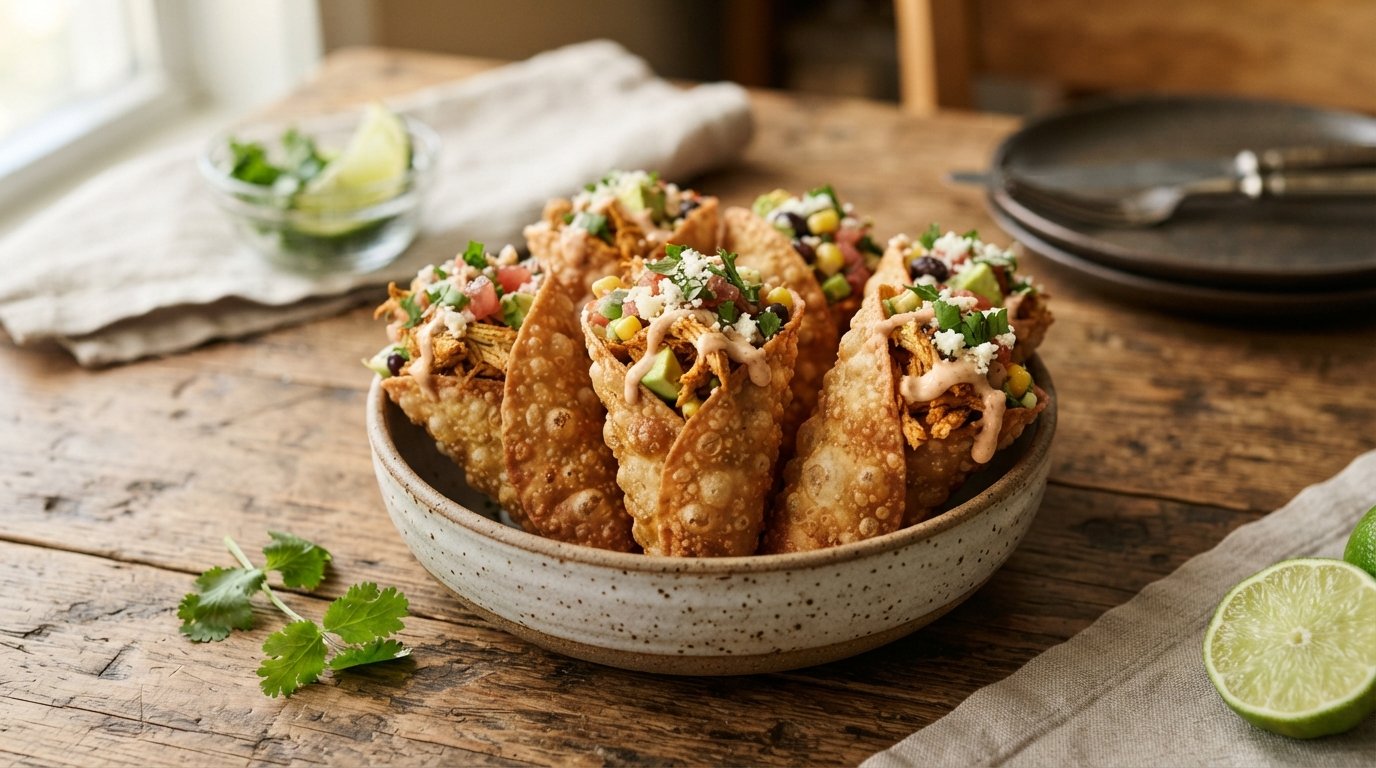
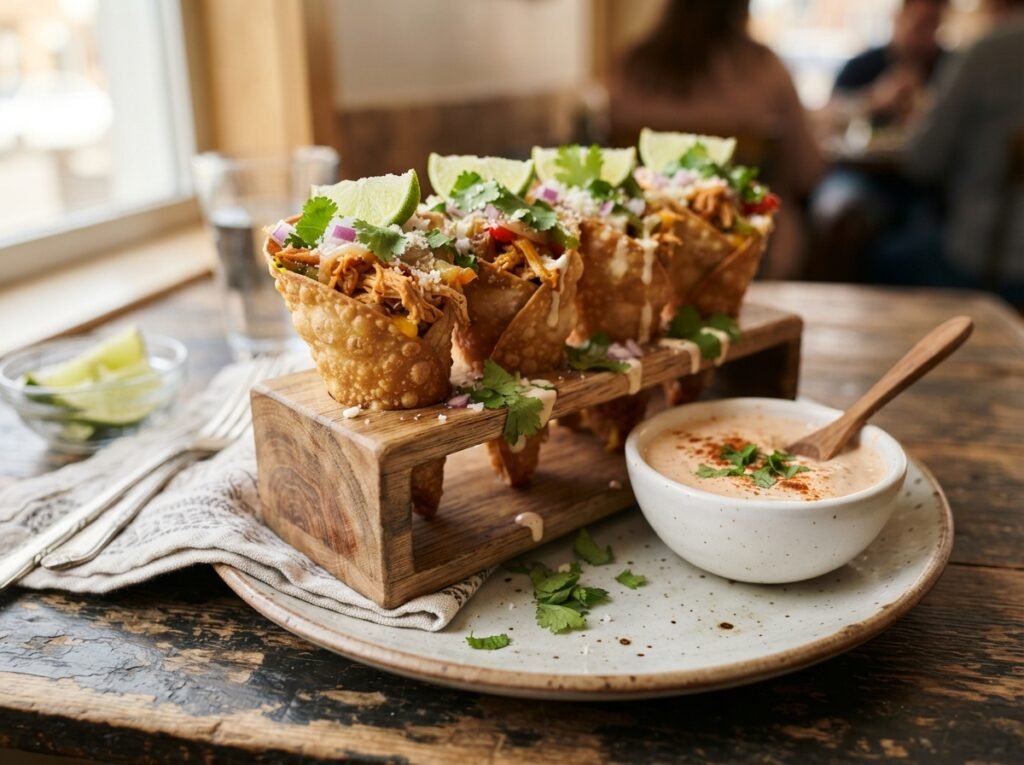
If you are looking for a party appetizer that guarantees a crowd-pleasing crunch, these crispy tortilla chicken cones are the answer. Transforming humble flour tortillas into edible, deep-fried vessels is a brilliant culinary hack that turns a simple leftover filling into a gourmet finger food. Unlike traditional taquitos or spring rolls, the cone shape isn’t just aesthetically pleasing; it creates a structural pocket that holds significantly more filling while ensuring every bite has a perfect ratio of crispy shell to savory center.
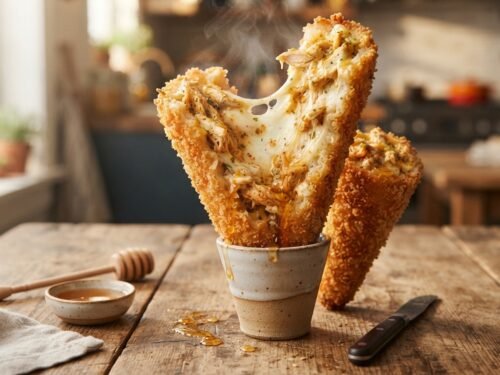
This recipe leverages the versatility of standard flour tortillas, which, when treated with a triple-coat breading station, mimic the texture of a high-end pastry shell. The result is a golden, shatteringly crisp exterior giving way to a warm, creamy chicken and vegetable interior. Whether you are hosting a game day watch party, planning a kid-friendly lunch, or simply craving a salty-savory snack, this tortilla cone recipe delivers restaurant-quality results with minimal effort. Let’s dive into how to master this crunchy delight.
Why This Recipe Works
The science behind these crispy tortilla chicken cones lies in the moisture barrier created by the breading process. Flour tortillas are naturally pliable and moist. If fried directly, they would become soggy or burn before cooking through. By rolling them into a tight cone and subjecting them to a standard breading procedure—flour, egg wash, and breadcrumbs—we create a protective seal.
The flour absorbs surface moisture, the egg acts as a glue, and the breadcrumbs provide the textural contrast. When submerged in hot oil, the water in the tortilla steams rapidly, puffing the layers slightly while the breading dehydrates and crisps instantly. The cone shape is structurally superior to a flat fold because the tension of the roll keeps the seam tight during frying, preventing the “unraveling” disaster common with poorly sealed wraps. Furthermore, the pointed tip fries faster than the wide opening, creating a gradient of texture that is delightful to eat.
Why You’ll Love These Tortilla Cones
- Ultimate Crunch Factor: The triple-breading technique ensures a crunch that lasts, even as the cone cools slightly.
- Customizable Filling: While chicken and corn is the star here, the tortilla vessel is neutral enough to hold anything from taco meat to mac and cheese.
- Kid-Friendly Fun: The handheld cone format is intuitive for children and adults alike, eliminating the need for plates and forks.
- Budget-Friendly: Using staple ingredients like tortillas, frozen corn, and canned chicken (or leftovers) keeps the cost per serving incredibly low.
- Visual Appeal: The golden-brown color and unique shape make these look far more impressive than standard nachos or quesadillas.
- Quick Preparation: From cutting to frying, the entire process takes less than 40 minutes, making it ideal for last-minute entertaining.
Ingredient Notes & Substitutions
Flour Tortillas
- Purpose: Acts as the structural vessel and primary carbohydrate.
- Buying Tip: Look for “burrito size” or large tortillas (10-12 inches). Small taco-sized tortillas will yield cones that are too small to fill adequately. Ensure they are fresh and pliable; stale tortillas will crack when rolled.
- Substitution: Whole wheat tortillas work but may have a denser texture. Corn tortillas are generally too brittle for this specific rolling technique unless warmed extensively.
Chicken Filling
- Purpose: Provides protein and savory depth.
- Buying Tip: Use cooked, shredded, or diced chicken breast. Rotisserie chicken is a fantastic time-saver. If using canned chicken, drain it thoroughly to prevent a soggy filling.
- Substitution: Ground beef, pulled pork, turkey, or tofu can be used. For a vegetarian option, try black beans and sweet potatoes.
Corn & Green Peppers
- Purpose: Adds sweetness, color, and textural contrast (the “pop” of the corn).
- Buying Tip: Fresh corn cut off the cob is best, but frozen (thawed) or canned (drained) works perfectly. Bell peppers should be diced very small (brunoise) to ensure they cook through inside the cone.
- Substitution: Diced zucchini, peas, or carrots can replace the peppers. Jalapeños can be added for heat.
Binding Agents (Flour, Egg, Breadcrumbs)
- Purpose: Creates the crispy crust and seals the tortilla.
- Buying Tip: Panko breadcrumbs offer a lighter, airier crunch compared to fine Italian breadcrumbs. Seasoned breadcrumbs add extra flavor without extra spices.
- Substitution: Almond flour or crushed pork rinds can be used for a low-carb/keto version, though the texture will differ. Gluten-free breadcrumbs are essential for celiac safety.
Oil for Frying
- Purpose: Heat transfer medium for crisping.
- Buying Tip: Use an oil with a high smoke point. Vegetable, canola, peanut, or avocado oil are ideal. Avoid olive oil or butter, which will burn at frying temperatures.
Kitchen Equipment
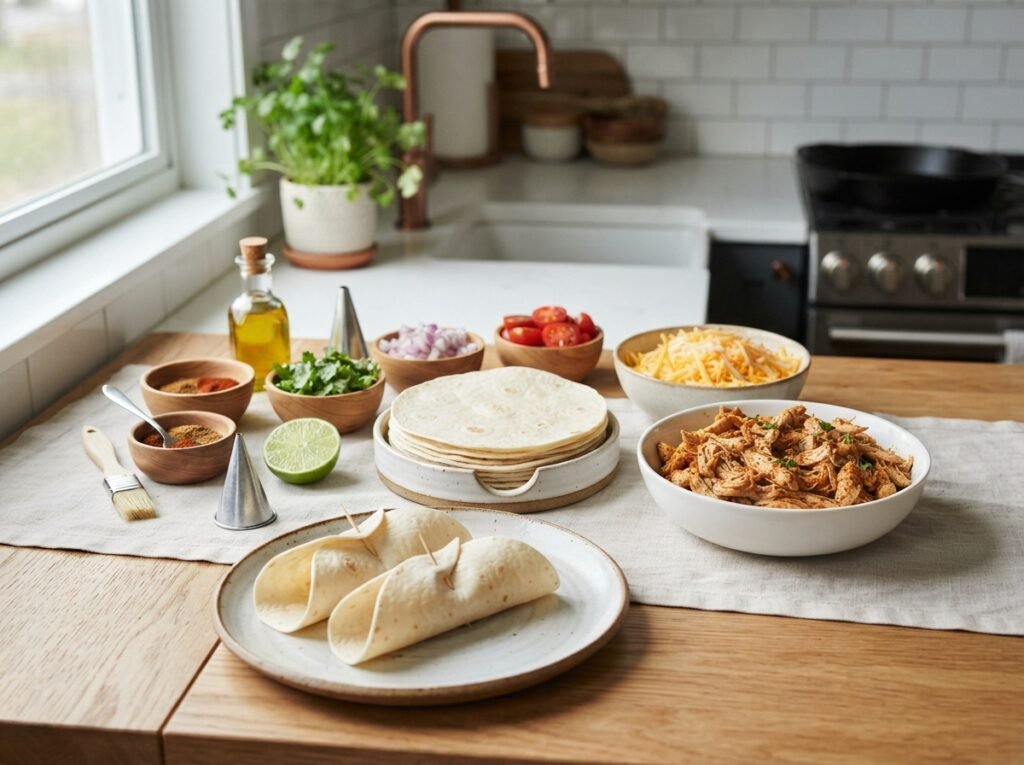
- Sharp Kitchen Shears: Essential for cleanly cutting the stack of tortillas into quarters without dragging or tearing.
- Wooden Cutting Board: Provides a stable surface for cutting and rolling.
- Three Shallow Bowls: For the breading station (flour, egg, breadcrumbs). Wide bowls make dipping easier.
- Deep Skillet or Dutch Oven: Needs to be deep enough to submerge the cones safely without oil splashing over the rim. A heavy-bottomed pot retains heat better.
- Slotted Spoon or Spider Strainer: For safely removing cones from hot oil and draining excess grease.
- Wire Rack or Paper Towels: For cooling. A wire rack is superior as it prevents steam from softening the bottom of the cone.
- Thermometer (Optional but Recommended): Ensures oil stays at the optimal 350°F–375°F (175°C–190°C).
Step-by-Step Instructions
H3: Prepare the Tortilla Base
Lay your stack of large flour tortillas on the wooden cutting board. Using sharp kitchen shears, cut the entire stack in half, then cut those halves in half again to create four equal triangular wedges per tortilla.
- Why it matters: Cutting the whole stack at once ensures uniform size and saves time. The triangular shape is geometrically necessary to form a cone; a square cut would result in a cylinder or a messy fold.
- Visual Cue: The cuts should be clean and straight. Ragged edges will leak filling during frying.
H3: Form the Cones
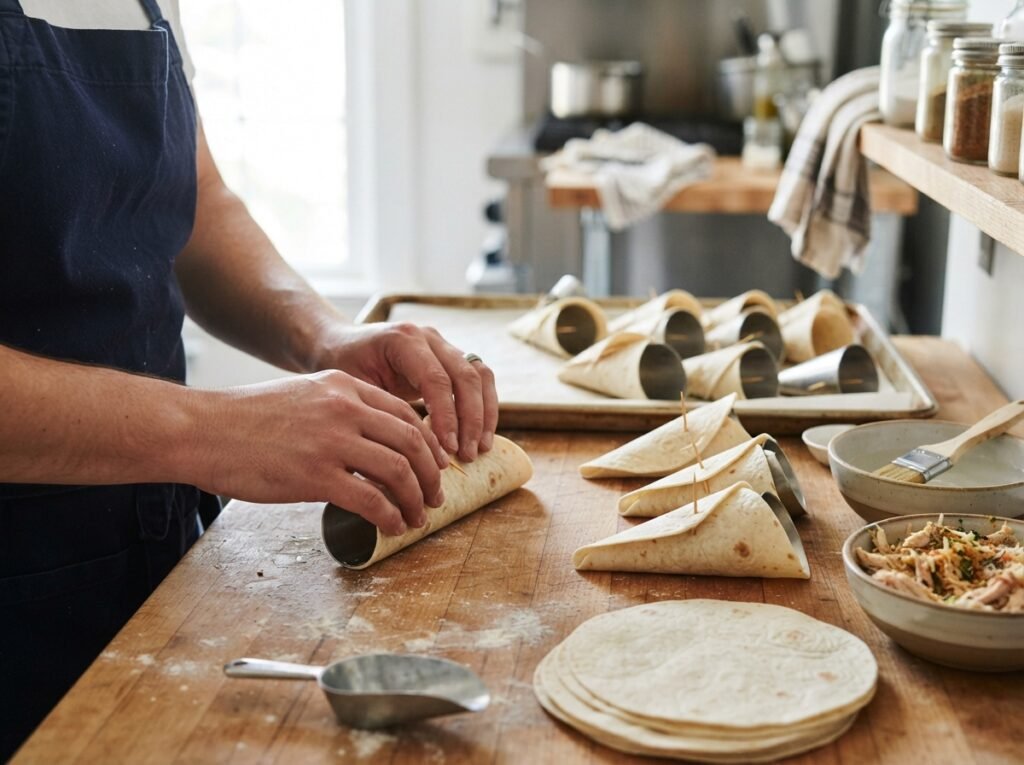
Take one triangular wedge. Hold the shortest side (the curved edge of the original tortilla) facing away from you. Roll the tortilla tightly starting from one of the straight cut edges, overlapping the other straight edge over it to form a cone shape. Pinch the seam gently to secure it.
- Why it matters: A tight roll is critical. If the cone is loose, oil will penetrate the layers, making the interior greasy and the structure weak.
- Texture Cue: The tortilla should feel taut, not slack. It should hold its conical shape when you let go.
H3: Fill the Cones
Using a spoon, carefully stuff your prepared chicken, corn, and pepper mixture into the wide opening of the cone. Fill it about 3/4 full, leaving a small gap at the top.
- Why it matters: Overfilling causes the filling to burst out during frying, creating a mess and burning the exposed food. Underfilling results in a hollow, disappointing bite.
- Pro Tip: Pack the filling down gently with the back of the spoon to eliminate air pockets, which can cause uneven cooking.
H3: The Triple-Bread Station
Set up three bowls: one with all-purpose flour, one with beaten eggs (seasoned with a pinch of salt), and one with breadcrumbs (Panko or seasoned).
- Flour: Dip the filled cone into the flour first, tapping off excess. This dries the surface.
- Egg: Dip into the egg wash, ensuring the entire surface is coated. Let excess drip off.
- Breadcrumbs: Press the cone firmly into the breadcrumbs, rotating to coat every inch. Pay special attention to the seam and the tip.
- Why it matters: This sequence creates the adhesive bond. Skipping the flour step often leads to the breading sliding off in the oil.
- Visual Cue: The cone should look completely opaque and textured, with no shiny spots of egg visible.
H3: Deep Fry to Golden Perfection
Heat 2-3 inches of oil in your deep skillet to 350°F (175°C). Carefully lower the breaded cones into the oil, seam-side down if possible, to help seal them. Do not overcrowd the pan; fry in batches of 3-4.
- Why it matters: Correct temperature is non-negotiable. Too hot, and the outside burns before the inside heats. Too cool, and the cone absorbs oil like a sponge.
- Aroma Cue: You should smell a nutty, toasted aroma. If it smells acrid or smoky, the oil is too hot.
- Color Cue: Fry for 2-3 minutes per side, turning occasionally, until uniformly golden brown.
H3: Drain and Serve
Remove the cones with a slotted spoon and place them immediately on a wire rack or paper towel-lined plate. Allow them to rest for 2-3 minutes before serving.
- Why it matters: Resting allows the internal steam to settle and the crust to set. Eating immediately can result in a burnt mouth and a softer crust.
- Texture Cue: The shell should sound hollow when tapped lightly with a fingernail.
Expert Tips for Perfect Cones
- Seal the Seam: Before breading, you can dab a tiny bit of beaten egg or water along the raw seam of the tortilla cone. This acts as a pre-glue, ensuring the breading adheres specifically to the vulnerable opening line.
- Chill Before Frying: After filling and breading, place the cones in the refrigerator for 15-20 minutes. This firms up the filling and sets the breading, reducing the chance of leakage during the shock of hot oil.
- Oil Temperature Management: Use a thermometer. Adding cold cones drops the oil temp. Wait for it to recover to 350°F between batches. If you don’t have a thermometer, test with a cube of bread; it should sizzle vigorously and turn golden in 60 seconds.
- Don’t Skip the Wire Rack: Paper towels trap steam underneath the cone, creating a soggy bottom. A wire rack allows air circulation, keeping the crunch intact.
- Season the Breadcrumbs: Plain breadcrumbs can be bland. Mix in garlic powder, onion powder, paprika, or dried herbs directly into the breadcrumb bowl for flavored crunch in every bite.
Common Mistakes to Avoid
- Mistake: Using Cold Tortillas.
- Fix: If your tortillas are stiff or cracking, microwave them for 10-15 seconds wrapped in a damp paper towel. Warm tortillas are elastic and roll without breaking.
- Mistake: Overcrowding the Pan.
- Fix: Frying too many at once crashes the oil temperature. The result is greasy, pale cones. Always leave space between items.
- Mistake: Wet Filling.
- Fix: Vegetables release water. Sauté your peppers and corn briefly before mixing with chicken to evaporate excess moisture. A wet filling creates steam pressure that blows the cone apart.
- Mistake: Thick Breading Clumps.
- Fix: Shake off excess flour and egg before moving to the next step. Thick clumps of batter will fall off in the oil and burn, leaving bald spots on the cone.
- Mistake: Cutting Tortillas with a Dull Knife.
- Fix: Always use shears or a pizza cutter. A dull knife drags the tortilla, stretching and distorting the triangle shape, leading to uneven cones.
Recipe Variations
- Spicy Buffalo Chicken: Toss the chicken filling in buffalo sauce and mix with blue cheese crumbles. Serve with ranch dipping sauce.
- Veggie Supreme: Replace chicken with a mix of black beans, roasted corn, diced red onion, and spinach. Add cumin and chili powder to the filling.
- Breakfast Cone: Fill with scrambled eggs, crispy bacon bits, and cheddar cheese. These are amazing for brunch!
- Seafood Delight: Use a mixture of crab meat, shrimp, and Old Bay seasoning. Pair with a lemon aioli dip.
- Pizza Cone: Fill with marinara sauce, pepperoni slices, and mozzarella cheese. Dip in extra marinara for a pizza-dunking experience.
- Dessert Cone: Skip the savory filling. Brush empty cones with butter and cinnamon sugar, fry until crisp, and fill with vanilla ice cream or fruit salad.
- Low-Carb/Keto: Use almond flour tortillas and crushed pork rinds for the breading. Bake at 400°F instead of frying to reduce oil absorption.
- Air Fryer Version: Spray breaded cones generously with oil spray. Air fry at 375°F for 8-10 minutes, flipping halfway. Less oil, slightly different texture, but still crispy.
What to Serve With This Recipe
These cones are rich and crunchy, so pair them with contrasting textures and flavors:
- Dipping Sauces: Ranch dressing, spicy mayo, sriracha ketchup, honey mustard, or a tangy BBQ sauce.
- Fresh Salads: A simple green salad with vinaigrette cuts through the richness of the fried dough. Coleslaw is also a classic pairing.
- Beverages: Iced tea, lemonade, light lagers, or sparkling water with lime.
- Side Dishes: French fries, sweet potato wedges, or grilled vegetables.
- Desserts: Since the cones are savory, finish with something light like sorbet or fresh fruit.
Make Ahead & Meal Prep Tips
- Prep the Filling: The chicken and vegetable mixture can be made up to 3 days in advance and stored in the fridge. In fact, the flavors meld better overnight.
- Assemble Ahead: You can cut, roll, fill, and bread the cones up to 4 hours before cooking. Keep them covered in the fridge. Do not freeze unbreaded assembled cones as the tortilla may get gummy.
- Freezing Cooked Cones: Fully cooked and cooled cones freeze beautifully. Place them in a single layer on a baking sheet to freeze solid, then transfer to a freezer bag. They keep for up to 2 months.
Storage & Reheating Instructions
Refrigerator
Store leftover cones in an airtight container for up to 3 days. Note that they will lose some crispness in the fridge due to moisture migration.
Freezer
Freeze cooked cones in a single layer before bagging to prevent sticking. Label with the date.
Reheating Methods
- Air Fryer (Best): Reheat at 350°F for 3-5 minutes. This restores the crunch effectively.
- Oven: Place on a wire rack at 375°F for 8-10 minutes. Avoid the microwave if possible, as it will make the tortilla chewy and soggy.
- Stovetop: Re-fry briefly in shallow oil for 1 minute to recrisp, though this adds more oil.
- Microwave (Last Resort): If you must, use the “crisp” setting or place a cup of water inside to prevent the tortilla from becoming rock hard, but expect a softer texture.
Nutritional Information
Estimates per cone (based on 10 servings):
- Calories: 280
- Protein: 14g
- Carbohydrates: 22g
- Fat: 16g
- Fiber: 2g
- Sugar: 2g
- Sodium: 450mg
Note: Values vary based on specific brands, oil absorption, and filling density.
Troubleshooting Guide
| Problem | Cause | Solution |
|---|---|---|
| Cones Unraveling | Roll was too loose or seam wasn’t sealed. | Roll tighter; use a dab of egg wash on the seam before breading. |
| Soggy Bottoms | Cooled on paper towels or oil too cool. | Cool on a wire rack; check oil temp with thermometer. |
| Burnt Outside, Cold Inside | Oil too hot. | Lower heat to 350°F; fry longer at lower temp. |
| Breading Falling Off | Skipped flour step or didn’t shake off excess egg. | Follow the 3-step process strictly; tap off excess liquid. |
| Filling Leaking | Overfilled or wet filling. | Leave headspace; sauté veggies to remove moisture. |
| Tortilla Cracking | Tortillas were cold/stale. | Warm tortillas briefly before cutting and rolling. |
Frequently Asked Questions
1. Can I bake these instead of frying? Yes, but the texture will be different. Bake at 400°F (200°C) on a wire rack for 15-20 minutes, spraying generously with oil halfway through. They will be crisp but less “shattering” than deep-fried.
2. What is the best oil for frying tortilla cones? Vegetable, canola, or peanut oil are best due to their high smoke points and neutral flavor. Avoid olive oil or butter.
3. Can I use corn tortillas? Corn tortillas are much more brittle and prone to cracking when rolled into cones. If you must use them, warm them extensively and handle with extreme care, but flour tortillas are highly recommended for this shape.
4. How do I keep the cones crispy for a party? Keep them on a wire rack in a warm oven (200°F) until serving. Do not stack them, as steam will soften the layers. Serve dips on the side rather than pre-dipping.
5. Can I make these gluten-free? Absolutely. Use certified gluten-free flour tortillas, GF breadcrumbs (or crushed cornflakes/rice cereal), and ensure your baking powder/spices are GF certified.
6. Why did my cones taste oily? The oil temperature was likely too low. When oil is cool, food acts like a sponge. Ensure your oil is at least 350°F before adding the cones.
7. Can I prep the filling with raw chicken? No. The frying time (2-3 mins) is not long enough to cook raw chicken safely. Always use pre-cooked chicken.
8. What can I use instead of breadcrumbs? Crushed crackers, panko, crushed cornflakes, or even grated parmesan cheese mixed with almond flour can work as alternatives.
Final Thoughts
These crispy tortilla chicken cones are proof that great snacks don’t require complicated techniques or expensive ingredients. By mastering the simple art of the roll and the breading station, you elevate everyday leftovers into a crave-worthy treat. The combination of the shatteringly crisp shell and the warm, savory filling creates a sensory experience that beats any store-bought alternative.
Whether you’re feeding a crowd or treating yourself, this recipe offers endless customization and reliable results. Don’t be afraid to experiment with fillings and dips to find your perfect combination. Once you try making these at home, you’ll never look at a flour tortilla the same way again. Give this recipe a try, rate it below, and let us know in the comments what creative filling combinations you discovered!