
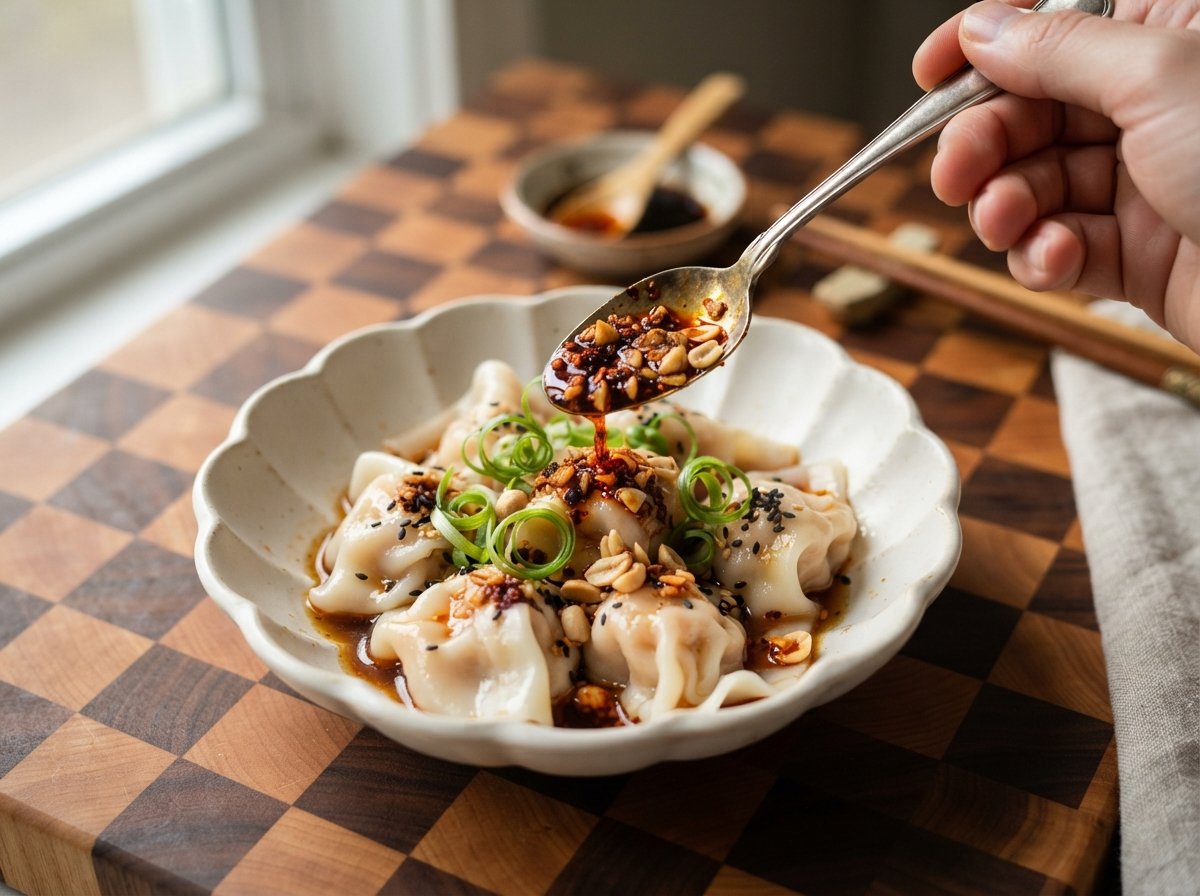
There’s something magical about a jar of homemade chili crisp sitting on the counter. One afternoon I sliced shallots and garlic, watched them turn golden in oil, and poured the hot liquid over a bowl of spices and chili. The sizzle, the aroma, and that first spoonful over dumplings made me swear off store-bought versions forever. This version is crunchy, fragrant, and endlessly versatile.
While you’re at it: Crispy Fried Shallots Guide
Why you’ll love this recipe
This chili crisp delivers restaurant-level crunch and heat with simple pantry staples.
- Deeply aromatic from slow-fried aromatics and spices
- Crunchy texture that stays crisp for weeks
- Customizable heat level for every preference
- Spoon it over almost any savory dish
Ingredients
Gather these everyday items to create a fragrant, crunchy chili oil packed with flavor and texture.
- 4 large shallots
- 8 garlic cloves
- 1 cup roasted peanuts
- 2 cups neutral oil
- 1/2 cup chili flakes
- 2 tbsp chili powder
- 1 tsp salt
- 1 cinnamon stick
- 1 bay leaf
- 1 tsp fennel seeds
- 1/2 tsp Sichuan peppercorns
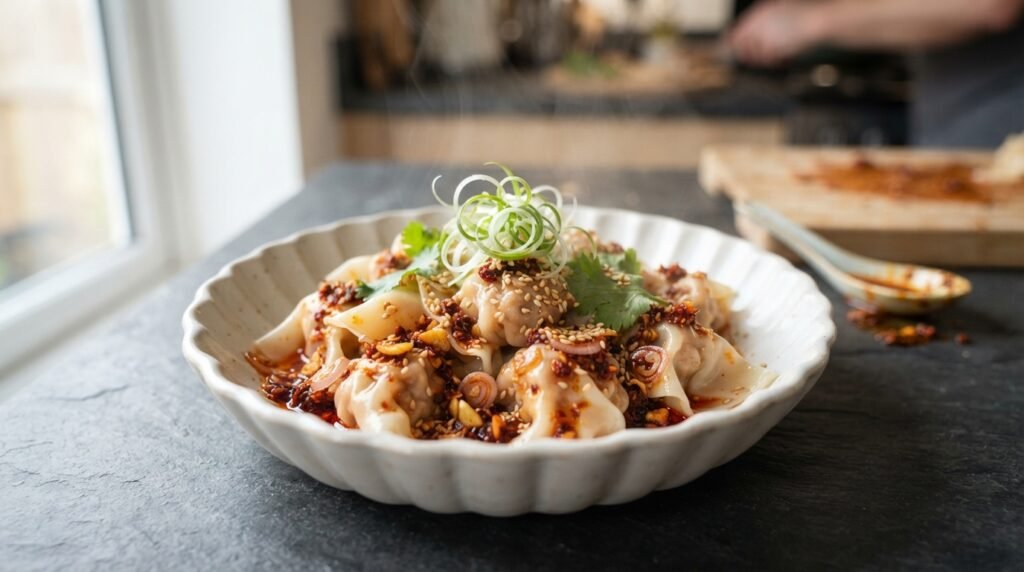
If shallots are unavailable, use red onions sliced thin for similar sweetness and color. Swap peanuts for cashews or omit nuts entirely for a nut-free version. Adjust chili flakes up or down to control the heat without changing the overall balance.
One more to try: Easy Homemade Dumplings
Step-by-step instructions
Follow these clear steps to transform simple ingredients into fragrant, crunchy homemade chili crisp.
Step 1: Slice the aromatics
Thinly slice the shallots into rings and the garlic into even coins. Uniform pieces ensure they fry evenly and become perfectly crisp without burning.
Step 2: Start the fry
Place the sliced shallots and garlic in a cold saucepan and cover with the neutral oil. Beginning from cold oil helps the aromatics cook gently and release their sweetness slowly.
Step 3: Fry low and slow
Heat the oil over medium-low, stirring occasionally until the shallots and garlic turn deep golden brown. This gentle approach creates the signature crunch without bitterness.
Step 4: Drain the crisp bits
Strain the fried shallots and garlic through a fine mesh strainer onto paper towels. Reserve the fragrant oil and let the solids cool completely so they stay crisp.
Step 5: Infuse the spices
Return the strained oil to the pan with the cinnamon stick, bay leaf, fennel seeds, and Sichuan peppercorns. Warm gently for a few minutes until the spices bloom and perfume the oil.
Step 6: Prepare the chili base
Combine the chili flakes, chili powder, and salt in a heatproof bowl. This dry mix will catch the hot oil and create the classic chili crisp texture and color.
Step 7: Bloom the chili
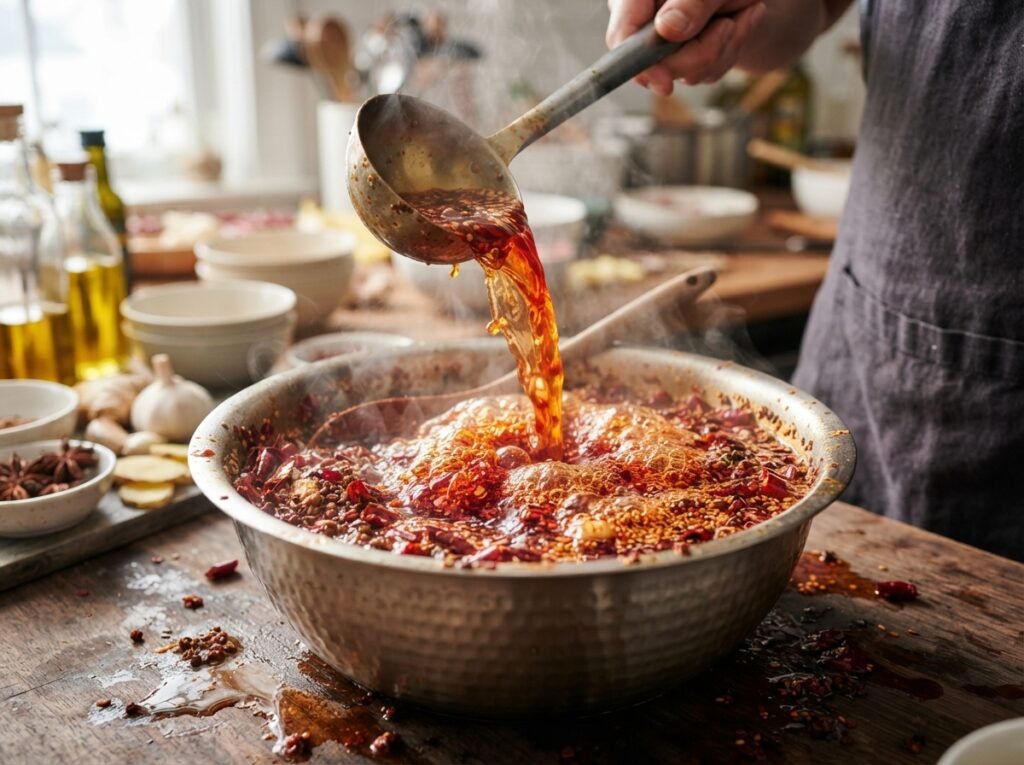
Carefully pour the hot spiced oil over the chili mixture. The vigorous sizzle blooms the spices and releases deep color and aroma into the oil.
Step 8: Mix and finish
Stir in the cooled fried shallots, garlic, and peanuts until everything is evenly coated. Let the chili crisp cool fully before transferring to a clean jar.
Tips & common mistakes
A few careful habits keep your chili crisp perfectly crisp and balanced every time.
- Always fry aromatics low and slow for even color
- Never pour oil that is smoking hot onto chili
- Cool completely before sealing the jar tightly
- Store away from direct sunlight to preserve flavor
Recipe variations
Small changes let you tailor this chili crisp to different tastes and dietary needs.
- Add extra chili flakes for a much spicier version
- Use half the oil for a thicker, less oily result
- Swap peanuts for toasted sesame seeds instead
- Infuse with star anise for a deeper aromatic note
What to serve with this recipe
This chili crisp elevates simple dishes with crunch, heat, and rich savory depth.
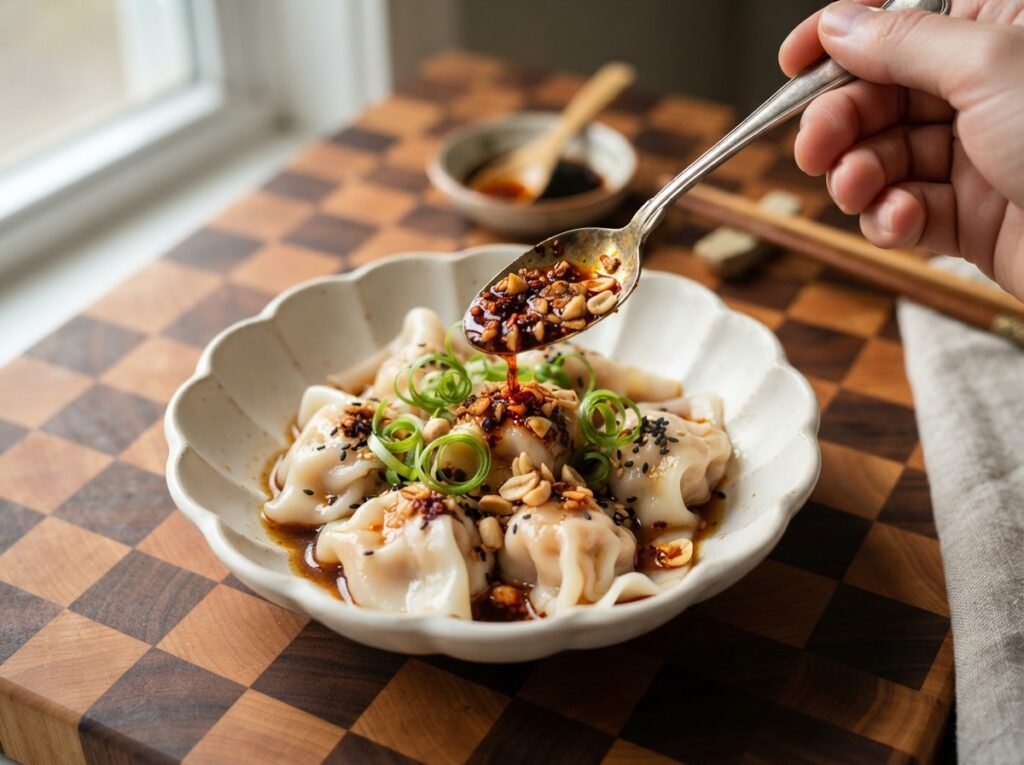
- Spoon generously over steamed or pan-fried dumplings
- Drizzle on noodles, rice bowls, or fried eggs
- Top avocado toast or simple roasted vegetables
- Serve alongside grilled meats or tofu for extra kick
Pairs well with this: Garlic Chili Noodles
Frequently asked questions
Here are quick answers to the most common questions about making and storing chili crisp.
How long does homemade chili crisp last?
Stored in a clean airtight jar in the refrigerator, it keeps well for up to one month while staying crisp and flavorful.
Can I make it less spicy?
Yes, simply reduce the chili flakes and powder by half and taste as you go to reach your preferred heat level.
Do I have to use peanuts?
No, the peanuts add crunch but can be omitted or replaced with cashews or sunflower seeds without losing the overall character.
Why did my aromatics burn?
The oil was likely too hot; always start low and slow, watching closely until they reach a deep golden color only.
Final thoughts
Homemade chili crisp turns everyday meals into something special with almost no effort. The crunch of the shallots and garlic, the warmth of the spices, and that glossy red oil make every spoonful worth it. Make a jar this weekend, keep it in the fridge, and reach for it whenever a dish needs a little lift. Leave a comment below with your favorite way to use it or any tweaks you tried—I’d love to hear how it turned out