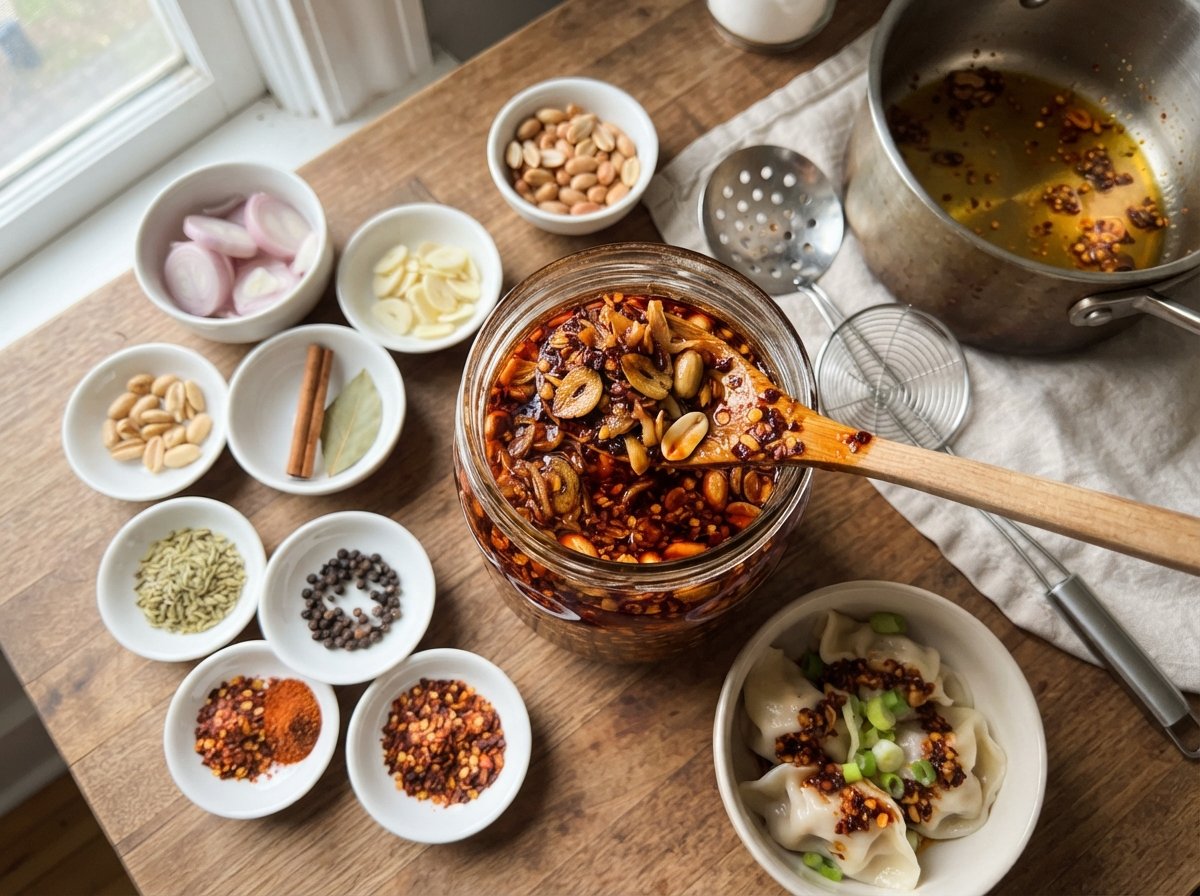
This homemade chili crisp turns simple shallots, garlic, and peanuts into pure liquid gold. I first tasted a version like this spooned over dumplings and knew I had to recreate it. Slow-frying the aromatics low and slow builds deep flavor, while blooming the chili in hot oil unlocks that signature heat and fragrance. The result is crunchy, savory, and endlessly versatile—perfect for elevating weeknight meals or special dinners.
You might also like: Crispy Garlic Chili Oil
Why you’ll love this recipe
This homemade chili crisp delivers restaurant-quality crunch and heat with pantry staples.
- Crispy shallots and garlic every single time
- Customizable heat level for any preference
- Keeps well for weeks in the fridge
- Elevates dumplings, noodles, and rice instantly
Ingredients
Gather these simple ingredients to create a jar of deeply flavorful homemade chili crisp at home.
- 4 shallots, thinly sliced
- 8 garlic cloves, sliced
- 1/2 cup raw peanuts
- 1 cup neutral oil
- 1 cinnamon stick
- 1 bay leaf
- 1 tsp fennel seeds
- 1/2 tsp black peppercorns
- 1/4 cup chili flakes
- 2 tbsp chili powder
- 1 tsp salt
- 1 tsp sugar
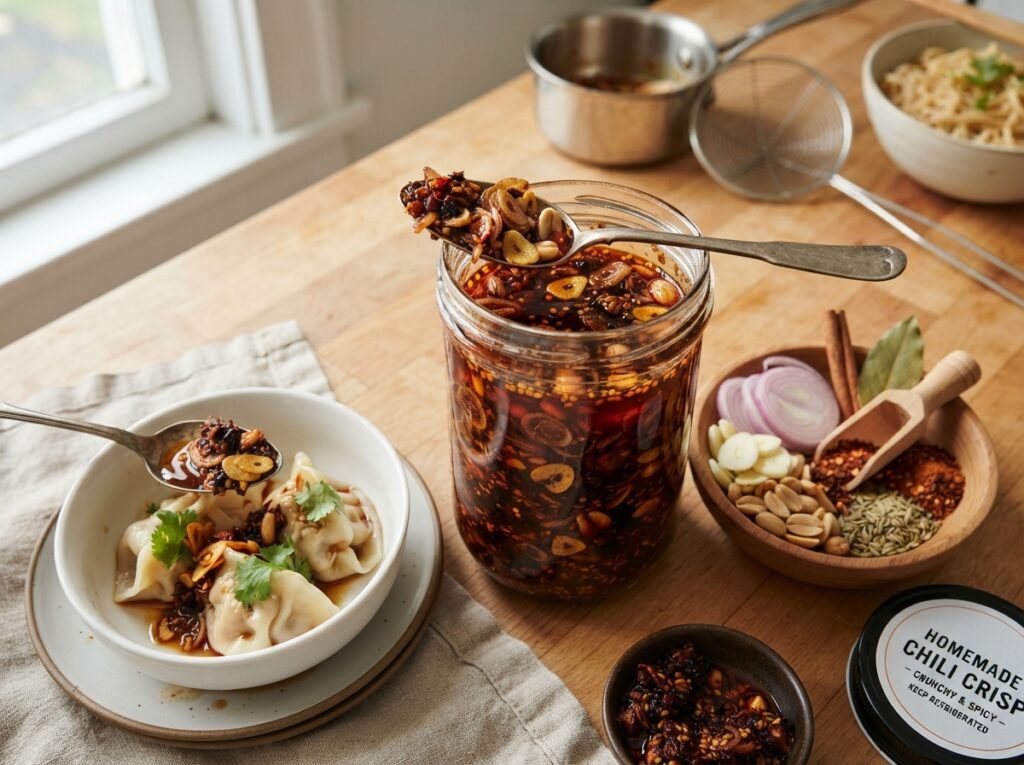
If shallots are unavailable, use red onion sliced thin for similar sweetness. Swap peanuts for cashews or leave them out entirely for a nut-free version. Adjust chili flakes up or down depending on your preferred spice level without changing the method.
Worth trying next: Sichuan Dumpling Sauce
Step-by-step instructions
Follow these clear steps to build layers of flavor and achieve perfectly crisp texture every time.
Step 1: Slice the aromatics
Thinly slice the shallots into half-moons and the garlic into even rounds. Uniform pieces ensure everything fries at the same rate and turns golden without burning.
Step 2: Start the slow fry
Place the sliced shallots and garlic in a cold pan with the neutral oil. Turn the heat to medium-low so the oil gradually warms and the aromatics cook gently.
Step 3: Fry low and slow
Cook the shallots and garlic, stirring occasionally, until they turn deep golden and crisp. This low-and-slow method prevents bitterness and develops rich, sweet flavor.
Step 4: Drain the crisp bits
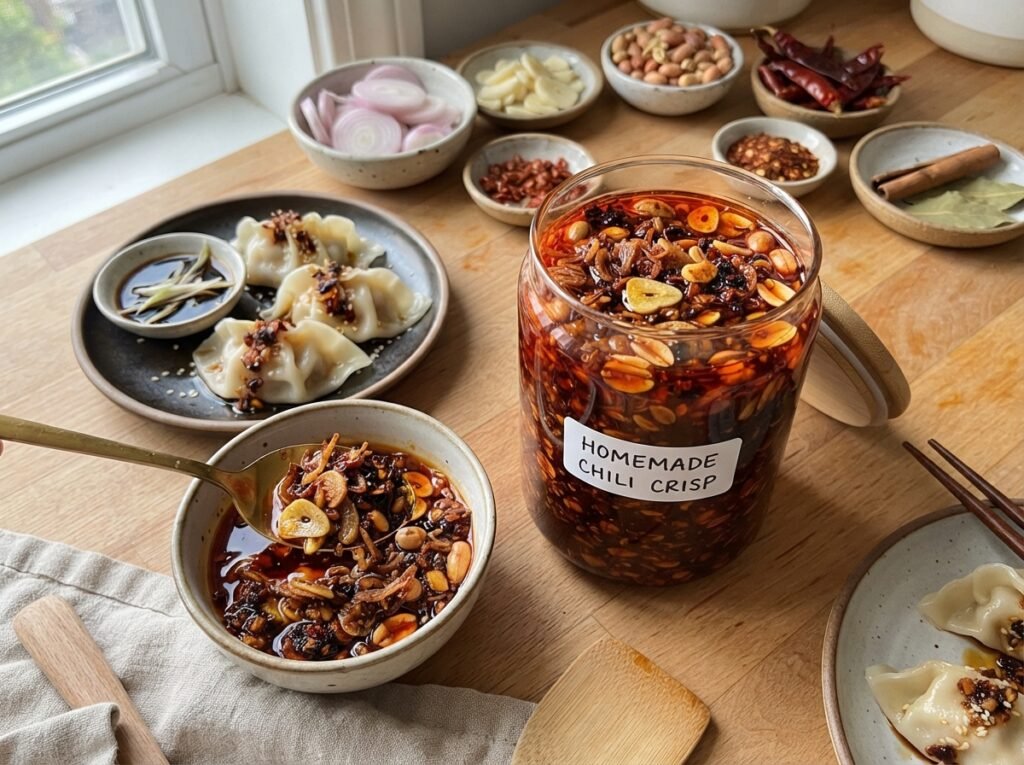
Lift the fried shallots and garlic out with a spider or slotted spoon. Spread them on paper towels to drain excess oil while they finish crisping.
Step 5: Infuse the oil
Add the cinnamon stick, bay leaf, fennel seeds, and peppercorns to the same hot oil. Let them gently sizzle for a minute to perfume the oil with warm spice notes.
Step 6: Bloom the chili
Combine the chili flakes, chili powder, salt, and sugar in a heatproof bowl. Carefully pour the hot infused oil over the chili mixture so it sizzles and blooms.
Step 7: Mix everything together
Stir in the drained crispy shallots, garlic, and peanuts until evenly coated. The mixture should look glossy and smell intensely aromatic.
Step 8: Rest and store
Let the chili crisp cool completely before transferring to a clean jar. The flavors continue to deepen as it sits, becoming even more delicious overnight.
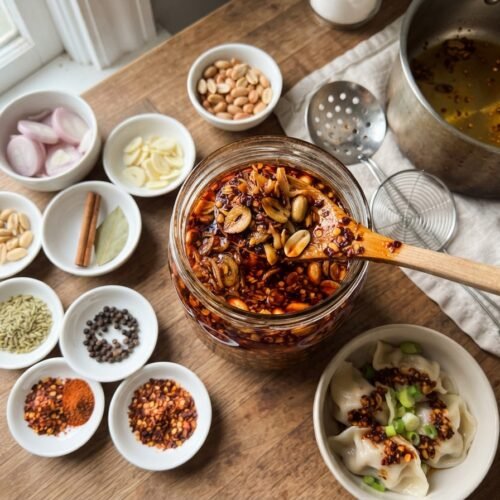
Homemade Chili Crisp
Equipment
- 1 | Heavy-bottomed saucepan |
- 1 | Spider or slotted spoon | for lifting fried aromatics
- 1 | Heatproof mixing bowl |
- 1 | Clean glass jar | for storage
Ingredients
- 4 | | shallots | thinly sliced
- 8 | cloves | garlic | sliced
- 1/2 | cup | raw peanuts |
- 1 | cup | neutral oil | such as canola or grapeseed
- 1 | | cinnamon stick |
- 1 | | bay leaf |
- 1 | tsp | fennel seeds |
- 1/2 | tsp | black peppercorns |
- 1/4 | cup | chili flakes |
- 2 | tbsp | chili powder |
- 1 | tsp | salt |
- 1 | tsp | sugar |
Instructions
- Thinly slice the shallots and garlic.
- Place shallots, garlic, and oil in a cold saucepan over medium-low heat.
- Fry low and slow, stirring occasionally, until deep golden and crisp.
- Remove aromatics with a spider and drain on paper towels.
- Add cinnamon, bay leaf, fennel seeds, and peppercorns to the oil; infuse 1 minute.
- Combine chili flakes, chili powder, salt, and sugar in a heatproof bowl.
- Carefully pour the hot oil over the chili mixture to bloom.
- Stir in the crispy shallots, garlic, and peanuts.
- Cool completely, then transfer to a cl
Notes
Always use a clean, dry spoon to scoop.
Adjust chili flakes to control heat level.
Flavors improve after resting overnight.
Tips & common mistakes
A few simple habits guarantee perfect homemade chili crisp without frustration or burnt bits.
- Keep the heat low to avoid bitter burnt garlic
- Slice everything uniformly for even browning
- Bloom chili off the heat to prevent scorching
- Store fully cooled to keep the oil clear
Recipe variations
Customize this base recipe to match your taste or what you have on hand in the pantry.
- Add Sichuan peppercorns for numbing heat
- Use gochugaru for a milder Korean twist
- Stir in sesame seeds for extra nuttiness
- Replace peanuts with toasted sesame for nut-free
What to serve with this recipe
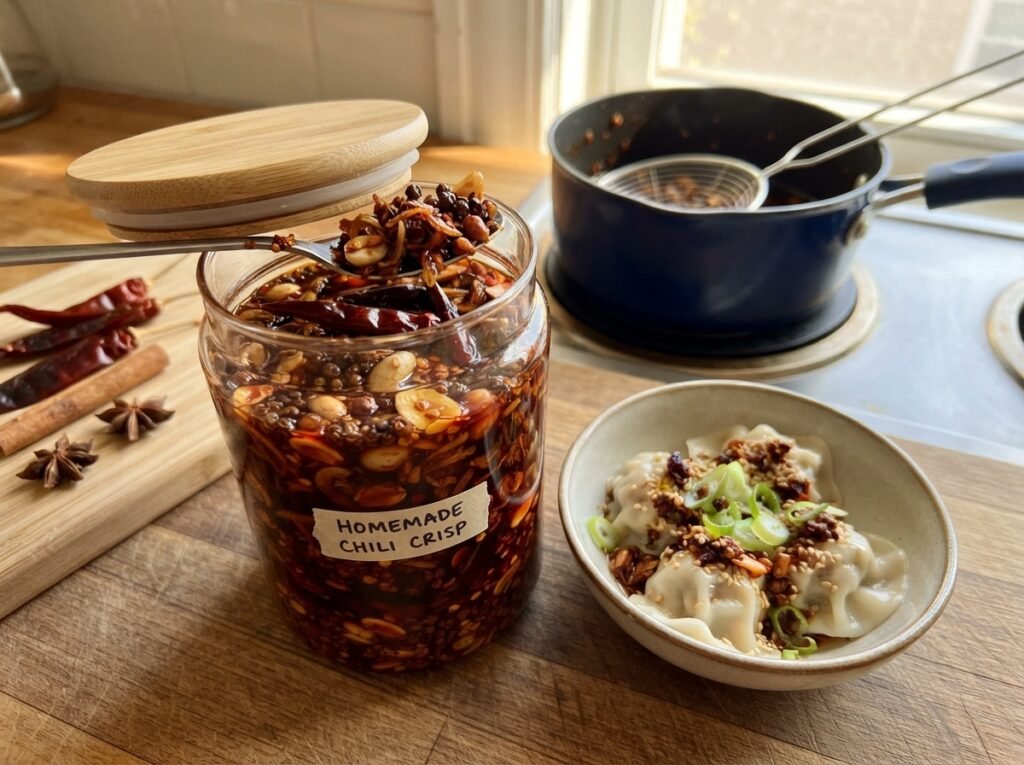
This chili crisp shines as a finishing condiment that transforms everyday dishes into something special.
- Spoon over steamed or pan-fried dumplings
- Drizzle on noodles, rice, or fried eggs
- Top avocado toast or grain bowls
- Pair with cold beer or iced tea
Pairs well with this: Homemade Wonton Soup
Frequently asked questions
Here are answers to the most common questions about making and storing chili crisp.
How long does homemade chili crisp last?
Stored in a clean airtight jar in the refrigerator, it keeps well for up to one month. Always use a clean spoon to prevent contamination.
Can I make it less spicy?
Yes—reduce the chili flakes and powder by half, or use a milder chili variety. The crisp shallots and garlic still deliver plenty of flavor.
Do I need special equipment?
A heavy-bottomed saucepan and a spider or slotted spoon are ideal. A regular spoon and fine-mesh strainer work fine if that is what you have.
Why did my garlic burn?
The heat was likely too high. Always start in cold oil and keep the temperature low and steady for even, golden results.
Final thoughts
Homemade chili crisp is one of those condiments that makes everything better. Once you taste the difference between store-bought and this slow-fried version, you will want a jar in the fridge at all times. Make a batch this weekend, spoon it over dumplings or noodles, and let me know how it turned out in the comments. Rate the recipe if you loved it—I read every note!