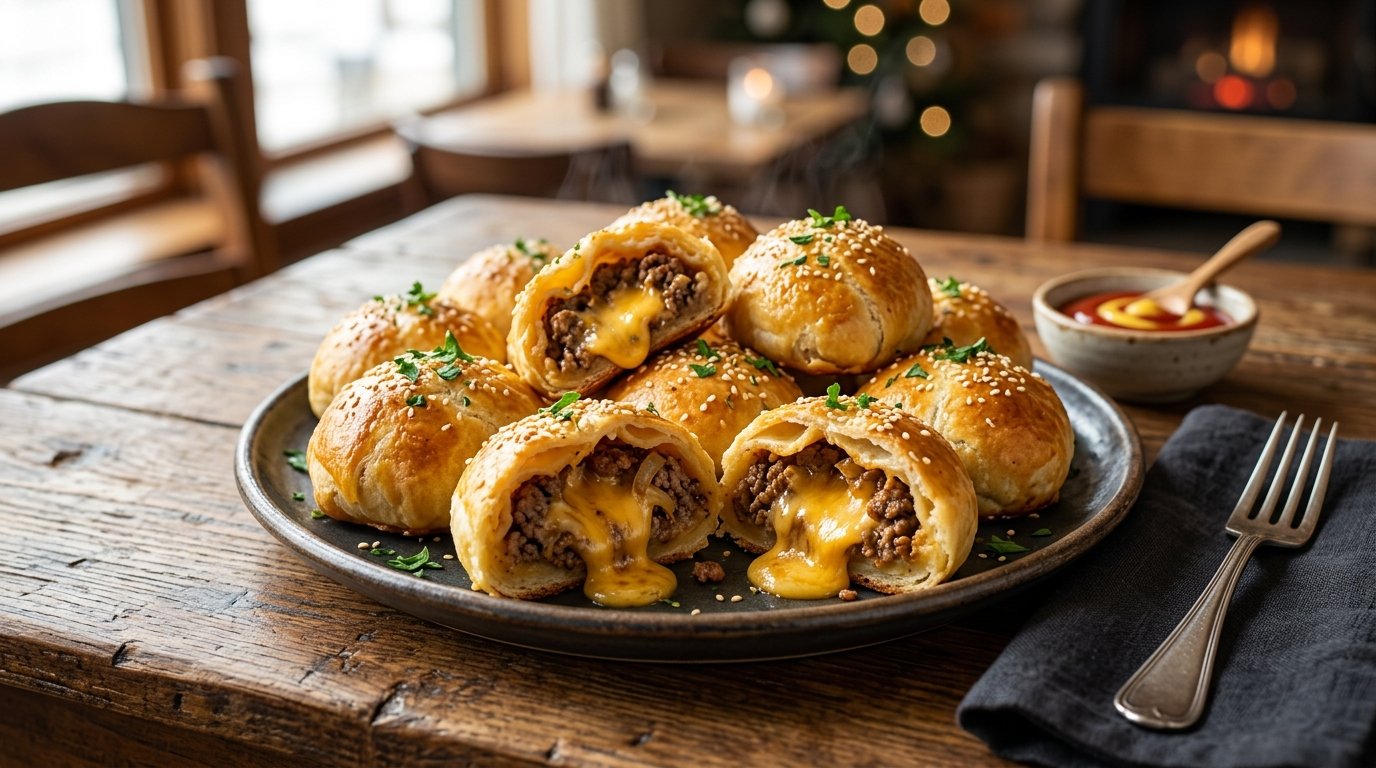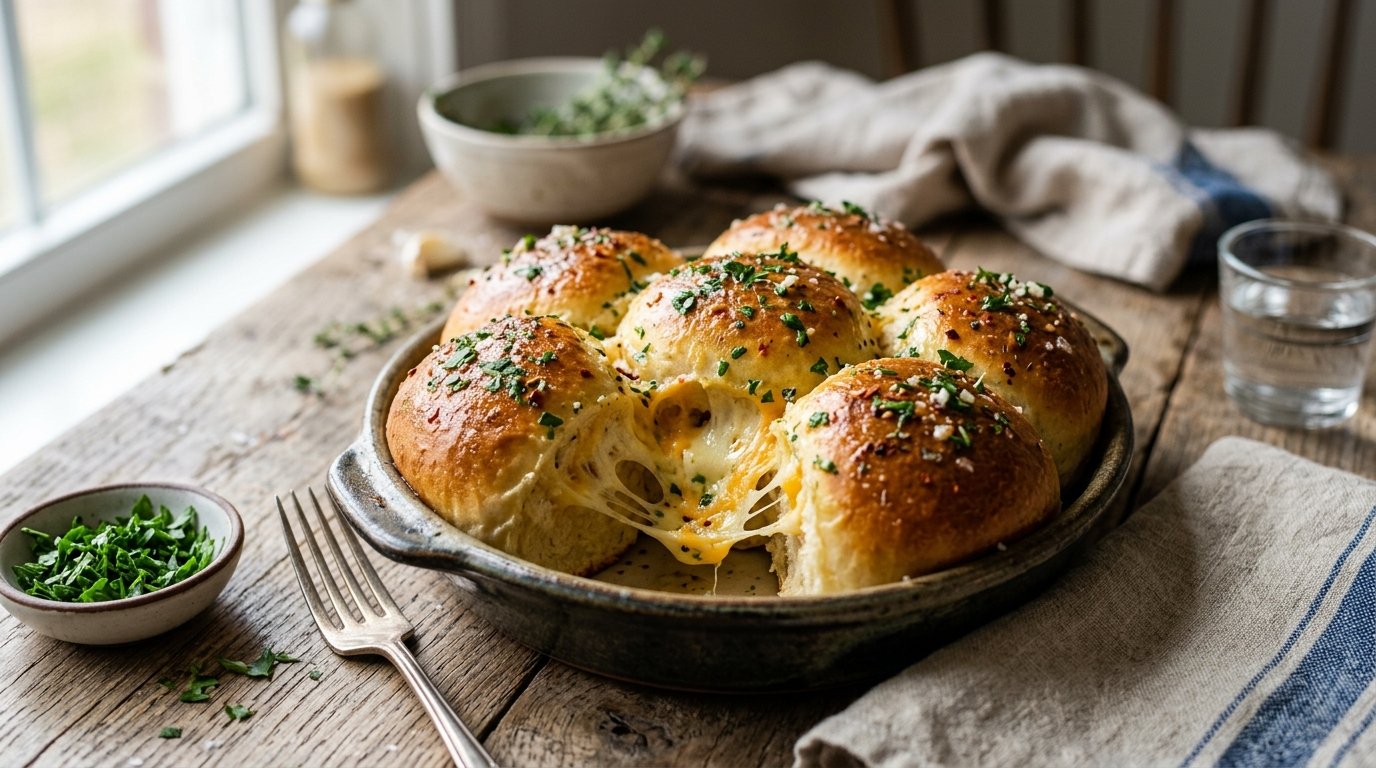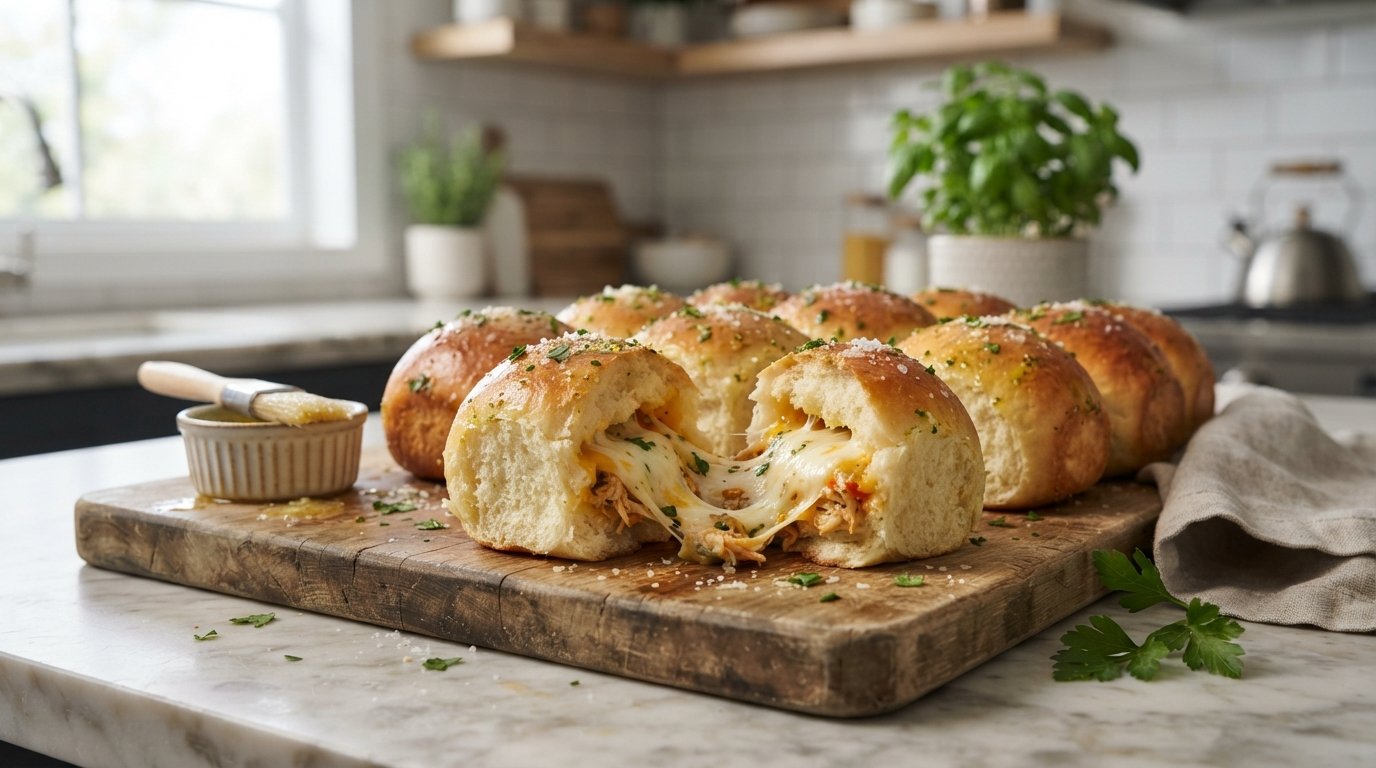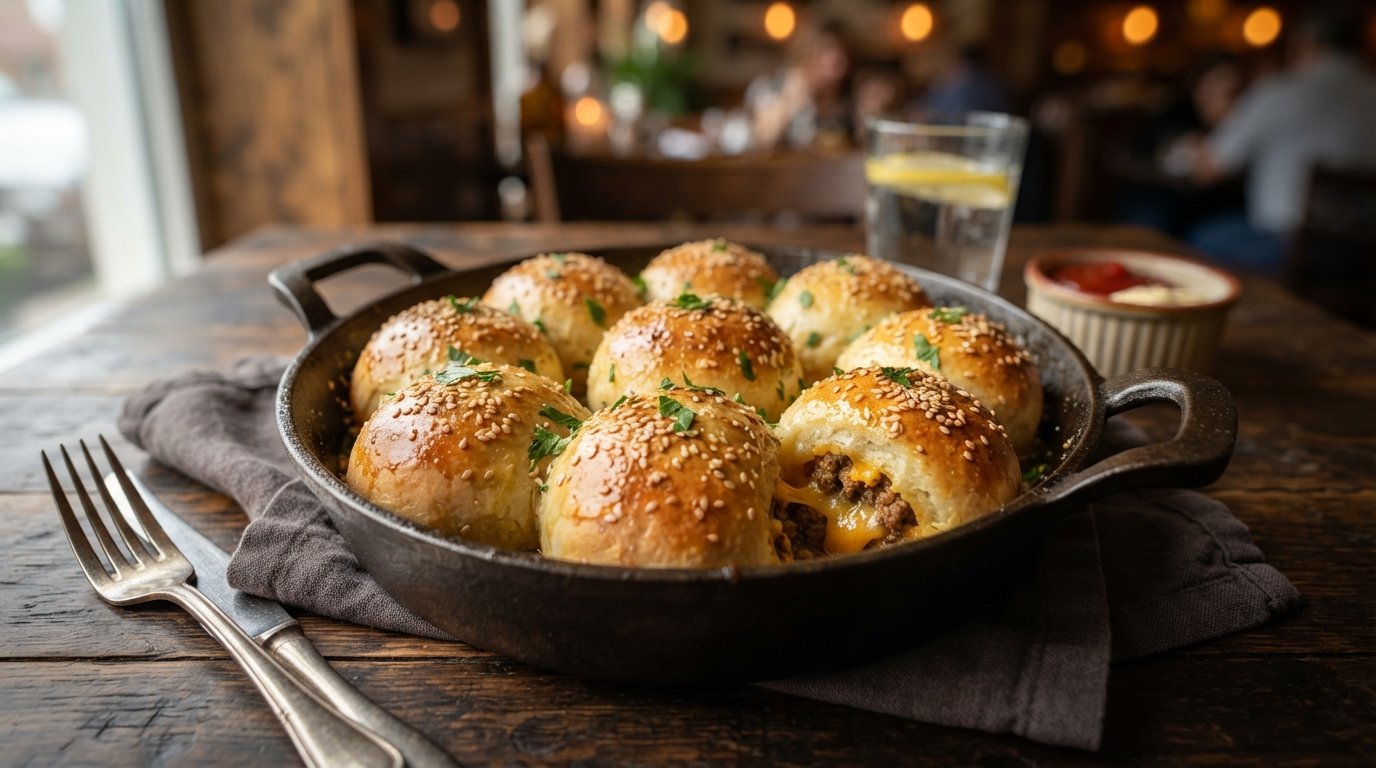
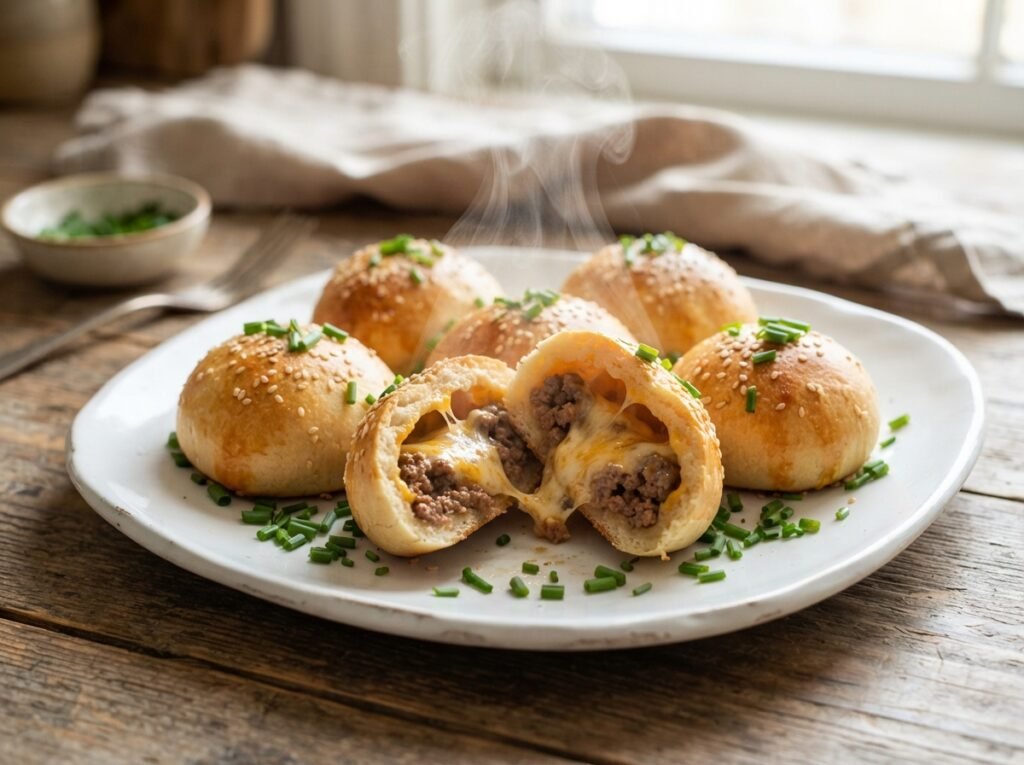
These irresistible cheeseburger bombs are soft, golden bread buns stuffed with seasoned ground beef and melty cheese. They bake up beautifully pull-apart style in a pan, delivering all the classic cheeseburger flavors in a fun, handheld package. Perfect for game days, family dinners, or easy weeknight meals.
Quick Recipe Summary
| Detail | Info |
|---|---|
| Prep Time | 25 minutes |
| Cook Time | 20-25 minutes |
| Total Time | About 45-50 minutes |
| Servings | 4 (makes 4 large bombs) |
| Cuisine | American |
| Course | Appetizer, Main Dish |
| Difficulty | Easy |
| Calories | ~650-750 per bomb (est.) |
Table of Contents
- Introduction
- Why This Recipe Works
- Why You’ll Love This Recipe
- Ingredient Notes
- Kitchen Equipment
- Step-by-Step Instructions
- Expert Tips
- Common Mistakes to Avoid
- Recipe Variations
- What to Serve With Cheeseburger Bombs
- Make-Ahead and Meal Prep Tips
- Storage and Reheating Instructions
- Nutritional Information
- Troubleshooting Guide
- Frequently Asked Questions
- Final Thoughts
Introduction
If you love cheeseburgers but want something easier to share (and more fun to eat), these cheeseburger bombs are your new go-to recipe. Juicy seasoned beef and gooey cheese get wrapped in soft, fluffy homemade-style dough, then baked until golden and brushed with herbs for that irresistible pull-apart appeal. One bite reveals stretchy cheese pulls and savory filling — pure comfort food magic. Whether you’re feeding a crowd or treating the family, this recipe delivers big flavor with minimal fuss.
Why This Recipe Works
The magic lies in balancing the dough’s tenderness with a flavorful, not-too-wet filling that won’t leak during baking. The dough seals tightly around the cheese and beef, creating steam pockets that keep everything moist inside while the exterior bakes to a glossy, golden finish. Brushing with egg wash promotes even browning and shine, and the herbs add freshness that cuts through the richness.
Why You’ll Love This Recipe
- All-in-one bites: No need for buns or assembly at the table.
- Kid-friendly and crowd-pleasing: Fun to pull apart and dip.
- Customizable: Easy to tweak for spice, cheese levels, or dietary needs.
- Impressive yet simple: Looks bakery-worthy but uses straightforward techniques.
- Great for sharing: Perfect pull-apart style in one pan.
Ingredient Notes
For the Dough (makes 4 large bombs):
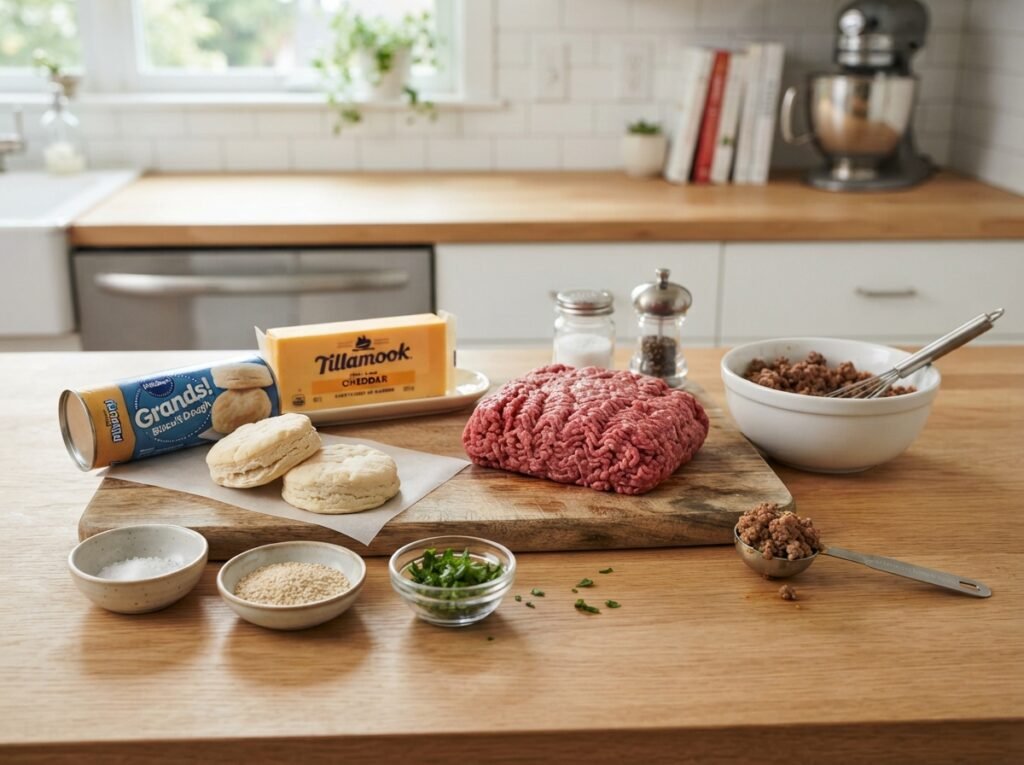
- Pizza dough or homemade bread dough (about 1 lb / 450g total) — Provides a soft, chewy texture that bakes beautifully. Use store-bought for ease or your favorite yeast dough recipe.
- Substitutions: Refrigerated biscuit dough works in a pinch but yields a different texture.
For the Filling:
- 1 lb (450g) ground beef (80/20 for juiciness) — The star protein; brown it well for flavor.
- Onion, finely chopped (about ½ cup) — Adds sweetness and aroma when cooked with beef.
- Cheese slices or cubes (cheddar, American, or a mix; 4-8 slices) — Creates the signature gooey melt and cheese pull.
- Seasonings: Salt, pepper, garlic powder, optional Worcestershire sauce or ketchup/mustard for classic burger taste.
For Finishing:
- Egg wash (1 egg beaten with a splash of water or milk) — Gives shine and golden color.
- Fresh parsley or herbs, finely chopped — For garnish and flavor.
- Butter or oil for brushing (optional, for extra richness).
Dipping Sauce: Creamy burger-style sauce (mayonnaise-based with pickles, ketchup, mustard) — Enhances the cheeseburger experience.
Buying & Storage Tips: Use fresh ground beef and good-melting cheese. Store raw dough in the fridge per package instructions; cooked beef filling can be made ahead and refrigerated up to 2 days.
Kitchen Equipment
Required:
- Baking pan or dish (for 4 bombs)
- Parchment paper
- Skillet for cooking beef
- Wooden spoon or spatula
- Sharp knife or bench scraper
- Pastry brush for egg wash
Optional: Cooling rack, small bowl for sauce.
Step-by-Step Instructions
1. Prepare the Beef Filling
In a skillet over medium heat, cook the ground beef with chopped onions, breaking it up as it browns. Season with salt, pepper, garlic powder, and a dash of Worcestershire or burger sauces. Drain excess fat if needed. Let the mixture cool slightly. This step builds deep savory flavor and prevents a soggy filling. Visual cue: Beef should be nicely browned, onions translucent.
2. Prepare the Dough
Divide your dough into 4 equal portions. On a lightly floured or parchment-lined surface, roll or press each into a flat circle (about 5-6 inches diameter). Keep the center thicker if needed to hold filling without tearing.
3. Assemble the Bombs
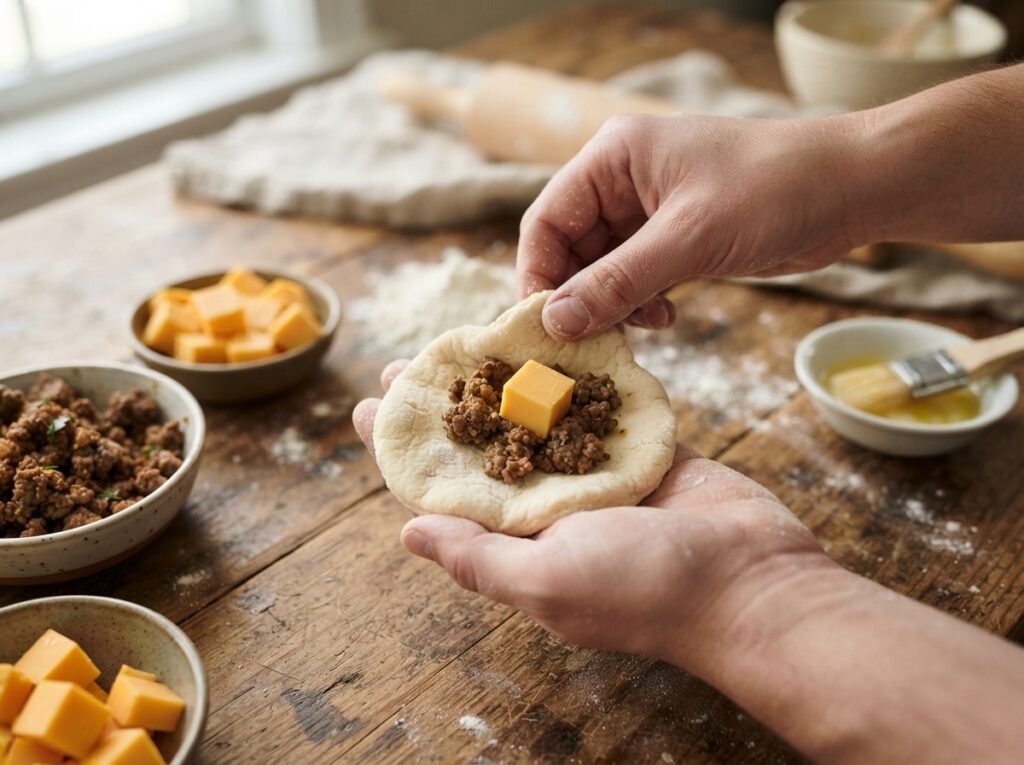
Place a generous spoonful of cooled beef filling in the center of each dough circle. Top with a square or slice of cheese. Fold the edges of the dough up and over the filling, pinching firmly to seal completely (like making a dumpling or bun). Flip seam-side down and gently shape into a smooth ball. Proper sealing prevents cheese from leaking during baking.
4. Proof and Prepare for Baking
Place the 4 assembled bombs in a parchment-lined baking pan. Cover lightly and let rest 10-15 minutes if using fresh yeast dough (skip or shorten for store-bought). Preheat oven to 375-400°F (190-200°C).
5. Brush and Bake
Brush each bomb generously with egg wash. Sprinkle with chopped parsley. Bake for 20-25 minutes until deep golden brown on top. Visual cues: Buns should puff up, turn glossy golden, and feel firm when tapped. Aroma: Buttery, savory beef notes filling the kitchen.
6. Serve
Remove from oven, cool slightly, then pull apart or serve whole with dipping sauce on the side. Enjoy the dramatic cheese pulls!
Expert Tips
- Cool the filling completely before assembling to avoid melting the dough prematurely.
- Don’t overfill — leave room for sealing.
- For extra garlic flavor, brush with garlic butter after baking.
- Bake on the middle rack for even browning.
Common Mistakes to Avoid
- Leaky cheese: Caused by poor sealing or hot filling — always pinch seams tightly and cool filling.
- Dry dough: Overworking or under-hydrating dough; handle gently.
- Pale or uneven bake: Insufficient egg wash or wrong oven temperature.
- Soggy bottoms: Ensure parchment is used and don’t overcrowd the pan.
Recipe Variations
- Spicy: Add jalapeños or hot sauce to the beef; use pepper jack cheese.
- Bacon Cheeseburger: Stir crumbled cooked bacon into the filling.
- Extra Cheesy: Mix shredded cheese into the beef and add more on top.
- Low-Carb: Use a fathead dough or keto-friendly wrap (results will vary).
- Vegetarian: Swap beef for plant-based crumbles or mushrooms.
- Mini Version: Make smaller bombs with biscuit dough for appetizers.
What to Serve With Cheeseburger Bombs
- Classic sides: French fries, onion rings, or coleslaw.
- Fresh salads: Simple green salad or tomato-cucumber salad.
- Dips: Extra burger sauce, ranch, or BBQ.
- Drinks: Iced tea, lemonade, or beer.
- Dessert: Something light like fruit salad to balance the richness.
Make-Ahead and Meal Prep Tips
Assemble the bombs up to the baking stage, cover tightly, and refrigerate up to 24 hours. Bake fresh when ready. The cooked beef filling stores well for meal prep.
Storage and Reheating Instructions
Refrigerator: Store leftovers in an airtight container up to 3-4 days. Freezer: Wrap individually and freeze up to 2 months. Reheating:
- Oven: 350°F for 10-15 minutes (best for texture).
- Air Fryer: 320°F for 5-8 minutes.
- Microwave: 30-60 seconds (cheese will melt nicely but crust softens).
Nutritional Information (Approximate per Bomb)
- Calories: 650-750
- Protein: 35-40g
- Carbohydrates: 45-55g
- Fat: 35-45g
- Fiber: 2-4g
- Sugar: 5-8g
- Sodium: 900-1200mg Values vary based on exact ingredients and brands.
Troubleshooting Guide
- Dough not sealing: Dough too dry — add a touch of water or oil when kneading.
- Cheese leaking: Better pinching or cooler filling next time.
- Uneven rising/baking: Check oven temperature with a thermometer.
- Dry interior: Shorter bake or more cheese/fat in filling.
Frequently Asked Questions
Can I use biscuit dough instead of pizza dough? Yes — it’s quicker and works well, though the texture is slightly different.
How do I prevent the bombs from opening during baking? Pinch seams very securely and place seam-side down.
Can I make these ahead and freeze? Absolutely — assemble, freeze on a tray, then transfer to a bag. Bake from frozen, adding extra time.
What kind of cheese works best? Melty varieties like cheddar, American, or mozzarella for maximum pull.
Are these spicy? Not inherently — control heat with seasonings and cheese choice.
Can I make them smaller for appetizers? Yes, divide dough into 8-12 pieces for bite-sized versions.
What’s the best dipping sauce? A creamy special sauce (mayo, ketchup, mustard, pickles, onion) pairs perfectly.
Do I need to let the dough rise? Depends on the dough type; follow package or recipe instructions.
How do I store leftovers? Refrigerate in an airtight container; reheat in oven for best results.
Final Thoughts
These cheeseburger bombs turn a classic favorite into an easy, shareable masterpiece. The combination of soft golden bread, savory beef, and molten cheese is simply addictive. Once you try them, they’ll become a regular in your rotation for busy nights or entertaining. Give this recipe a go — your family and friends will thank you! If you make them, drop a comment with your favorite variation or topping. Happy cooking