Prep Time: 15 minutes Cook Time: 20 minutes Total Time: 35 minutes Servings: 4 Cuisine: American / Comfort Food Course: Main Course, Appetizer Difficulty: Easy
Table of Contents
- Introduction
- Why This Recipe Works
- Why You’ll Love This Recipe
- Ingredient Notes
- Kitchen Equipment
- Step-by-Step Instructions
- Expert Tips
- Common Mistakes
- Recipe Variations
- What to Serve With This Recipe
- Storage & Reheating
- Nutritional Information
- Frequently Asked Questions
Introduction
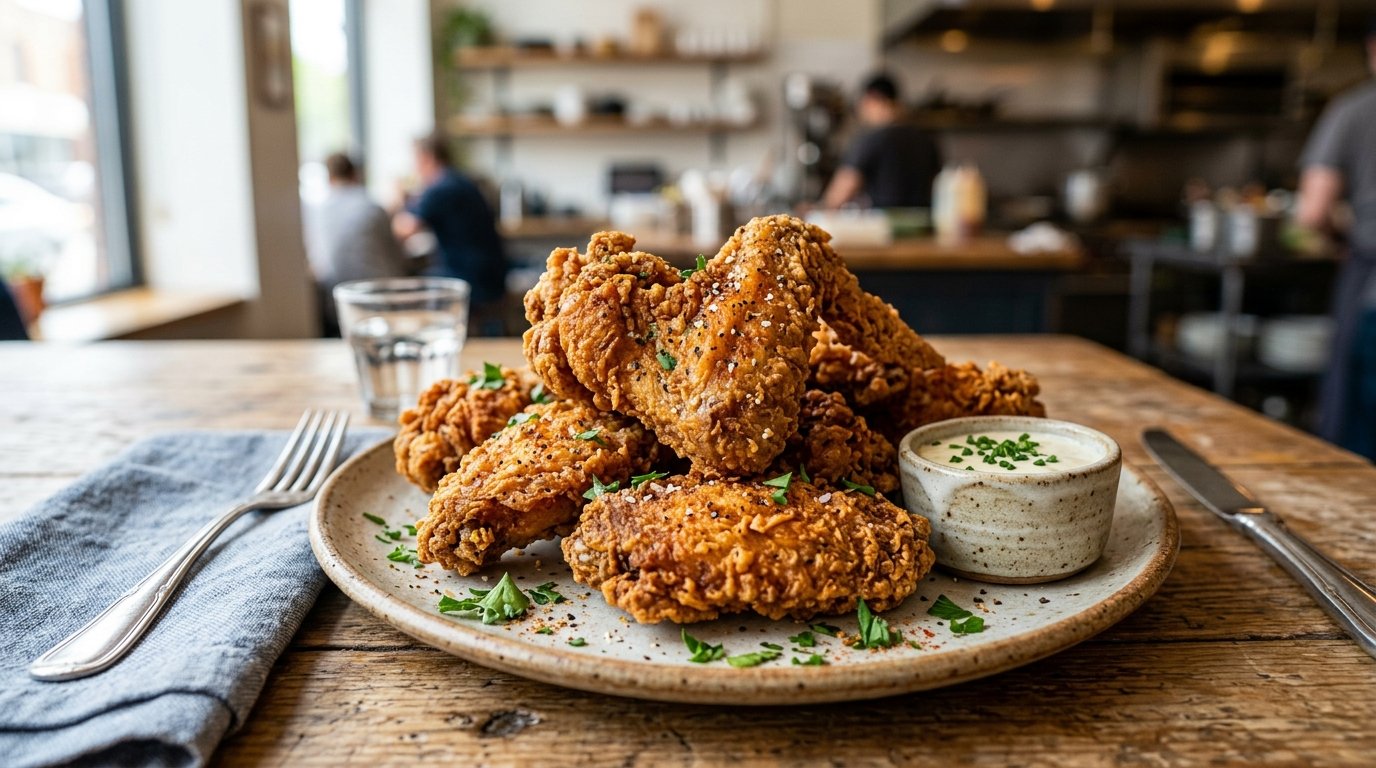
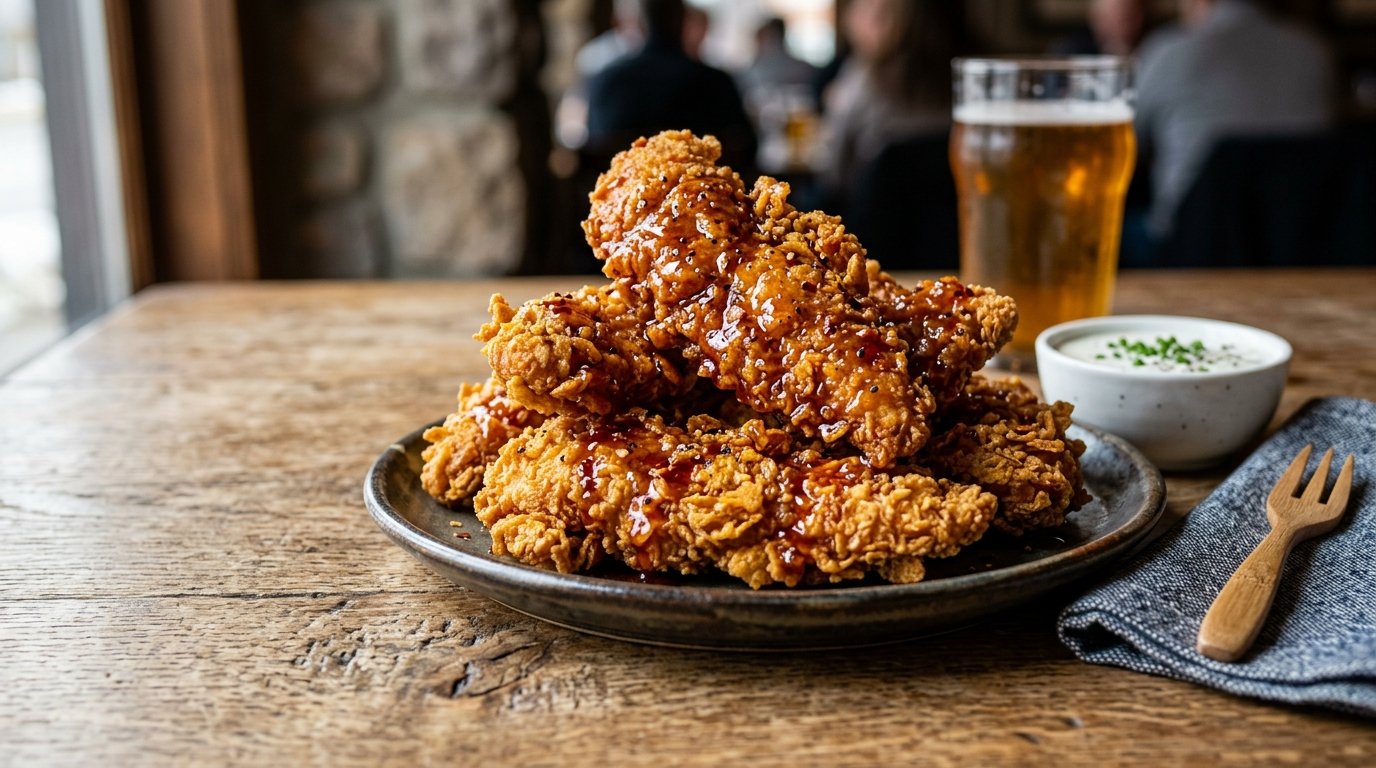
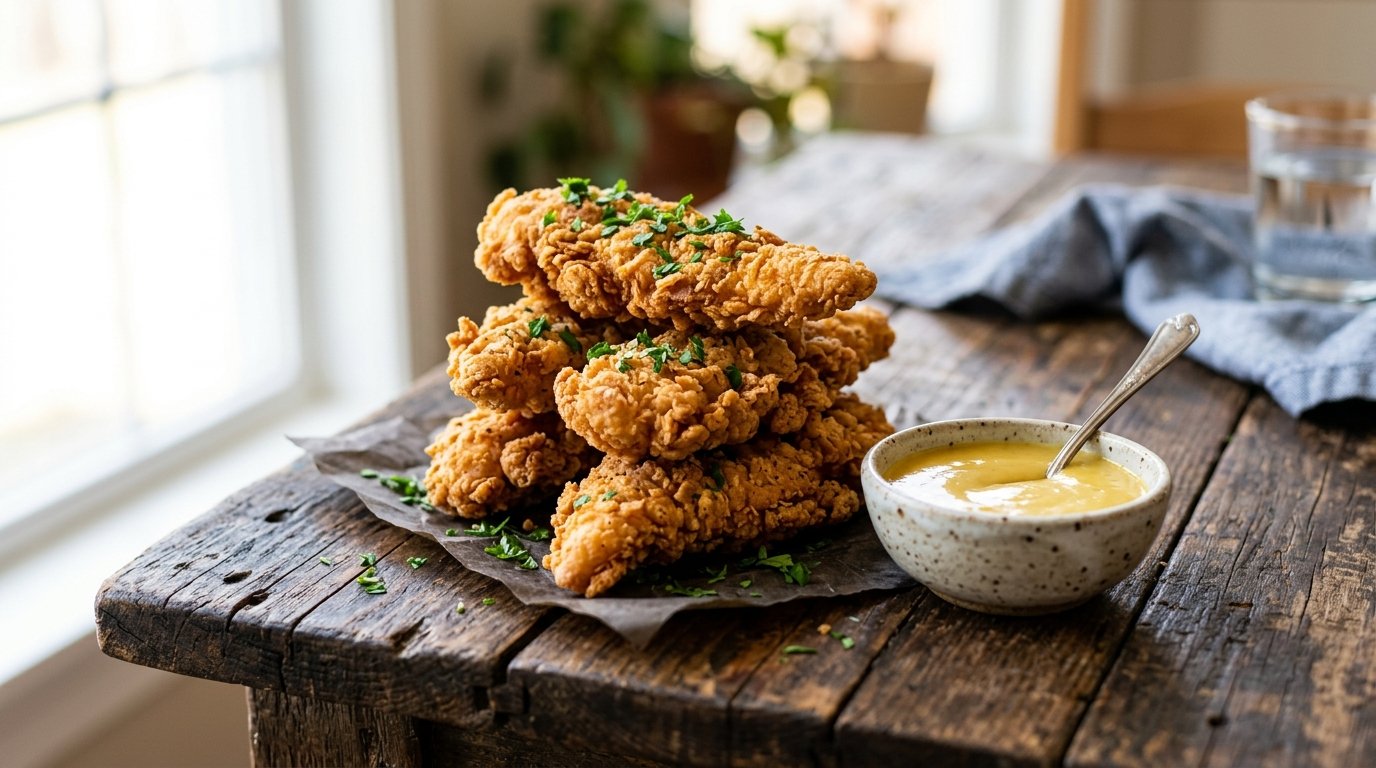
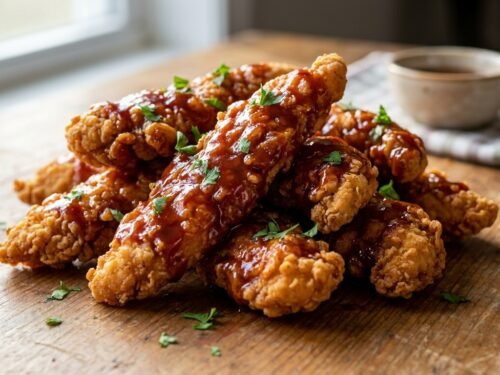
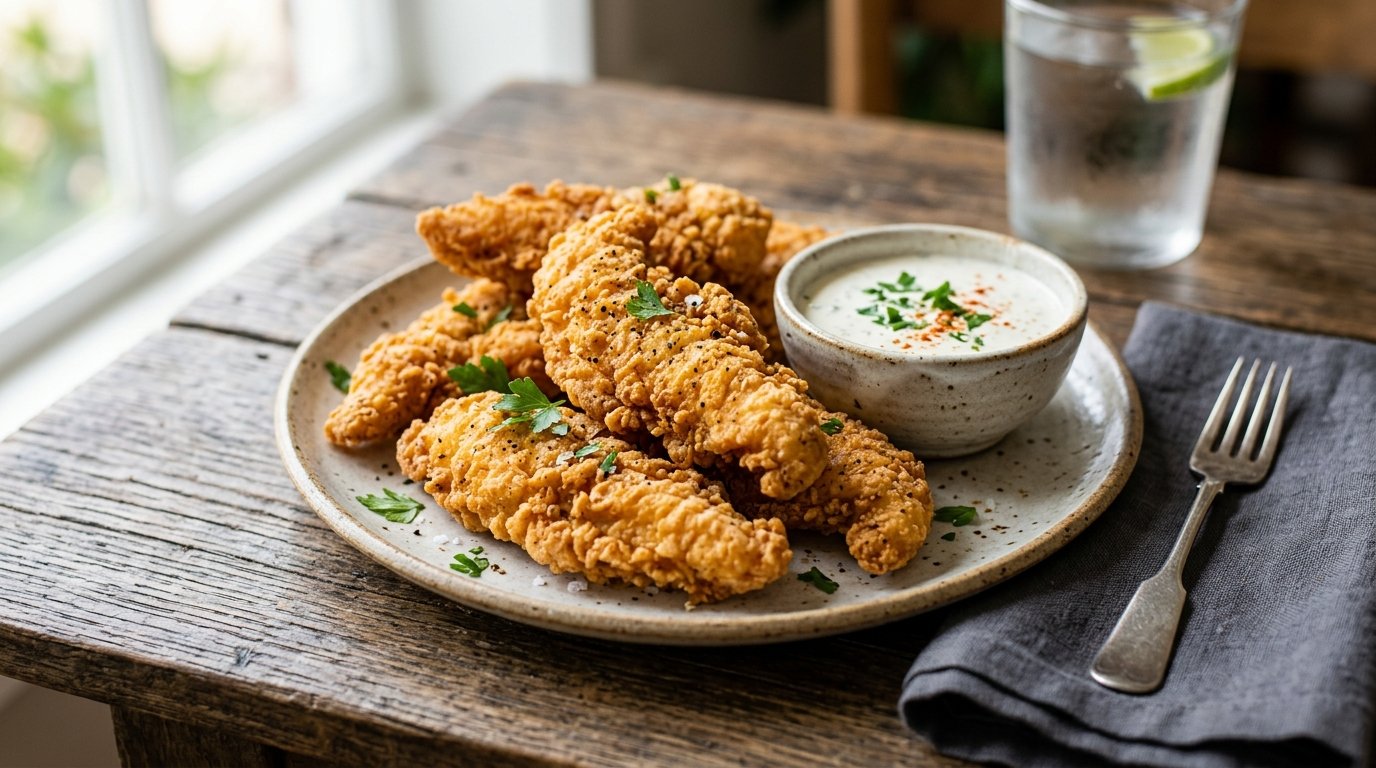
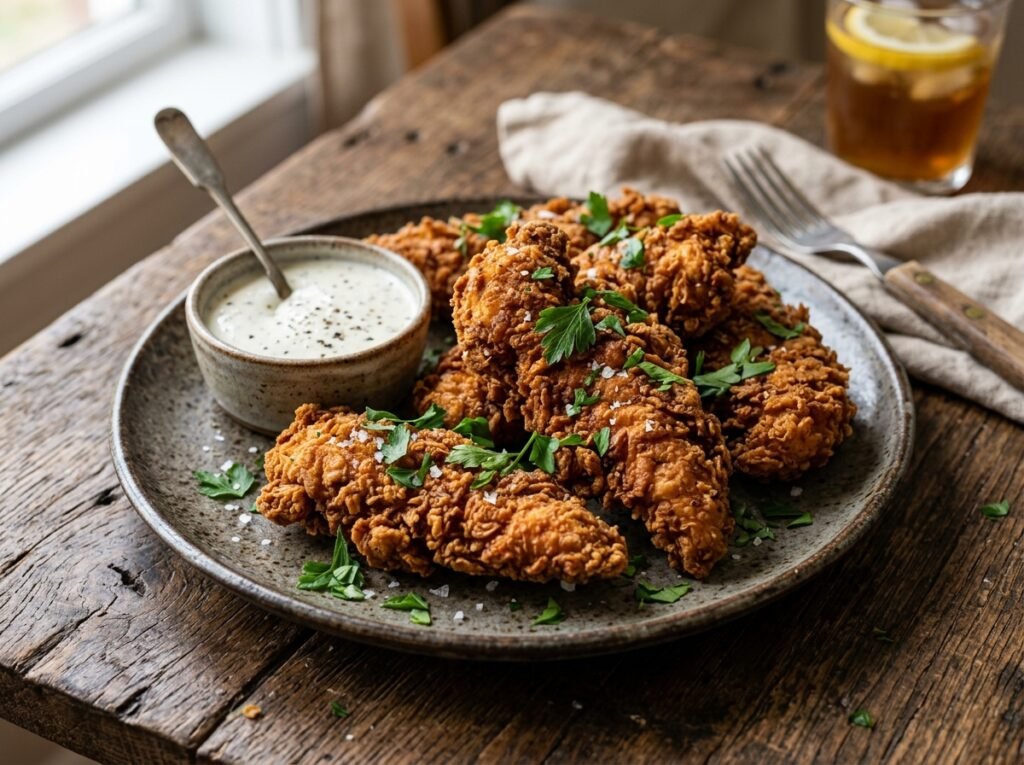
These crispy buttermilk fried chicken tenders deliver the ultimate combination of a super crunchy coating and juicy, tender chicken inside. With a flavorful buttermilk soak spiked with chili flakes and a simple flour dredge, they fry up golden and irresistible. Perfect for weeknight dinners, game day snacks, or whenever you’re craving restaurant-style chicken tenders at home.
Why This Recipe Works
The buttermilk tenderizes the chicken while the chili flakes add subtle heat and flavor. A quick double-coat effect from the wet-to-dry dredging creates an extra-crispy crust that holds up beautifully during frying. The high-heat fry locks in moisture and delivers that signature crackly texture.
Why You’ll Love This Recipe
- Quick and straightforward process
- Juicy chicken with ultra-crispy coating
- Customizable spice level
- Kid-friendly yet adult-approved
- Ready faster than delivery
Ingredient Notes
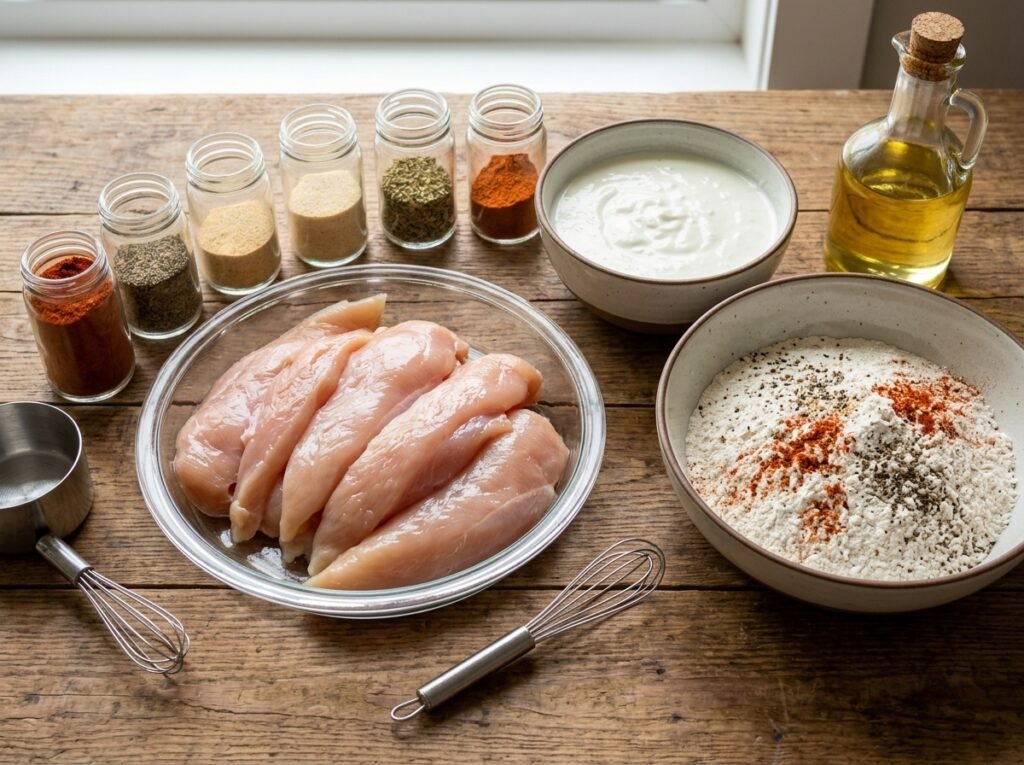
- Chicken Tenderloins or Strips: Fresh, uniform pieces cook evenly.
- Buttermilk (or Milk): Tenderizes the meat and helps the coating adhere. Red pepper flakes infuse flavor directly into the soak.
- All-Purpose Flour: Forms the base of the crispy crust.
- Seasonings: Salt, pepper, and chili flakes for balanced flavor.
- Oil for Frying: Neutral oil with high smoke point.
- Dipping Sauce: Creamy orange sauce (spicy mayo-style) for serving.
Kitchen Equipment
Required:
- Three bowls for dredging
- Deep pot or pan for frying
- Spider strainer or tongs
- Wire cooling rack
Optional:
- Thermometer for oil temperature
Step-by-Step Instructions
1. Prepare the Buttermilk Soak
Mix buttermilk (or milk) with red pepper flakes in a bowl. Dip each chicken strip fully into the mixture, coating thoroughly. Let excess drip off. This step seasons the chicken and promotes better adhesion for the flour.
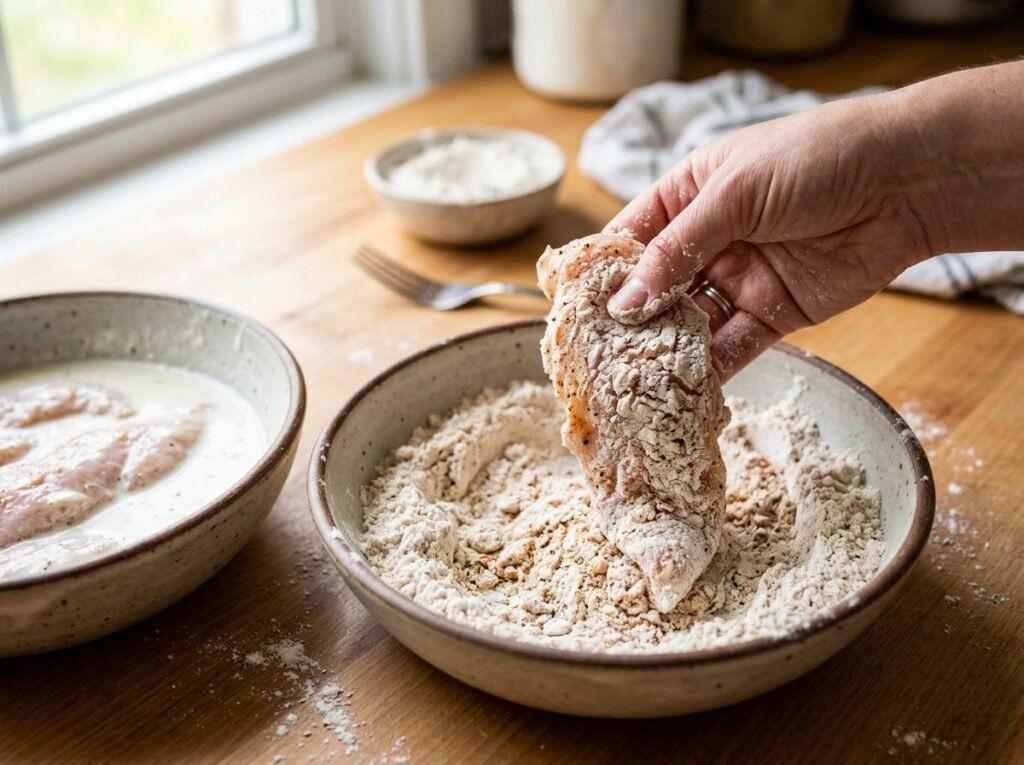
2. Dredge in Flour
Press the soaked chicken firmly into flour, making sure every surface is well coated. Gently shake off excess. The wet-to-dry transition creates the foundation for that signature crispy crust.
3. Fry to Golden Perfection
Heat oil in a deep pot until hot. Carefully lower the coated tenders into the oil. Fry until deeply golden brown and crispy, turning as needed for even cooking. The crust will bubble and crisp beautifully while the inside stays juicy.
4. Drain and Serve
Remove with a strainer and let drain on a wire rack. Serve hot with your favorite creamy dipping sauce.
Expert Tips
- Maintain consistent oil temperature for even frying.
- Don’t overcrowd the pot — fry in batches.
- Press the flour coating well for maximum crunch.
- Let the chicken rest briefly after frying to keep it juicy.
Common Mistakes
- Oil too cool → soggy coating.
- Overcrowding → temperature drop and greasy results.
- Not pressing the flour → patchy, thin crust.
Recipe Variations
- Extra Spicy: Add cayenne or hot sauce to the buttermilk.
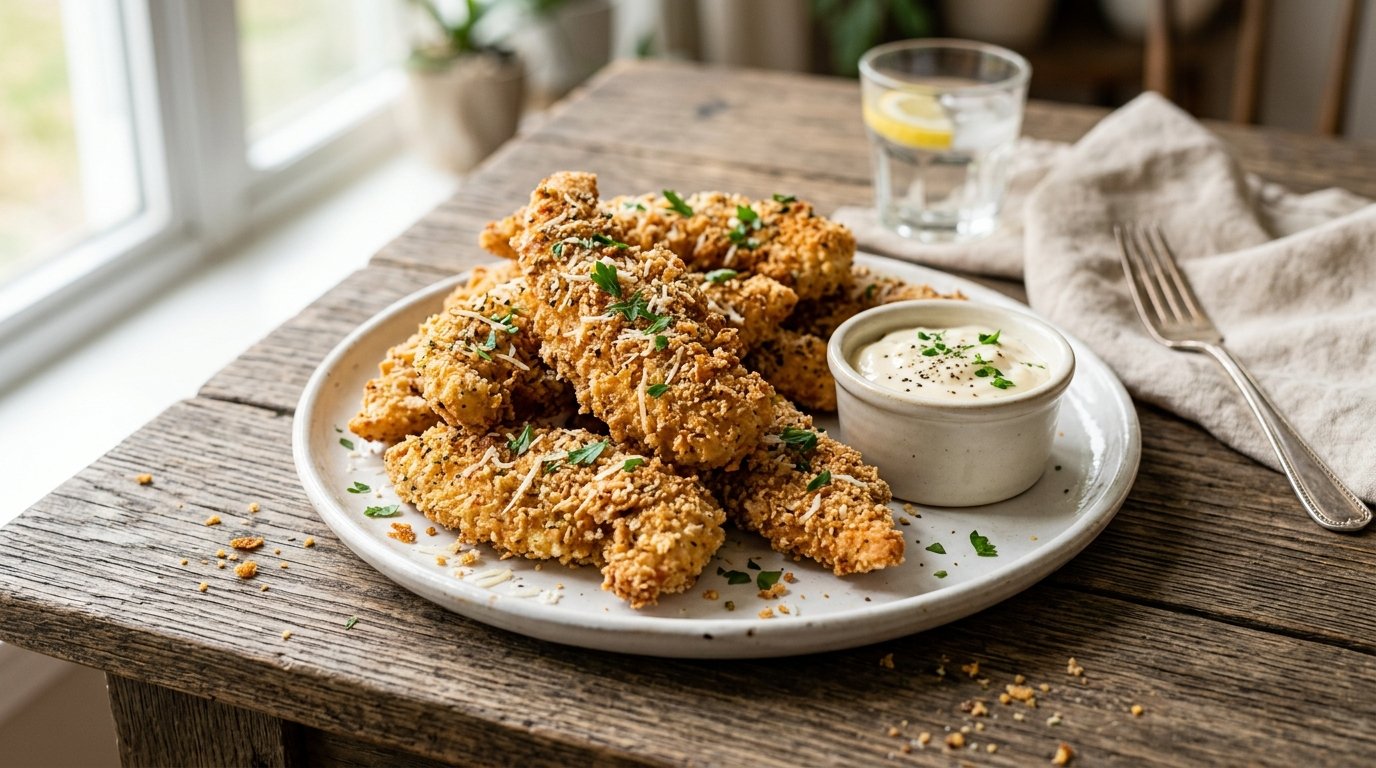
- Cheesy: Mix grated Parmesan into the flour.
- Oven-Baked: Spray with oil and bake at high heat (less crunchy).
- Air Fryer: Cook at 400°F, flipping halfway.
What to Serve With This Recipe
- Classic french fries or waffle fries
- Coleslaw or fresh salad
- Creamy dipping sauces (honey mustard, ranch, or spicy mayo)
- Pickles on the side
Storage & Reheating
Refrigerator: Store in an airtight container up to 3 days. Reheating: Best in air fryer or oven at 375°F until hot and crispy. Avoid microwave to preserve crunch.
Nutritional Information (per serving, approximate)
- Calories: 520
- Protein: 38g
- Carbohydrates: 28g
- Fat: 28g
Frequently Asked Questions
Can I use chicken breasts instead of tenders? Yes — cut them into even strips.
How do I know when the oil is ready? It should bubble vigorously when a small piece is added.
Can I make these ahead? You can prep and refrigerate the coated tenders for a few hours before frying.
What’s the best dipping sauce? A creamy spicy mayo or honey garlic pairs perfectly.
Focus Keyword: crispy buttermilk fried chicken tenders SEO Title: Crispy Buttermilk Fried Chicken Tenders Recipe (Better Than Takeout) Meta Description: Make the juiciest crispy buttermilk fried chicken tenders at home. Golden, crunchy coating with tender chicken inside — ready in 35 minutes! URL Slug: /crispy-buttermilk-fried-chicken-tenders-recipe
Featured Image Prompt: Realistic food photography of golden crispy buttermilk fried chicken tenders on a white plate with creamy orange dipping sauce, one tender broken in half showing juicy interior, natural lighting, steam rising, shallow depth of field, 85mm lens, editorial styling, 4K ultra-realistic.
Final Thoughts
These crispy buttermilk fried chicken tenders prove you don’t need complicated ingredients or hours in the kitchen to enjoy restaurant-quality results. The combination of tender, juicy chicken and that ultra-crispy spiced coating makes them absolutely addictive.
Give this recipe a try — it’s sure to become a family favorite. Let me know in the comments how yours turned out, what dipping sauce you paired it with, or which variation you loved most. Happy frying! 🔥