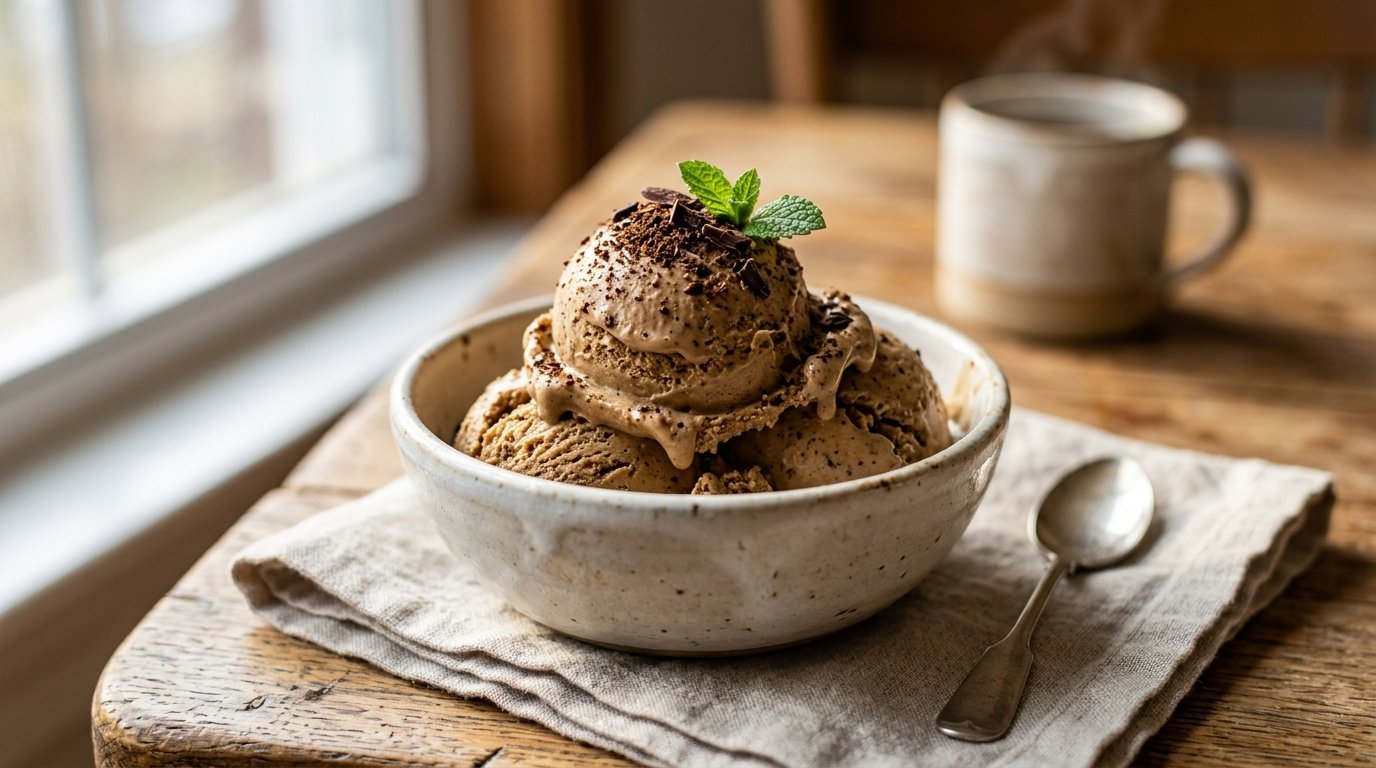
Craving rich, creamy homemade coffee ice cream without an ice cream maker? This easy no-churn recipe delivers bold coffee flavor in a silky-smooth base that rivals any premium scoop from your favorite shop.
Made with just a handful of pantry staples—instant coffee, heavy cream, sweetened condensed milk, and powdered sugar—it comes together in minutes before freezing into perfect scoops. Whether you’re a coffee lover looking for an afternoon pick-me-up or hosting a summer gathering, this recipe is a guaranteed crowd-pleaser.
Why This Recipe Works
This no-churn method relies on the science of whipped cream for airy texture and sweetened condensed milk for creamy richness and sweetness that balances the coffee’s bitterness. Dissolving instant coffee in hot water first creates a concentrated base that distributes evenly without icy crystals. Folding (rather than over-mixing) preserves the air bubbles for that light, scoopable consistency.
Why You’ll Love This Recipe
No special equipment — just a bowl and whisk (or hand mixer).
Customizable intensity — adjust coffee strength to your taste.
Better than store-bought — fresh, bold flavor without additives.
Make-ahead friendly — perfect for meal prep or parties.
Budget-friendly — uses affordable ingredients.
Kid-approved with adult twist — coffee flavor shines but isn’t overpowering.
Ingredient Notes
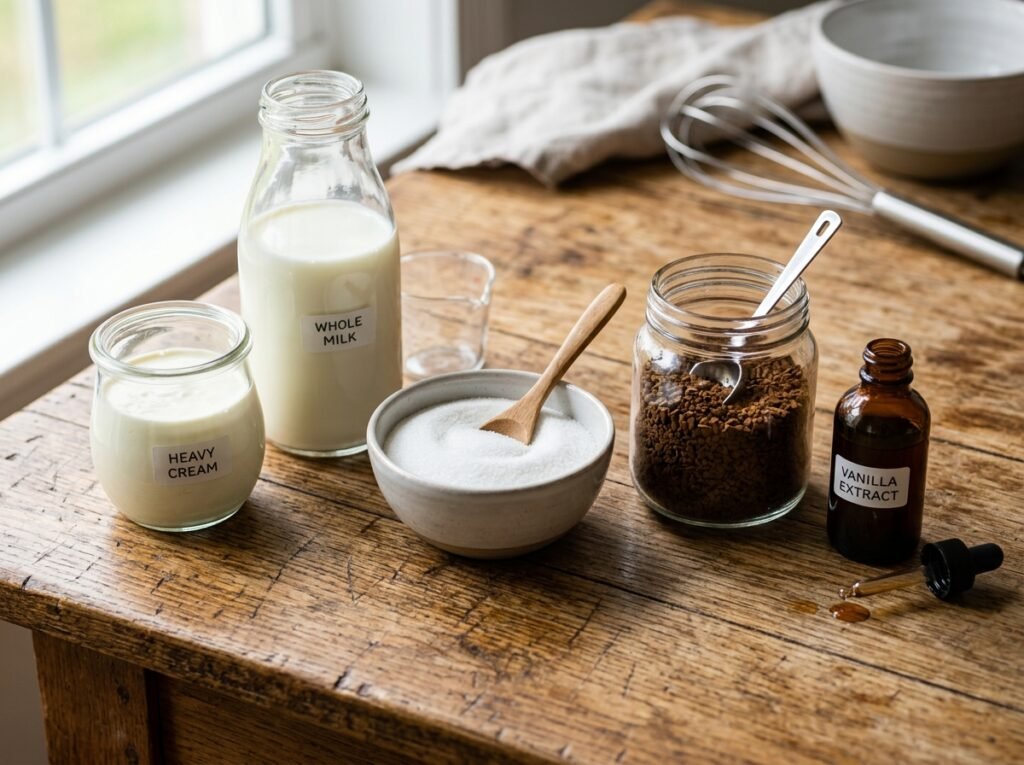
Instant Coffee (2–3 tablespoons): Provides deep, roasty flavor. Use good-quality granules or espresso powder for best results. Dissolve completely to avoid grittiness.
Hot Water (2–3 tablespoons): Activates and dissolves the coffee for smooth integration. Use just enough to make a paste.
Powdered Sugar (½–¾ cup): Sweetens and helps stabilize the mixture. Confectioners’ sugar dissolves easily and adds smoothness.
Heavy Whipping Cream (2 cups, chilled): The base for volume and creaminess. Must be very cold for maximum whip.
Sweetened Condensed Milk (1 x 14-oz can): Adds richness, sweetness, and prevents ice crystals. Do not substitute evaporated milk.
Substitutions: Decaf instant coffee for caffeine-free version. For vegan, use coconut cream and condensed coconut milk (texture will vary slightly).
Kitchen Equipment
Required:
Large mixing bowl
Whisk or electric hand mixer
Rubber spatula
Freezer-safe container (loaf pan or plastic tub with lid)
Optional:
Small bowl for dissolving coffee
Ice cream scoop
Parchment paper for lining container
Preparation Information
Prep Time: 15 minutes
Freezing Time: 6–8 hours or overnight
Total Time: ~6.5–8 hours
Servings: 8–10
Step-by-Step Instructions
1. Dissolve the Coffee
In a small bowl, dissolve 2–3 tablespoons instant coffee in 2–3 tablespoons hot water. Stir until completely smooth with no granules remaining. This concentrated mixture ensures even coffee flavor throughout the ice cream.
Tip: The mixture should look like strong espresso. Let it cool slightly if very hot.
2. Sweeten and Whisk the Coffee Base
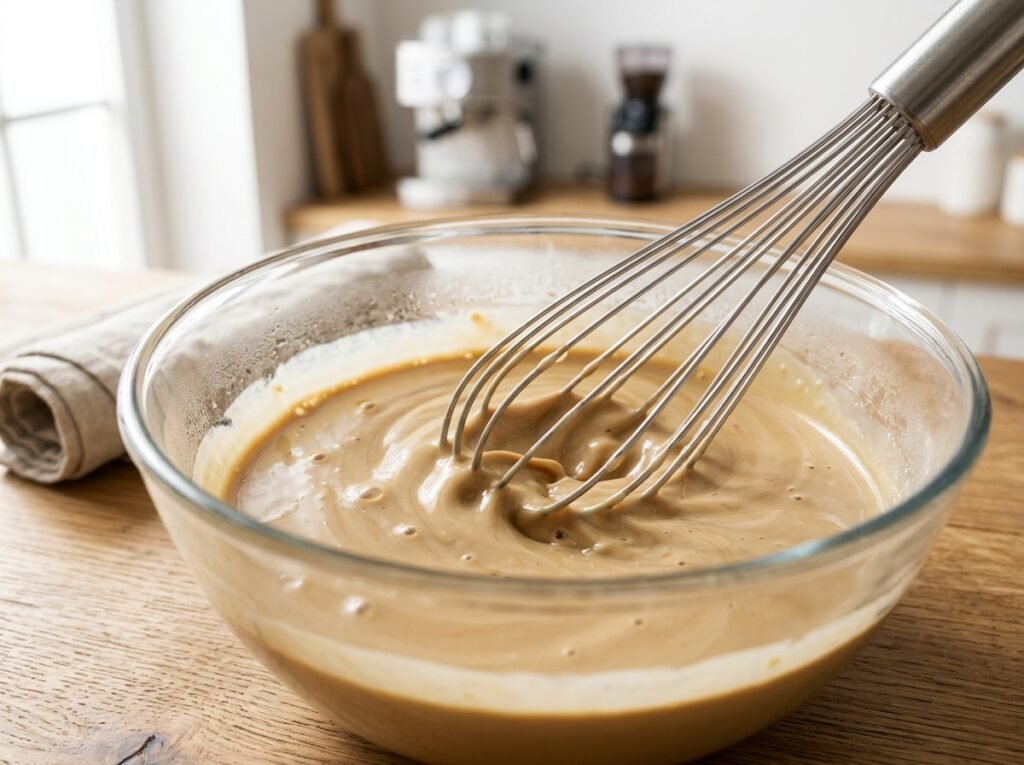
Transfer the coffee mixture to a large bowl. Add ½–¾ cup powdered sugar. Whisk vigorously until the mixture becomes thick, smooth, and slightly frothy. This step incorporates air and dissolves the sugar fully.
Visual cue: It will darken and look glossy.
3. Whip and Fold in the Cream
In a separate chilled bowl, whip 2 cups cold heavy cream to stiff peaks. Gently fold the whipped cream into the coffee-sugar mixture using a spatula. Use a cutting and folding motion to preserve air pockets for light texture.
Texture cue: The mixture should be airy and mousse-like.
4. Add Condensed Milk and Combine
Pour in the full can of sweetened condensed milk. Continue folding gently until the mixture is uniform, smooth, and creamy with no streaks. Avoid overmixing to maintain volume.
Aroma cue: Rich coffee scent will fill your kitchen.
5. Freeze Until Firm
Transfer to a freezer-safe container. Smooth the top, cover tightly, and freeze for 6–8 hours or until completely firm. For easier scooping, let sit at room temperature for 5–10 minutes before serving.
Expert Tips
Chill your bowl and beaters for 10–15 minutes before whipping cream for best volume.
Taste the base before freezing and adjust sweetness or coffee strength.
For extra coffee boost, swirl in a teaspoon of espresso powder at the end.
Line your container with parchment for easy removal.
Common Mistakes to Avoid
Grainy texture: Not fully dissolving coffee or sugar—whisk thoroughly.
Icy results: Overmixing after adding cream or using warm ingredients.
Too sweet/too bitter: Balance by tasting the base.
Hard to scoop: Freezing in a very deep container or not tempering before serving.
Recipe Variations
Mocha: Fold in 2–3 tablespoons cocoa powder or melted chocolate.
Coffee Toffee: Add chopped toffee bits or chocolate-covered espresso beans.
Irish Coffee: Stir in 2 tablespoons Irish cream liqueur.
Low-Sugar: Use sugar-free condensed milk and powdered sweetener.
Extra Creamy: Add 1 teaspoon vanilla extract and a pinch of salt.
What to Serve With Coffee Ice Cream
Warm brownies or chocolate cake
Fresh berries or banana slices
Hot fudge or caramel sauce
Coffee or espresso martinis
Waffle cones or cookies for sandwiches
Whipped cream and chocolate shavings
Make-Ahead and Storage
Make-Ahead: Prepare the mixture up to 24 hours in advance and freeze.
Storage:
Freezer: Keeps well for up to 2–3 months in an airtight container. Press plastic wrap directly on the surface to prevent freezer burn.
Refrigerator: Not recommended for long-term; thaw slightly only for serving.
Reheating: Not applicable—serve straight from freezer after tempering.
Nutritional Information (Approximate per ½ cup serving)
Calories: 320
Protein: 5g
Carbohydrates: 28g
Fat: 22g
Sugar: 25g
Fiber: 0g
Sodium: 70mg
Values vary based on exact brands and portions.
Troubleshooting Guide
Mixture won’t whip: Cream not cold enough—chill everything.
Separated or curdled: Temperature shock—keep ingredients similar temp when combining.
Too hard: Freeze in shallower container or add 1–2 tbsp alcohol (optional) for softer scoop.
Weak coffee flavor: Increase instant coffee next time or use espresso powder.
Frequently Asked Questions
Can I use brewed coffee instead of instant? Yes, but reduce liquid and use very strong, cooled brewed coffee or espresso. Instant provides more concentrated flavor.
How long does homemade coffee ice cream last? Up to 2–3 months in the freezer when stored properly.
Is this recipe caffeinated? Yes—use decaf instant coffee for a caffeine-free version.
Why is my ice cream icy? Overmixing after adding cream or insufficient fat/sugar. Follow folding instructions carefully.
Can I make this in an ice cream maker? Absolutely—churn according to your machine’s instructions after mixing.
What if I don’t have powdered sugar? Granulated sugar works but may not dissolve as smoothly; blend it first if possible.
Does it keep you awake? It contains caffeine—enjoy earlier in the day if sensitive.
Can I add mix-ins? Yes! Chocolate chips, nuts, or cookie pieces added at the end of mixing work great.
Final Thoughts
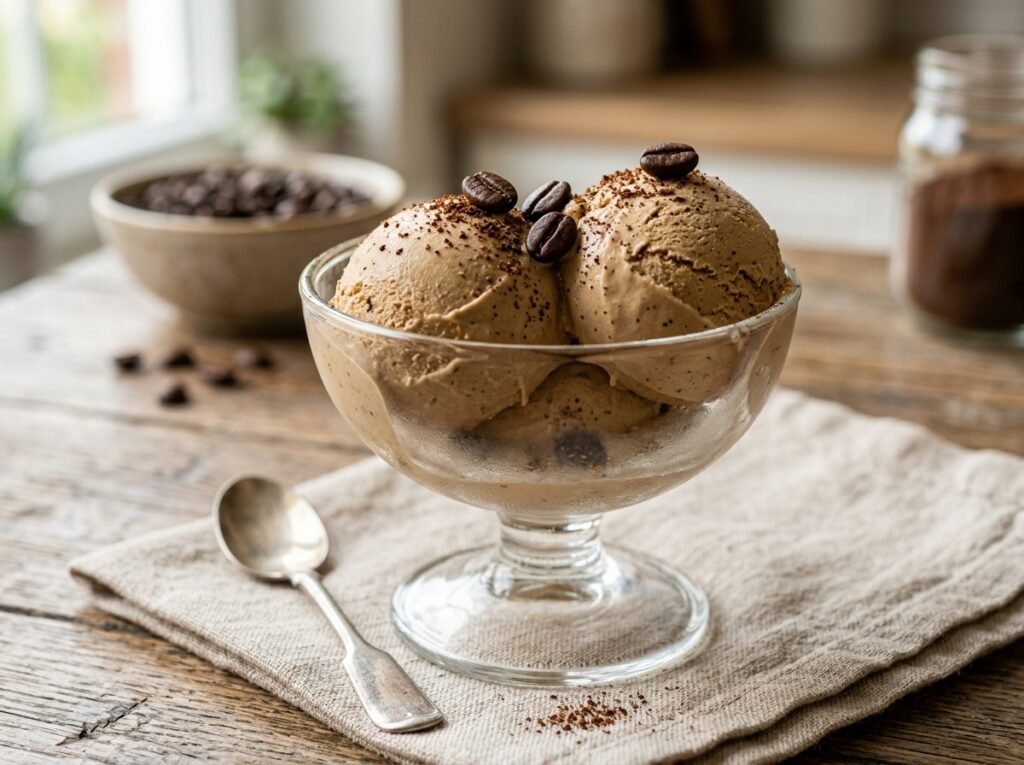
This homemade coffee ice cream is the perfect balance of bold coffee flavor and ultra-creamy texture—all without needing fancy equipment. Once you try it, you’ll never go back to store-bought. The simple folding method creates a luxurious dessert that’s impressive yet effortless.