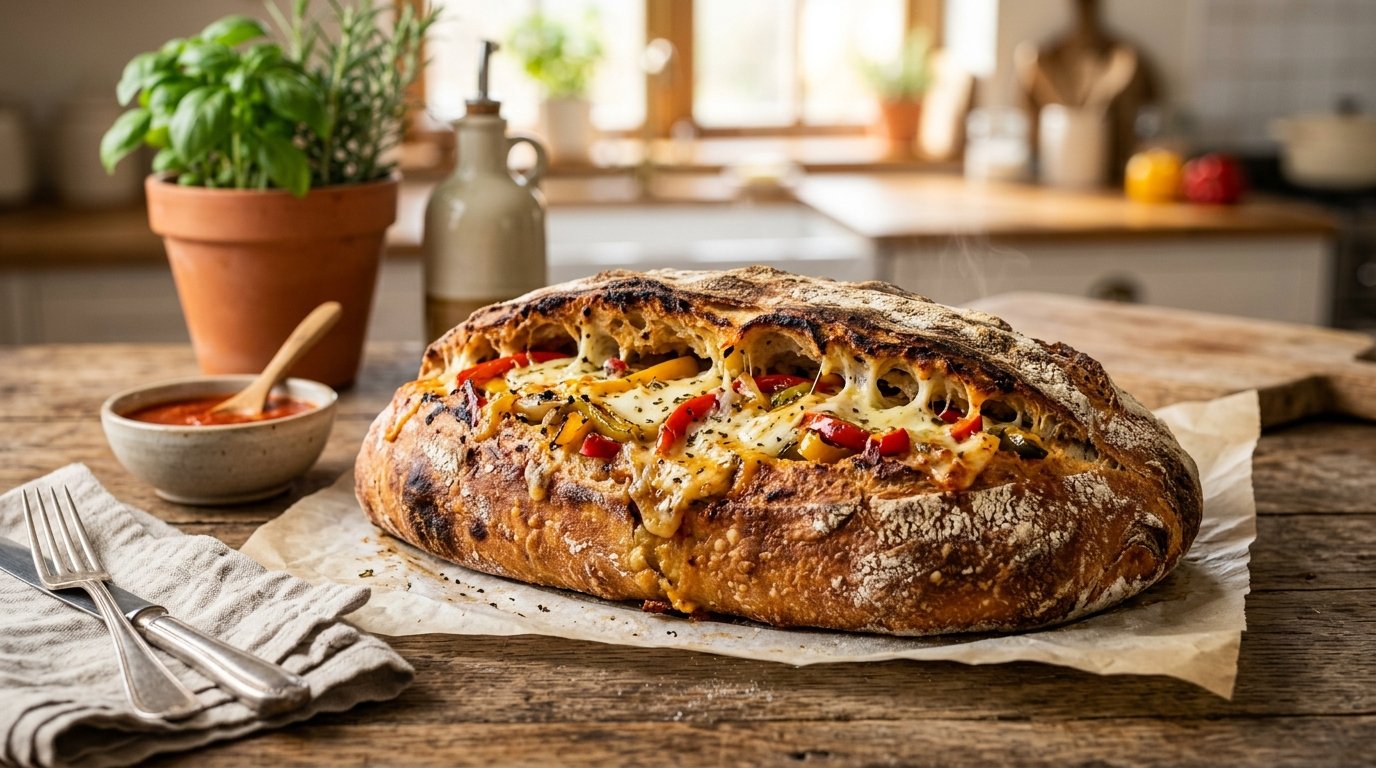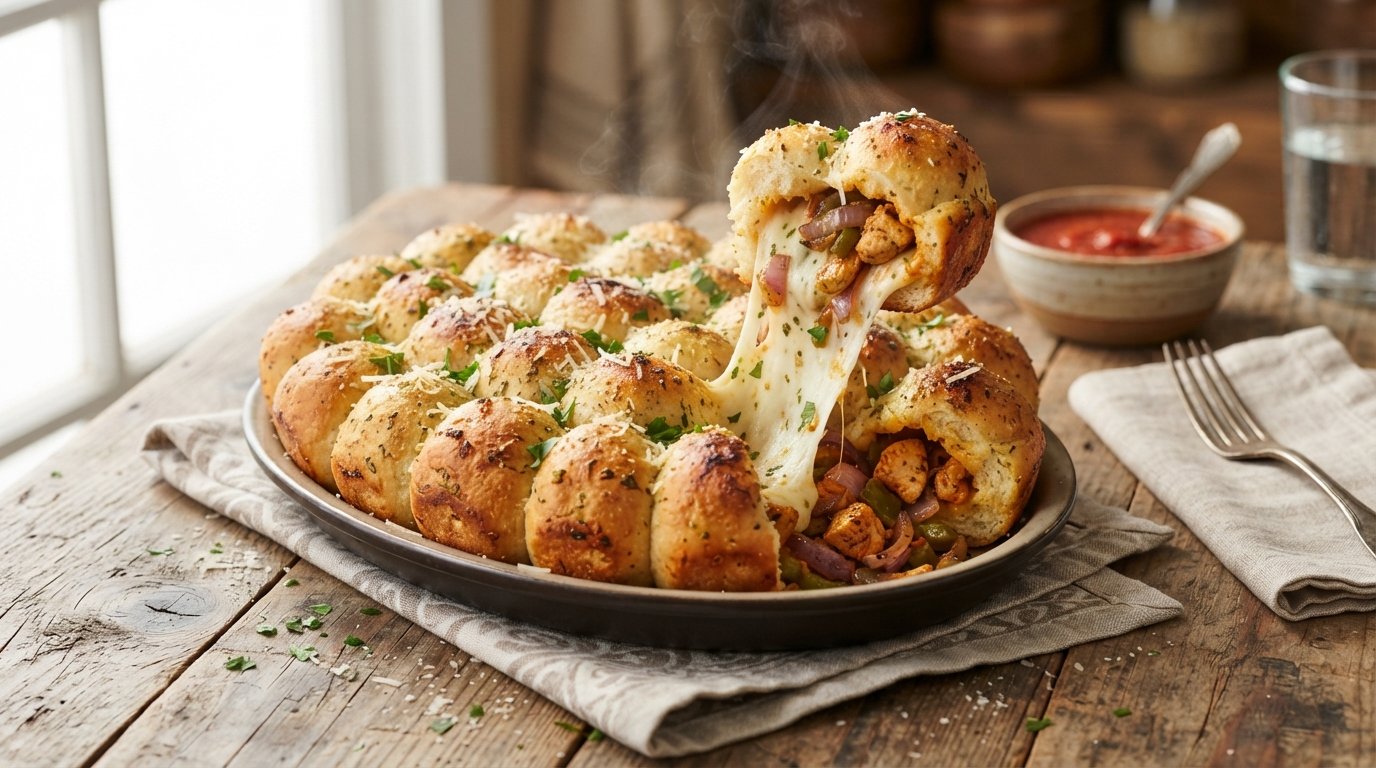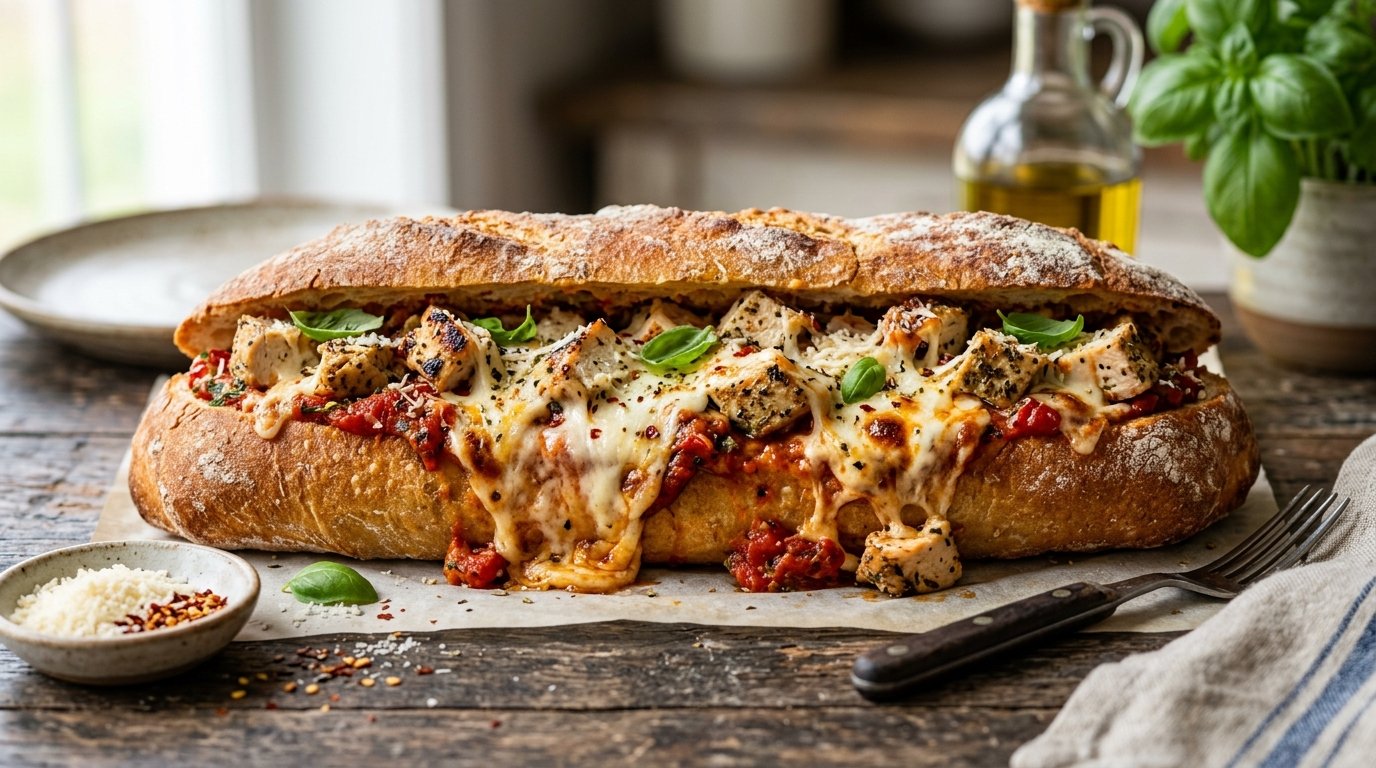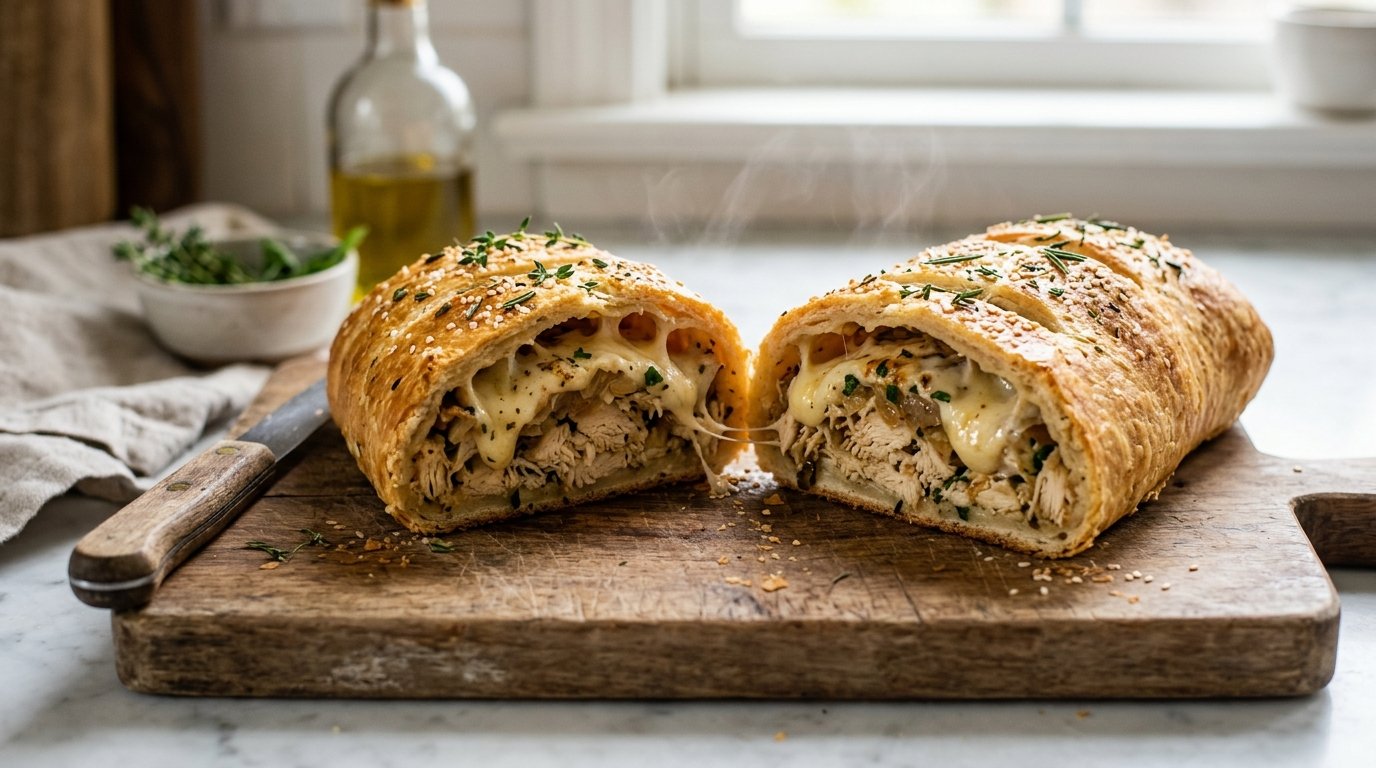
Golden, cheesy stuffed chicken bread with a soft homemade dough, creamy spiced chicken-and-veg filling, and that irresistible cheese pull. This bakery-style recipe delivers restaurant-quality results right from your oven.
Quick Recipe Summary
| Prep Time | Cook Time | Total Time | Servings | Cuisine | Course | Difficulty | Calories (approx.) |
|---|---|---|---|---|---|---|---|
| 40 minutes (+ rising) | 25–30 minutes | 1 hour 45 minutes | 4 loaves (8–10 servings) | Fusion / Homestyle | Main / Snack / Appetizer | Easy–Medium | 380–420 kcal per serving |
Soft yeast dough wraps a creamy, spiced chicken filling packed with bell peppers and corn, then gets sealed, topped with garlic-herb spread and extra cheese, and baked until golden and stretchy. Perfect for sharing, parties, or a satisfying weeknight meal.
Table of Contents
- Introduction
- Why This Recipe Works
- Why You’ll Love This Recipe
- Ingredient Notes
- Kitchen Equipment
- Preparation Information
- Step-by-Step Instructions
- Expert Tips
- Common Mistakes
- Recipe Variations
- What to Serve With This Recipe
- Make Ahead Tips
- Meal Prep Tips
- Storage Instructions
- Reheating Instructions
- Nutritional Information
- Troubleshooting Guide
- Frequently Asked Questions
- Final Thoughts
Introduction
If you’ve been looking for the ultimate stuffed chicken bread, this is the one. Soft, golden homemade dough encloses a creamy, flavorful chicken filling studded with colorful peppers and corn, then gets finished with melted cheese and fresh herbs. The cheese pull alone is reason enough to make it. It’s the kind of recipe that looks impressive on the table yet comes together with straightforward techniques any home cook can master.
Why This Recipe Works
The dough is simple and forgiving—flour, yeast, salt, a touch of fat, and water create a soft, slightly chewy bread that stays tender even after baking. Cooking the chicken with spices first builds deep flavor, while the creamy element binds everything so the filling stays moist without making the dough soggy. Layering cheese inside and on top guarantees that signature stretch. Baking at a moderate-high temperature gives a golden crust while keeping the interior soft and the filling hot and creamy.
Why You’ll Love This Recipe
- Soft, bakery-style bread with a golden, cheesy top
- Creamy, well-seasoned chicken filling that stays juicy
- Beautiful cheese pull every time you pull a piece apart
- Easy enough for a weeknight yet special enough for guests
- Freezer-friendly and great for make-ahead
- Customizable heat level and cheese amount
Ingredient Notes
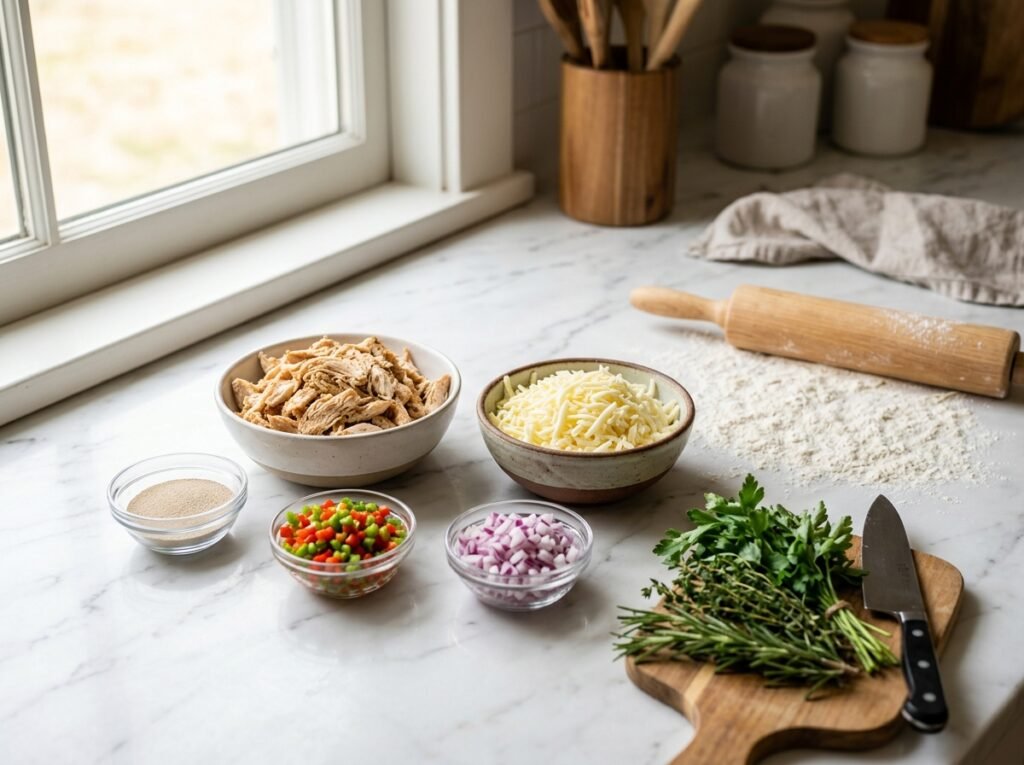
Dough
- All-purpose flour: Provides structure. Bread flour can be used for a slightly chewier result.
- Instant or active dry yeast: Gives the rise. Instant can go straight in; active dry benefits from blooming.
- Salt: Enhances flavor and controls yeast.
- Oil or melted butter: Adds tenderness and richness.
- Warm water: Activates the yeast and hydrates the flour. Temperature around 40–45 °C (105–115 °F) is ideal.
Filling
- Boneless chicken (thigh or breast): Thighs stay juicier; breast works if not overcooked. Cut into small pieces for even distribution.
- Onion, red & green bell peppers, corn: Add sweetness, color, and texture.
- Spices (paprika, cumin, garlic powder, salt, black pepper): Build savory depth. Adjust to taste.
- Cream cheese, sour cream, or thick yogurt: Creates the creamy binder that keeps the filling moist and cohesive.
Cheese & Topping
- Sliced melting cheese (mozzarella, gouda, or similar) + shredded mozzarella or cheddar: Inside for stretch, on top for the golden crust.
- Garlic-herb butter or creamy spread: Brushed on before baking and again after for shine and flavor.
- Fresh parsley: Bright finish.
Substitutions
- Dairy-free: Use plant-based cream cheese and cheese alternatives.
- Gluten-free: Use a 1:1 gluten-free flour blend with xanthan gum (results will be denser).
- Lower fat: Reduce oil and use low-fat cream cheese.
Buying & Storage Tips Choose firm, fresh chicken and vibrant peppers. Store opened cream cheese tightly sealed in the fridge. Yeast should be within its date and stored cool and dry.
Kitchen Equipment
- Large mixing bowl
- Spatula or dough scraper
- Non-stick or heavy skillet
- Rolling pin
- Baking tray (preferably dark for better browning)
- Pastry brush
- Measuring cups/spoons or kitchen scale
Optional: Stand mixer with dough hook, bench scraper.
Preparation Information
- Prep Time: 40 minutes active + 45–60 minutes rising
- Cook Time: 25–30 minutes
- Total Time: Approximately 1 hour 45 minutes
- Servings: 4 medium loaves (serves 8–10 as a main or more as a snack)
Step-by-Step Instructions
1. Make the Dough
In a large bowl combine flour, yeast, and salt. Add oil (or melted butter) and warm water. Mix with a spatula or your hand until a shaggy dough forms, then knead 5–8 minutes until smooth and elastic. The dough should feel soft but not sticky. Form into a ball, place in a lightly oiled bowl, cover, and let rise in a warm spot until doubled (45–60 minutes).
Why it matters: Proper kneading develops gluten for structure; a good rise creates light, soft bread. Visual cue: the dough springs back slowly when poked.
2. Prepare the Chicken Filling
Heat a little oil in a skillet over medium heat. Add diced chicken and season generously with salt, black pepper, paprika, cumin, and garlic powder. Cook until the chicken is no longer pink and starts to brown lightly. Add chopped onion, red and green bell peppers, and corn. Cook 3–4 minutes until the vegetables soften slightly. Stir in cream cheese (or sour cream/yogurt) until everything is coated and creamy. Taste and adjust seasoning. Remove from heat and let cool slightly.
Why it matters: Cooking the chicken first locks in flavor; cooling prevents the dough from becoming greasy or tearing. Texture cue: the mixture should be cohesive and spoonable, not watery.
3. Shape the Bread
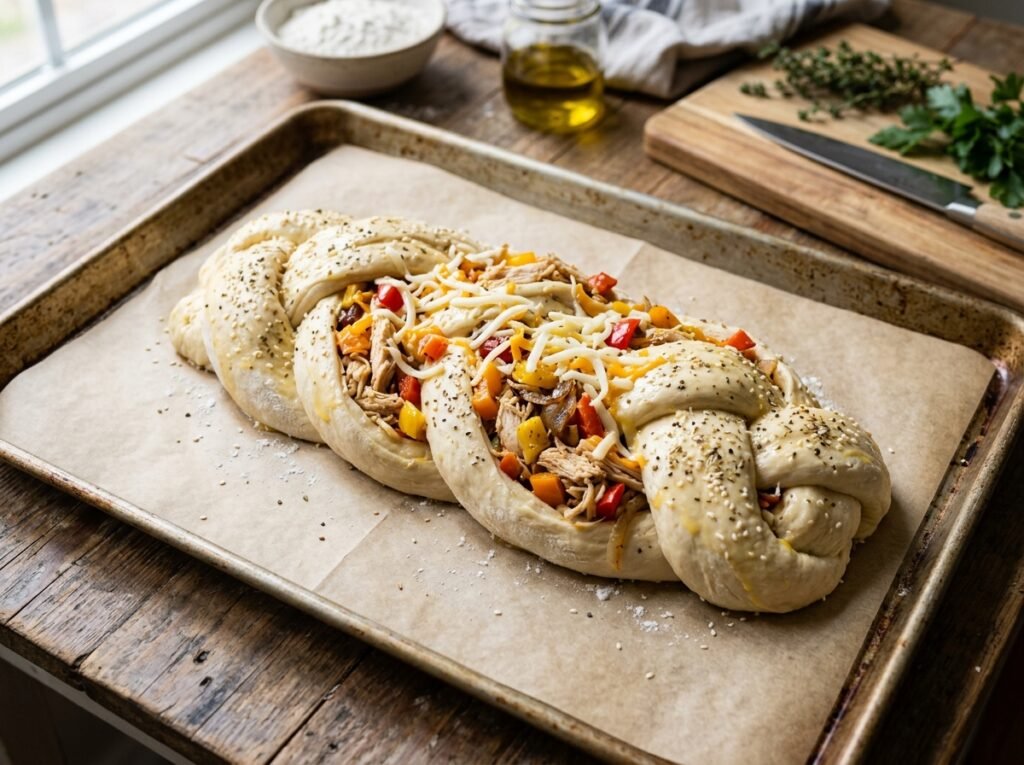
Punch down the risen dough and divide into 4 equal pieces. On a lightly floured surface, roll each piece into an elongated oval or rectangle about ½ cm (¼ inch) thick. Place slices of cheese down the center lengthwise. Spoon a generous amount of cooled filling over the cheese. Add another layer of cheese if desired. Fold the long sides of the dough over the filling, pinching firmly to seal. Tuck the ends under and gently roll the log to even it out. Place seam-side down on a parchment-lined or lightly floured baking tray.
Why it matters: Sealing well prevents leaks. Visual cue: the logs should look neat and slightly plump.
4. Top and Bake
Preheat oven to 190–200 °C (375–400 °F). Brush the tops of the logs with a garlic-herb cream or melted butter mixture. Sprinkle generously with shredded cheese. Bake 25–30 minutes until the bread is deep golden and the cheese is bubbling and lightly browned.
Why it matters: The topping creates the signature cheesy crust. Color cue: deep golden brown with melted, slightly blistered cheese.
5. Finish and Serve
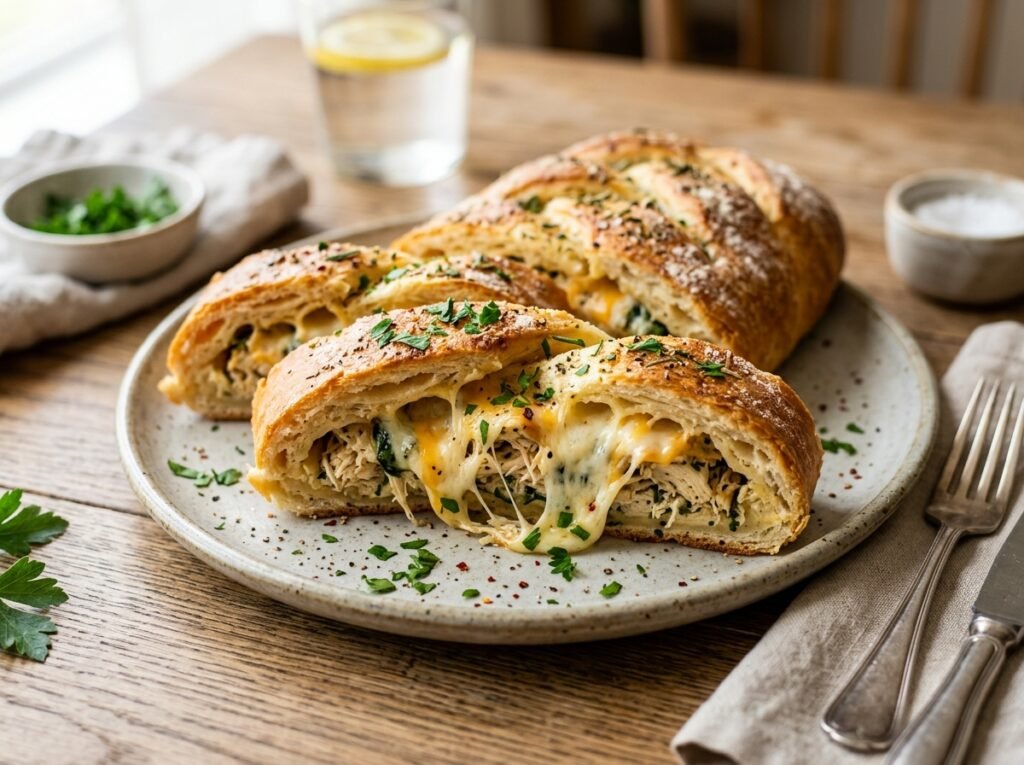
Remove from the oven and immediately brush with a little more melted butter mixed with chopped fresh parsley. Let rest 5 minutes before serving so the filling sets slightly. Pull apart or slice to reveal the creamy, cheesy interior.
Expert Tips
- Cool the filling completely before assembling—hot filling makes the dough soft and hard to seal.
- Don’t overfill; leave a clear border so you can pinch the seams tightly.
- For extra flavor, mix minced garlic and dried herbs into the topping spread.
- Bake on the middle rack for even browning.
- If the tops brown too quickly, tent loosely with foil for the last 5–8 minutes.
Common Mistakes
- Dough too sticky or dense: Add flour a tablespoon at a time while kneading, or check water temperature (too hot kills yeast).
- Filling leaking: Seal seams firmly and avoid overfilling. Place seam-side down.
- Dry chicken: Don’t overcook the chicken before adding the creamy element; the cream keeps it moist.
- Soggy bottom: Use a preheated baking tray or parchment and avoid a watery filling.
Recipe Variations
- Spicy: Add chili flakes, cayenne, or chopped jalapeños to the filling.
- Extra Cheesy: Double the cheese layers or mix shredded cheddar into the filling.
- Vegetarian: Replace chicken with sautéed mushrooms, spinach, and extra peppers or plant-based chicken.
- Healthier: Use whole-wheat flour for half the dough, reduce cheese, and load more vegetables.
- High-Protein: Add extra chicken or a scoop of Greek yogurt to the filling.
- Garlic-Lover’s: Increase garlic in both filling and topping.
What to Serve With This Recipe
- Simple green salad with lemon vinaigrette
- Tomato soup or creamy mushroom soup
- Pickled onions or cucumber salad for brightness
- Garlic aioli or ranch for dipping
- Iced tea, lemonade, or a light beer
- Fresh fruit for a light dessert
Make Ahead Tips
Prepare the dough and filling up to a day ahead. Keep the dough in the fridge (it will rise slowly) and the filling covered in the refrigerator. Assemble just before baking, or assemble the logs, cover tightly, and refrigerate up to 8 hours; add a few extra minutes to the bake time if starting cold.
Meal Prep Tips
Bake a full batch, cool completely, wrap individual loaves, and refrigerate or freeze. Perfect for lunches or quick dinners—just reheat and serve.
Storage Instructions
- Refrigerator: Store cooled loaves in an airtight container up to 3–4 days.
- Freezer: Wrap tightly in plastic then foil or place in freezer bags up to 2 months. Thaw overnight in the fridge.
Reheating Instructions
- Oven (best): 160–170 °C (325–340 °F) for 10–15 minutes until heated through and the crust is crisp.
- Air fryer: 160 °C for 5–8 minutes.
- Microwave: 30–60 seconds (crust will soften).
- Stovetop: Warm gently in a covered skillet over low heat.
Nutritional Information (Approximate per serving)
- Calories: 380–420
- Protein: 22–25 g
- Carbohydrates: 35–40 g
- Fat: 16–20 g
- Fiber: 2–3 g
- Sugar: 3–4 g
- Sodium: 550–700 mg
Values vary based on exact ingredients and portion size.
Troubleshooting Guide
- Dough not rising: Check yeast freshness and water temperature; give it more time in a warmer spot.
- Cheese leaking: Seal better and don’t overfill.
- Dry texture: Ensure the filling stays creamy and don’t overbake.
- Undercooked center: Bake a few minutes longer or lower the temperature slightly and extend time.
- Pale crust: Brush with more butter/egg wash or move the tray higher in the oven for the last few minutes.
Frequently Asked Questions
Can I use store-bought dough? Yes—pizza dough or frozen bread dough works in a pinch. Thaw and roll as directed.
Can I make this without yeast? A quick dough with baking powder is possible but will lack the soft, bread-like texture.
Is the filling spicy? Only if you add chili. The base version is mild and family-friendly.
Can I freeze the unbaked logs? Yes. Freeze on a tray until solid, then wrap well. Bake from frozen, adding 8–12 minutes.
What cheese melts best? Mozzarella for stretch, cheddar or gouda for flavor. A mix is ideal.
How do I know when it’s done? Deep golden color, melted bubbly cheese, and an internal temperature around 90–95 °C (195–205 °F) if you check.
Can I use leftover cooked chicken? Absolutely—just warm it with the spices and vegetables before adding the cream.
Why did my bread turn out dense? Usually under-kneading, old yeast, or too much flour. Measure carefully and knead until smooth.
Final Thoughts
This stuffed chicken bread delivers everything you want in a homemade bake: soft dough, creamy spiced filling, and that glorious cheese pull. It’s satisfying enough for dinner yet shareable for gatherings, and the leftovers reheat beautifully. Once you pull apart that first golden loaf and see the stretchy cheese and flavorful chicken, you’ll understand why this recipe earns a permanent spot in the rotation. Give it a try, then come back and tell me how it turned out—ratings and photos are always welcome!