
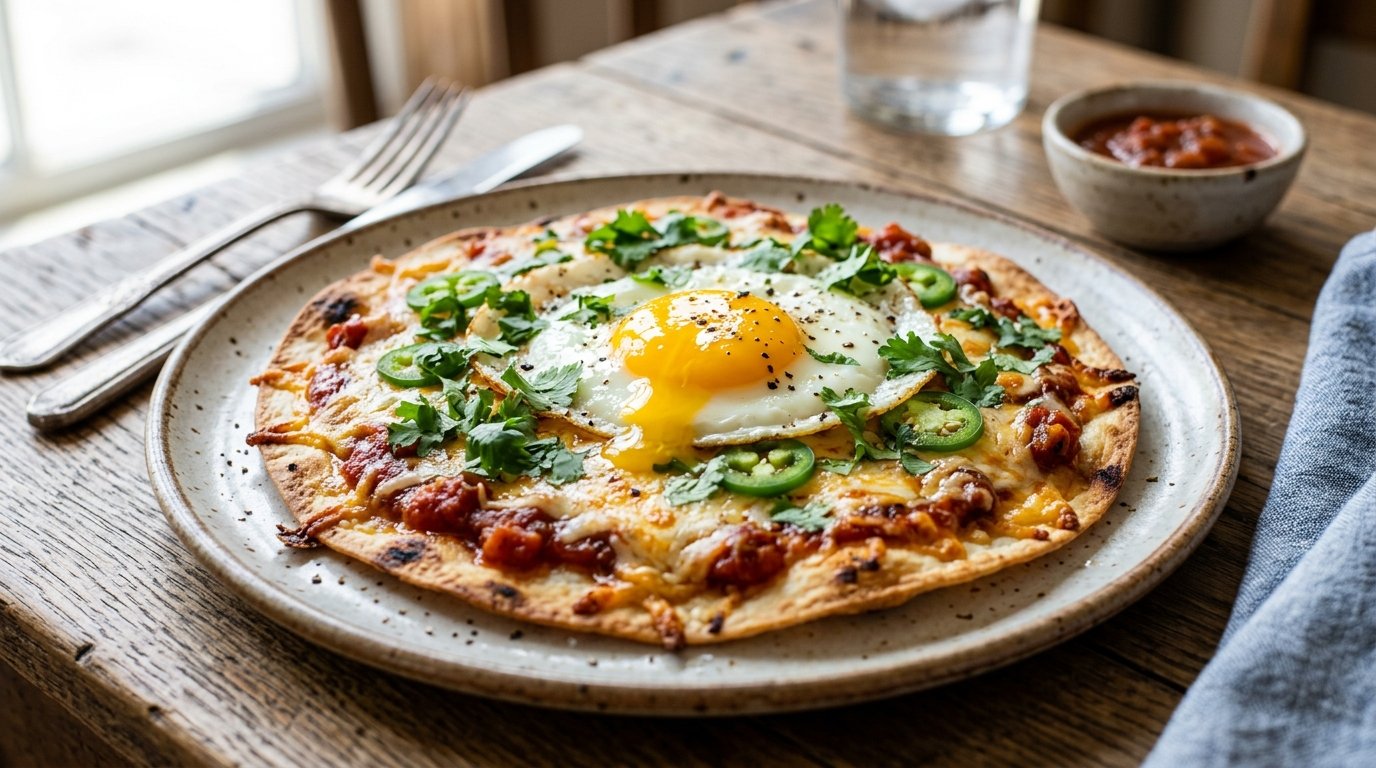
Quick Recipe Summary
| Detail | Information |
|---|---|
| Prep Time | 3 minutes |
| Cook Time | 7 minutes |
| Total Time | 10 minutes |
| Servings | 1 |
| Cuisine | Mexican-Inspired / Fusion |
| Course | Breakfast / Brunch |
| Difficulty | Easy |
| Calories | ~420 kcal per serving |
Table of Contents
- Introduction
- Why This Recipe Works
- Why You’ll Love This Cheesy Salsa Tortilla Breakfast Pizza
- Ingredient Notes
- Kitchen Equipment
- Preparation Information
- Step-by-Step Instructions
- Expert Tips for the Perfect Fry
- Common Mistakes to Avoid
- Recipe Variations
- What to Serve With This Recipe
- Make Ahead & Meal Prep Tips
- Storage & Reheating Instructions
- Nutritional Information
- Troubleshooting Guide
- Frequently Asked Questions
- Final Thoughts
Introduction
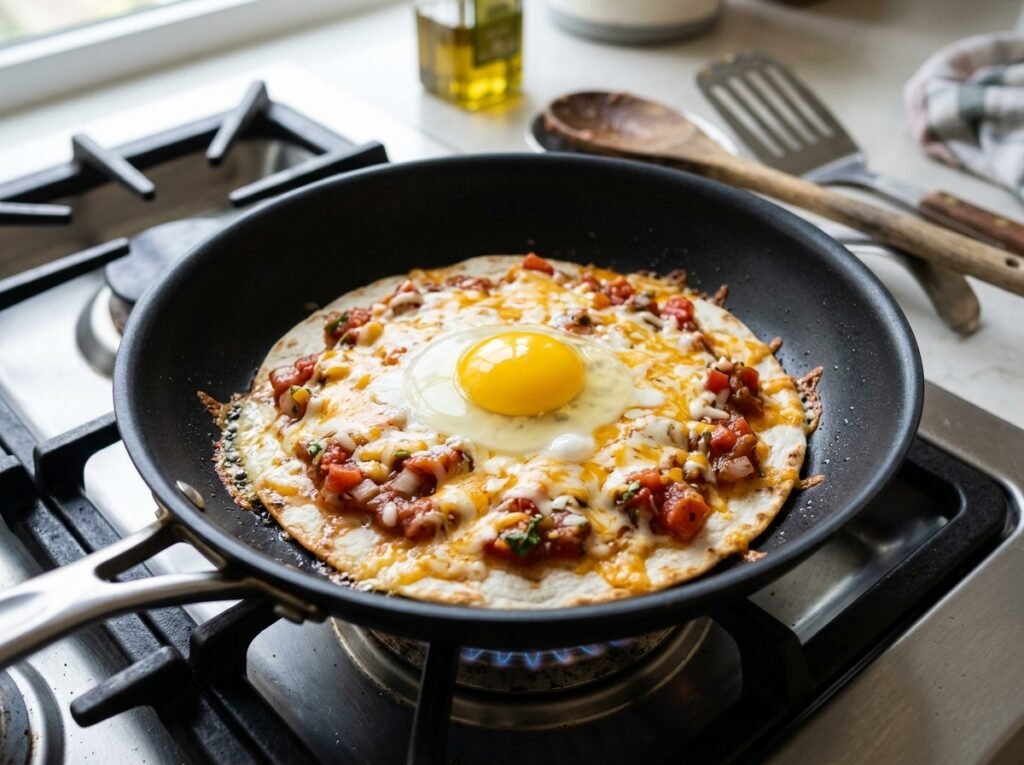
Mornings are often a chaotic blur of alarms, emails, and rushing out the door, but they don’t have to be devoid of joy or flavor. Enter the Cheesy Salsa Tortilla Breakfast Pizza, a culinary hack that transforms three humble pantry staples into a restaurant-worthy meal in under ten minutes. This isn’t just toast with toppings; it is a masterclass in texture contrast and efficient cooking. By frying the tortilla directly in oil before adding your toppings, you create a shatteringly crisp base that defies the sogginess usually associated with quick breakfasts.
This recipe bridges the gap between a traditional Mexican chilaquiles and an Italian pizza, resulting in a dish that is uniquely satisfying. The hot oil crisps the corn tortilla instantly, while the salsa and cheese melt into a cohesive, savory blanket that soaks up flavor without compromising structural integrity. Topped with a perfectly fried egg and fresh cilantro, this Cheesy Salsa Tortilla Breakfast Pizza proves that fast food doesn’t have to mean compromised quality. It is the ultimate solution for busy weekdays, lazy weekends, or anytime you crave something warm, cheesy, and deeply comforting without the wait.
Why This Recipe Works
The success of this Cheesy Salsa Tortilla Breakfast Pizza lies in its specific sequence of thermal events. Unlike baking a pizza where heat surrounds the dough slowly, this method uses direct conduction from a hot skillet. When the tortilla hits the oil, the moisture on its surface flashes into steam, creating microscopic bubbles that become the foundation of its crunch. This initial fry is non-negotiable; it creates a hydrophobic barrier that prevents the wet salsa from turning the base into mush later.
From a food science perspective, the layering order is engineered for melting efficiency. Placing the salsa directly on the hot, oiled tortilla allows the tomato acids and sugars to caramelize slightly against the heat, deepening the flavor profile beyond raw jarred salsa. The cheese, added immediately after, acts as a thermal insulator and a glue. As it melts, its fats emulsify with the oils in the salsa, creating a rich, glossy sauce that clings to every bite rather than sliding off.
Finally, the egg serves as both protein and textural counterpoint. Cooking it separately (or carefully on top) ensures the yolk remains distinct from the saucy base. When you cut into this breakfast pizza, you get four distinct textures in one forkful: the snap of the fried tortilla, the gooey stretch of melted cheese, the bright acidity of the salsa, and the creamy richness of the egg yolk. It is a symphony of sensations achieved through precise timing and temperature control.
Why You’ll Love This Cheesy Salsa Tortilla Breakfast Pizza
- Speed Without Sacrifice: Ready in 10 minutes flat, yet tastes like you spent hours in the kitchen.
- Texture Heaven: Achieves a crispy, chip-like crust that holds up to heavy toppings—no soggy bottoms here.
- Pantry Hero: Uses ingredients you likely already have: tortillas, salsa, cheese, and eggs.
- Customizable Canvas: Easily adapted for spice levels, dietary needs, or whatever leftovers are in the fridge.
- Visual Appeal: The vibrant red salsa, golden yolk, and green cilantro make it inherently photogenic.
- Comfort Food Factor: Combines the satisfaction of pizza with the warmth of a hearty breakfast.
- Budget Friendly: Costs a fraction of takeout or café brunch while delivering superior freshness.
- One-Pan Simplicity: Minimal cleanup means more time enjoying your morning coffee.
Ingredient Notes
Corn Tortillas
- Purpose: The structural base. Corn tortillas have lower gluten content than flour, making them ideal for frying into a crisp chip-like texture rather than becoming chewy bread.
- Substitutions: Flour tortillas can be used but will yield a softer, breadier crust. For gluten-free, stick to corn. Low-carb wraps work but may burn faster due to different fiber content.
- Buying Tips: Look for “street taco” size (4-6 inches) for single servings. Check the ingredient list: authentic corn tortillas should contain only corn, water, and lime (calcium hydroxide). Avoid brands with excessive gums or preservatives which can inhibit crisping.
- Storage Tips: Keep sealed at room temperature for up to a week. If they feel stiff, warm them briefly before frying to prevent cracking. Do not refrigerate, as this accelerates staling.
Salsa
- Purpose: Provides acidity, moisture, and primary flavor. Acts as the “sauce” layer.
- Substitutions: Pico de gallo (chunkier/fresher), enchilada sauce (smoother/richer), or roasted tomato salsa. Avoid watery salsas; thicker varieties adhere better and prevent sogginess.
- Buying Tips: Medium heat is usually the sweet spot for breakfast. Check sodium levels if sensitive. Fresh refrigerated salsa often has brighter flavor than shelf-stable jars, but jarred works perfectly for speed.
- Storage Tips: Refrigerate after opening. Use within 2 weeks. If salsa separates, stir well before using; the liquid component is essential for steaming the cheese.
Shredded Cheese (Queso/Mozzarella Blend)
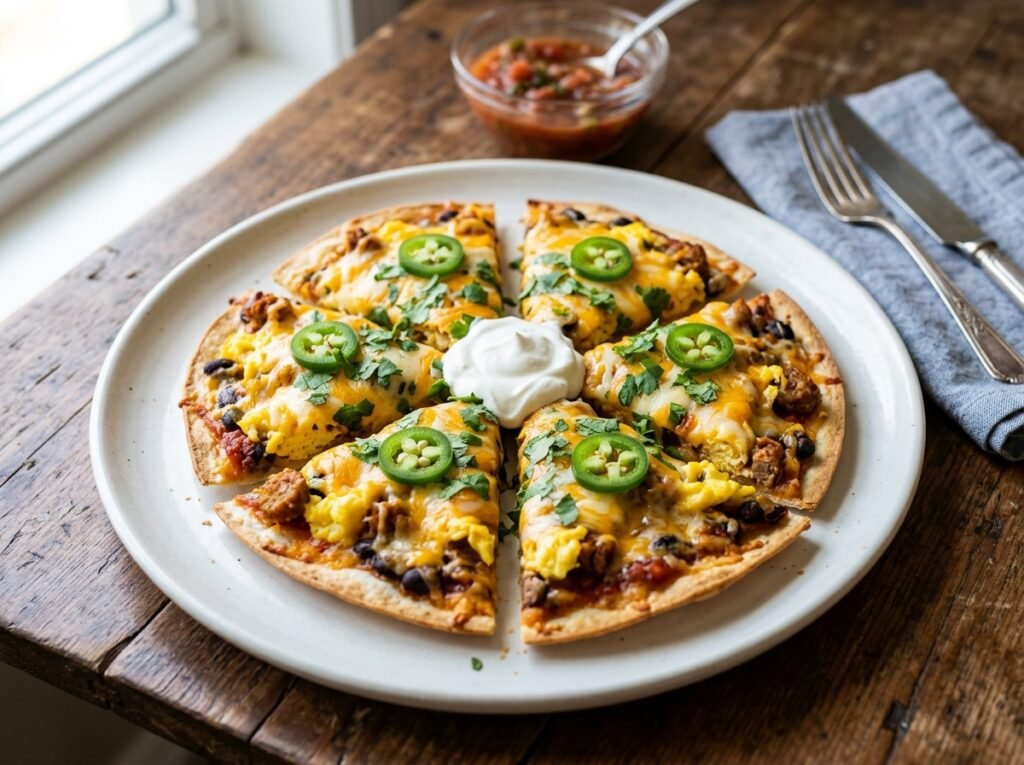
- Purpose: Melty binder that connects salsa to tortilla. Adds fat, salt, and umami.
- Substitutions: Oaxaca (traditional Mexican melting cheese), Monterey Jack, Cheddar, or Pepper Jack for heat. Vegan shreds work but may not brown as nicely.
- Buying Tips: Block cheese shredded fresh melts significantly better than pre-shredded bags, which contain anti-caking agents (cellulose) that can create a gritty texture. However, for a 10-minute recipe, pre-shredded is an acceptable trade-off for convenience.
- Storage Tips: Wrap tightly in wax paper then foil. Grate only what you need. Pre-shredded cheese dries out faster; use within 5 days of opening.
Eggs
- Purpose: Primary protein source. Adds richness and visual centerpiece.
- Substitutions: Egg whites for lower fat. Tofu scramble for vegan option (though texture differs).
- Buying Tips: Freshness matters for frying. Older eggs have thinner whites that spread too much; fresher eggs hold a tighter shape around the yolk.
- Storage Tips: Store in main body of fridge, not door. Bring to room temp for 5 mins before frying for more even cooking (optional but helpful).
Fresh Cilantro & Black Pepper
- Purpose: Finishing aromatics. Cuts through richness with herbal brightness and pungency.
- Substitutions: Parsley (if cilantro aversion), green onions, or chives.
- Buying Tips: Look for vibrant green leaves without yellowing or sliminess. Stems should be firm.
- Storage Tips: Treat like flowers: trim stems, place in glass of water, cover loosely with bag, refrigerate. Lasts 1-2 weeks this way.
Kitchen Equipment
- Non-Stick Skillet (8-10 inch): Essential for frying tortilla without sticking and achieving even browning. Cast iron works but requires more oil and heat management.
- Spatula (Thin Edge): For flipping tortilla and transferring to plate without breaking the crisp crust. Silicone or thin metal preferred.
- Ladle or Spoon: For spreading salsa evenly without tearing the fried base.
- Small Bowl: For cracking egg first (optional safety step) or holding garnishes.
- Plate: Wide-rimmed bowl or shallow pasta plate is ideal for containing the salsa pool.
- Paper Towel: For blotting excess oil if needed (though usually not necessary with proper technique).
Preparation Information
- Prep Time: 3 Minutes
- Cook Time: 7 Minutes
- Total Time: 10 Minutes
- Servings: 1
Step-by-Step Instructions
The Crispy Base Technique
Heat 1-2 teaspoons of neutral oil (vegetable, canola, or avocado) in a non-stick skillet over medium-high heat. When oil shimmers and moves fluidly, place one corn tortilla in the center. Fry for 45-60 seconds per side, pressing gently with spatula to ensure full contact. Flip when edges lift slightly and surface shows golden-brown blistering. Remove from pan briefly if assembling toppings takes >30 seconds, or proceed immediately. Why it matters: Oil conducts heat faster than air, creating instant Maillard reaction (browning) and dehydration of surface starches. This forms the rigid structure needed to support wet toppings. Pressing ensures no air pockets remain, which would lead to uneven crispness. Visual Cue: Surface transforms from matte pale yellow to glossy golden with scattered dark brown blisters. Edges may curl slightly upward. Texture Cue: Tortilla feels rigid and snaps when tapped, not flexible or doughy. Aroma Cue: Toasted corn scent emerges, replacing raw masa smell. Nutty and warm. Common Mistake: Heat too low = oily/soggy tortilla. Heat too high = burnt spots/raw center. Medium-high is the sweet spot. Don’t overcrowd pan; one at a time ensures even frying. Professional Tip: Use just enough oil to coat the bottom thinly (~1 tsp). Too much oil makes it greasy; too little causes sticking/burning. Swirl pan to distribute.
Building the Flavor Foundation
Reduce heat to medium-low. Spread 2-3 tablespoons of salsa evenly over the fried tortilla, leaving a ½-inch border clear. Immediately sprinkle ¼ cup shredded cheese over salsa, covering surface completely but not mounded excessively. Work quickly to retain pan heat. Why it matters: Lowering heat prevents burning salsa/cheese while allowing gentle melting. Border prevents spillage and maintains crisp edge for handling. Cheese acts as thermal buffer, protecting tortilla from direct salsa moisture while melting into cohesive layer. Speed is critical; cold pan = soggy base. Visual Cue: Salsa glistens, begins to bubble slightly at edges. Cheese starts to soften/gloss over within 30 seconds. Texture Cue: Salsa warms and thins slightly. Cheese transitions from dry shreds to sticky mass. Aroma Cue: Tomato acidity releases, mingling with toasty corn and milky cheese scent. Appetizing and complex. Chef Tip: If salsa is very chunky, press down gently with back of spoon to flatten. This increases surface contact for better melting and prevents large chunks from sliding off.
Melting to Perfection
Cover skillet with lid (or foil if no lid fits). Cook 1-2 minutes until cheese is fully melted and bubbly, and salsa is heated through. Uncover. Carefully slide tortilla onto prepared plate. In same skillet (add tiny bit more oil if dry), fry one egg sunny-side up or over-easy to desired doneness (2-3 mins). Slide egg directly onto center of cheesy tortilla. Why it matters: Lid traps steam, accelerating cheese melt without further frying tortilla (which would burn). Frying egg in same pan utilizes residual flavored oil and saves cleanup. Placing egg last preserves yolk integrity and prevents overcooking during cheese melt phase. Visual Cue: Cheese loses opacity, becomes smooth/glossy with small bubbles. Egg white sets opaque; yolk remains vibrant orange and domed. Texture Cue: Cheese stretches when lifted. Egg white firm but tender; yolk jiggles slightly. Doneness Cue: Cheese should be fully molten, not separated/oily. Egg white no longer translucent. Yolk runny for classic presentation; set longer for preference. Common Mistake: Overcooking egg on skillet after cheese melt = rubbery white/hard yolk. Remove egg promptly. Leaving lid on too long = soggy tortilla from trapped steam. 1-2 mins max.
Plating and Garnishing
Season egg with freshly cracked black pepper and pinch of salt. Scatter 1 tbsp fresh cilantro leaves over top. Optional: Add extra salsa drizzle around plate rim for dipping. Serve immediately while hot and crisp. Why it matters: Fresh herbs added post-cook retain volatile oils and bright color; heat destroys both. Salt/pepper on egg enhances protein flavor without oversalting salsa/cheese base. Immediate service is non-negotiable; crispness degrades rapidly as steam softens tortilla. Visual Cue: Vibrant green cilantro contrasts with red salsa/golden yolk. Plate looks composed, not messy. Texture Cue: Cilantro adds delicate leafy contrast to gooey/crispy base. Aroma Cue: Fresh herbal note cuts through rich/savory base. Inviting and balanced. Plating Tip: Warm plate beforehand (microwave 30 secs or oven low). Cold plate steals heat from food, accelerating sogginess. Wipe rim clean for professional presentation.
Expert Tips for the Perfect Fry
- Oil Temperature Test: Drop a tiny piece of tortilla in oil. If it sizzles vigorously and rises immediately, temp is perfect. If it sinks/sputters weakly, pan is too cold. If it smokes/burns instantly, too hot. Adjust before committing whole tortilla.
- Press Down Firmly: Use spatula to press entire surface of tortilla during fry. Ensures even contact with pan/oil. Air pockets = soft spots that get soggy later. Hold 5-10 seconds per side.
- Work Fast During Assembly: Have salsa/cheese measured/prepped BEFORE frying tortilla. Every second tortilla sits cooling = lost crispness. Efficiency is key to texture preservation.
- Lid Fit Matters: Tight seal traps steam effectively. Loose lid = slow melt = overcooked tortilla. If lid doesn’t fit, tent foil tightly around skillet edges.
- Egg Freshness = Shape: Fresher eggs have thicker albumen (white) that stays compact around yolk. Older eggs spread thin, risking overlap onto salsa/tortilla edges where they might burn or stick.
- Salt Timing: Salt egg AFTER frying, not before. Salt draws moisture from egg white, causing splattering and uneven cooking. Season post-cook for best texture/flavor.
- Cilantro Prep: Wash/dry cilantro thoroughly BEFORE cooking. Wet herbs wilt instantly on hot food and dilute flavor. Spin-dry or pat with paper towel. Chop just before garnishing.
Common Mistakes to Avoid
- Skipping the Initial Fry: Putting salsa directly on raw/unfried tortilla = guaranteed sogginess. The oil-fry step creates essential moisture barrier. Non-negotiable.
- Overloading Toppings: Too much salsa/cheese weighs down tortilla, causes breakage/sogginess. Stick to 2-3 tbsp salsa, ¼ cup cheese. Less is more for structural integrity.
- High Heat During Melt Phase: Burns cheese/salsa before tortilla heats through. Reduce to medium-low once toppings added. Patience prevents bitter/scorched flavors.
- Using Watery Salsa: Excess liquid pools, dissolves crisp base. Choose thick/chunky salsa. Drain excess liquid if necessary. Texture depends on moisture control.
- Overcooking the Egg: Rubber egg ruins dish. Remove from heat when white JUST sets and yolk still jiggles. Carryover cooking finishes it on plate.
- Letting It Sit: Crispness has half-life of ~2 minutes. Assemble, garnish, EAT immediately. No photoshoot delays unless you accept softer texture.
- Wrong Pan Type: Sticky pans tear tortilla, ruin presentation. Non-stick is essential for this technique. Well-seasoned cast iron works but requires skill/oil management.
- Cold Ingredients: Cold salsa/cheese slows melt, extends cook time = soggy risk. Bring to room temp 5 mins if possible. Especially important in winter/cold kitchens.
Recipe Variations
- Spicy Kick: Use hot salsa or add diced jalapeños/serranos under cheese. Drizzle with sriracha/cholula post-cook. Pepper jack cheese adds integrated heat.
- Vegetarian Boost: Already vegetarian! Add sautéed spinach/mushrooms/bell peppers under cheese. Black beans or refried beans as base layer instead of/in addition to salsa.
- Vegan Adaptation: Vegan cheese shreds + plant-based egg alternative (Just Egg/tofu scramble). Nutritional yeast sprinkled on top adds cheesy umami. Ensure tortillas vegan (no lard).
- Protein Power: Add crumbled cooked chorizo/bacon/sausage under cheese. Diced ham or turkey also work. Increases satiety/protein significantly.
- Seafood Twist: Smoked salmon or crab meat on top post-cook (don’t cook seafood in pan). Avocado slices add creaminess. Elegant brunch upgrade.
- Extra Cheesy Bomb: Double cheese layer. Mix mozzarella + cheddar + queso fresco. Broil 30 secs post-assembly for bubbly/browned top (watch closely!).
- Healthy/Low-Fat: Spray pan with oil instead of pouring. Use reduced-fat cheese. Load up on veggies. Egg whites instead of whole egg. Still delicious, lighter profile.
- Low-Carb/Keto: Use low-carb tortillas or cheese-only “crust” (melt cheese in pan first, add toppings). Net carbs drop dramatically. High fat/protein satisfies.
- Sweet Version: Cinnamon-sugar tortilla base. Ricotta/honey/berries instead of salsa/cheese. Fried egg optional. Dessert breakfast hybrid.
- Green Goddess: Tomatillo salsa verde instead of red. Cotija cheese + avocado crema. Cilantro/parsley mix. Brighter, tangier flavor profile.
What to Serve With This Recipe
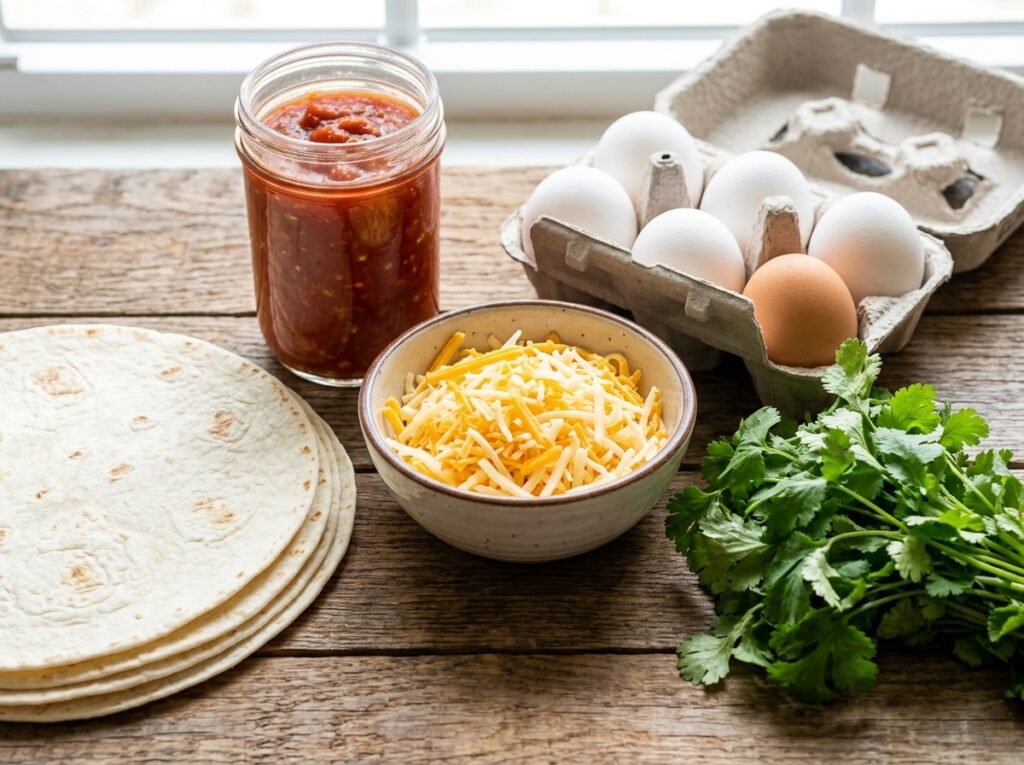
- Black Beans or Refried Beans: Creamy, earthy complement to bright salsa. Adds fiber/protein. Classic Mexican breakfast pairing.
- Fresh Fruit Salad: Berries/melon/citrus provide acidic/sweet contrast to savory/spicy main. Cleanses palate.
- Mexican Hot Chocolate or Coffee: Warm beverages enhance comfort factor. Cocoa notes complement tomato/cheese. Caffeine kicks start day.
- Avocado Slices or Guacamole: Extra creaminess/fat balances acidity. Adds nutrients. Visually appealing green contrast.
- Simple Green Salad: Arugula/spinach with lime vinaigrette. Light, fresh counterpoint to rich/heavy main. Prevents meal feeling too dense.
- Hash Browns or Home Fries: Carb-on-carb indulgence. Crispy potato echoes tortilla texture. Ultimate comfort spread.
- Orange Juice or Mimosa: Citrus acidity mirrors salsa. Refreshing, hydrating. Mimosa elevates to celebratory brunch.
- Yogurt Parfait: Cool, creamy, sweet contrast. Probiotics aid digestion. Balanced macronutrient profile.
Make Ahead & Meal Prep Tips
- Salsa/Cheese Prep: Measure salsa/cheese portions into containers night before. Saves morning assembly time. Keeps ingredients cold/fresh.
- Tortilla Pre-Fry (Risky): Can pre-fry tortillas 1 hr ahead, store uncovered at room temp. Re-crisp in dry pan 30 secs before topping. Not recommended >1 hr; loses optimal texture.
- Herb Prep: Wash/dry/chop cilantro ahead. Store in damp paper towel in container. Lasts 3-5 days. Grab-and-go garnish.
- Egg Crack Station: Set up bowl/spatula/plate beside stove night before. Eliminates morning fumbling. Efficiency = crispness.
- Batch Cooking (Not Recommended): This dish does NOT scale well for meal prep. Crispness degrades upon storage/reheating. Best made fresh per serving. Accept this limitation for quality.
Storage & Reheating Instructions
Refrigerator
Store leftover assembled pizza in airtight container up to 24 hours. Note: Texture WILL degrade. Tortilla softens, cheese congeals. Best consumed fresh. Separate components if storing >4 hrs: tortilla plain, toppings separate.
Freezer
NOT RECOMMENDED. Freezing destroys crisp texture irreversibly. Thawed tortilla becomes leathery/soggy. Cheese separates. Egg becomes rubbery. Enjoy fresh only.
Reheating Methods
- Skillet (Best): Dry non-stick pan over medium heat. Place leftover pizza cut-side down. Cover 1-2 mins to re-melt cheese/warm through. Restores SOME crispness. Monitor closely to prevent burning.
- Air Fryer: 350°F for 2-3 mins. Better than microwave for texture. May dry out edges. Spray lightly with oil if concerned.
- Oven: 375°F on rack (not sheet) for 3-5 mins. Even heating. Risk of over-drying. Tent foil if browning too fast.
- Microwave (Avoid): 30-sec bursts ONLY if desperate. Makes tortilla chewy/soggy, cheese rubbery. Last resort. Cover with paper towel to absorb steam.
Nutritional Information
Estimates per serving (1 tortilla, 2 tbsp salsa, ¼ cup cheese, 1 egg, 1 tsp oil)
- Calories: 420 kcal
- Protein: 18g
- Carbohydrates: 28g
- Fat: 26g
- Fiber: 3g
- Sugar: 3g
- Sodium: 680mg
Note: Values vary based on tortilla size/brand, cheese type, salsa sodium, oil quantity. Moderate protein/carbs/fat makes this balanced breakfast. Sodium significant from cheese/salsa.
Troubleshooting Guide
| Problem | Cause | Solution |
|---|---|---|
| Soggy Tortilla | Skipped initial fry / watery salsa / sat too long. | ALWAYS fry tortilla first. Use thick salsa. Eat IMMEDIATELY. Re-crisp in dry pan if salvageable. |
| Burnt Bottom | Heat too high / forgot to reduce after frying. | Medium-high for fry ONLY. Reduce to medium-low for melt phase. Watch constantly. |
| Cheese Didn’t Melt | Heat too low / lid not tight / old cheese. | Ensure lid seals well. Medium-low heat sufficient. Fresh cheese melts better. Extend time 30 secs. |
| Tortilla Stuck to Pan | Insufficient oil / wrong pan / moved too soon. | Use non-stick. Adequate oil (1 tsp min). Let fry undisturbed 45 secs before testing release. |
| Egg Overcooked | Left in pan too long / heat too high. | Remove when white JUST sets. Residual heat finishes cooking. Lower heat for gentler fry. |
| Salsa Too Runny | Watery brand / over-sauced. | Drain excess liquid before using. Use less salsa next time. Thick salsa essential. |
| Bland Flavor | Low-quality salsa/cheese / underseasoned. | Use flavorful salsa. Season egg with salt/pepper. Add hot sauce/cilantro for brightness. |
| Tortilla Cracked | Old/stale tortilla / fried too long. | Use fresh tortillas. Warm briefly before frying if stiff. Reduce fry time. |
Frequently Asked Questions
1. Can I use flour tortillas instead of corn? Yes, but texture differs significantly. Flour tortillas become chewy/bread-like when fried, not crisp/chip-like. Corn tortillas are structurally superior for this technique. If using flour, reduce fry time slightly and accept softer result.
2. How do I prevent the egg from sliding off? Create slight well in cheese/salsa center before adding egg. Alternatively, fry egg separately and place gently on top. Fresh eggs hold shape better. Avoid moving plate until egg sets slightly.
3. Is this recipe gluten-free? Naturally yes IF using corn tortillas. Verify salsa/cheese labels for hidden gluten (rare but possible). Safe for celiac/gluten-sensitive diets when verified. Flour tortillas = NOT GF.
4. Can I make this without oil? Technically yes, but crispness suffers dramatically. Oil is essential for conduction/frying effect. Dry pan = toasted/warm tortilla, not crispy. Use minimal oil (spray) if strictly limiting fat, but expect texture compromise.
5. What cheese melts best? Oaxaca, Monterey Jack, Mozzarella, Queso Quesadilla. Avoid hard/aged cheeses (Parmesan, aged cheddar) alone—they don’t melt smoothly. Blend with good melter if using flavorful aged cheese. Pre-shredded works but fresh-shred superior.
6. Can I add vegetables directly to the pan? Yes! Sauté diced peppers/onions/mushrooms BEFORE frying tortilla. Remove, then proceed. Or add thin-sliced veggies under cheese. Ensure veggies are pre-cooked/dry to prevent sogginess. Raw veggies release water during melt phase.
7. How spicy is this typically? Depends entirely on salsa choice. Mild salsa = family-friendly. Medium/hot = kick. Control heat via salsa selection. Add fresh chilies/hot sauce post-cook for customizable intensity. Always taste salsa first.
8. Can I double this for two people? Yes, but cook SEPARATELY. One skillet = one pizza at a time for optimal results. Crowding pan = uneven fry/soggy edges. Make second immediately after first. Keep first warm in 200°F oven if needed.
9. Is this suitable for kids? Absolutely! Mild salsa + familiar cheese/egg = kid-approved. Cut into wedges for easier handling. Let them customize toppings. Fun, interactive breakfast. Hidden veggie opportunity via salsa.
10. Can I use leftover taco meat/beans? Yes! Excellent way to use leftovers. Add under cheese layer. Ensure meats/beans are warmed/dry before adding. Moisture control remains critical. Transforms leftovers into new meal effortlessly.
Final Thoughts
This Cheesy Salsa Tortilla Breakfast Pizza is more than just a quick fix—it’s a testament to how thoughtful technique can elevate the simplest ingredients into something extraordinary. The marriage of crispy tortilla, tangy salsa, gooey cheese, and rich egg creates a sensory experience that rivals any café brunch, all while respecting your time and budget. It proves that nourishing, joyful meals don’t require elaborate planning or expensive components—just a hot pan, a few staples, and the willingness to embrace a little culinary creativity.