
| Prep Time | Cook Time | Total Time | Servings | Cuisine | Course | Difficulty | Calories (approx. per piece) |
|---|---|---|---|---|---|---|---|
| 30 minutes + rising | 20 minutes | 2 hours 30 minutes | 8–10 | Italian | Dessert / Breakfast | Intermediate | 320–380 |
Table of Contents
- Why This Recipe Works
- Why You’ll Love This Recipe
- Ingredient Notes
- Kitchen Equipment
- Preparation Information
- Step-by-Step Instructions
- Expert Tips
- Common Mistakes
- Recipe Variations
- What to Serve With This Recipe
- Make-Ahead Tips
- Meal Prep Tips
- Storage Instructions
- Reheating Instructions
- Nutritional Information
- Troubleshooting Guide
- Frequently Asked Questions
- Final Thoughts
Introduction
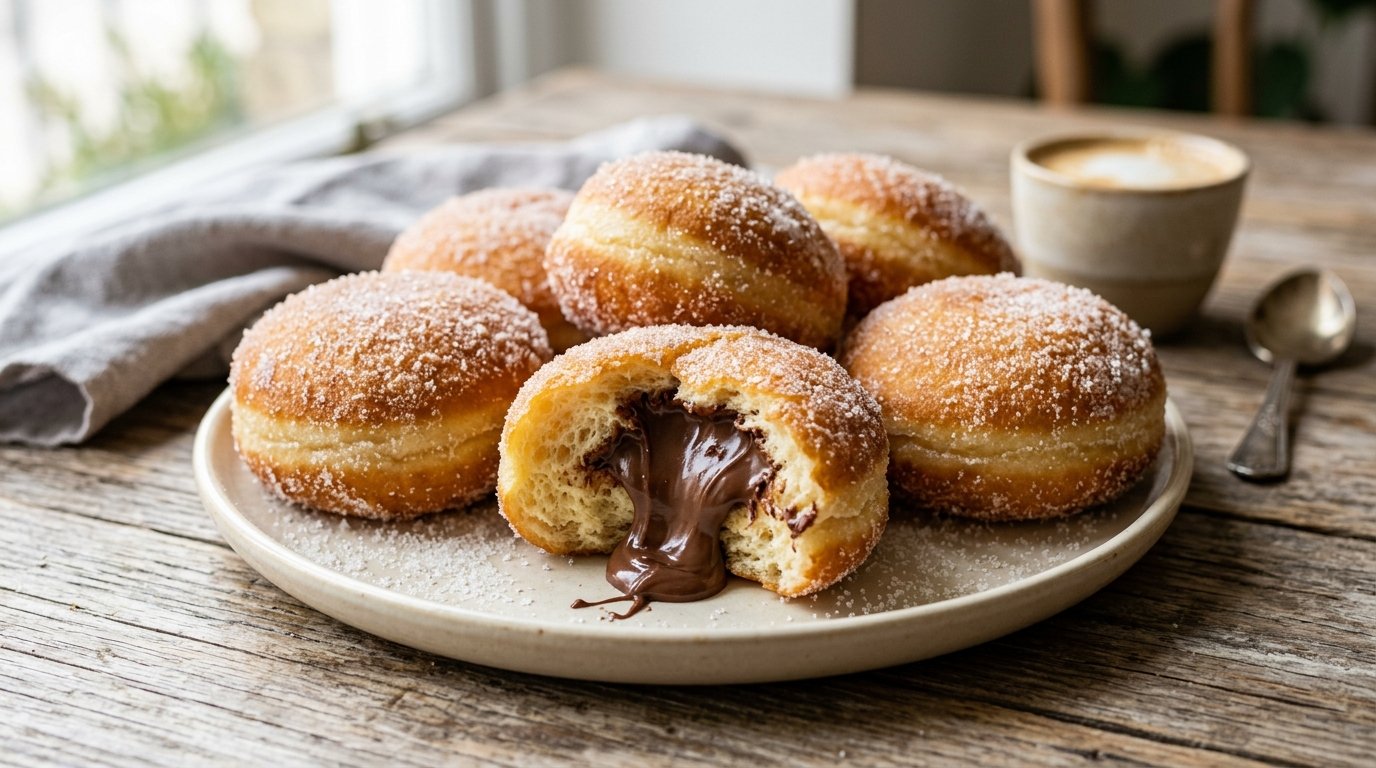
Nutella stuffed bomboloni are soft, sugar-dusted Italian doughnuts filled with warm, stretchy chocolate-hazelnut cream. These golden fried treats deliver a crisp exterior that gives way to an airy, enriched dough and a molten Nutella center that oozes with every bite. Perfect for weekend breakfasts, brunch tables, or an impressive dessert, this recipe turns simple yeast dough into bakery-style bomboloni right in your own kitchen. The combination of light yeasted dough, hot oil frying, and generous Nutella filling creates that irresistible contrast of textures and flavors that makes Italian pastry so memorable.
Why This Recipe Works
The enriched dough (with eggs, milk, and butter) stays tender even after frying. Proofing the shaped balls on individual parchment squares prevents sticking and makes transferring to hot oil effortless. Frying at a steady medium heat develops an even golden crust without greasiness. Coating the hot bomboloni in sugar while still warm helps the crystals stick perfectly. Injecting the Nutella after frying and cooling slightly keeps the filling thick and prevents it from melting out during cooking. The result is consistently light, flavorful doughnuts with a dramatic chocolate-hazelnut surprise inside.
Why You’ll Love This Recipe
- Bakery-quality results with everyday ingredients
- Dramatic oozy Nutella center that looks stunning when pulled apart
- Soft, airy crumb that stays tender for hours
- No special equipment beyond a frying pan and piping bag
- Crowd-pleasing flavor that works for breakfast, dessert, or celebrations
- Easy to customize with different fillings once you master the base dough
Ingredient Notes
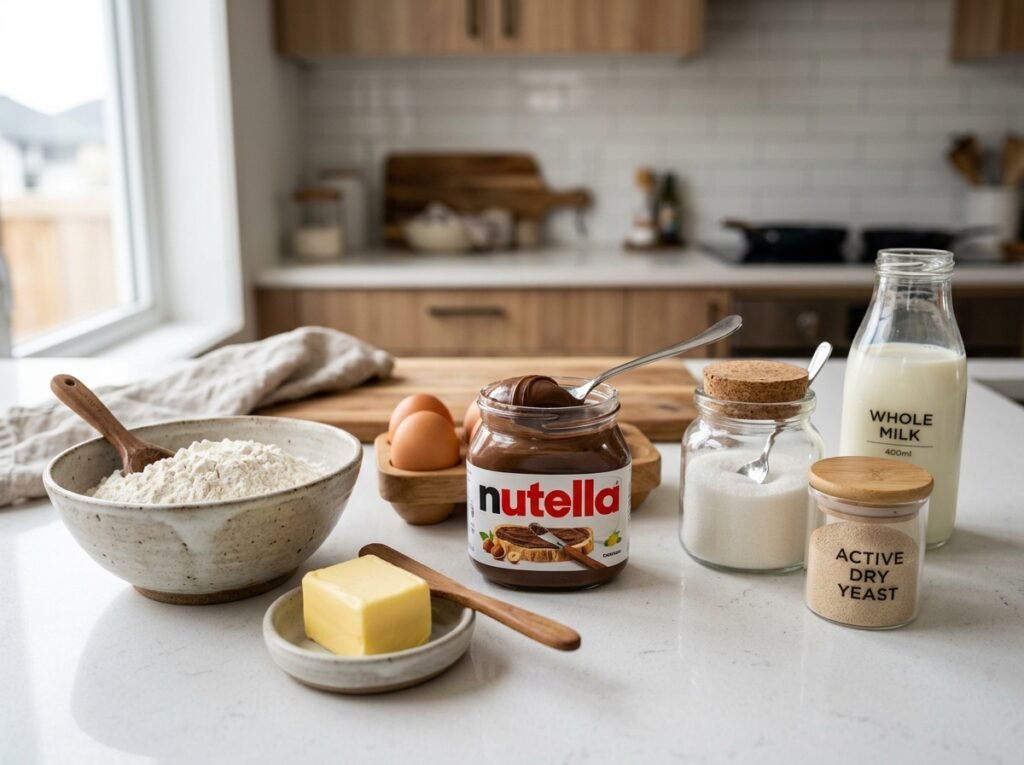
For the dough
- Strong bread flour or all-purpose flour – Provides structure and chew. Bread flour gives slightly better rise; all-purpose works well too.
- Instant or active dry yeast – Instant yeast can be mixed directly; active dry should be bloomed first.
- Whole milk, warmed – Activates the yeast and keeps the dough soft.
- Eggs – Enrich the dough and add color and tenderness.
- Unsalted butter, softened – Adds richness and helps create a fine crumb.
- Granulated sugar – Sweetens the dough gently and feeds the yeast.
- Salt – Balances sweetness and strengthens gluten.
- Vanilla extract or lemon zest (optional) – Brightens the flavor; lemon pairs beautifully with Nutella.
For frying and finishing
- Neutral oil with high smoke point (vegetable, canola, or sunflower) – Essential for clean frying.
- Granulated sugar for coating – Classic Italian finish; some recipes use cinnamon-sugar.
For the filling
- Nutella (or any chocolate-hazelnut spread) – Use room-temperature or slightly warmed for easier piping. Good-quality Nutella gives the best stretch and flavor.
Substitutions
- Dairy-free milk and plant butter work for a dairy-free version.
- Gluten-free 1:1 flour blends can be used, though texture will be slightly denser.
- Homemade chocolate-hazelnut cream or pastry cream can replace Nutella.
Buying & storage tips Choose fresh yeast with a long expiry date. Store opened Nutella in a cool cupboard. Flour keeps best in an airtight container.
Kitchen Equipment
- Large mixing bowl or stand mixer with dough hook
- Baking sheet lined with parchment squares
- Clean kitchen towel or plastic wrap
- Deep frying pan or heavy-bottomed pot
- Candy or instant-read thermometer (highly recommended)
- Slotted spoon or spider strainer
- Paper towels
- Shallow bowl for sugar
- Piping bag fitted with a long, narrow tip (or a squeeze bottle)
- Small knife or skewer for making injection holes
Preparation Information
Prep Time: 30 minutes active + 1–1½ hours rising Cook Time: 15–20 minutes frying Total Time: Approximately 2 hours 30 minutes Servings: 8–10 bomboloni
Step-by-Step Instructions
Make and Proof the Dough
In a large bowl, combine warm milk, yeast, and a pinch of sugar. Let stand 5–10 minutes until foamy if using active dry yeast. Add the remaining sugar, eggs, softened butter, vanilla or zest, salt, and flour. Mix until a soft, slightly sticky dough forms. Knead by hand or with a dough hook for 8–10 minutes until smooth and elastic. The dough should pass the windowpane test—thin enough to stretch without tearing. Place in a lightly oiled bowl, cover, and let rise in a warm spot until doubled, about 1–1½ hours.
Why this matters: Proper kneading develops gluten so the bomboloni hold their shape and stay light after frying. Under-kneaded dough can collapse or become dense.
Shape the Bomboloni
Punch down the risen dough and divide into 8–10 equal pieces (about 60–70 g each). Roll each piece into a smooth, tight ball by cupping your hand and rotating against the work surface. Place each ball on its own small square of parchment paper on a baking sheet. Cover loosely with a clean towel and let rise again until puffy, 30–45 minutes.
Visual cue: The balls should look light and spring back slowly when gently poked. Individual parchment squares make transferring to oil safe and easy—no deflating.
Fry the Bomboloni
Heat 5–7 cm of oil in a deep pan to 170–175 °C (340–350 °F). Carefully lower 3–4 dough balls (still on their parchment) into the oil; the paper will release after a few seconds and can be removed with tongs. Fry 2–3 minutes per side until deep golden brown, turning once with a slotted spoon or two forks. The exterior should be evenly colored and the bomboloni should feel light when lifted. Drain on paper towels.
Texture and color cues: Proper temperature yields a crisp shell without absorbing excess oil. Too hot and the outside burns before the inside cooks; too cool and they become greasy.
Sugar Coat
While still warm, roll each bombolone thoroughly in a bowl of granulated sugar so the entire surface is coated. The residual heat helps the sugar stick in an even, sparkling layer.
Fill with Nutella
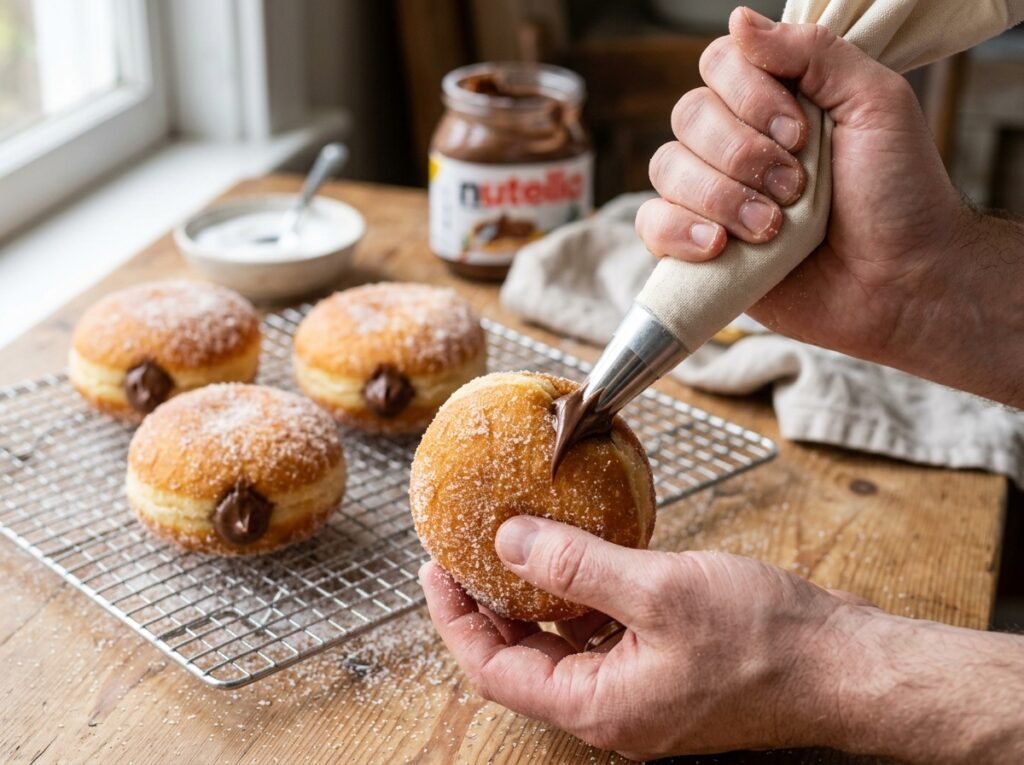
Once the bomboloni are cool enough to handle (still slightly warm is ideal), use a small knife or skewer to poke a hole in the side or bottom of each one. Fit a piping bag with a long, narrow tip, fill with room-temperature Nutella, and gently pipe until the bombolone feels full and a little resistance is felt. Wipe any excess.
Why fill after frying: Injecting after cooking keeps the Nutella thick and prevents it from leaking or burning in the oil. You get that dramatic stretch when the doughnut is pulled apart.
Expert Tips
- Weigh the dough pieces for uniform size and even frying.
- Keep oil temperature steady—adjust heat between batches.
- Work in small batches so the oil doesn’t drop too much.
- Warm the Nutella slightly (10–15 seconds in the microwave) for smoother piping.
- A long Bismarck tip or plain round tip makes clean injection easier.
- Rest the filled bomboloni 10–15 minutes before serving so the filling settles.
Common Mistakes
- Oil too hot → dark exterior, raw center. Solution: Use a thermometer and maintain 170–175 °C.
- Dough under-proofed → dense texture. Solution: Wait until balls look visibly puffy.
- Filling while too hot → Nutella runs out. Solution: Cool just until handleable.
- Overcrowding the pan → temperature drop and greasy results. Fry only a few at a time.
- Skipping parchment squares → dough sticks or deflates when moved.
Recipe Variations
- Classic Italian: Fill with pastry cream or vanilla custard instead of Nutella.
- Chocolate lover: Use dark chocolate ganache or dual Nutella + chocolate.
- Citrus twist: Add orange zest to the dough and fill with chocolate-orange spread.
- Cinnamon-sugar: Roll in cinnamon-sugar instead of plain sugar.
- Mini bomboloni: Divide into 20 smaller pieces for party bites.
- Baked version: Brush with butter and bake at 180 °C until golden, then fill (texture will be less airy).
What to Serve With This Recipe
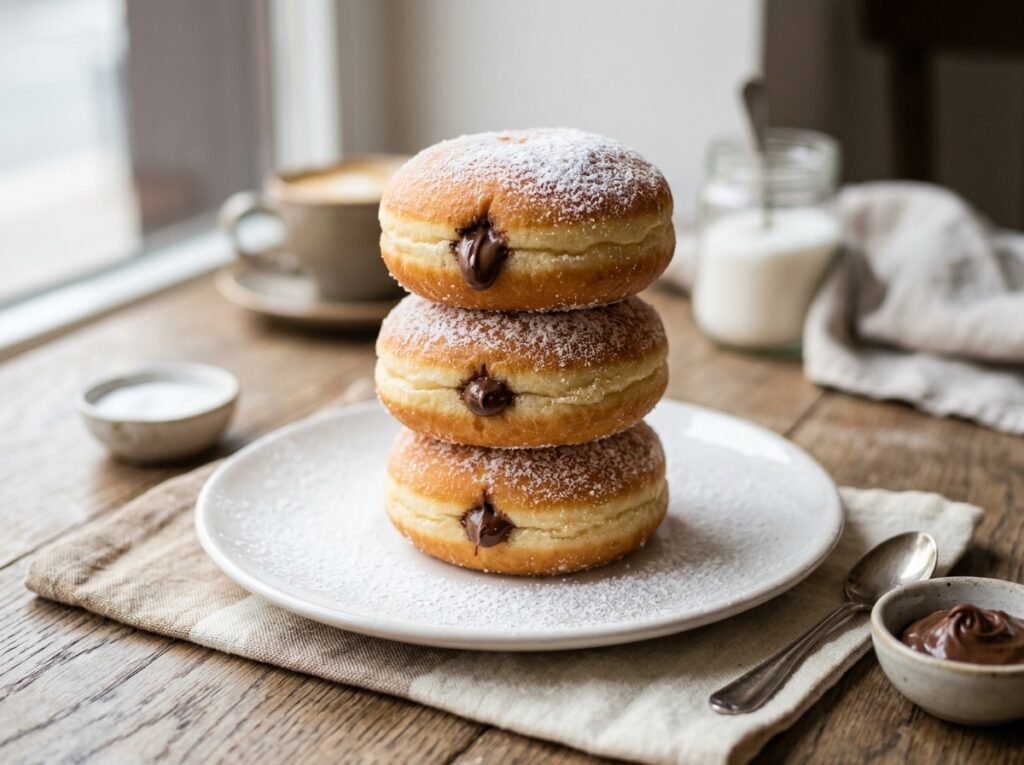
Pair with strong espresso, cappuccino, or a glass of cold milk. Fresh berries or a simple berry compote cut the richness. For brunch, serve alongside scrambled eggs and fruit. A dusting of powdered sugar or a few extra toasted hazelnuts on the plate adds elegance.
Make-Ahead Tips
Dough can be made the night before, shaped into balls, and refrigerated on the parchment-lined tray (covered). Bring to room temperature and finish the second rise before frying. Fried, unfilled bomboloni keep well for several hours at room temperature.
Meal Prep Tips
Fry and sugar-coat the day of serving for best texture. Fill just before serving so the centers stay soft and oozy. Leftover filled bomboloni are still delicious the next day but best eaten within 24 hours.
Storage Instructions
Store filled bomboloni in an airtight container at room temperature for up to 1 day or in the refrigerator for 2–3 days. Unfilled fried bomboloni freeze well for up to 1 month; thaw and re-warm before filling.
Reheating Instructions
- Oven: 160 °C for 5–7 minutes until warmed through.
- Air fryer: 150 °C for 3–4 minutes.
- Microwave: 10–15 seconds (filling will become very soft). Avoid high heat that can make the sugar coating sticky or the dough tough.
Nutritional Information (approximate per bombolone)
Calories: 340 Protein: 6 g Carbohydrates: 42 g Fat: 17 g Fiber: 2 g Sugar: 22 g Sodium: 180 mg
Values vary with exact size and amount of filling.
Troubleshooting Guide
- Dough not rising: Check yeast freshness and liquid temperature (should be warm, not hot).
- Greasy bomboloni: Oil temperature was too low—use a thermometer next time.
- Filling leaks: Hole was too large or bomboloni were overfilled. Use a smaller tip and stop when resistance is felt.
- Dense texture: Insufficient kneading or under-proofing. Knead until elastic and give full rise time.
- Uneven browning: Turn more frequently and maintain steady oil temperature.
Frequently Asked Questions
Can I bake these instead of frying? Yes, but the texture will be closer to a soft roll than a classic bombolone. Brush with melted butter and bake at 180 °C until golden, then fill.
How do I know when the oil is ready without a thermometer? Drop a small piece of dough in—it should sizzle gently and rise to the surface within a few seconds without browning too quickly.
Can I use a different filling? Absolutely. Pastry cream, lemon curd, jam, or chocolate ganache all work beautifully.
Why did my Nutella come out runny? The bomboloni were still too hot when filled. Let them cool for 10–15 minutes first.
How far ahead can I shape the dough? Shaped balls can rest in the refrigerator overnight. Bring to room temperature and allow a final rise before frying.
Are bomboloni the same as doughnuts? They are Italian yeast-raised filled doughnuts, typically round without a hole and often finished with sugar rather than glaze.
Can I make them gluten-free? A good 1:1 gluten-free flour blend can work, though the crumb will be a bit more delicate. Add a teaspoon of xanthan gum if your blend doesn’t include it.
How do I get that dramatic stretch when I pull them apart? Fill generously and serve while the Nutella is still slightly warm and fluid.
Final Thoughts
Nutella stuffed bomboloni bring the joy of an Italian bakery straight to your kitchen. The soft, sugar-coated dough and the moment the warm chocolate-hazelnut filling stretches between the two halves make these treats unforgettable. Once you’ve made a batch, you’ll understand why they disappear so quickly. Give them a try this weekend, then come back and tell me how they turned out—or share your favorite filling variation in the comments. Happy frying!