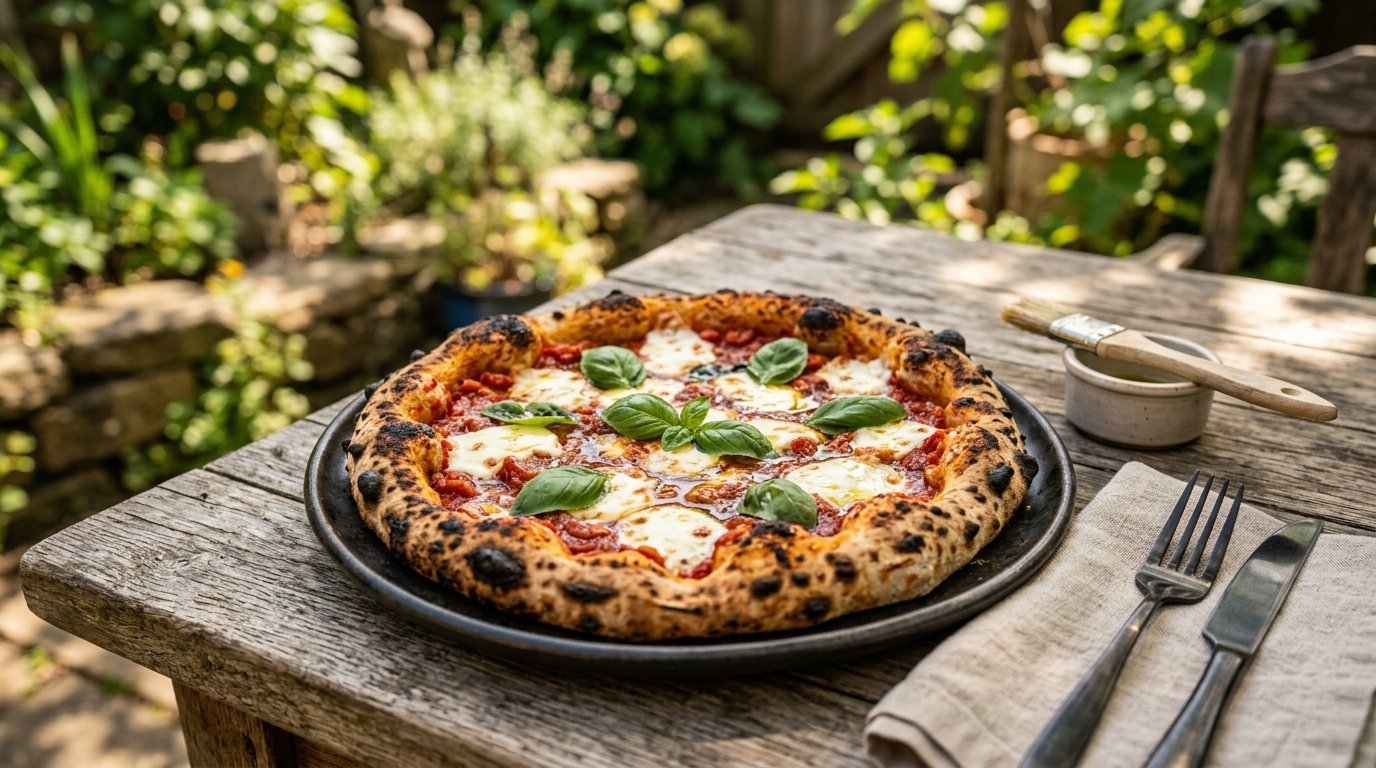
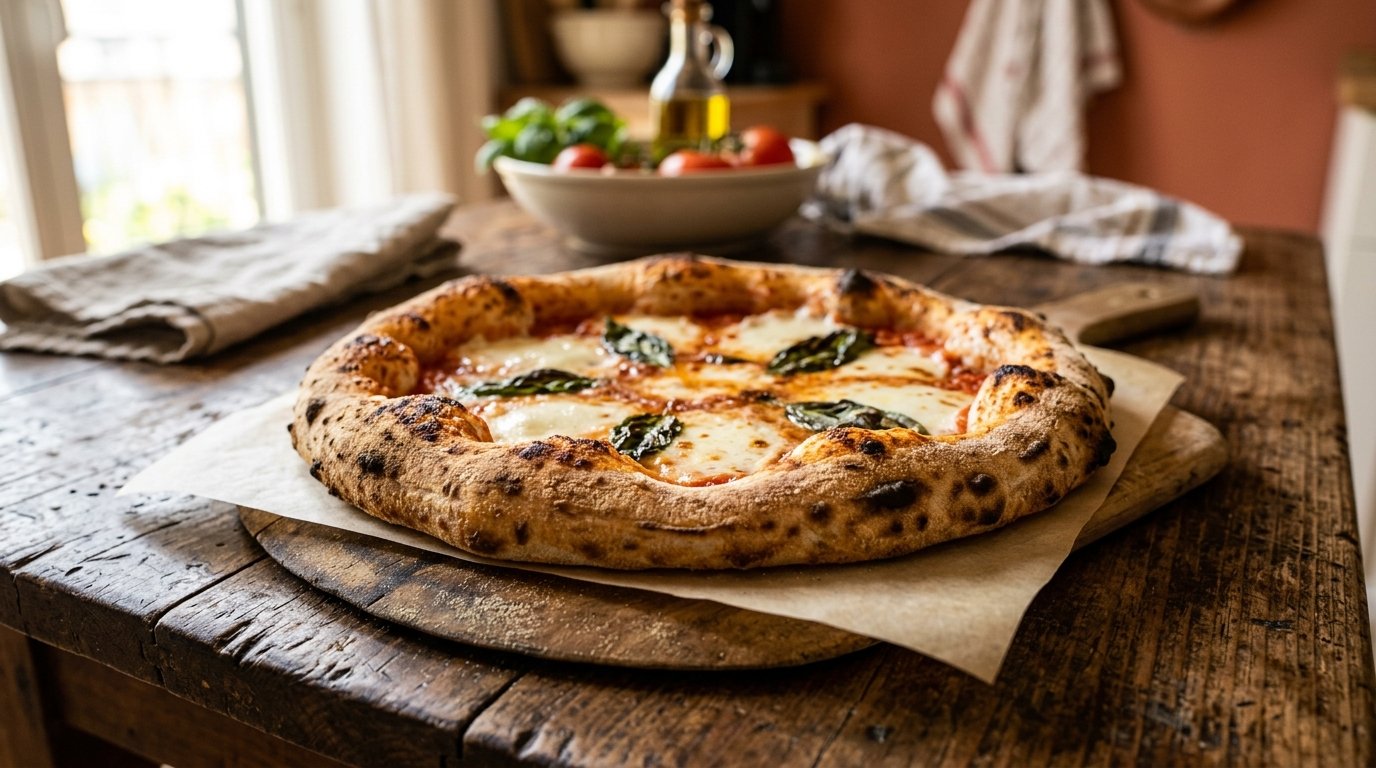
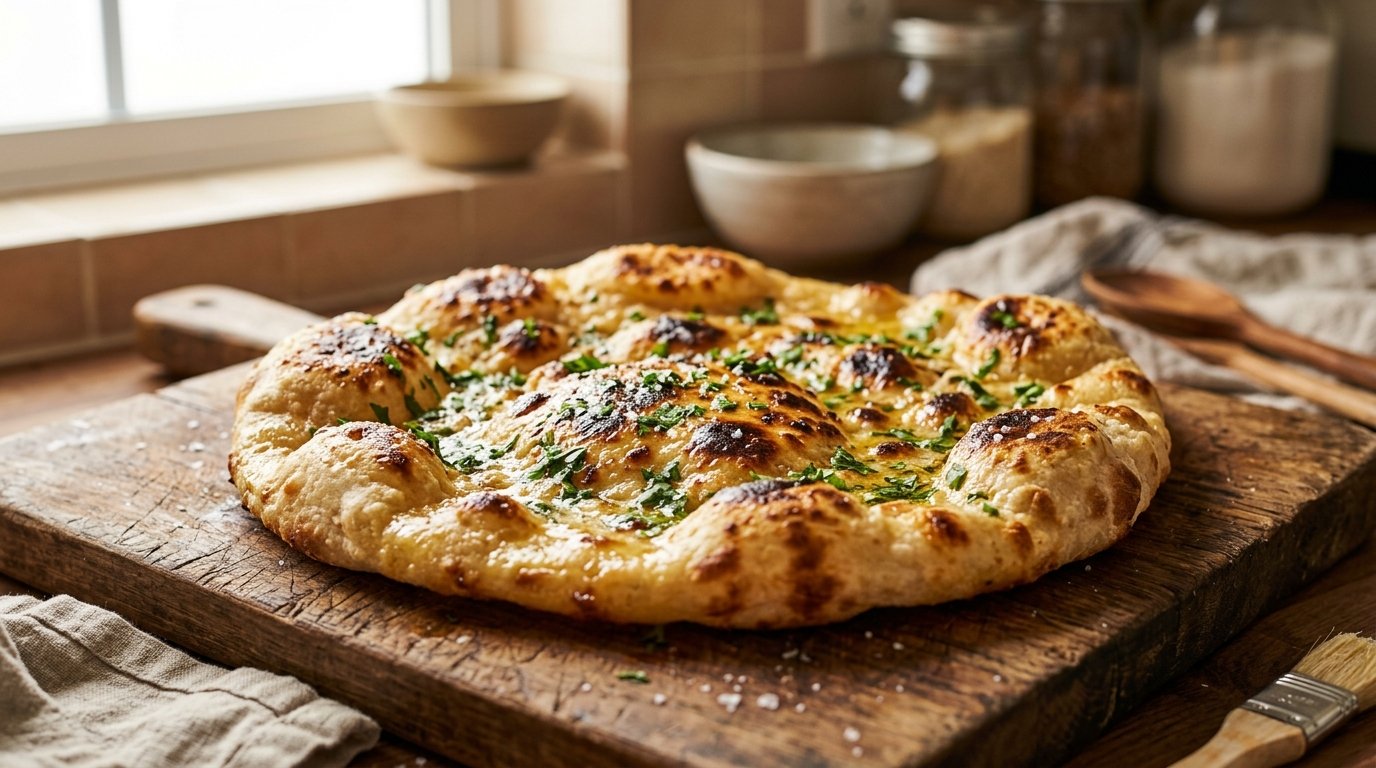
There is a pervasive myth in the culinary world that achieving a pizzeria-quality crust requires a $500 countertop oven or a backyard masonry structure capable of reaching 900°F. While those tools are magnificent, they are by no means mandatory. If you have ever doubted your ability to create a charred, blistered, and perfectly chewy pie without specialized equipment, it is time to rethink your approach. Enter authentic grilled pizza, a technique that transforms your standard gas or charcoal grill into a high-performance baking chamber.
Grilling pizza is not merely an alternative; for many enthusiasts, it is the superior method. The direct radiant heat from the grates mimics the floor of a wood-fired oven, creating those coveted leopard-spot char marks and a smoky depth of flavor that electric ovens simply cannot replicate. By mastering the two-stage cooking process—searing the dough first, then topping and finishing—you gain total control over the texture. This guide will walk you through every nuance of the process, ensuring your next backyard gathering features a pie that rivals any neighborhood slice shop. Let’s fire up the grill and redefine what homemade pizza can be.
Why This Recipe Works
The science behind grilled pizza lies in managing intense, direct heat while preventing structural failure. Unlike a conventional oven which relies on ambient hot air, a grill provides aggressive conductive heat from below. This is why we employ a specific sequence: the dough hits the hot grates naked first. This initial sear does three critical things. First, it sets the structure of the gluten network almost instantly, creating a rigid “floor” that can support wet toppings without sagging or tearing. Second, it creates a moisture barrier; the rapid gelatinization of starches on the bottom prevents the sauce from making the crust soggy. Third, it imparts that signature smoky char and distinct grill marks that define this style.
Once flipped, the cooked side becomes the new base. Because it is already partially set and dry, it acts as a shield against the moisture of the tomato sauce and fresh mozzarella. We then close the lid to trap heat, effectively turning the grill into a convection oven. This top-down heat melts the cheese and warms the toppings while the residual heat from the grates continues to crisp the bottom. This dual-heat source is the secret to a crust that is simultaneously crunchy on the outside, airy on the inside, and perfectly cooked through without burning.
Why You’ll Love This Recipe
Superior Crust Texture: Achieves a crisp, charred exterior with a soft, open crumb interior that is difficult to replicate in home ovens.
Smoky Flavor Profile: The interaction between dripping fats, caramelizing sugars, and smoke infuses the crust with a complex, savory depth.
Speed and Efficiency: Cooks in under 10 minutes once the grill is hot, making it perfect for weeknight dinners or large parties.
Summer Entertaining Essential: Keeps the heat outside and the kitchen cool, allowing the cook to remain part of the conversation.
Versatile Canvas: The sturdy grilled crust holds up to heavier toppings and wetter ingredients better than traditional baked pizzas.
Ingredient Notes
Pizza Dough (High-Hydration)
Purpose: The foundation. A hydration level of 65-70% is ideal for grilling, as the extra water creates steam pockets for an airy crumb and prevents the crust from becoming too hard over direct flame.
Buying Tip: If buying pre-made, look for “Neapolitan style” or “artisan” dough balls. Avoid pre-stretched shells; they lack the elasticity needed to survive the grill grate.
Substitution: Store-bought naan or pita bread works for a quick version, but for authentic results, always use yeast-leavened wheat dough.
Storage: Fresh dough keeps 24 hours in the fridge. Frozen dough balls can last 3 months; thaw overnight in the refrigerator before stretching.
San Marzano Tomato Sauce
Purpose: Acidity and moisture balance. Canned whole San Marzano tomatoes, crushed by hand, offer a bright, sweet-tart profile that cuts through the richness of the char.
Technique: Do not cook the sauce beforehand. Raw sauce applied to the hot grilled crust will cook down perfectly during the brief finish time, retaining freshness.
Substitution: High-quality passata or even a simple blend of canned tomatoes, salt, and olive oil. Avoid sugary, pre-seasoned jarred sauces which burn quickly over high heat.
Tip: Strain excess liquid if the sauce is very watery to prevent a soggy center.
Fresh Mozzarella (Fior di Latte or Bufala)
Purpose: Creaminess and mild milky flavor. Fresh mozzarella has a higher moisture content than low-moisture block cheese, resulting in luxurious pools of melt rather than a greasy, rubbery layer.
Prep: Slice and pat dry with paper towels 15 minutes before assembling. Excess surface moisture is the enemy of a crisp crust.
Substitution: Low-moisture whole milk mozzarella shreds work if fresh is unavailable, but the texture will be chewier and less delicate.
Storage: Keep submerged in its brine until ready to use. Once opened, consume within 2-3 days for best quality.
Extra Virgin Olive Oil
Purpose: Lubrication, flavor, and finishing. Brushing the dough before grilling prevents sticking and promotes even browning. Drizzling after cooking adds fruitiness and gloss.
Quality Matters: Use a robust, peppery EVOO for finishing. The heat of the pizza will release its aromatic compounds.
Application: Apply sparingly to the raw dough side facing the grill. Too much oil causes flare-ups and uneven charring.
Fresh Basil & Pepperoni
Basil: Add after cooking or in the last 30 seconds. Direct flame incinerates fresh basil instantly, turning it bitter and black. The residual heat of the pizza is sufficient to wilt it gently.
Pepperoni: Cup-and-char pepperoni is ideal for grilling. The high heat renders the fat rapidly, creating crispy edges and little cups of oil. Standard sliced pepperoni works but may not curl as dramatically.
Placement: Distribute evenly to ensure consistent cooking. Heavy clustering leads to cold spots or burnt patches.
Kitchen Equipment
Gas or Charcoal Grill: Gas offers easier temperature control; charcoal provides superior smoky flavor. Both work excellently.
Long-Handled Tongs: Essential for safely flipping dough and maneuvering pizzas without burning hands. Silicone tips protect the crust; metal offers better grip.
Pizza Peel (Optional but Helpful): A perforated peel makes transferring topped pizzas onto the grill easier, though tongs work for careful handlers.
Pastry Brush: For applying olive oil to the raw dough efficiently.
Instant-Read Thermometer: To verify grill grate temperature (target: 500°F–600°F / 260°C–315°C).
Clean Grill Brush: Critical for removing debris that could stick to the dough or cause uneven heating.
Total Time: ~3 Hours (includes 2+ hour dough rise/proof)
Servings: 2 Pizzas (approx. 10-12 inches each)
Step-by-Step Instructions
H3: Preheat and Clean the Grill
Ignite all burners (or light charcoal) and close the lid. Heat to HIGH for at least 15-20 minutes. You want the grates screaming hot, ideally 500°F–600°F (260°C–315°C). Scrub grates vigorously with a clean brush, then wipe with an oiled paper towel held by tongs to create a non-stick surface.
Why it matters: Cold grates = stuck dough. High heat ensures immediate sear and release. Cleaning prevents old carbon from adhering to your fresh crust.
Visual Cue: Grates should be glowing or shimmering with heat haze. Oil should smoke slightly upon contact.
Safety Note: Never spray aerosol cooking oil directly onto an open flame or hot grill; it can cause dangerous flare-ups. Use a brush or oiled towel instead.
H3: Stretch the Dough Gently
Place dough ball on a lightly floured surface. Using fingertips, press from center outward, leaving a ½-inch rim untouched. Rotate frequently. Drape over knuckles and gently stretch using gravity, avoiding rolling pins which crush air bubbles. Aim for 10-12 inch round, slightly thicker at edges.
Why it matters: Preserving the cornicione (edge) structure ensures a puffy, airy crust. Rolling pins degas the dough, leading to dense, cracker-like results.
Texture Cue: Dough should feel elastic and extensible. If it snaps back, let it rest 5 minutes to relax gluten.
Common Mistake: Creating holes in the center. Patch immediately with a small piece of dough or pinch closed; holes lead to flare-ups and burnt toppings.
H3: Grill the Naked Dough
Brush one side of stretched dough lightly with olive oil. Carefully place dough OIL-SIDE DOWN directly onto hot grates. Close lid. Cook 2-3 minutes until bottom has distinct grill marks and releases easily when lifted with tongs. It should be firm enough to flip without flopping.
Why it matters: This sets the structure and creates the flavor base. Oil-side down prevents sticking and promotes even browning.
Visual Cue: Bottom shows dark brown/black grill marks. Top surface looks matte and set, not wet or shiny.
Aroma Cue: Toasted wheat and faint smoke. No burning smell.
Pro Tip: If dough sticks, DO NOT force it. Close lid for 30 more seconds; steam and continued cooking will often release it naturally.
H3: Flip, Top, and Finish
Using tongs, flip crust so grilled side faces UP. Work quickly. Spread thin layer of sauce, leaving edge clear. Arrange mozzarella and pepperoni. Close lid immediately. Cook 3-5 minutes until cheese is bubbly and bottom crust is crisp. Watch closely; grill temps vary wildly.
Why it matters: Speed prevents the uncooked side from drying out or burning before toppings are added. Lid closure traps heat to melt cheese without charring the bottom further.
Visual Cue: Cheese fully melted with golden spots. Pepperoni curled and glistening. Crust edge puffed and charred.
Texture Cue: Bottom should be rigid and crisp when tapped. Center yields slightly but isn’t doughy.
Critical Check: Lift edge with tongs periodically. If bottom is darkening too fast, move pizza to upper rack or reduce heat.
H3: Rest, Garnish, and Serve
Transfer pizza to cutting board. Let rest 1-2 minutes (allows cheese to set slightly for cleaner slicing). Scatter fresh basil leaves. Drizzle generously with extra virgin olive oil. Slice and serve immediately.
Why it matters: Resting prevents molten cheese from sliding off. Fresh basil added post-cook retains vibrant color and sweet aroma. Oil finish adds luxury and mouthfeel.
Visual Cue: Basil wilts gently from residual heat, turning bright green. Oil pools slightly in cheese valleys.
Serving Tip: Use a sharp pizza wheel or chef’s knife. Wipe blade between cuts for clean slices. Serve on warm plates if possible.
Expert Tips
Mise en Place is Mandatory: Have ALL toppings prepped, measured, and within arm’s reach before dough hits the grill. The cooking window is 5-8 minutes; there is no time to chop or grate mid-process.
Less is More with Toppings: Overloading weighs down the crust and traps moisture, leading to sogginess. Limit to 3-4 toppings max. Sauce should be a whisper, not a blanket.
Manage Flare-Ups: Fat dripping from pepperoni or oil can ignite. Keep a spray bottle of water nearby for minor flames. Move pizza to indirect heat zone if flare-ups persist. Never leave grill unattended.
Rotate for Even Cooking: Grills have hot spots. Rotate pizza 90° halfway through each stage (dough side and topped side) to ensure uniform charring and melting.
Dough Temperature Matters: Cold dough shrinks and resists stretching. Bring dough to room temp 30-60 mins before grilling. Warm dough stretches like silk; cold dough fights you.
Charcoal vs. Gas Nuance: Charcoal runs hotter and smokier but harder to control. For beginners, gas is forgiving. If using charcoal, arrange coals for two-zone cooking (direct + indirect) to manage doneness.
Common Mistakes
Stuck Dough: Caused by insufficient heat, dirty grates, or lack of oil. Fix: Preheat thoroughly. Clean/oil grates. Oil dough side facing grill. If stuck, wait 30 secs; don’t yank.
Soggy Center: Too much sauce/wet toppings or undercooked dough. Fix: Pat mozzarella dry. Use less sauce. Ensure dough is fully set before flipping. Finish with lid closed.
Burnt Bottom, Raw Top: Heat too high or lid left open during topping phase. Fix: Reduce heat to medium-high. ALWAYS close lid after topping to trap top heat. Move to upper rack if browning too fast.
Tough/Cracker Crust: Dough rolled too thin or overcooked. Fix: Hand-stretch only. Preserve edge thickness. Monitor cook time; 8-10 mins total is usually sufficient.
Bitter Basil: Added before/during cooking. Fix: Add fresh basil ONLY after removing from grill. Residual heat is enough.
Uneven Charring: Hot spots or no rotation. Fix: Map your grill’s heat zones. Rotate pizza 90° every 1-2 minutes.
Recipe Variations
Spicy Diavola: Add Calabrian chili paste to sauce. Top with spicy salami and hot honey drizzle post-cook. Heat balances smoky char beautifully.
Vegetarian Garden: Zucchini ribbons, roasted red peppers, red onion, goat cheese. Grill veggies briefly before topping to prevent sogginess. Balsamic glaze finish.
Vegan Margherita: Cashew ricotta or vegan mozzarella. Nutritional yeast in sauce. Arugula + lemon vinaigrette post-cook. Surprisingly creamy and satisfying.
Chicken BBQ: Shredded rotisserie chicken, red onion, cilantro. Swap tomato sauce for tangy BBQ sauce. Smoked gouda cheese. Sweet-smoky perfection.
Seafood White Pie: Clams, garlic, white wine, parsley. No tomato sauce. Ricotta base. Lemon zest finish. Elegant and briny.
Extra Cheesy Four-Course: Fontina, gorgonzola, provolone, mozzarella. Honey + walnut finish. Rich, complex, decadent. Best with bold red wine.
Healthy Thin Crust: Whole wheat dough. Lighter sauce. Veggie-heavy toppings. Part-skim mozzarella. Still delivers char and satisfaction with fewer calories.
Breakfast Pizza: Scrambled eggs, bacon, cheddar, chives. Maple syrup drizzle. Cook eggs partially before topping. Weekend brunch showstopper.
What to Serve With This Recipe
Caesar Salad: Crisp romaine, parmesan, croutons. The acidity and crunch cut through rich, cheesy pizza perfectly. Classic pairing.
Garlic Knots: Leftover dough twisted, baked/grilled, tossed in garlic butter. Zero-waste appetizer that complements main event.
Italian Soda: Blood orange or lemon. Effervescent, sweet-tart palate cleanser. Non-alcoholic option that feels festive.
Craft Beer: IPA or Pilsner. Hops cut through fat; carbonation refreshes. Avoid heavy stouts which clash with tomato acidity.
Antipasto Board: Olives, marinated artichokes, cured meats. Extends the grazing experience. Perfect for pre-pizza nibbling.
Tiramisu or Gelato: Light, cool dessert after hot, savory meal. Coffee notes echo the charred crust. Ideal summer ending.
Make Ahead & Meal Prep Tips
Dough Fermentation: Make dough 24-72 hours ahead. Cold fermentation develops superior flavor and texture. Portion into balls; store oiled in airtight containers in fridge.
Sauce Prep: Crush tomatoes, season, and store up to 5 days. Flavors meld and improve. Bring to room temp before using; cold sauce shocks hot crust.
Topping Station: Pre-slice cheese, prep veggies, portion pepperoni. Store separately in containers. Assembly line setup speeds up grilling process dramatically.
Par-Grill Crusts: For parties, grill naked doughs ahead. Cool, stack with parchment between. Reheat 1 min on grill before topping/finishing. Saves active cook time.
Herb Oil: Infuse olive oil with garlic/chili/herbs days ahead. Strain and bottle. Instant flavor boost for finishing drizzle.
Storage & Reheating Instructions
Storage
Refrigerator: Store leftover slices in airtight container up to 3 days. Crust will soften; this is normal.
Freezer: Wrap individual slices tightly in foil, then plastic. Freeze up to 2 months. Thaw in fridge overnight before reheating.
Dough Balls: Freeze raw dough balls in oiled bags up to 3 months. Thaw 24 hrs in fridge before use.
Reheating
Skillet (Best Method): Medium-low heat, uncovered, 3-4 mins. Restores bottom crispness without drying top. Cover last 30 secs if cheese needs melting.
Air Fryer: 375°F (190°C) for 3-4 mins. Excellent for single slices. Crisps crust evenly. Watch closely to prevent burning.
Oven: 400°F (200°C) on wire rack 5-7 mins. Good for multiple slices. Wire rack prevents sogginess. Broil last 1 min for cheese bubble.
Microwave (Avoid): Makes crust rubbery and chewy. Only use if no other option. 30 secs max. Place cup of water inside to retain some moisture.
Nutritional Information
Estimates per serving (half pizza):
Calories: 650
Protein: 28g
Carbohydrates: 72g
Fat: 26g
Fiber: 4g
Sugar: 6g
Sodium: 1,180mg
Note: Values vary based on dough hydration, cheese quantity, and topping choices.
Pat cheese dry. Less sauce. Ensure dough set before flipping. Lid closed during finish.
Burnt bottom/raw top
Heat too high/lid open
Reduce to med-high. ALWAYS close lid after topping. Move to upper rack.
Tough/cracker crust
Rolled too thin/overcooked
Hand-stretch only. Preserve edge. Monitor time; 8-10 mins total.
Flare-ups
Fat/oil dripping
Spray water bottle. Move to indirect heat. Trim excess fat from toppings.
Uneven cooking
Hot spots/no rotation
Map grill zones. Rotate 90° every 1-2 mins. Adjust position as needed.
Frequently Asked Questions
1. Can I use a charcoal grill for pizza? Absolutely! Charcoal often produces superior flavor due to smoke. Light chimney full of briquettes; arrange for two-zone cooking (coals on one side, empty on other). Start pizza over direct heat for sear, finish over indirect to melt toppings without burning. Temp control is key; vent adjustments regulate heat.
2. Why did my dough shrink back when stretching? Gluten is too tight. Let dough rest at room temp 15-30 mins. Cold or recently worked dough resists stretching. Gentle, patient handling with frequent rests yields cooperative dough. Never force it; tearing ruins structure.
3. Can I grill frozen pizza dough? Not recommended. Frozen dough cooks unevenly; outside burns before inside thawns/cooks. Thaw completely in fridge 24 hrs, then bring to room temp 30-60 mins before stretching. Patience ensures proper texture and safety.
4. How do I prevent flare-ups from pepperoni grease? Use leaner pepperoni or blot excess oil before topping. Keep spray bottle handy for minor flames. Move pizza to indirect heat zone if flare-ups persist. Trim visible fat from meat toppings. Never leave grill unattended with fatty foods.
5. Can I make grilled pizza without a pizza peel? Yes! Tongs work perfectly for careful handlers. Fold dough gently over tongs to transfer. For topped pizzas, assemble on parchment paper, slide onto grill, then pull paper out after 30 secs (paper won’t burn instantly). Practice makes perfect.
6. Why is my crust pale and not charred? Grill not hot enough or dough too thick/wet. Preheat 20+ mins to 500°F+. Thin dough slightly. Ensure surface is dry before oiling. Higher heat = better char. Don’t rush preheat; patience pays off.
7. Can I use whole wheat flour for grilled pizza dough? Yes, but texture differs. Whole wheat absorbs more water; increase hydration to 70-75%. Expect denser, nuttier crust. Blend 50/50 with AP flour for balanced texture/flavor. Still grills beautifully with adjusted technique.
8. How do I know when the grill is hot enough? Hand test: Hold hand 5 inches above grates. 2-3 sec max = ready. Better yet, use infrared thermometer; target 500°F-600°F (260°C-315°C). Visual cue: grates shimmer/glow. Oil smokes instantly. Proper heat is non-negotiable for success.
9. Can I add fresh vegetables directly to grilled pizza? Some yes, some no. Thin-sliced zucchini, peppers, onions work if pre-grilled 1-2 mins to soften/release moisture. Tomatoes, mushrooms, spinach should be pre-cooked/drained to prevent sogginess. Raw veggies release water during brief cook time, sabotaging crust.
10. Is grilled pizza healthier than baked pizza? Potentially. Shorter cook time preserves nutrients. Less oil needed (grates vs. pan). Char adds antioxidants (in moderation). Portion control easier with individual pies. Health depends on toppings/dough choice, not just cooking method. Balance is key.
Final Thoughts
Mastering authentic grilled pizza is about embracing imperfection and trusting the process. Yes, your first pie might have a slightly uneven char or a topping that slid sideways. That’s not failure; it’s learning. Each attempt teaches you your grill’s personality, your dough’s behavior, and your own rhythm. The reward—a smoky, crisp, utterly alive pizza shared under open sky—is worth every moment of experimentation.