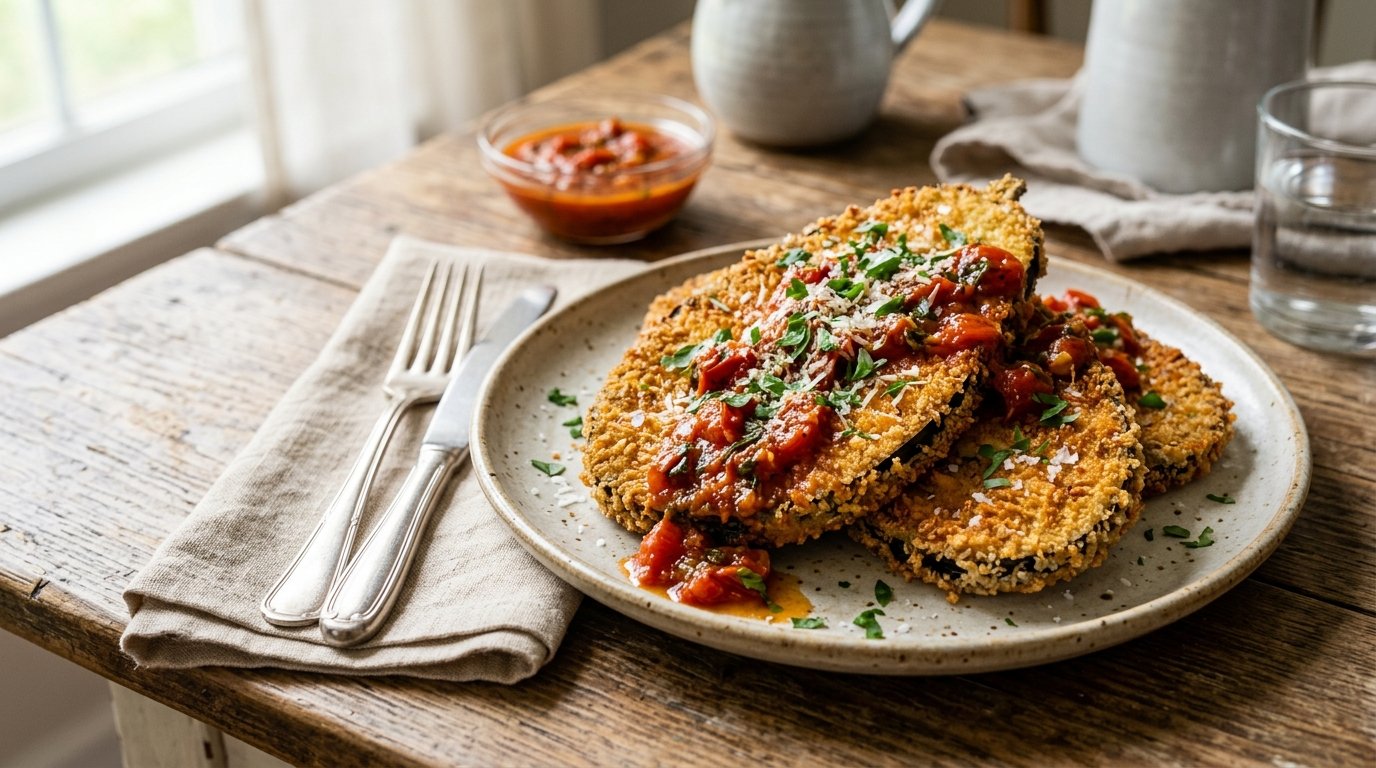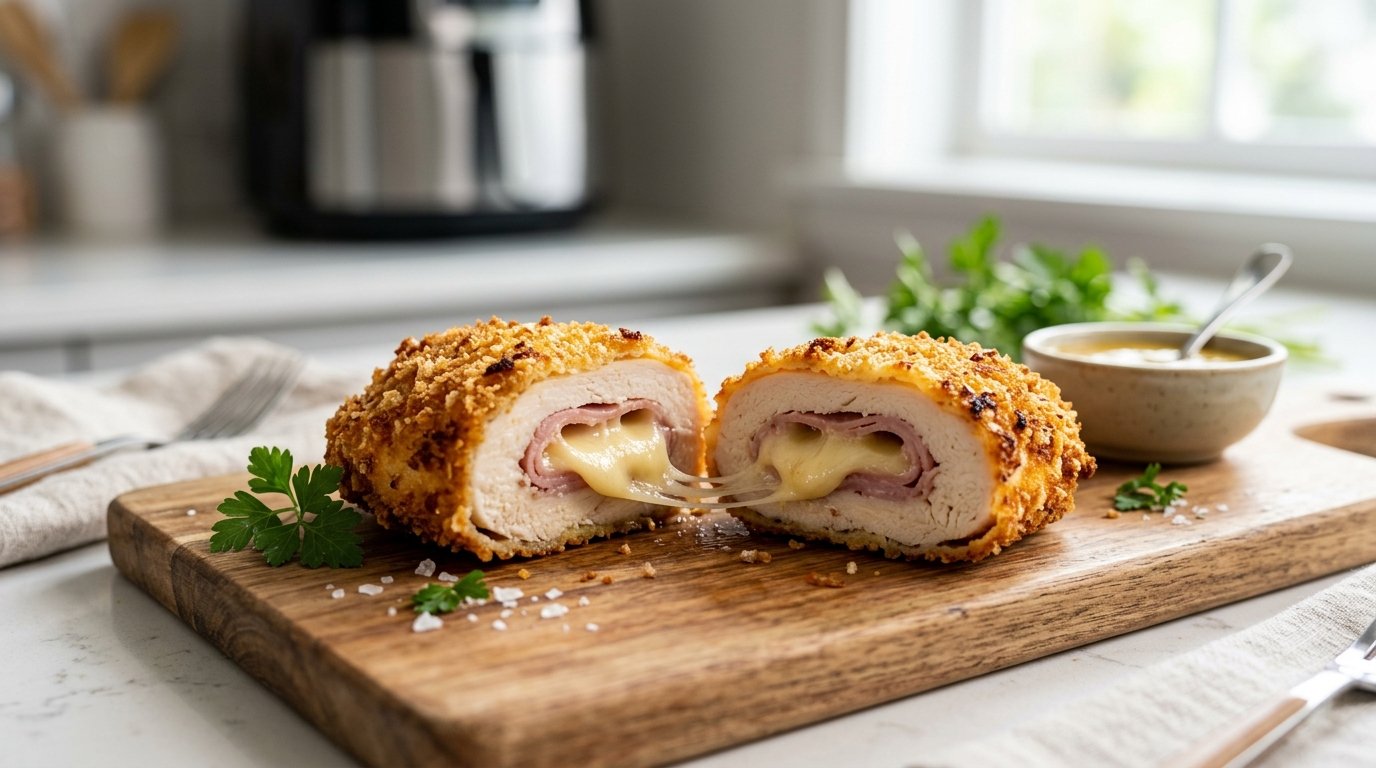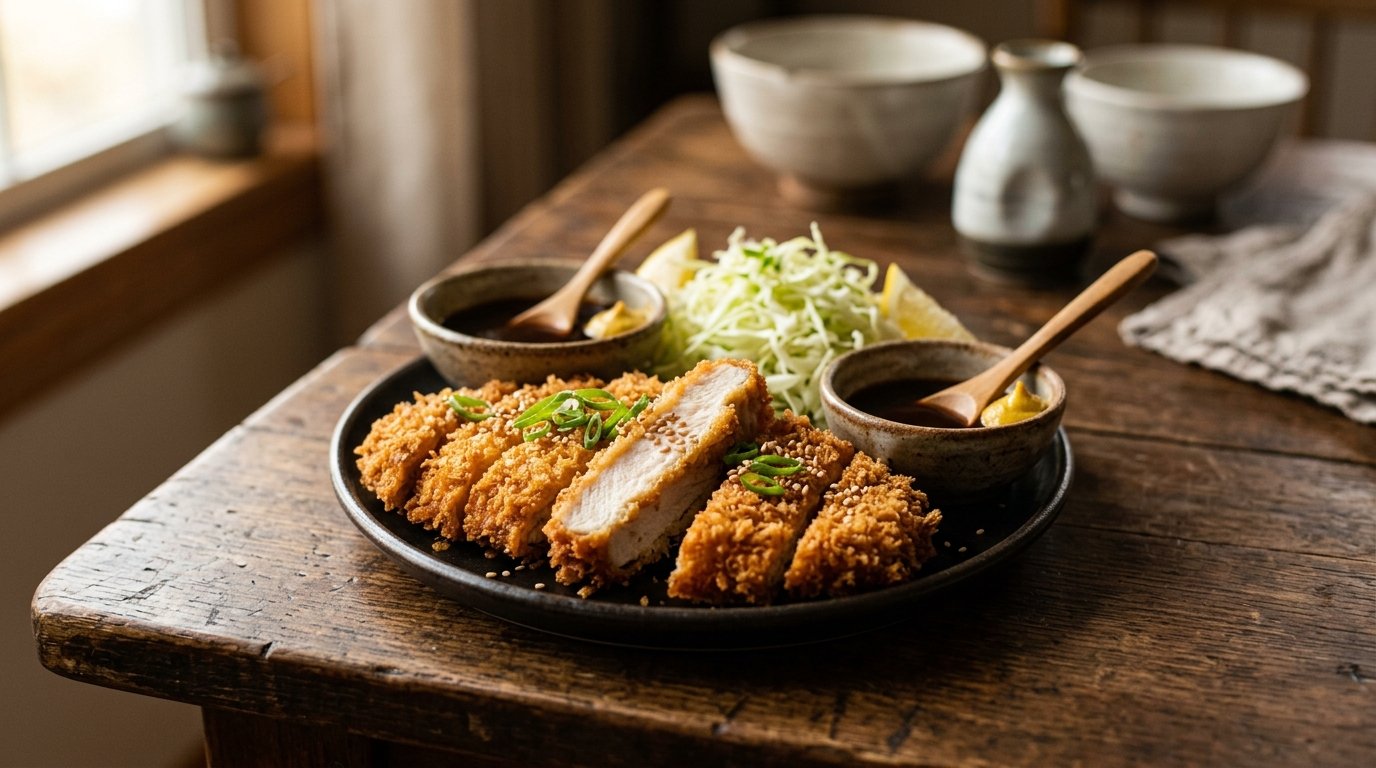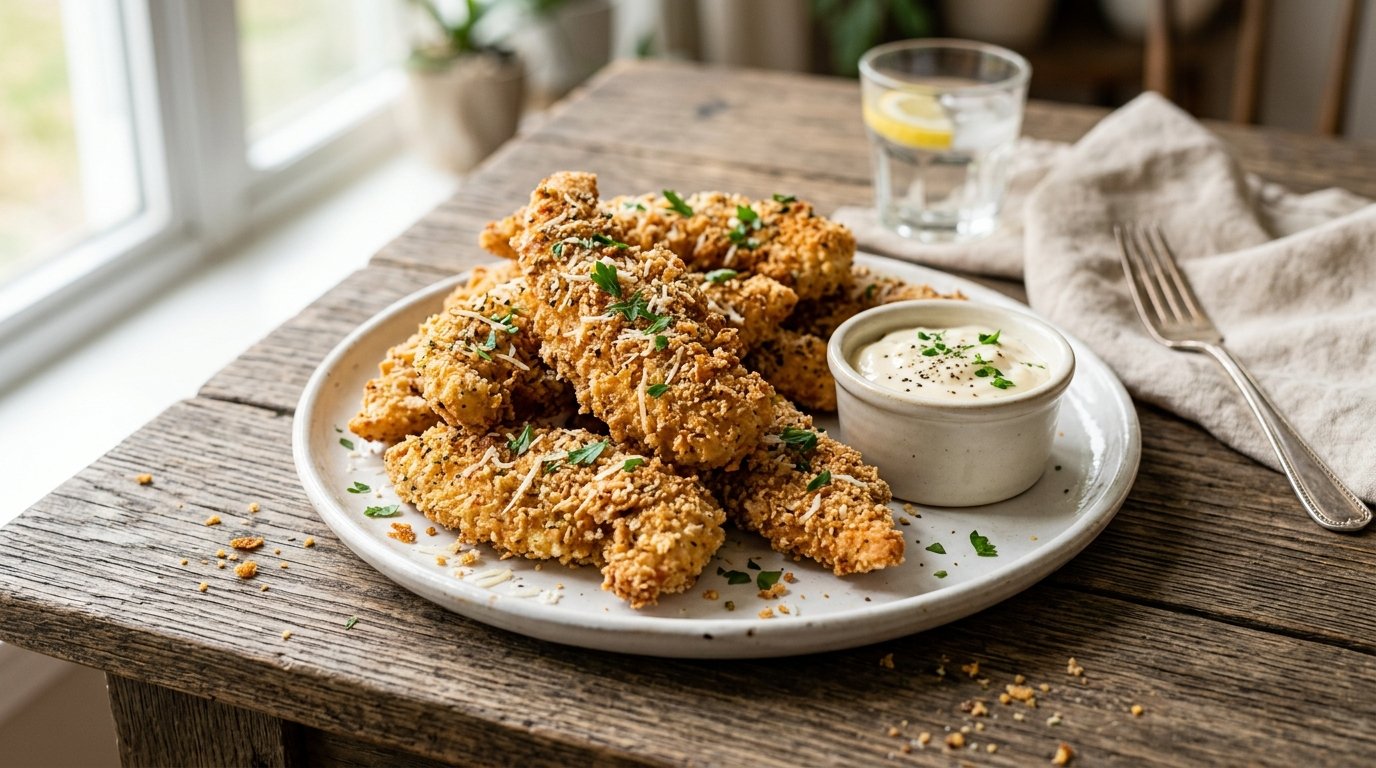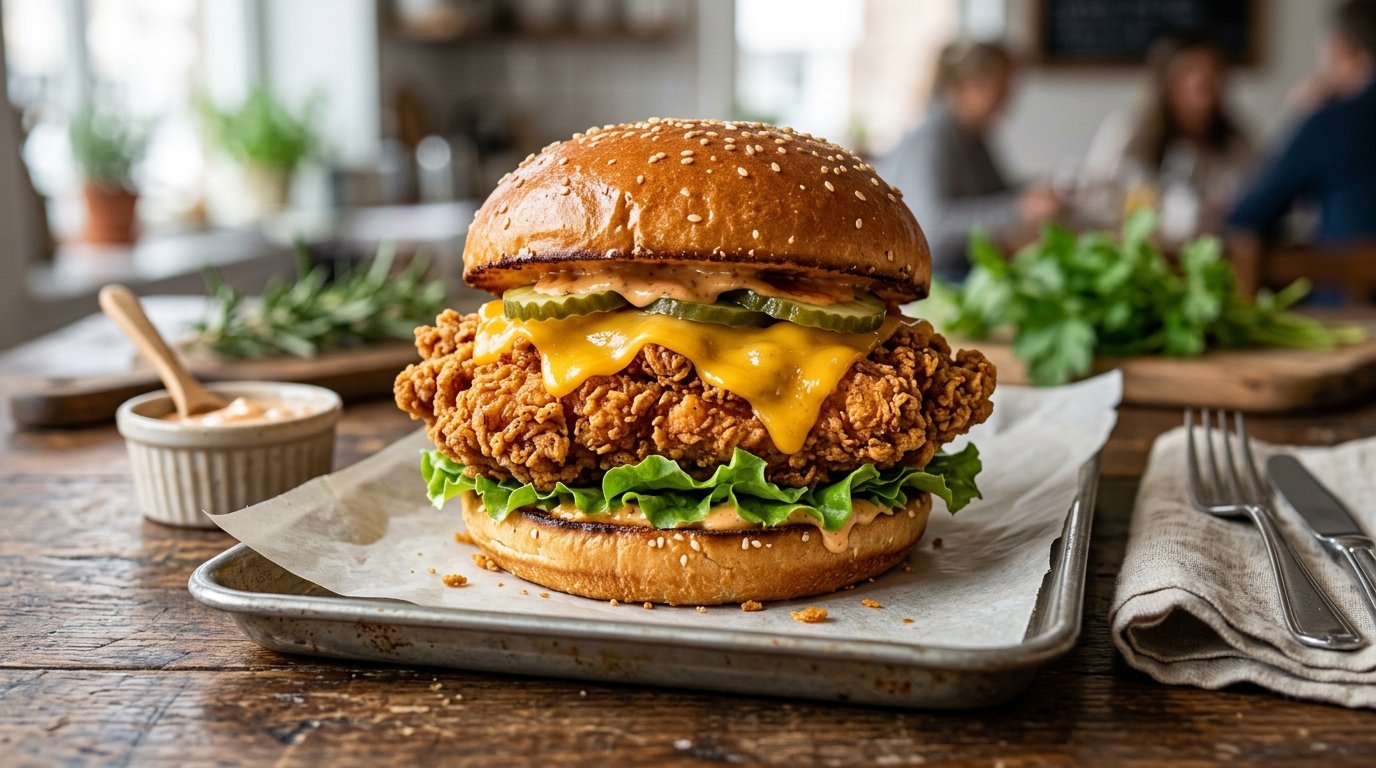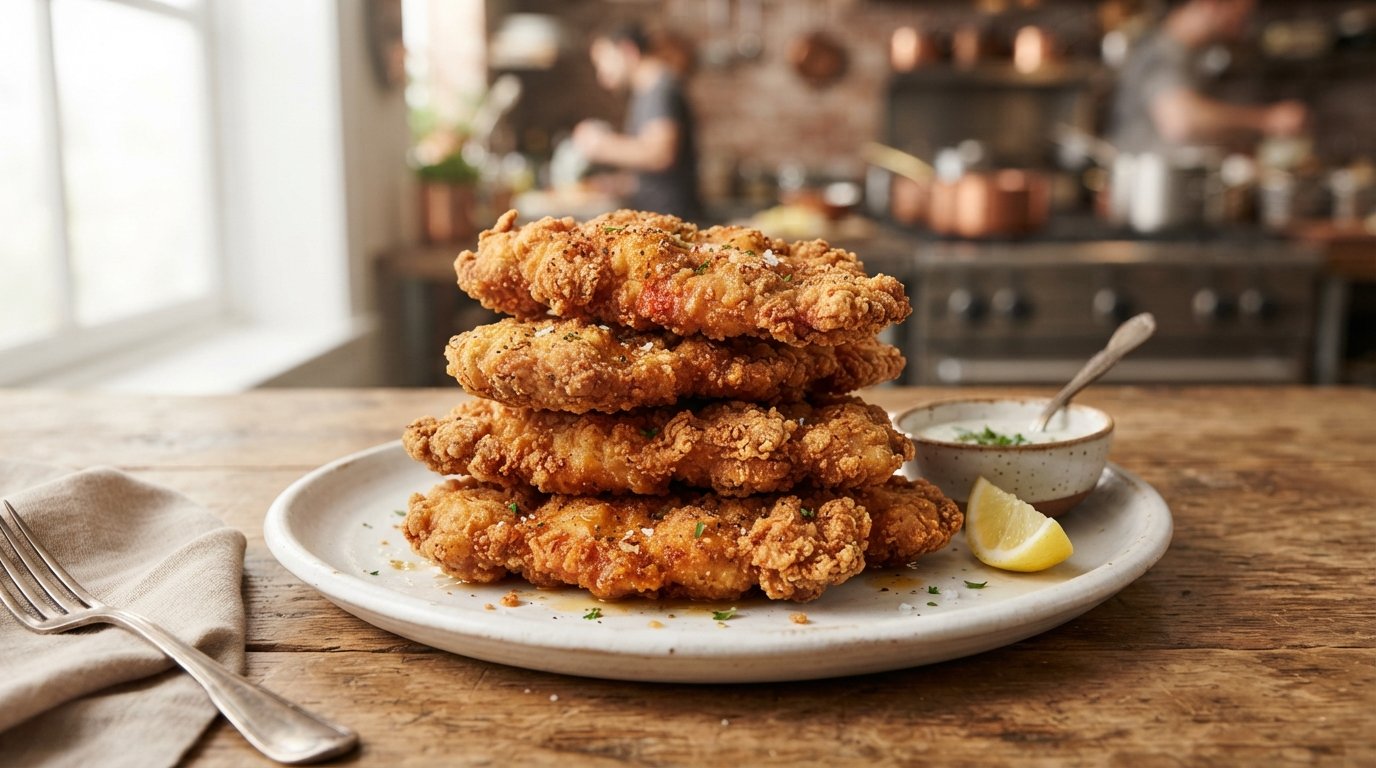
There is nothing quite like the sound of a perfectly fried chicken cutlet hitting the plate—a distinct, hollow crunch that promises a juicy, tender interior. If you have been searching for a crispy fried chicken cutlet recipe that rivals your favorite fast-food chains but uses fresh, high-quality ingredients, you have found it. This isn’t just about frying meat; it is about mastering the science of adhesion, moisture retention, and thermal shock to create a crust that stays crispy and a breast that never dries out.
In this comprehensive guide, we will walk through every step of creating restaurant-quality breaded chicken at home. From butterflying the breast to ensuring an even thickness, to mixing a seasoned batter that acts as both a marinade and a glue, we cover the “why” behind every technique. Whether you are meal prepping for the week or hosting a weekend dinner, these cutlets are versatile, delicious, and surprisingly easy to master once you understand the process.
Quick Recipe Summary
| Feature | Details |
|---|---|
| Prep Time | 25 Minutes |
| Cook Time | 15 Minutes |
| Total Time | 40 Minutes (plus marinating) |
| Servings | 4-6 |
| Cuisine | American / Southern Style |
| Course | Main Course |
| Difficulty | Medium |
| Calories | ~380 kcal per serving |
Table of Contents
- Introduction
- Why This Recipe Works
- Why You’ll Love This Recipe
- Ingredient Notes
- Kitchen Equipment
- Preparation Information
- Step-by-Step Instructions
- Expert Tips
- Common Mistakes
- Recipe Variations
- What to Serve With This Recipe
- Make Ahead & Meal Prep Tips
- Storage Instructions
- Reheating Instructions
- Nutritional Information
- Troubleshooting Guide
- Frequently Asked Questions
- Final Thoughts
Introduction
Making a crispy fried chicken cutlet at home often feels like a gamble. Will the breading fall off? Will the inside be raw while the outside burns? Will it be dry as cardboard? These are common fears, but they stem from a misunderstanding of how breading adheres to protein. The secret lies not just in the flour or the breadcrumbs, but in the wet layer in between—the batter.
This recipe utilizes a double-duty batter system. By combining eggs, yogurt, and spices into a thick, emulsified liquid, we create a marinade that tenderizes the chicken through acidity while providing a sticky surface for the breadcrumbs to latch onto. The result is a cohesive coating that doesn’t slide off when you take that first bite. Coupled with the technique of butterflying the chicken breast to ensure uniform cooking, this method guarantees a golden-brown exterior and a succulent interior every single time. Let’s get cooking.
Why This Recipe Works
The success of this crispy fried chicken cutlet relies on three scientific pillars: mechanical tenderization, chemical marination, and thermal consistency.
First, by slicing the chicken breast horizontally (butterflying), we reduce the cooking distance for heat to travel. A thick chicken breast often results in a burnt exterior before the center reaches a safe temperature. A thin cutlet cooks rapidly and evenly, preserving moisture.
Second, the inclusion of yogurt in the batter is a game-changer. Yogurt contains lactic acid and calcium, which gently break down protein structures without turning the meat mushy (a risk with stronger acids like vinegar). This ensures the chicken remains incredibly tender.
Third, the use of an immersion blender or vigorous whisking aerates the batter. This introduces tiny air bubbles that expand during frying, creating a lighter, crispier texture rather than a dense, doughy shell. The fine breadcrumbs then adhere to this textured surface, creating maximum surface area for crunch.
Why You’ll Love This Recipe
- Guaranteed Crunch: The specific batter-to-breadcrumb ratio creates a shatteringly crisp crust that holds up even after resting.
- Juicy Interior: The yogurt marinade and thin-cut technique prevent the dreaded dry chicken breast.
- Versatile Flavor Profile: The spice blend is savory and aromatic but neutral enough to pair with everything from ranch to spicy honey.
- Budget-Friendly: Chicken breasts are widely available and affordable, making this a great family meal.
- Meal Prep Friendly: These cutlets reheat exceptionally well in an air fryer or oven, retaining their texture better than most fried foods.
- Customizable Heat: Easily adjust the paprika or add cayenne to suit your spice tolerance.
Ingredient Notes
Understanding your ingredients is the first step to culinary mastery. Here is what you need and why it matters.
Chicken Breasts
- Purpose: The star protein. We use boneless, skinless breasts for their lean texture and ability to hold a flat shape.
- Buying Tips: Look for “air-chilled” chicken if possible; it tends to retain less water weight and has a better texture. Ensure the meat is pink and firm, not slimy.
- Substitutions: Chicken thighs can be used for a richer, fattier bite, though they require slightly longer cooking. Turkey cutlets work similarly.
Eggs & Yogurt
- Purpose: Eggs provide protein structure and richness; yogurt provides acidity for tenderizing and moisture.
- Substitutions: If dairy-free, substitute yogurt with unsweetened soy milk mixed with 1 tsp lemon juice. Buttermilk is also an excellent alternative to yogurt.
- Tip: Full-fat yogurt yields a richer flavor and better browning than non-fat varieties.
All-Purpose Flour
- Purpose: Thickens the batter and provides gluten structure to hold the coating together.
- Substitutions: For gluten-free, use a 1:1 GF baking blend. Cornstarch can replace half the flour for a lighter crisp.
Spices (Paprika, Garlic Powder, Onion Powder, Salt, Pepper)
- Purpose: Flavor penetration. Since the batter touches the meat directly, seasoning the wet layer seasons the chicken itself.
- Buying Tips: Use smoked paprika for a deeper, BBQ-like undertone. Freshly cracked black pepper always beats pre-ground.
- Note: Red onion is added finely diced to the batter for subtle sweetness and texture pockets.
Fine Breadcrumbs
- Purpose: The textural element. Fine crumbs create a uniform, sandy crunch compared to the jagged crunch of Panko.
- Substitutions: Panko breadcrumbs for a flakier, airier crust. Crushed cornflakes or crackers for a unique texture.
- Tip: Toasting your breadcrumbs in a dry pan for 2 minutes before breading adds a nutty depth and ensures they brown evenly during frying.
Neutral Oil (Vegetable, Canola, or Grapeseed)
- Purpose: Heat transfer medium.
- Buying Tips: Choose oils with a high smoke point (above 400°F/200°C). Avoid olive oil or butter, which will burn at frying temperatures.
Kitchen Equipment
Having the right tools makes the process safer and more efficient.
- Sharp Chef’s Knife: Essential for safely butterflying the chicken. A dull knife slips; a sharp one glides.
- Cutting Board: Use a dedicated board for raw poultry to prevent cross-contamination.
- Large Mixing Bowls: You need at least two: one for the batter and one shallow dish for the breadcrumbs.
- Whisk & Immersion Blender: A whisk works, but an immersion blender creates a superior, lump-free emulsion.
- Heavy-Bottomed Skillet or Dutch Oven: Cast iron or stainless steel retains heat best. Thin pans cause temperature drops when cold chicken is added.
- Instant-Read Thermometer: The only accurate way to check doneness. Visual cues are helpful, but temperature is safety.
- Tongs: Silicone-tipped tongs are ideal for flipping without scratching your pan.
- Wire Rack: Crucial for draining fried chicken. Paper towels trap steam and make the bottom soggy; wire racks allow airflow.
Preparation Information
- Prep Time: 25 Minutes
- Cook Time: 15 Minutes
- Marinating Time: 30 Minutes (minimum) to 4 Hours (ideal)
- Total Time: ~1 Hour 20 Minutes
- Servings: 4-6 People
- Yield: Approx. 8-10 Cutlets
Step-by-Step Instructions
Follow these steps precisely to achieve the perfect crispy fried chicken cutlet.
H3: Prepare the Chicken
Place a chicken breast on your cutting board. Place your hand flat on top of the breast to stabilize it. Using your sharp knife, slice horizontally through the thickest part of the breast, stopping just before you cut all the way through. Open it up like a book. If the pieces are still uneven in thickness, place them between plastic wrap and gently pound them with a meat mallet or rolling pin until they are roughly ½ inch thick. Uniform thickness is non-negotiable for even cooking. Place the prepared cutlets in a bowl and set aside.
H3: Create the Batter
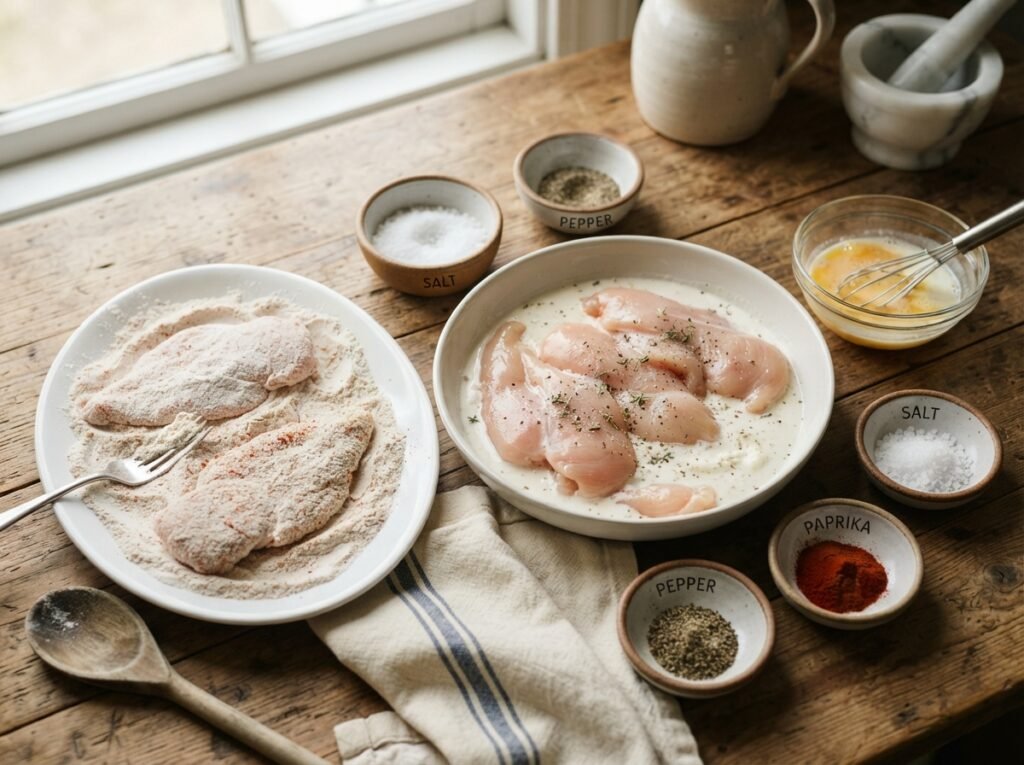
In a large wooden or glass bowl, crack 4-5 eggs. Add ½ cup of plain yogurt. Whisk vigorously to combine. Add your spice mix: 1 tbsp salt, 1 tsp black pepper, 1 tbsp paprika, 1 tsp garlic powder, 1 tsp onion powder, and ¼ cup of very finely diced red onion. Add ¾ cup of all-purpose flour. Whisk again. For the best texture, use an immersion blender for 30 seconds. The batter should be smooth, pale yellow, and slightly aerated. It should coat the back of a spoon heavily but still drip slowly. If it’s too thick, add a splash of milk; if too thin, add a tablespoon of flour.
H3: Marinate the Chicken
Pour the batter over the chicken cutlets. Toss them with your hands (wearing gloves is recommended) to ensure every crevice is coated. Cover the bowl with plastic wrap and refrigerate for at least 30 minutes. This rest period allows the salt to penetrate the meat and the yogurt to begin tenderizing. Do not skip this step; it is the difference between good and great chicken.
H3: Set Up the Breading Station
While the chicken marinates, prepare your breading. Pour fine breadcrumbs into a wide, shallow dish (like a pie tin or cake pan). Spread them out evenly. Having a wide surface area makes it easier to press the chicken into the crumbs without folding the meat.
H3: Bread the Cutlets
Remove a cutlet from the marinade, letting the excess drip off for a second. Lay it flat into the breadcrumbs. Press down firmly with your palm. Flip it over and press down again. Shake off any loose crumbs. The goal is a tight, even seal. Place the breaded cutlet on a clean plate or wire rack. Repeat with remaining chicken. Let the breaded chicken sit for 5-10 minutes before frying; this helps the coating hydrate and adhere better, reducing fallout in the oil.
H3: Fry to Golden Perfection
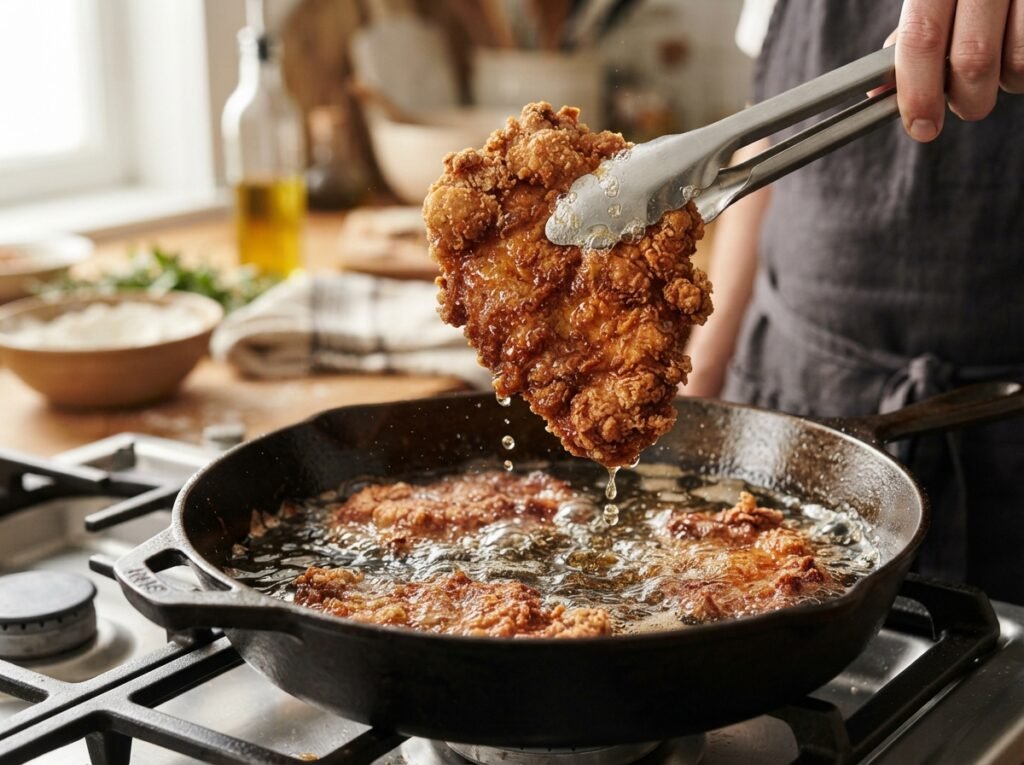
Heat ½ inch of neutral oil in your heavy skillet over medium-high heat. Aim for 350°F (175°C). If you don’t have a thermometer, test the oil by dropping in a pinch of breadcrumbs; they should sizzle immediately and turn golden in 45 seconds. Carefully lay the cutlets into the oil using tongs. Do not crowd the pan—fry in batches. Crowding drops the oil temperature, leading to greasy, soggy chicken. Fry for 3-4 minutes per side, flipping once, until deep golden brown.
H3: Drain and Rest
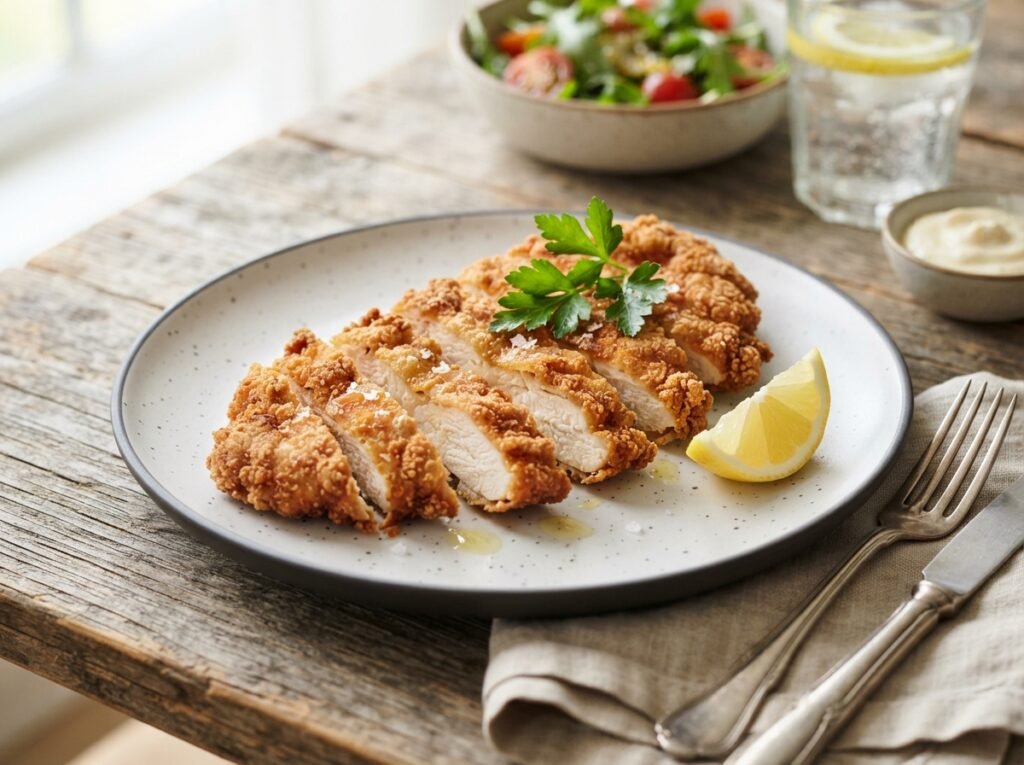
Transfer the cooked cutlets to a wire rack set over a baking sheet. Do not stack them. Let them rest for 5 minutes. This resting period allows the juices to redistribute throughout the meat and the crust to set slightly, preventing it from sloughing off when you cut into it. Serve warm with lemon wedges and fresh parsley.
Expert Tips
- Temperature Control is King: Invest in an instant-read thermometer for your oil. If the oil is too cool (<325°F), the chicken absorbs grease. If it’s too hot (>375°F), the outside burns before the inside cooks. Maintain that 350°F sweet spot.
- The “Drip” Test: When moving chicken from batter to breadcrumbs, let gravity do the work. Excess batter creates globs that burn in the oil and create weak spots in the crust.
- Season the Breadcrumbs Too: Don’t rely solely on the batter for flavor. Mix a pinch of salt and garlic powder directly into your breadcrumbs for an extra layer of taste.
- Use a Splatter Screen: Frying chicken is messy. A mesh splatter screen keeps your stovetop clean and protects your arms from hot oil pops without trapping steam like a lid would.
- Check Color, Not Just Time: Cooking times vary based on stove power and pan material. Trust your eyes. The cutlet should be a rich, mahogany gold, not pale beige.
Common Mistakes
- Skipping the Rest Period: Moving chicken straight from batter to crumbs to oil often causes the coating to detach. The 10-minute rest allows the gluten in the flour to relax and bond with the crumbs.
- Overcrowding the Pan: This is the #1 reason for soggy fried chicken. Adding cold meat lowers oil temp instantly. Give each piece space to breathe.
- Using Wet Hands for Breadcrumbs: If you touch the breadcrumbs with batter-covered hands, you create clumps. Use one hand for wet (batter) and one hand for dry (crumbs), or wash hands between steps.
- Flipping Too Often: Resist the urge to fiddle. Let the crust form a solid seal before flipping. Flipping too early tears the coating.
- Draining on Paper Towels: As mentioned, paper towels create a steam pocket. Always use a wire rack to keep the bottom crisp.
Recipe Variations
- Spicy Nashville Hot: Add 2 tbsp cayenne pepper and 1 tbsp chili flakes to the batter. After frying, brush the hot chicken with a mixture of melted butter and more cayenne.
- Lemon Herb: Replace paprika with dried oregano and thyme. Add zest of one lemon to the batter. Serve with a lemon-garlic aioli.
- Gluten-Free: Swap AP flour for almond flour or rice flour in the batter. Use crushed gluten-free crackers or certified GF breadcrumbs for the coating.
- Korean Style: Use potato starch instead of flour in the batter for an ultra-crispy, glass-like crust. Glaze with a soy-ginger-sugar sauce after frying.
- Parmesan Crusted: Mix ½ cup grated Parmesan cheese into the breadcrumbs for a salty, umami-rich crust.
- Air Fryer Version: Spray breaded cutlets generously with oil spray. Air fry at 375°F for 12-15 minutes, flipping halfway. Less oil, still crispy.
What to Serve With This Recipe
A crispy fried chicken cutlet is a canvas for sides. Here are some winning combinations:
- Classic Comfort: Creamy mashed potatoes and green beans almondine.
- Fresh & Light: A crisp coleslaw with apple cider vinaigrette cuts through the richness of the fried chicken.
- Sandwich Style: Serve on a brioche bun with lettuce, tomato, pickles, and spicy mayo.
- Salad Base: Slice the cutlet into strips and toss over a bed of romaine with ranch dressing and croutons.
- Dipping Sauces: Honey mustard, ranch, sriracha mayo, or warm marinara for a chicken parm vibe.
- Beverage Pairing: An ice-cold lager or a sparkling lemonade complements the savory crunch perfectly.
Make Ahead & Meal Prep Tips
- Marinate Ahead: You can marinate the chicken in the batter for up to 24 hours. In fact, overnight marination yields the most tender results.
- Bread and Freeze: Bread your cutlets and freeze them on a baking sheet before frying. Once solid, transfer to a freezer bag. Fry from frozen, adding 2-3 minutes to the cook time.
- Batch Cooking: Double the recipe and fry all cutlets. They reheat beautifully, making them perfect for lunch boxes later in the week.
Storage Instructions
- Refrigerator: Store leftover cutlets in an airtight container for up to 3 days. Separate layers with parchment paper to prevent sticking.
- Freezer: Wrap individual cutlets tightly in plastic wrap, then foil. Freeze for up to 3 months. Thaw in the fridge overnight before reheating.
Reheating Instructions
Reviving fried chicken requires dry heat to restore crispness.
- Air Fryer (Best Method): Preheat to 375°F. Cook for 3-5 minutes. This restores the crunch almost perfectly.
- Oven: Preheat to 400°F. Place cutlets on a wire rack over a baking sheet. Bake for 10-15 minutes until heated through.
- Stovetop: Re-fry briefly in a shallow layer of oil for 1 minute per side. Effective but adds more oil.
- Microwave (Avoid): Microwaving steams the breading, making it rubbery and soggy. Only use if you have no other option, and accept the texture loss.
Nutritional Information
Estimates per serving (based on 4 servings)
- Calories: 380
- Protein: 32g
- Carbohydrates: 24g
- Fat: 18g
- Fiber: 1g
- Sugar: 2g
- Sodium: 650mg
Note: Values vary based on oil absorption and specific brands used.
Troubleshooting Guide
| Problem | Cause | Solution |
|---|---|---|
| Breading falling off | Chicken was wet before batter; didn’t rest after breading. | Pat chicken dry before battering. Let breaded chicken rest 10 mins before frying. |
| Burnt outside, raw inside | Oil too hot; chicken too thick. | Lower heat to 350°F. Butterfly/pound chicken thinner. |
| Greasy/Soggy Chicken | Oil too cool; overcrowded pan. | Maintain 350°F. Fry in small batches. Drain on wire rack. |
| Dry Meat | Overcooked; no marinade. | Use yogurt marinade. Check temp at 160°F (carryover takes it to 165°F). |
| Bland Flavor | Underseasoned batter/crumbs. | Season every layer: chicken, batter, AND breadcrumbs. |
Frequently Asked Questions
1. Can I use chicken thighs instead of breasts? Yes! Thighs are actually more forgiving and harder to overcook. Boneless, skinless thighs work exactly the same way, though they may take 1-2 minutes longer to fry due to irregular shapes.
2. Why did my batter turn out lumpy? This usually happens if the flour is added too quickly or not whisked enough. Sift the flour before adding, or use an immersion blender to guarantee a smooth emulsion.
3. How do I know the oil is ready without a thermometer? Drop a cube of bread or a pinch of breadcrumbs into the oil. If it sinks and does nothing, it’s too cold. If it browns instantly and smokes, it’s too hot. If it sizzles gently and turns golden in about 45 seconds, it’s perfect.
4. Can I bake these instead of frying? You can, but the texture will be different. Bake at 400°F on a wire rack sprayed with oil for 20-25 minutes. They will be cooked and tasty, but lack the distinct crunch of deep frying.
5. Is the red onion necessary in the batter? It adds a subtle sweetness and moisture, but if you dislike onion texture, you can omit it or use onion powder instead. The batter will still work perfectly.
6. How do I keep the kitchen from smelling like fry oil? Simmer a pot of water with vinegar, cinnamon sticks, and citrus peels on the stove while frying. This helps neutralize odors. Also, ensure your ventilation fan is on high.
7. Can I reuse the frying oil? Yes, if it isn’t burnt. Strain it through a cheesecloth or fine mesh sieve to remove crumbs. Store in a sealed container in a cool, dark place for up to a week. Discard if it smells rancid or smokes at low temps.
8. Why use yogurt instead of buttermilk? Yogurt is thicker, which helps it cling to the chicken better than thin buttermilk. It also has a higher protein content which aids in browning. Both work, but yogurt gives a slightly richer crust.
Final Thoughts
Mastering the crispy fried chicken cutlet is a rite of passage in the kitchen. It teaches patience, temperature control, and the importance of preparation. Once you nail this technique, you unlock a world of culinary possibilities—from sandwiches to salads to standalone comfort food feasts. Remember, the key is in the details: the thin cut, the rested batter, the hot oil, and the wire rack drain.
Don’t be discouraged if your first batch isn’t magazine-perfect. Cooking is a practice, and every batch teaches you something new. Grab your apron, sharpen your knife, and give this recipe a try. Your taste buds will thank you. If you make this recipe, leave a comment below with your tips or variations—we love hearing how you make it your own!