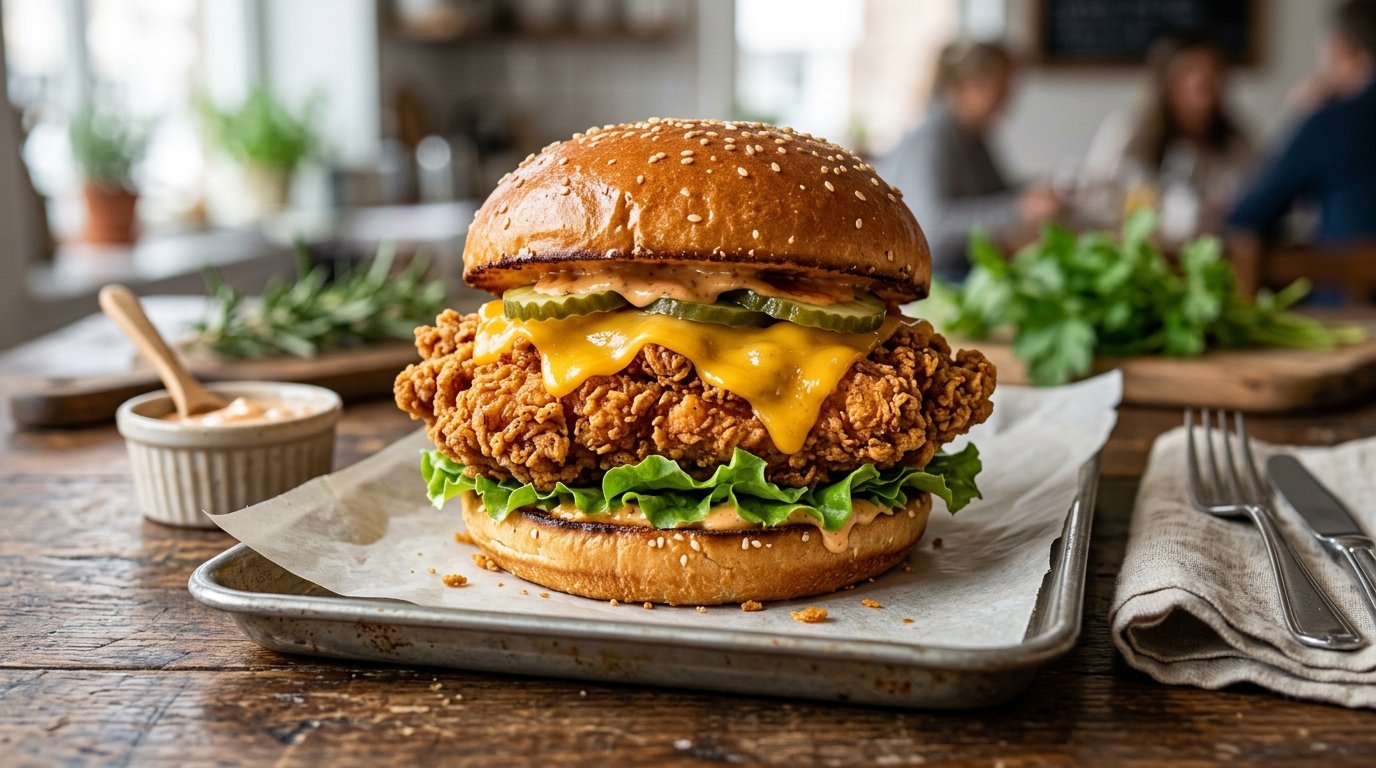
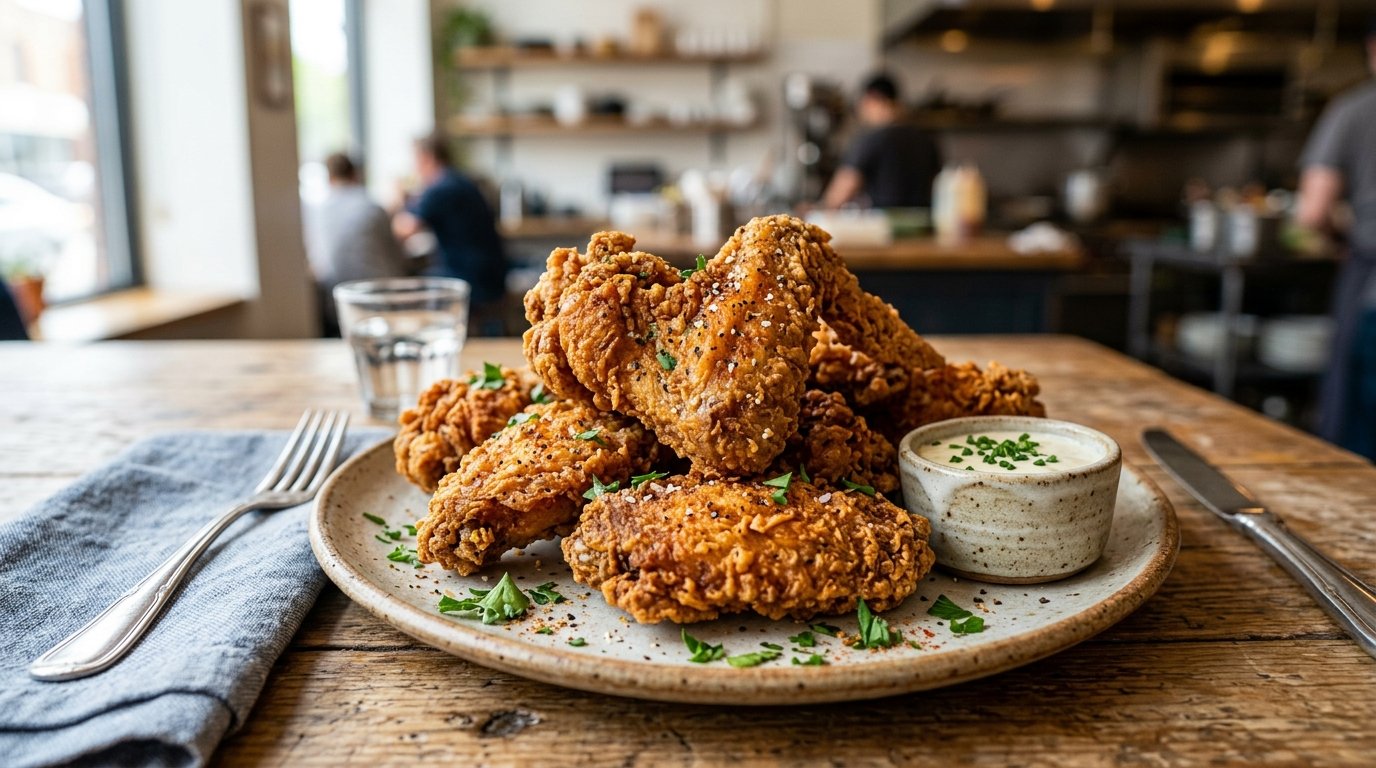
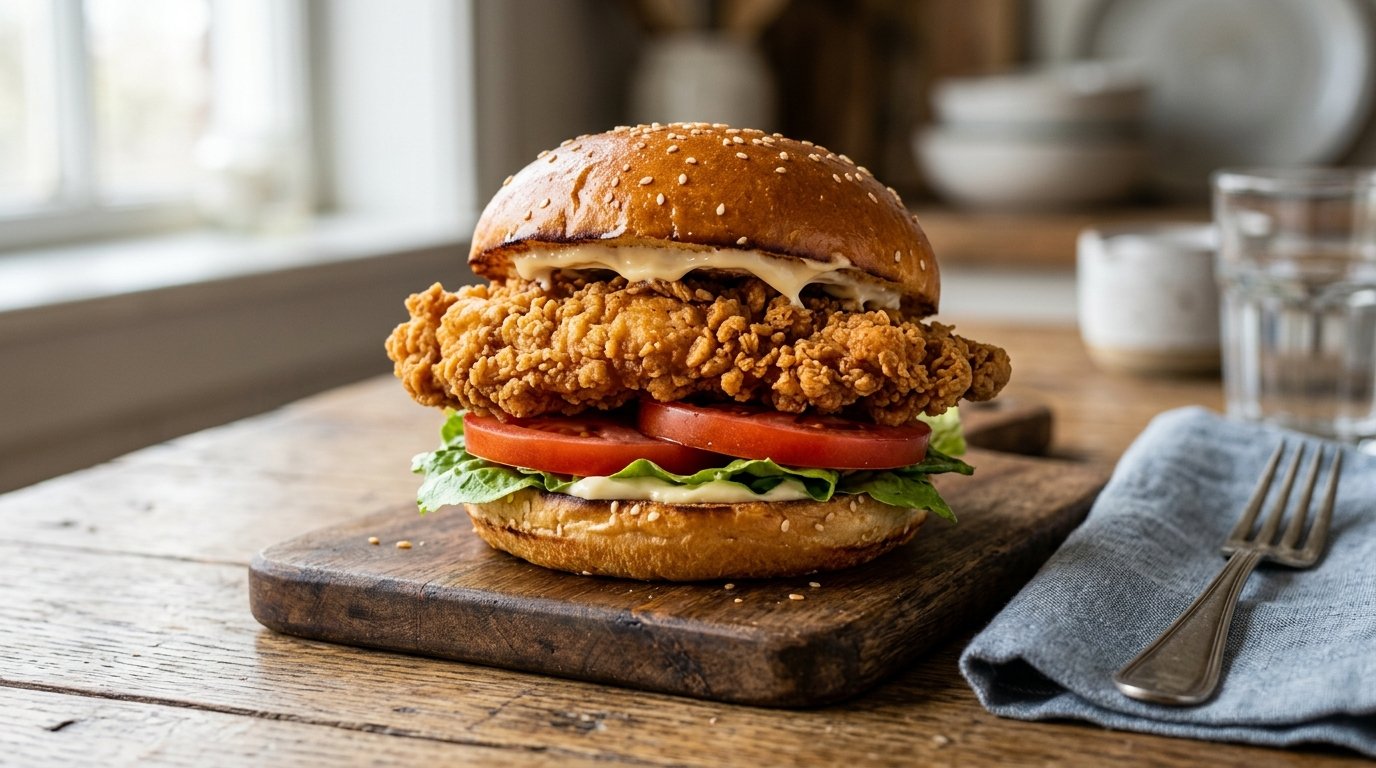
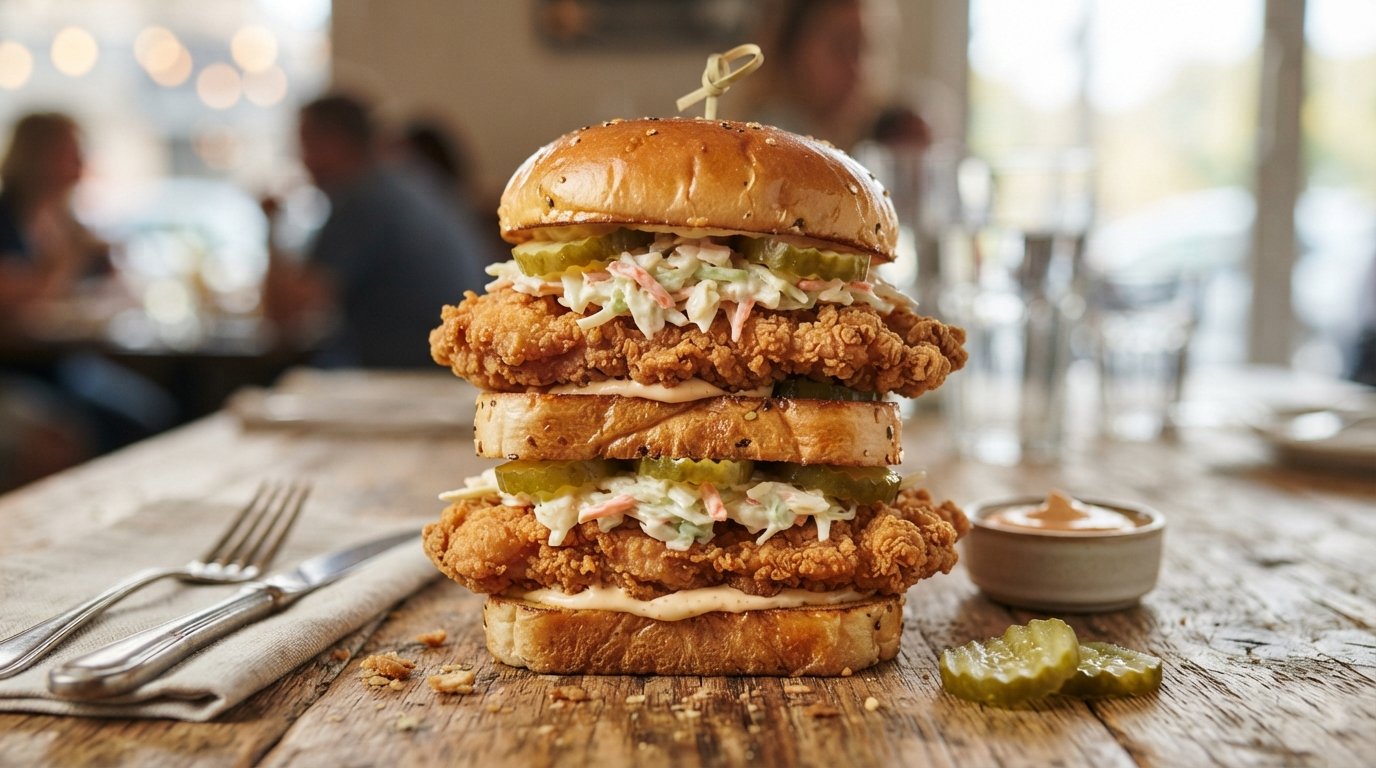
This recipe transforms humble chicken breasts into gourmet sandwiches through a wet marinade and seasoned flour dredge system. The key lies in creating multiple layers of texture: tender protein, adhesive egg wash, and a craggy, spiced exterior that fries to golden perfection. Served on sesame seed buns with shredded lettuce and a tangy sauce, it offers a complete sensory experience that rivals any drive-thru. It is comfort food engineered for maximum satisfaction, proving that homemade can absolutely beat takeout when technique meets quality ingredients.
If you have ever been disappointed by soggy breading or dry chicken in homemade sandwiches, you know exactly why mastering the Crispy Fried Chicken Sandwich is a culinary game-changer. The video demonstration highlights the critical importance of the wet-to-dry dredging process, which creates those signature craggy bits that define superior fried chicken. By marinating the chicken in egg first, we ensure the seasoned flour adheres aggressively, forming a thick, textured crust that protects the meat from overcooking while delivering an audible crunch.
Beyond just the frying technique, this recipe emphasizes balance. The richness of the fried cutlet needs the freshness of shredded lettuce and the creaminess of a well-seasoned sauce to cut through the fat. Using sesame seed buns adds a subtle nuttiness and structural integrity that plain buns lack. Whether you are feeding a family, hosting a watch party, or simply treating yourself to a weekend indulgence, this sandwich delivers consistent, crave-worthy results. It proves that with patience and precision, you can recreate iconic fast-food magic in your own kitchen without the guilt of mystery ingredients.
Why This Recipe Works
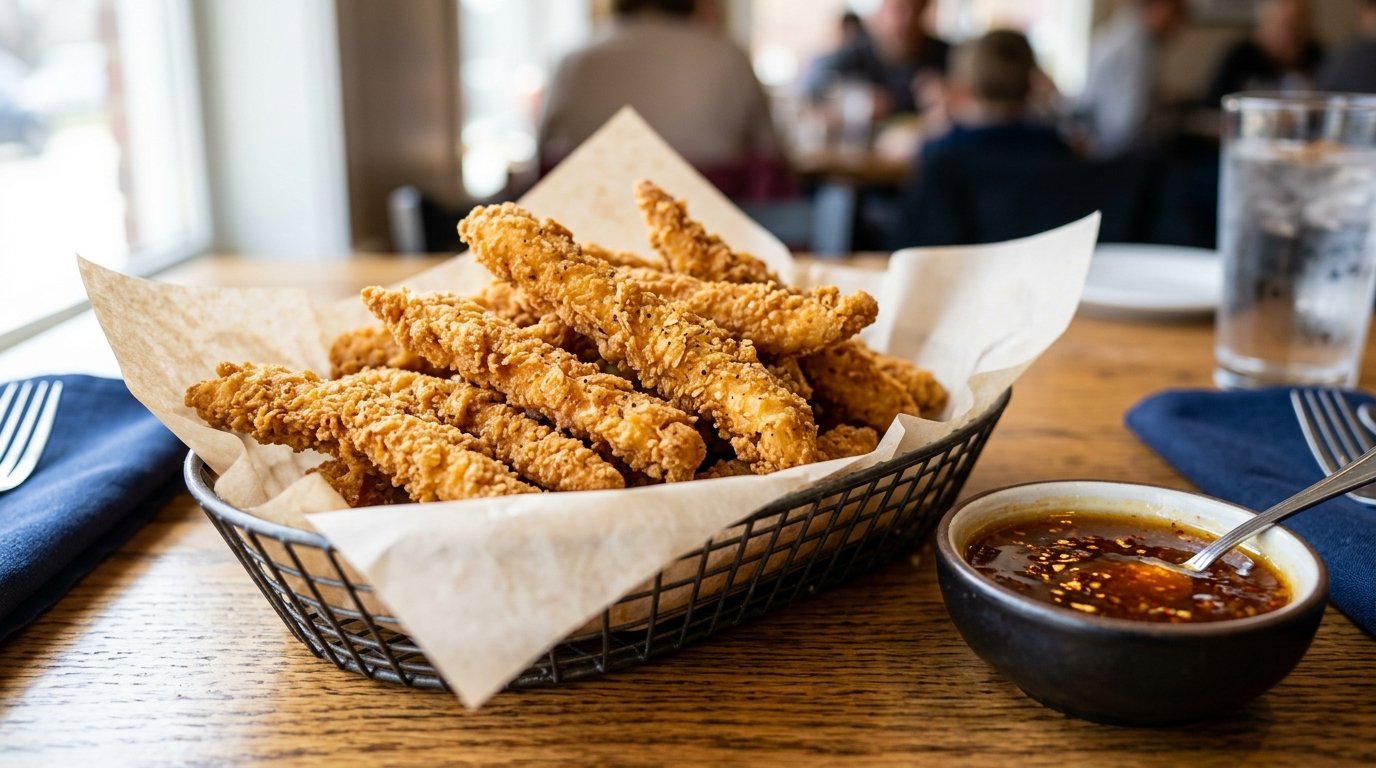
From a food science perspective, this recipe succeeds because of moisture management and starch gelatinization. The initial egg wash serves two purposes: it hydrates the surface proteins of the chicken, allowing the flour to stick, and it introduces additional protein that coagulates during frying to form a sturdy barrier. When the floured chicken hits hot oil, the water in the batter instantly turns to steam, pushing outward against the setting starch structure. This expansion creates the “craggy” texture visible in the video—those irregular peaks and valleys that maximize surface area for crunch.
The seasoning blend is equally strategic. Salt penetrates the meat during the brief rest period after dredging, enhancing flavor throughout rather than just on the surface. Paprika and garlic powder provide savory depth and color via the Maillard reaction, while the flour itself acts as an insulator. This insulation allows the chicken to cook gently inside the crust, preventing the common issue of burnt exteriors and raw interiors. The result is a sandwich where every component plays a specific role in delivering texture, flavor, and structural integrity.
Why You’ll Love This Recipe
Superior Crunch: Double-dredging technique creates a thick, craggy crust that stays crispy longer than standard breading.
Juicy Interior: Egg marinade and proper frying temperature lock in moisture, preventing dry breast meat.
Customizable Heat: Spice level in the flour mix can be adjusted to suit any palate, from mild to fiery.
Better Than Takeout: Freshly fried means no sogginess from delivery; you control the oil quality and ingredient freshness.
Versatile Base: Works equally well as a standalone sandwich, slider, or topping for salads and grain bowls.
Crowd Pleaser: Universally loved flavor profile makes it ideal for parties, potlucks, or family dinners.
Substitutions: Chicken thighs (juicier, more forgiving), turkey cutlets, or firm tofu (for vegetarian option).
Buying Tips: Choose plump, pink breasts with no gray spots or slimy texture. Uniform thickness ensures even cooking. Avoid “plumped” chicken injected with saline solution if possible; it releases excess water during frying.
Storage Tips: Use within 1-2 days of purchase. If freezing, thaw slowly in refrigerator overnight. Pound to even thickness before marinating for consistent cook time.
Eggs
Purpose: Wet binder for dredge. Adds protein for crust adhesion and moisture retention.
Buying Tips: Freshness matters! Old spices lose potency and color. Buy in small quantities from reputable sources. Smell test: should be aromatic, not dusty.
Storage Tips: Keep in airtight containers away from light/heat. Ground spices last 6-12 months; whole spices 2-3 years. Label with purchase date.
Sesame Seed Buns
Purpose: Structural vessel. Adds nutty flavor and visual appeal. Soft texture contrasts with crispy chicken.
Buying Tips: Choose buns that are springy, not squishy. Avoid overly sweet buns that compete with savory chicken. Toasting is mandatory for structural integrity.
Storage Tips: Freeze if not using immediately. Thaw and toast before assembly. Stale buns can be revived with brief oven warming.
Shredded Lettuce & Sauce
Purpose: Freshness and moisture contrast. Cuts richness of fried chicken. Adds textural variety.
Buying Tips: Crisp, vibrant green leaves with no wilting/browning. Wash and dry THOROUGHLY; wet lettuce = soggy bun.
Storage Tips: Store washed/dried lettuce in container with paper towel to absorb moisture. Use within 3-4 days. Make sauce ahead to let flavors meld.
Kitchen Equipment
Deep Skillet or Dutch Oven: Essential for maintaining stable oil temperature. Heavy bottom prevents hot spots. Cast iron retains heat best.
Thermometer (Instant-Read or Candy): Non-negotiable for safety and texture. Oil must stay at 350°F-375°F (175°C-190°C). Guesswork leads to greasy/burnt chicken.
Shallow Bowls/Plates: For dredging station setup. Wide rims prevent spillage. Separate bowls for egg and flour avoid cross-contamination.
Tongs: For safely handling hot chicken in oil. Silicone-tipped protects non-stick surfaces. Long handles protect hands from splatter.
Wire Rack: For draining fried chicken. Prevents sogginess caused by steam trapped under paper towels. Elevates chicken for air circulation.
Meat Mallet/Pounder: For evening out chicken thickness. Ensures uniform cooking. Place chicken between plastic wrap to prevent tearing/mess.
Whisk: For combining egg wash and spice-flour mixture evenly. No lumps = consistent coating.
Paper Towels: For patting chicken dry before marinating. Moisture is enemy of crispiness.
Preparation Information
Prep Time: 30 Minutes
Marinate Time: 15-30 Minutes (minimum)
Cook Time: 15-20 Minutes
Total Time: 1 Hour
Servings: 4 Sandwiches
Step-by-Step Instructions
H3: Marinate the Chicken
Pound chicken breasts to even 1/2-inch thickness. Place in bowl. Add egg(s) and whisk to coat thoroughly. Let sit 15-30 minutes at room temperature.
Why it matters: Even thickness = even cooking. Egg hydrates surface proteins, creating sticky base for flour. Room temp reduces thermal shock in oil, promoting even cook.
Visual Cue: Chicken fully submerged/coated in egg. No dry patches. Color pale yellow/pink.
Texture Cue: Surface feels tacky/slimy, not dry. Meat yields slightly to pressure.
Common Mistake: Skipping pounding = thick edges/raw centers. Over-marinating (>1 hr) can make texture mushy due to acid/enzymes. Stick to 15-30 mins.
Pro Tip: Add pinch of salt to egg wash. Begins seasoning process early. Don’t rinse chicken; pat dry BEFORE adding egg to ensure adhesion.
H3: Prepare Seasoned Flour
In shallow bowl, whisk together flour, paprika, garlic powder, salt, and pepper. Ensure no clumps remain. Set up next to egg-bowl chicken.
Why it matters: Even spice distribution = consistent flavor. Clumps create bare spots/burnt bits. Shallow bowl allows easy pressing/coating motion.
Visual Cue: Uniform orange-red speckled mixture. No white flour pockets. Fine, powdery texture.
Mistake to Avoid: Adding liquid to flour prematurely. Keep DRY until chicken touches it. Moisture activates gluten too soon = tough coating.
Tip: Press flour INTO chicken, don’t just dip. Creates craggy bits. Shake off EXCESS loosely; too much flour = gummy coating.
H3: Dredge & Fry
Lift chicken from egg, letting excess drip. Press firmly into flour, coating all sides. Lift, shake gently. Place in 350°F-375°F oil. Fry 4-6 mins per side until deep golden brown. Drain on wire rack.
Visual Cue: Coated chicken looks craggy/textured, not smooth. Oil bubbles vigorously but not violently around chicken. Color transitions from pale to amber/golden.
Texture Cue: Crust feels rough/dry before frying. After frying, hard/crisp shell gives way to juicy interior.
Safety Note: Hot oil dangerous. Never leave unattended. Use splatter screen. Keep lid nearby. Add chicken AWAY from you to minimize splash.
Doneness Test: Internal temp 165°F (74°C). Juices run clear. Crust deeply golden, not pale/burnt. Rest 2 mins before assembling.
H3: Assemble the Sandwich
Toast buns lightly. Spread sauce on both halves. Layer shredded lettuce on bottom bun. Place fried chicken on lettuce. Top with top bun. Serve immediately.
Why it matters: Toasted bun resists sogginess. Sauce on BOTH halves ensures every bite flavored. Lettuce acts as barrier between hot chicken and bun. Immediate service preserves crunch.
Visual Cue: Bun golden/toasted. Sauce visible at edges. Lettuce crisp/green. Chicken protruding slightly. Stack stable, not leaning.
Critical Tip: DON’T assemble ahead. Moisture migration begins instantly. Have components prepped; assemble à la minute for guests. Press sandwich GENTLY to compact without crushing bun.
Expert Tips
Oil Temperature Management: Use thermometer. Adjust heat constantly to maintain 350°F-375°F. Cold oil = greasy/soggy. Hot oil = burnt outside/raw inside. Test with breadcrumb—it should sizzle/brown in 30 seconds.
Double Dredge Option: For EXTRA crunch, repeat egg-flour step. Creates thicker, craggier crust. Ideal for sliders or extra-crispy lovers. Watch fry time; may need +1 min/side.
Resting is Crucial: Let fried chicken rest 2-3 mins on wire rack before assembling. Allows juices to redistribute and crust to set slightly. Cutting/opening immediately releases steam = soggy bun.
Sauce Consistency: Should be spreadable, not runny. Too thin = drips everywhere/sogs bun. Too thick = overwhelms chicken. Adjust with mayo/vinegar ratio. Chill before serving for better texture.
Bun Selection Strategy: Choose buns slightly larger than chicken patty. Overhang prevents filling squeeze-out. Potato rolls or brioche hold up best to moisture/fat. Avoid airy, hole-filled breads.
Common Mistakes
Soggy/Barely Crispy Coating: Oil too cool or chicken wet before dredge. Fix: Verify oil temp. Pat chicken VERY dry before egg. Use wire rack, not paper towels.
Burnt Outside/Raw Inside: Oil too hot or chicken too thick. Fix: Lower temp to 350°F. Pound chicken even. Finish in 325°F oven if needed. Use thermometer.
Coating Falling Off: Insufficient egg wash or moved too early. Fix: Ensure full egg coverage. Don’t touch chicken first 2 mins in oil; crust sets then. Press flour firmly.
Dry/Tough Chicken: Overcooked or old meat. Fix: Pull at 160°F; carryover to 165°F. Use fresh chicken. Don’t pound too thin (<1/4″). Brine/marinate adequately.
Soggy Bun: Untoasted bun or assembled too early. Fix: ALWAYS toast buns. Assemble last minute. Use lettuce barrier. Sauce moderation.
Recipe Variations
Spicy Nashville Hot Style: Toss fried chicken in cayenne-butter-oil glaze post-fry. Serve with pickles on bun. Intense heat contrasts cool lettuce beautifully.
Vegan Adaptation: Use firm tofu or seitan cutlets. Marinate in soy-buttermilk (soy milk + vinegar). Same dredge/fry technique. Equally crispy plant-based option.
Korean Yangnyeong Twist: Coat fried chicken in gochujang-garlic-soy glaze. Top with scallions/sesame seeds. Sweet-spicy-sticky variation. Skip traditional bun; serve over rice or in bao.
Breakfast Chicken Sandwich: Add fried egg, bacon, and cheddar to assembly. Maple-infused sauce instead of spicy. Hearty brunch option.
Low-Carb/Keto Base: Replace bun with large portobello mushroom caps or butter lettuce cups. Almond flour dredge. Sugar-free sauce. Grain-free alternative.
Extra Cheesy Indulgence: Melt pepper jack/provolone ONTO hot chicken right out of oil. Adds gooey layer. Rich, decadent version for special occasions.
Herb-Garden Fresh: Mix chopped dill/chives/parsley into flour dredge. Lemon-herb aioli sauce. Bright, summery profile. Perfect with arugula instead of iceberg.
What to Serve With This Recipe
Sides: Classic french fries, coleslaw, mac and cheese, or onion rings. Traditional pairings complement richness.
Salads: Simple green salad with vinaigrette cuts grease. Corn salad with lime/cilantro adds brightness.
Drinks: Iced tea, lemonade, craft beer (IPA/lager), or sparkling water with citrus. Acidic/carbonated drinks cleanse palate.
Desserts: Milkshake, fruit pie, or cookies. Sweet finish balances savory meal. Vanilla/chocolate classic pairings.
Pickles/Veggies: Dill pickle spear, jalapeños, or carrot sticks on side. Acidic/crunchy contrast essential for cutting fat.
Sauces: Extra ranch, honey mustard, sriracha mayo, or BBQ for dipping. Customization enhances experience.
Make Ahead & Meal Prep Tips
Marinate Ahead: Marinate chicken up to 24 hours ahead. Refrigerate covered. Enhances flavor penetration. Bring to room temp 15 mins before dredging.
Dredge Station Prep: Mix flour/spices up to 3 days ahead. Store airtight. Whisk egg wash morning-of. Saves active prep time significantly.
Fry & Hold (Short Term): Fry chicken; hold on wire rack in 200°F oven up to 30 mins. Maintains crispness better than resting at room temp. Re-crisp in air fryer 2 mins if needed.
Freeze Unfried: Dredged chicken freezes well on tray, then bag. Fry from frozen, adding 2-3 mins/side. Great for batch prep. Label with date.
Storage Instructions
Refrigerator: Store cooked chicken in airtight container up to 3 days. Separate from buns/sauce to prevent sogginess. Reheat properly (see below).
Freezer: Cooked chicken freezes well up to 2 months. Wrap individually. Thaw in fridge overnight. Texture softens slightly; re-crisp in air fryer/oven.
Avoid: Storing assembled sandwiches >1 hour. Bread becomes inedible. Store components separately. Discard if slimy/off-smell develops.
Safety: Cool completely before sealing. Never refreeze thawed chicken. Label containers with date. Reheat to 165°F internal temp.
Reheating Instructions
Air Fryer (Best): 375°F for 4-6 mins. Restores crispness effectively. Spray lightly with oil if dried out. Shake basket halfway.
Oven: 400°F on wire rack over baking sheet. 10-12 mins. Even heating, good crispness. Flip halfway. Monitor closely to prevent burning.
Stovetop: Skillet over medium-low heat, uncovered. 3-4 mins/side. Crisps bottom well. Cover briefly to warm through. Good for single pieces.
Microwave (Avoid): Makes coating rubbery/soggy. Only if desperate. Place on paper towel. Heat 30-sec intervals. Expect significant texture loss.
Note: Values vary based on chicken size, oil absorption, bun type, and sauce amount. High sodium from seasoning/bread. Balance with low-sodium sides.
Troubleshooting Guide
Problem
Cause
Solution
Soggy coating
Oil too cool / Wet chicken
Verify oil temp. Pat chicken VERY dry. Use wire rack.
Burnt outside/raw inside
Oil too hot / Thick chicken
Lower temp. Pound chicken even. Use thermometer.
Coating falling off
Poor egg wash / Moved early
Full egg coverage. Don’t touch first 2 mins. Press flour firmly.
Dry/tough chicken
Overcooked / Old meat
Pull at 160°F. Use fresh chicken. Adequate marinate.
Soggy bun
Untoasted / Assembled early
ALWAYS toast buns. Assemble last minute. Lettuce barrier.
Greasy chicken
Oil too cool / Overcrowded pan
Maintain 350°F+. Fry in batches. Drain on rack.
Frequently Asked Questions
1. Can I bake instead of fry? Yes, but texture differs significantly. Bake at 425°F on oiled rack for 20-25 mins, flipping halfway. Spray generously with oil. Won’t achieve same crunch as frying. Air fryer is better alternative for crispness.
2. Why did my coating fall off in the oil? Chicken was too wet before egg wash, or you moved it too soon. Pat chicken EXTREMELY dry. Ensure full egg coverage. DO NOT touch chicken for first 2 minutes in oil; crust needs time to set. Press flour firmly into chicken.
3. Can I use chicken thighs instead of breasts? Absolutely! Thighs are juicier and more forgiving. Adjust cook time (+1-2 mins/side). Boneless/skinless works best for sandwiches. Trim excess fat/connective tissue for even shape.
4. How do I keep the bun from getting soggy? TOAST THE BUN. This creates a moisture barrier. Also, place lettuce directly on bottom bun before chicken. Assemble JUST before eating. Avoid overly saucy assemblies; apply sauce moderately.
5. Can I make this gluten-free? Yes. Substitute AP flour with rice flour, almond flour, or GF all-purpose blend. Technique remains identical. Ensure all other ingredients (bun, spices) certified GF. Rice flour yields extra-crispy result.
6. What oil is best for frying? Neutral oils with high smoke points: vegetable, canola, peanut, or avocado oil. Avoid olive oil (low smoke point, strong flavor) or butter (burns). Peanut oil adds subtle nuttiness popular in Southern frying.
7. Can I reuse the frying oil? Yes, 2-3 times if filtered/stored properly. Cool completely, strain through cheesecloth/coffee filter, store in dark bottle. Discard if dark/foamy/rancid-smelling. Never mix old/new oil.
8. Why is my chicken greasy/oily? Oil temperature too low. Chicken acts like sponge when oil isn’t hot enough to seal crust instantly. Always verify 350°F-375°F with thermometer. Also, drain on WIRE RACK, not paper towels (steam = sogginess).
Final Thoughts
Mastering the Crispy Fried Chicken Sandwich is more than following steps—it’s embracing the joy of creating something truly crave-worthy at home. The ritual of pounding chicken, whisking spices, and hearing that perfect sizzle as it hits hot oil connects us to generations of comfort food tradition. This recipe rewards patience and attention to detail with a sandwich that surpasses expectations. We encourage you to experiment with spice levels, try different buns, and share your creations. Tag us, leave comments, rate the recipe—your feedback inspires our community and helps fellow home cooks discover the magic of perfect fried chicken. Now grab that skillet and start frying; your taste buds will thank you profoundly!