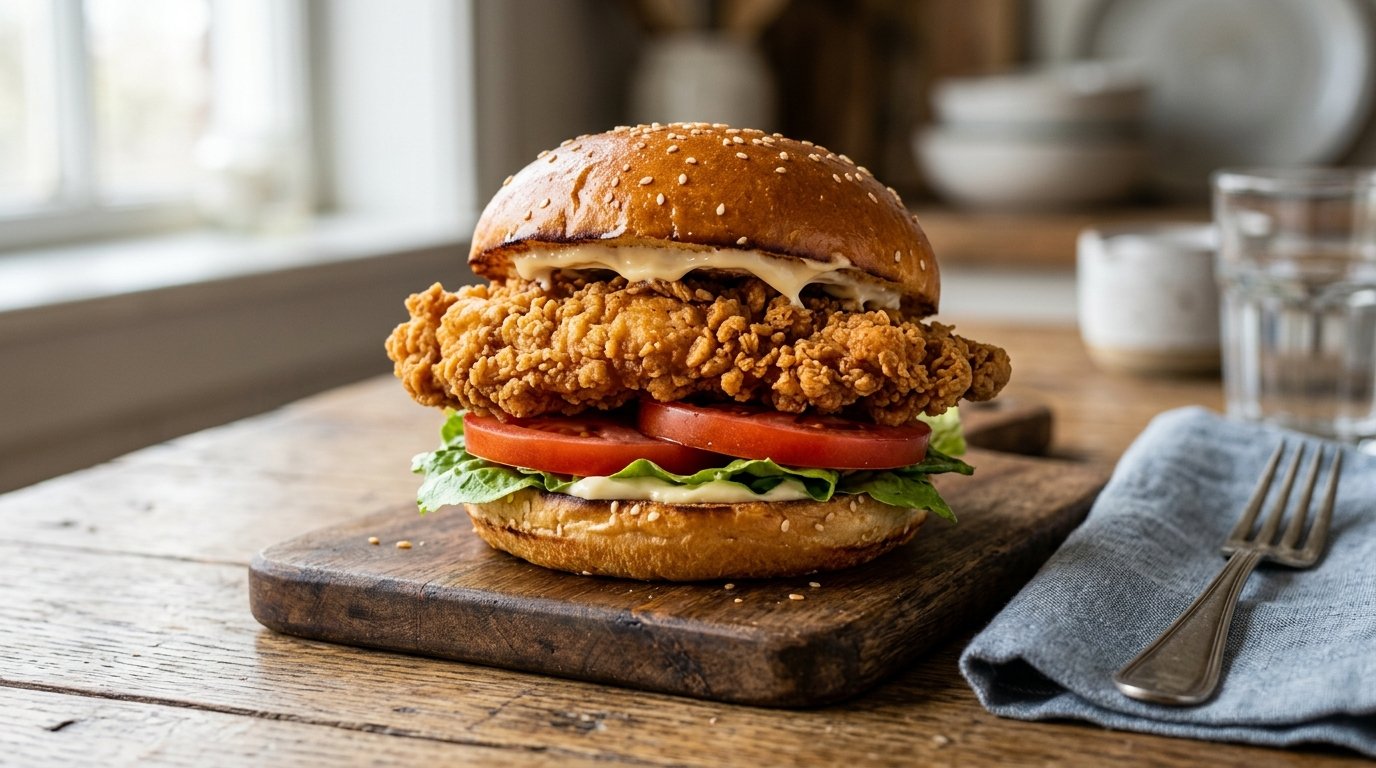
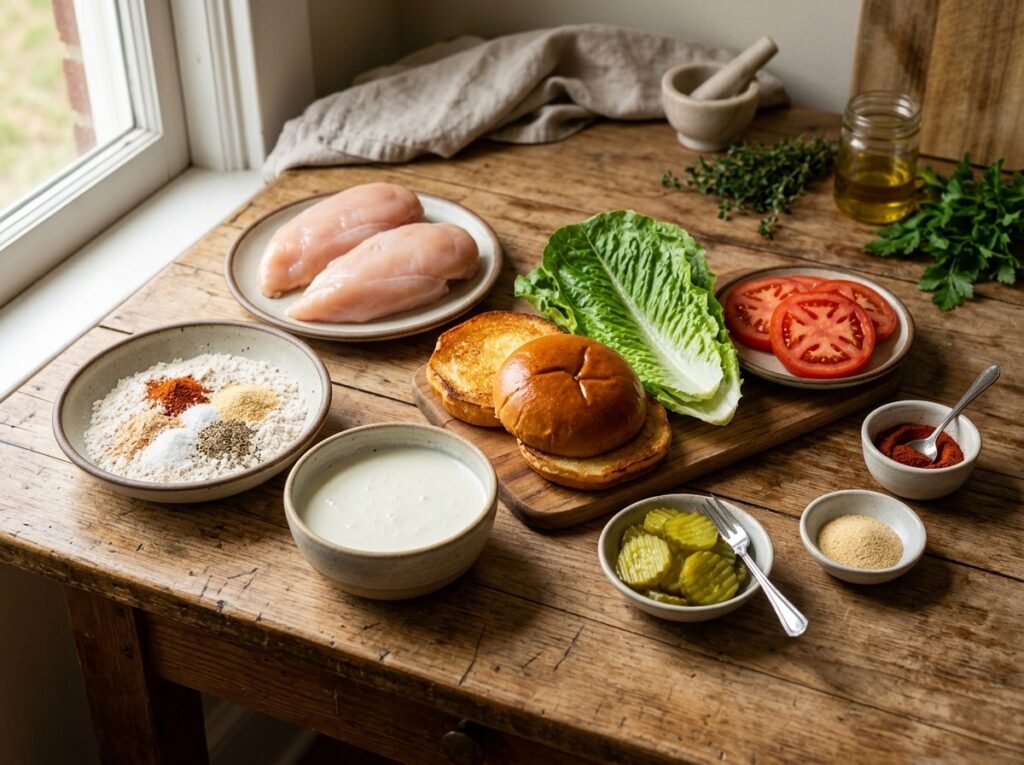
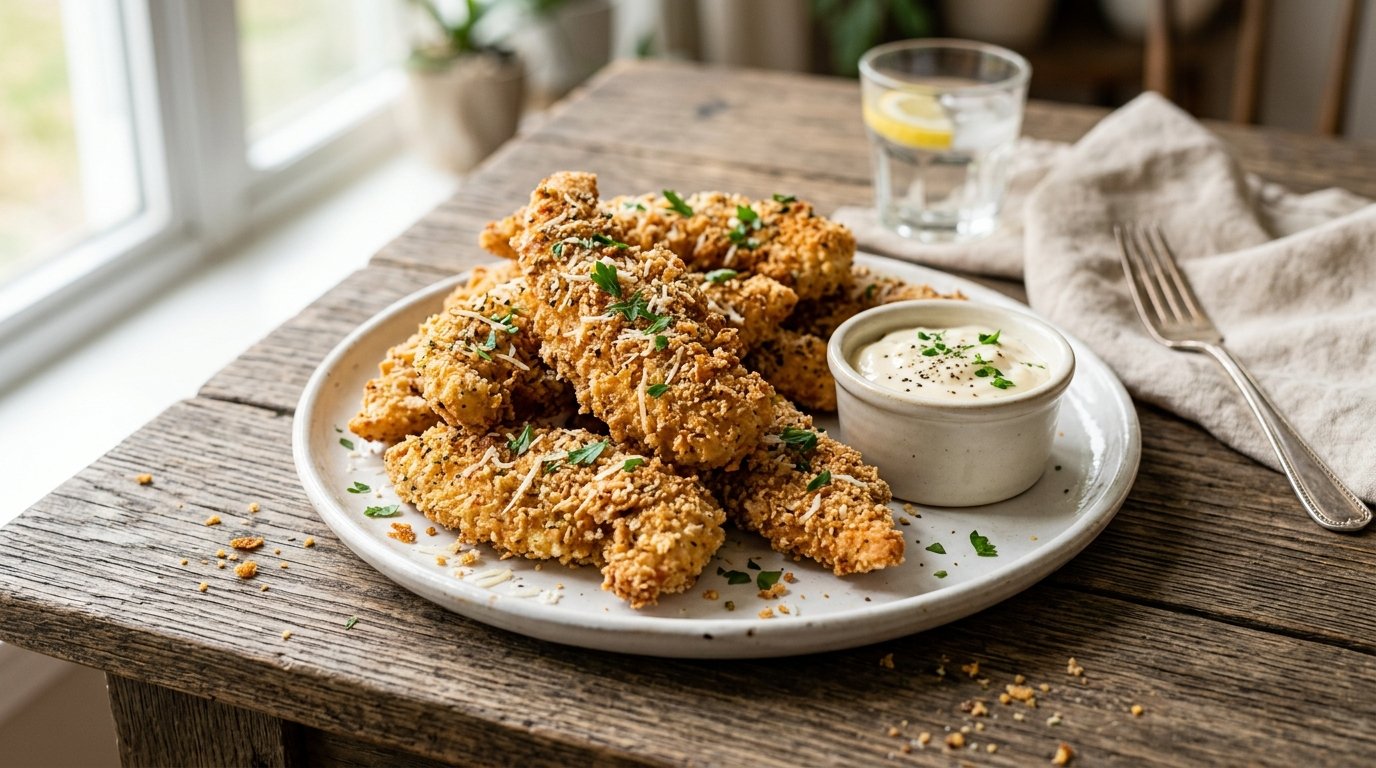
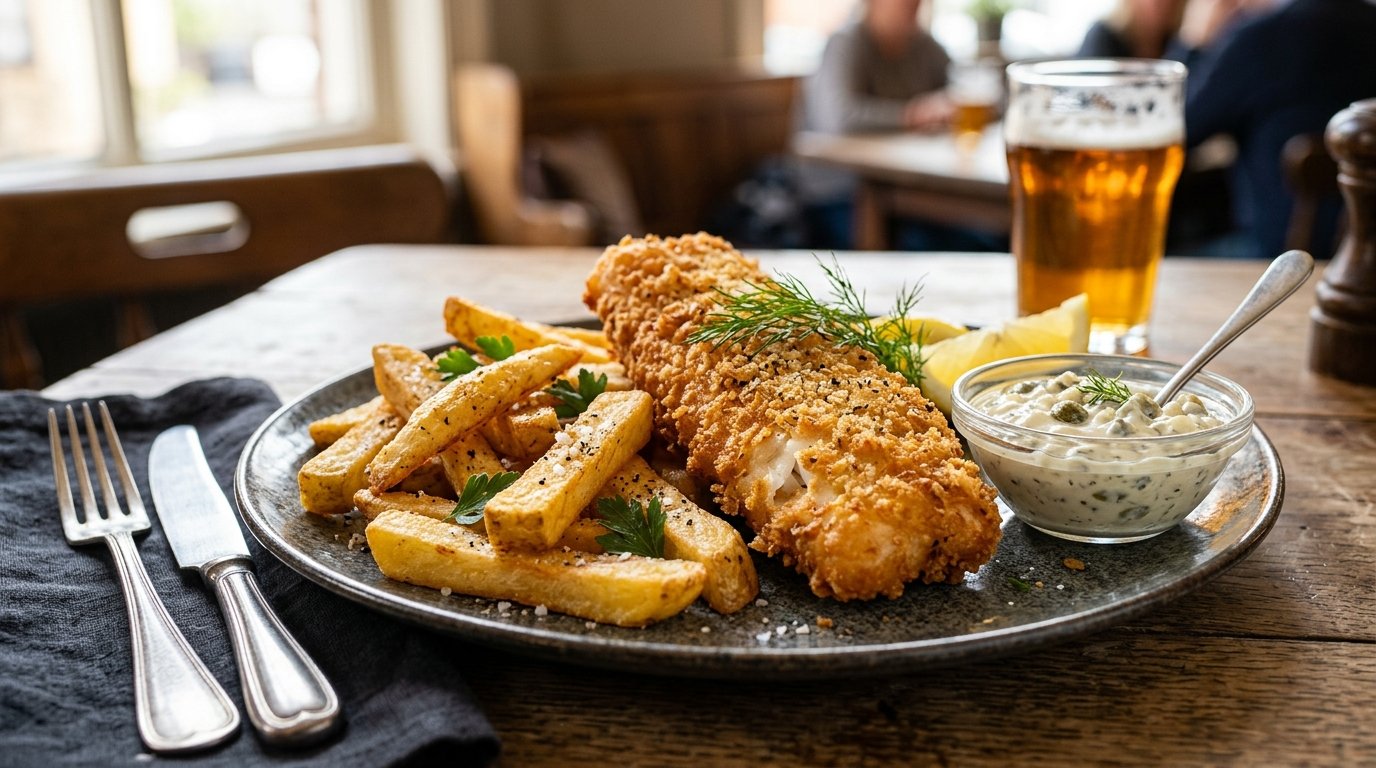
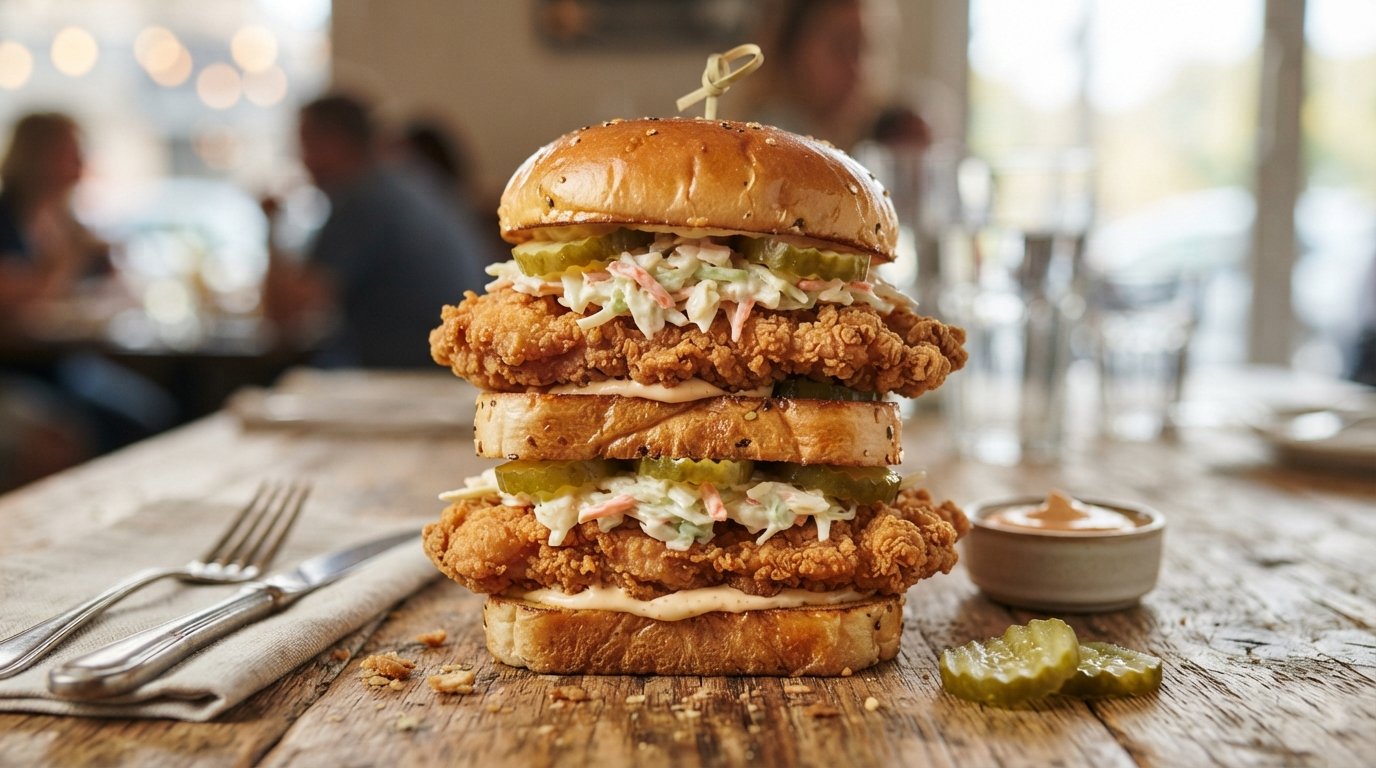
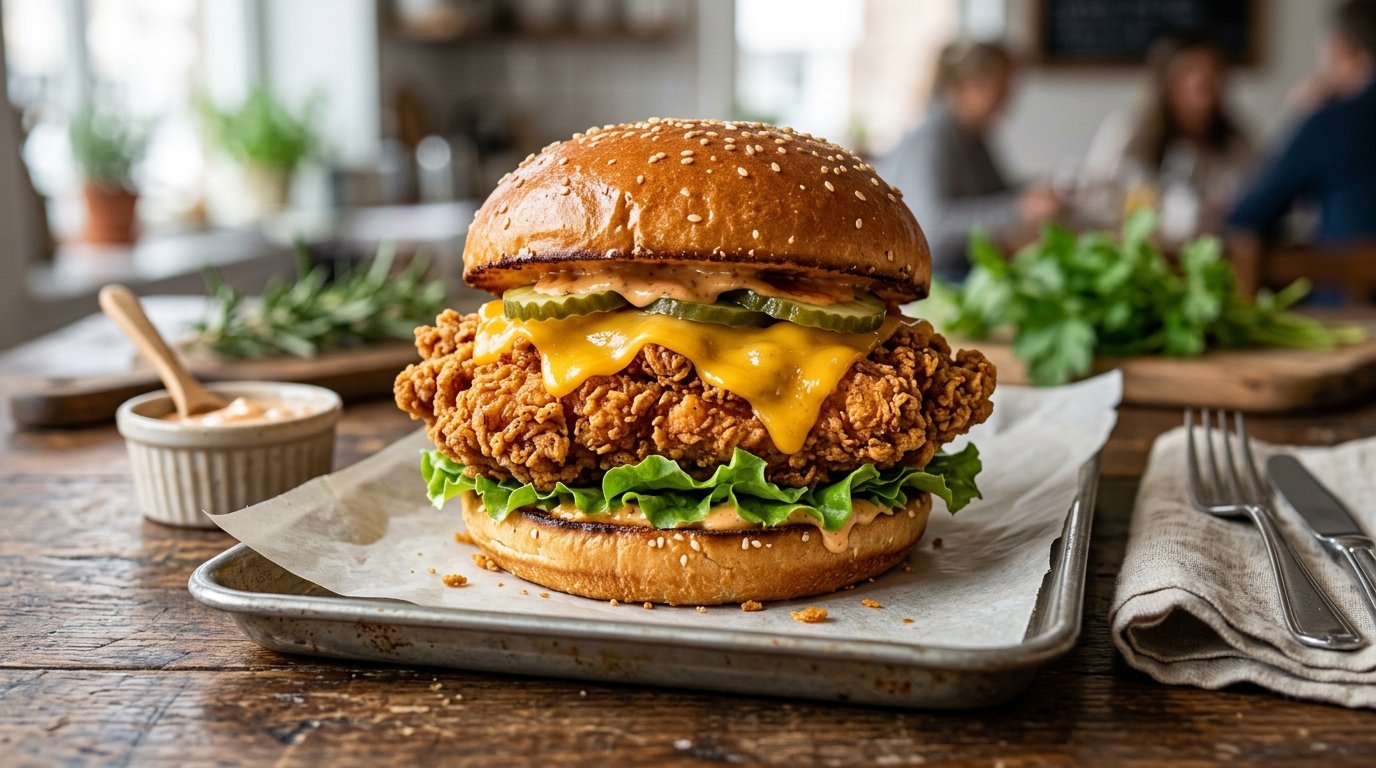
There is nothing quite like the satisfaction of biting into a homemade crispy chicken sandwich that rivals your favorite fast-food chain, but with the superior quality and freshness that only comes from cooking in your own kitchen. This recipe isn’t just about frying chicken; it’s a complete culinary experience that starts with baking pillowy, golden brioche-style buns from scratch, marinating tender chicken tenders in a secret spice blend, and finishing them with a zesty, chunky tartar sauce made with capers and pickles.
If you have ever wondered how to achieve that perfect crunch on fried chicken while keeping the meat juicy, or how to bake bread that stays soft for days, this guide is for you. We are going to break down every step of making these ultimate crispy chicken sandwiches, ensuring you get restaurant-quality results at home. Whether you are meal prepping for the week or hosting a weekend dinner party, these sandwiches are guaranteed to be the star of the table.
The secret to a superior crispy chicken sandwich lies in the balance of textures and temperatures. By making the buns from scratch, we ensure they are fresh, warm, and structurally sound enough to hold the heavy fried chicken without getting soggy immediately. The dough uses a combination of milk and oil, which creates a rich crumb and extends shelf life.
For the chicken, we use a wet marinade containing yogurt and eggs. The lactic acid in the yogurt gently breaks down protein fibers, tenderizing the meat, while the proteins in the egg and yogurt create a binding layer that helps the breadcrumbs adhere perfectly. This double-coating technique ensures that when you bite down, you hear a distinct crunch followed by the release of hot, savory juices.
Finally, the tartar sauce isn’t an afterthought. By using non-pareil capers and fresh pickle relish, we add bursts of acidity and salinity that cut through the richness of the fried chicken and the softness of the bun. It’s a masterclass in flavor balancing.
Why You’ll Love This Recipe
Superior Texture: The homemade buns are incredibly soft and airy, providing the perfect contrast to the shatteringly crisp chicken coating.
Customizable Spice Level: The marinade allows you to control exactly how spicy or savory you want your chicken to be.
Gourmet Tartar Sauce: Forget store-bought mayo; this scratch-made sauce with capers elevates the entire sandwich profile.
Cost-Effective: Making a batch of 10+ sandwiches at home costs a fraction of buying them at a drive-thru.
Freezer Friendly: Both the raw dough balls and the cooked chicken can be frozen, making this an excellent meal prep option.
Visual Appeal: These sandwiches look professional, with golden-brown crusts and vibrant green lettuce peeking out.
Ingredient Notes
For the Brioche Buns
All-Purpose Flour: Provides the structure. You can substitute with bread flour for a chewier texture, but all-purpose yields a softer, more cake-like crumb suitable for sandwiches.
Warm Milk: Activates the yeast and adds fat/sugar (lactose) for browning and tenderness. Ensure it is warm (110°F/45°C), not hot, or you will kill the yeast.
Instant Yeast: Reliable and fast-acting. If using active dry yeast, let it bloom in the milk for 5 minutes first.
Sugar: Feeds the yeast and aids in caramelization of the crust.
Vegetable Oil: Keeps the dough moist and prevents the gluten from becoming too tough.
Egg: Adds richness, color, and structure to the dough.
Salt: Crucial for flavor and strengthening the gluten network. Do not skip this.
For the Crispy Chicken
Chicken Breast: Lean and versatile. Cut into uniform strips to ensure even cooking.
Yogurt (Plain/Greek): The tenderizing agent. Full-fat yogurt works best for moisture, but low-fat is acceptable.
Eggs: Acts as the glue for the batter.
Spice Blend (Paprika, Garlic Powder, Onion Powder, Salt, Pepper, Cumin/Turmeric): Paprika provides color and mild heat; garlic and onion powders provide savory depth. Adjust ratios based on your heat preference.
Breadcrumbs: Fine, dry breadcrumbs work best for a smooth, even crust. Panko can be used for a rougher, extra-crunchy texture.
For the Tartar Sauce
Mayonnaise: Use a high-quality, full-fat mayo for the best emulsion and mouthfeel.
Sour Cream: Thins the mayo slightly and adds a tangy brightness.
Pickle Relish: Provides sweetness and crunch.
Non-Pareil Capers: Small, delicate capers that distribute flavor evenly without large, overpowering chunks.
Black Pepper: Freshly cracked is best for aromatic heat.
Kitchen Equipment
Large Wooden or Glass Mixing Bowl: For kneading dough.
Stand Mixer (Optional): Makes kneading easier, but hand-kneading is traditional and effective.
Rolling Pin: For shaping bun dough.
Baking Sheet & Parchment Paper: Essential for preventing sticking and ensuring even baking.
Pastry Brush: For applying egg wash.
Sharp Knife or Bench Scraper: For dividing dough and slicing chicken.
Deep Pot or Dutch Oven: For safe, deep frying.
Spider Strainer or Slotted Spoon: For removing chicken from oil safely.
Wire Rack: For draining fried chicken (prevents sogginess).
Small Bowls: For organizing mise en place (spices, sauces).
Step-by-Step Instructions
Phase 1: Making the Soft Brioche Buns
1. Activate the Yeast and Mix Wet Ingredients
In a large wooden bowl, combine warm milk, sugar, and instant yeast. Whisk gently and let it sit for 5-10 minutes until foamy. This proves your yeast is alive. Add vegetable oil, salt, and one egg. Whisk again to combine.
Why it matters: Proofing ensures your bread will rise. Skipping this risks dense, flat buns.
2. Incorporate Flour and Knead
Gradually add all-purpose flour to the wet mixture. Start with a spatula, then switch to your hands once the dough becomes too stiff. Knead vigorously in the bowl or on a floured surface for 8-10 minutes.
Visual Cue: The dough is ready when it is smooth, elastic, and passes the “windowpane test” (stretching a small piece thin enough to see light through without tearing).
Texture Cue: It should feel tacky but not sticky. If it sticks excessively to your hands, add a tablespoon of flour.
3. First Rise (Bulk Fermentation)
Grease a clean bowl with oil. Place the dough inside, turning it once to coat. Cover tightly with plastic wrap and a kitchen towel. Place in a warm, draft-free spot for 60-90 minutes, or until doubled in size.
Aroma Cue: It should smell yeasty and slightly sweet.
4. Shape the Buns
Punch down the risen dough to release gas. Turn it onto a cutting board and divide into 10-12 equal portions using a bench scraper. Roll each portion into a tight ball, then flatten into an oval. Fold the oval in half to create a pocket shape (like a hot dog bun).
Technique Tip: Creating a tight surface tension on the top of the bun ensures it rises up rather than spreading out.
5. Second Rise (Proofing)
Place shaped buns on a parchment-lined baking sheet, spaced apart. Cover loosely with a towel and let rise for another 30-45 minutes. They should look puffy and spring back slowly when poked.
6. Bake to Golden Perfection
Preheat oven to 375°F (190°C). Whisk an egg yolk with a splash of milk for the egg wash. Brush the tops of the buns gently. Score the tops with a sharp knife (3 diagonal cuts) and sprinkle with sesame seeds. Bake for 15-18 minutes until deep golden brown.
Doneness Cue: Internal temperature should reach 190°F (88°C). Tap the bottom; it should sound hollow.
Phase 2: Preparing the Crispy Chicken
7. Prep and Marinate the Chicken
Slice chicken breasts into uniform strips, about ½ inch thick. In a separate black bowl, whisk together eggs, yogurt, paprika, garlic powder, onion powder, salt, pepper, and any other spices. Add chicken strips and toss to coat thoroughly. Cover and refrigerate for at least 30 minutes (up to 4 hours).
Why it matters: The acid in the yogurt tenderizes the meat, while the spices penetrate deeply. Cold chicken fries better because it lowers the oil temp less drastically upon entry.
8. Bread the Chicken
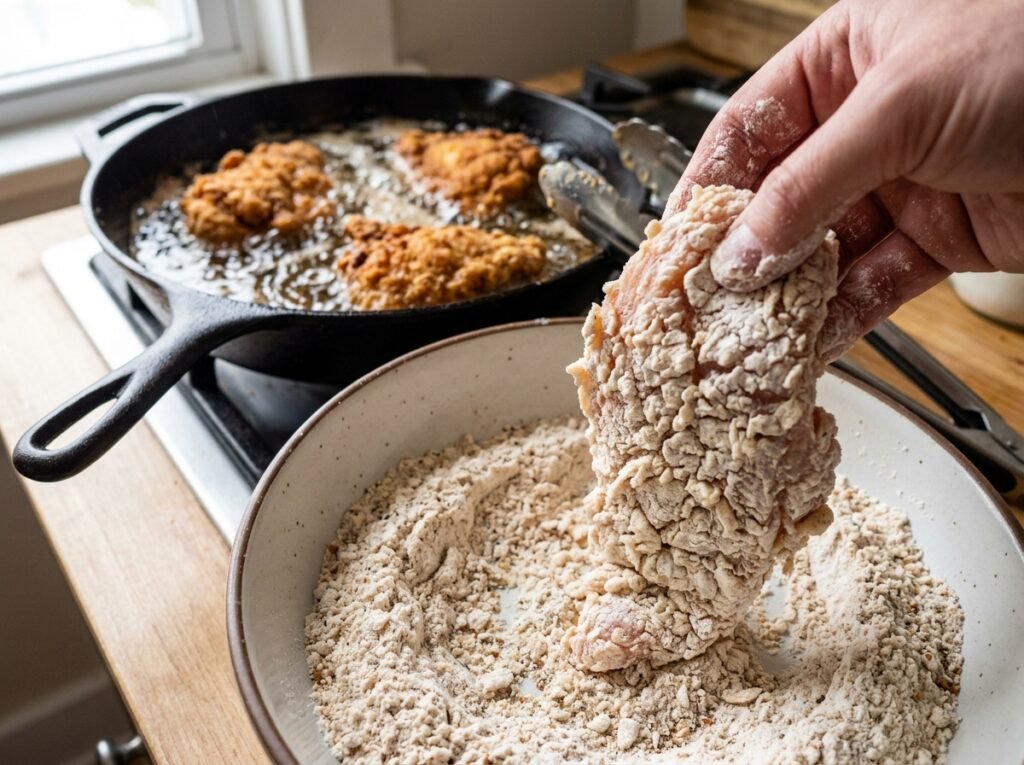
Pour fine breadcrumbs into a shallow metal tray. Remove chicken from marinade, letting excess drip off. Press each strip firmly into the breadcrumbs, ensuring full coverage. Shake off loose crumbs.
Pro Tip: Let breaded chicken rest on a wire rack for 10 minutes before frying. This helps the coating set and adhere during frying.
9. Deep Fry to Crunch
Heat neutral oil (canola or vegetable) in a deep pot to 350°F (175°C). Fry chicken in batches—do not overcrowd! Cook for 3-4 minutes per side until deep golden brown and crispy.
Safety Note: Use a thermometer. Oil that is too cool makes greasy chicken; oil that is too hot burns the outside before the inside cooks.
Draining: Transfer fried chicken to a wire rack set over a baking sheet. Never drain on paper towels directly, as steam gets trapped and makes the bottom soggy.
Phase 3: The Signature Tartar Sauce
10. Chop and Mix
Finely dice pickles and non-pareil capers on a wooden board. In a wooden bowl, combine mayonnaise, sour cream, chopped pickles, capers, and black pepper. Stir until well combined. Taste and adjust seasoning.
Flavor Profile: This should be creamy, tangy, salty, and slightly sweet. The capers provide a briny punch that balances the fatty chicken.
Phase 4: Assembly
11. Build the Sandwich
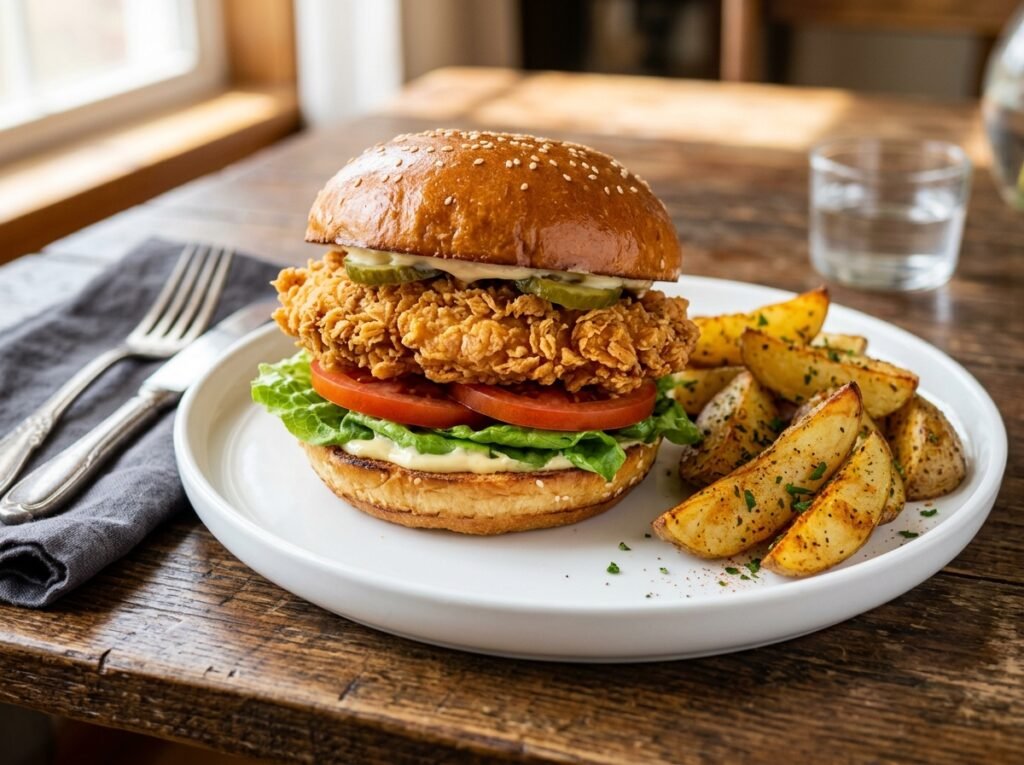
Slice the cooled buns open horizontally. Place a leaf of crisp romaine or iceberg lettuce on the bottom bun. Add a piece of fried chicken. Drizzle generously with tartar sauce. Close the sandwich.
Serving Tip: Serve immediately while the chicken is still hot and the bun is fresh.
Expert Tips
Dough Hydration: Humidity affects flour absorption. If your dough feels dry during kneading, add water 1 teaspoon at a time. If it’s a sticky mess, add flour 1 tablespoon at a time. Trust your hands over the recipe measurements.
Oil Temperature Management: When adding chicken, the oil temp will drop. Wait for it to recover to 350°F before adding the next batch. This consistency is key to non-greasy results.
Bun Storage: If not using buns immediately, store them in an airtight bag once completely cool. Reheat in a 300°F oven for 5 minutes to restore freshness.
Capers vs. Relish: Don’t skip the capers. While relish adds sweetness, capers add a complex, saline acidity that mimics high-end restaurant tartar sauces.
Common Mistakes
Killing the Yeast: Using milk that is too hot (>120°F) will kill the yeast, resulting in brick-hard buns. Always test milk on your wrist; it should feel like warm bathwater.
Overcrowding the Fryer: Adding too much chicken at once drops the oil temperature significantly. The chicken will absorb oil instead of searing, leading to a greasy, soggy coating.
Skipping the Rest Period: Not letting the breaded chicken rest before frying causes the coating to slough off in the oil. The hydration of the flour needs time to bond with the egg wash.
Cutting Hot Chicken: Cutting into fried chicken immediately releases all the juices. Let it rest on the wire rack for 2-3 minutes before assembling to retain moisture.
Recipe Variations
Spicy Nashville Hot: Toss the fried chicken in a mixture of melted butter, cayenne, brown sugar, and paprika immediately after frying. Skip the tartar sauce and use coleslaw instead.
Buttermilk Brine: Substitute the yogurt marinade with buttermilk for a tangier, Southern-style flavor profile.
Vegan Option: Use firm tofu or oyster mushrooms instead of chicken. Marinate in soy milk + vinegar + spices. Use vegan mayo and egg replacer for breading.
Air Fryer Method: Spray breaded chicken generously with oil. Air fry at 400°F for 12-15 minutes, flipping halfway. Less oil, slightly different texture, but still delicious.
Gluten-Free Buns: Substitute AP flour with a high-quality 1:1 GF baking blend. Add xanthan gum if not included. Expect a denser crumb.
Extra Cheesy: Add a slice of pepper jack or cheddar cheese on top of the hot chicken before closing the bun. The residual heat will melt it perfectly.
What to Serve With This Recipe
Classic Sides: French fries, sweet potato fries, or onion rings.
Salads: Coleslaw (creamy or vinegar-based) cuts the richness beautifully. A simple garden salad with vinaigrette also works.
Drinks: Ice-cold cola, lemonade, or a craft lager beer.
Dessert: Keep it light with fruit sorbet or a simple vanilla ice cream sundae to balance the heavy meal.
Make Ahead & Storage Tips
Dough: After the first rise, punch down and freeze dough balls in a ziplock bag for up to 3 months. Thaw overnight in the fridge, then shape and proof.
Chicken: Marinated chicken can be kept in the fridge for up to 24 hours. Breaded chicken can be frozen raw on a tray, then transferred to bags. Fry from frozen, adding 2-3 minutes to cook time.
Tartar Sauce: Actually tastes better after sitting! Make it 24 hours ahead to let flavors meld. Stores in the fridge for up to 1 week.
Leftover Buns: Freeze in a sealed bag for up to 3 months. Toast directly from frozen.
Nutritional Information (Per Serving)
Calories: ~650
Protein: 32g
Carbohydrates: 58g
Fat: 34g
Fiber: 2g
Sugar: 6g
Sodium: 850mg
Note: Values are estimates based on standard ingredients and portion sizes. Actual values may vary based on specific brands and oil absorption.
Troubleshooting Guide
Problem
Cause
Solution
Buns are dense/heavy
Yeast dead or under-proofed
Check yeast expiration; ensure warm environment for rising; don’t rush the second proof.
Use thermometer (165°F internal); pound chicken to even thickness; don’t over-fry.
Tartar sauce is watery
Pickles/capers too wet
Pat chopped pickles/capers dry with paper towel before mixing.
Buns burn on bottom
Oven rack too low; dark pan
Move rack to center; use light-colored aluminum pans; rotate pan halfway.
Frequently Asked Questions
1. Can I use chicken thighs instead of breasts? Yes! Thighs are actually more forgiving and stay juicier due to higher fat content. Just trim excess fat and skin before slicing. Adjust cooking time as they may take 1-2 minutes longer.
2. Why did my buns collapse after baking? This usually means they were over-proofed. During the second rise, watch them closely. When they spring back slowly to a gentle poke, they are ready. If they feel fragile and wobbly, bake immediately.
3. Can I make the tartar sauce without capers? You can, but the flavor will be one-dimensional. If you dislike capers, increase the pickle relish and add a teaspoon of Dijon mustard for complexity.
4. How do I keep the buns from getting soggy? Always put lettuce between the bun and the chicken/sauce. The lettuce acts as a moisture barrier. Also, assemble right before eating; don’t let assembled sandwiches sit.
5. Is there a way to make this healthier? Use whole wheat flour for buns (add extra liquid), bake the chicken instead of frying (or air fry), and use Greek yogurt-based tartar sauce. You’ll sacrifice some crunch but gain nutrition.
6. My dough is too sticky to handle. Help! Oil your hands lightly instead of adding more flour. Excess flour makes tough buns. Sticky dough often equals soft buns. Chill the dough for 15 minutes if it’s unmanageable.
7. Can I reuse the frying oil? Yes, strain it through cheesecloth or a coffee filter once cooled. Store in a sealed container in a cool, dark place. Reuse 2-3 times max. Discard if it smells rancid or smokes at normal temps.
8. What if I don’t have a stand mixer? Hand kneading is traditional and gives you better feel for the dough. It takes 10-12 minutes of vigorous work. Listen to a podcast or playlist—it goes faster than you think!
Final Thoughts
Making homemade crispy chicken sandwiches from scratch is a labor of love, but the reward is unmatched. There is a primal joy in pulling apart a warm, steaming bun, hearing the crunch of perfectly fried chicken, and tasting that bright, zesty tartar sauce. You aren’t just making dinner; you’re creating an experience.