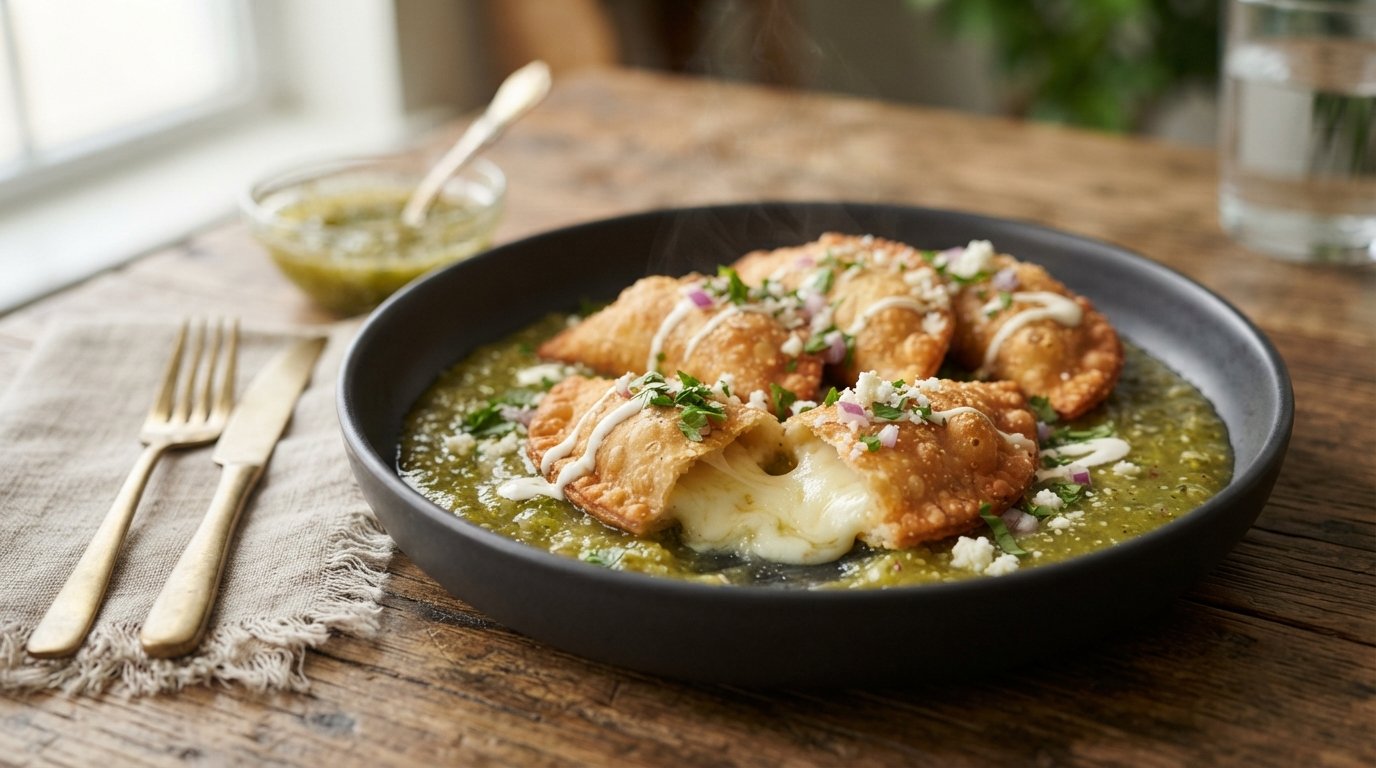
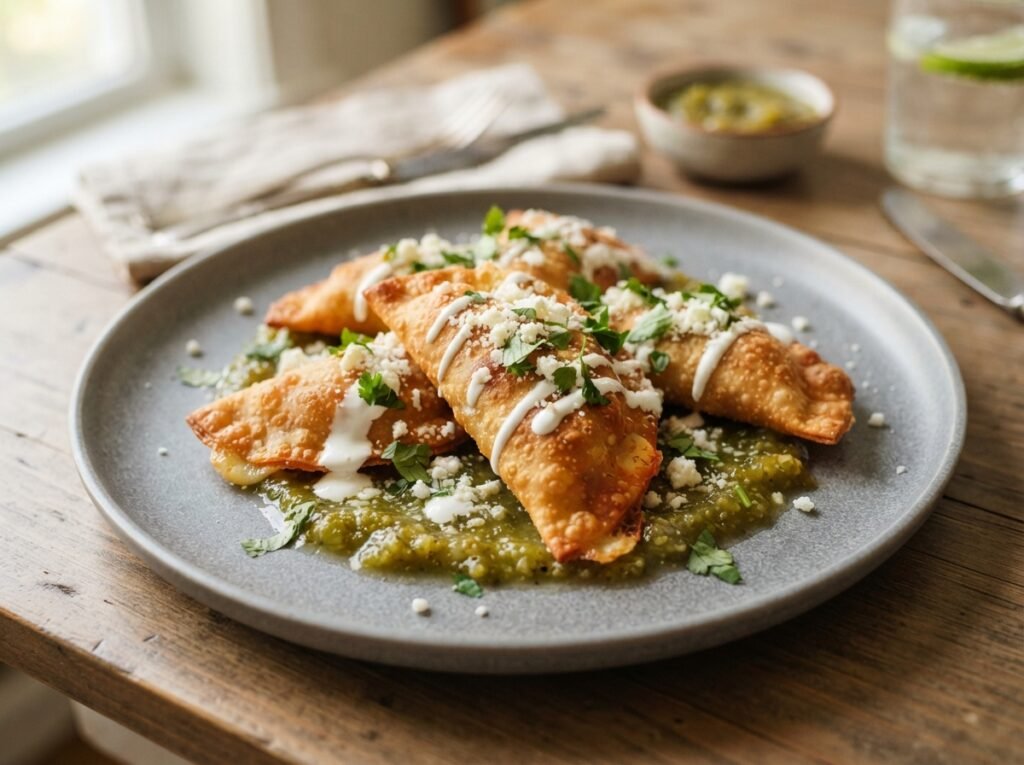
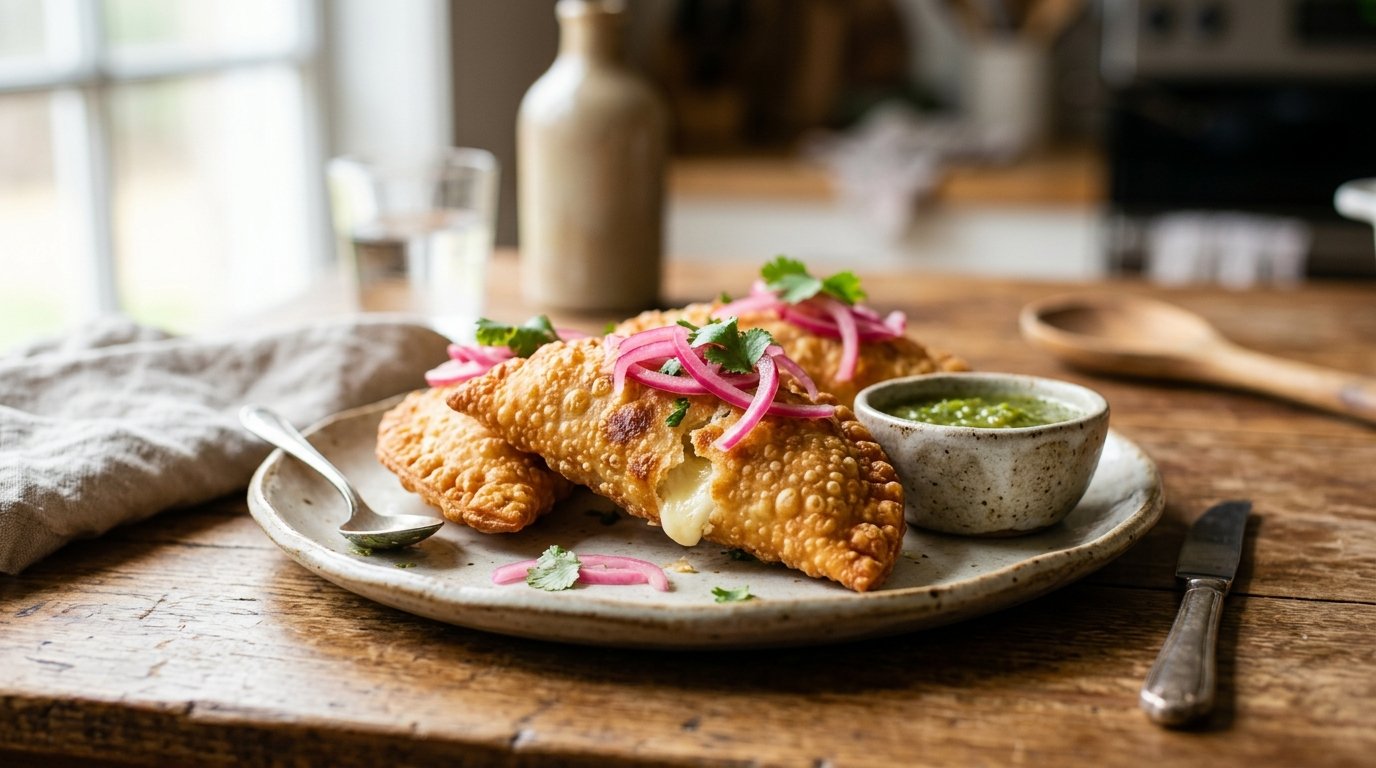
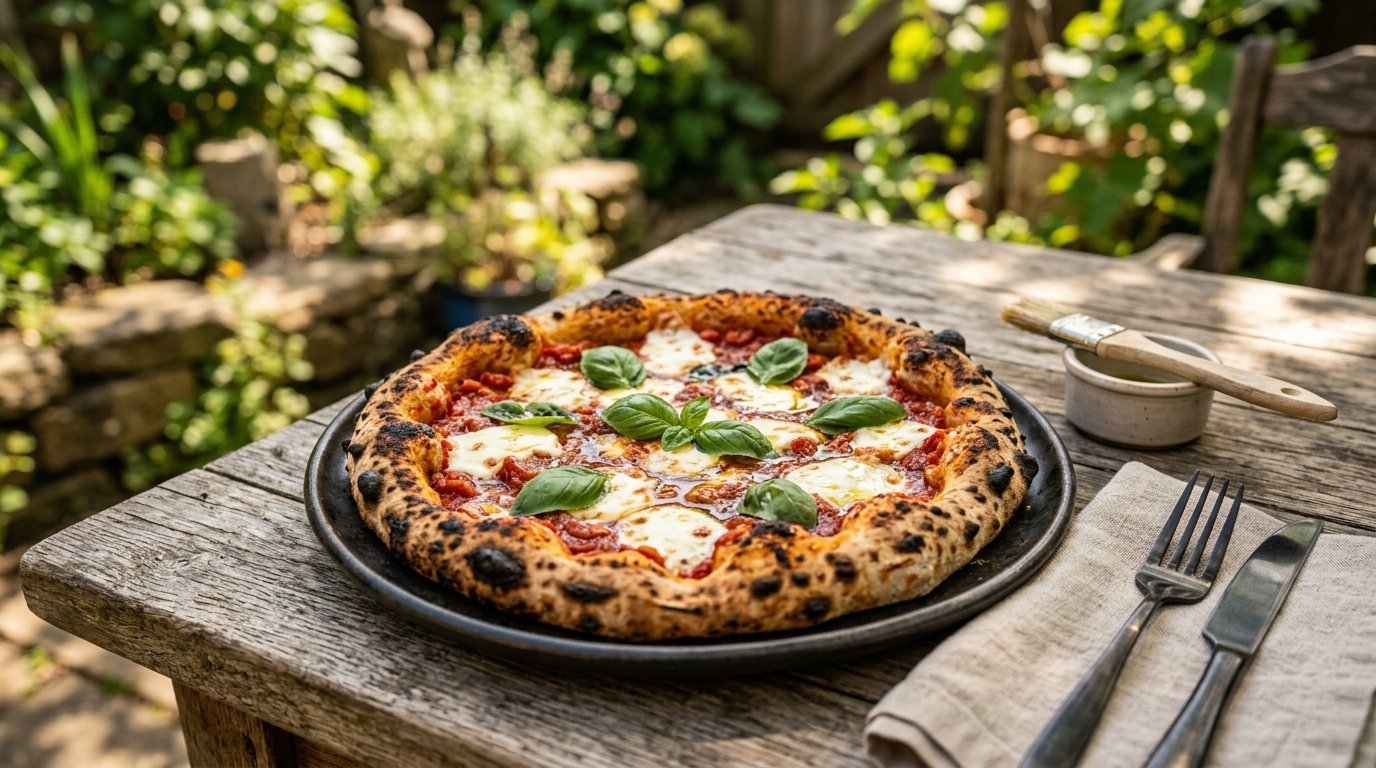
The first time I bit into one of these cheese empanadas the melted center stretched for days and the bright green salsa made everything pop. Soft dough gets filled with cheese, sealed into neat triangles, and fried until golden and crisp. A generous pour of salsa verde, crumbled cheese, and red onion turns them into a complete plate that feels both comforting and fresh. It is simple enough for a weeknight yet impressive enough to share.
These crispy cheese empanadas deliver stretchy filling and bright salsa in every bite.
Golden fried exterior stays crunchy even under sauce
Melty cheese center creates that perfect pull
Fresh green salsa adds bright tangy flavor
Ready in under an hour with basic ingredients
Ingredients
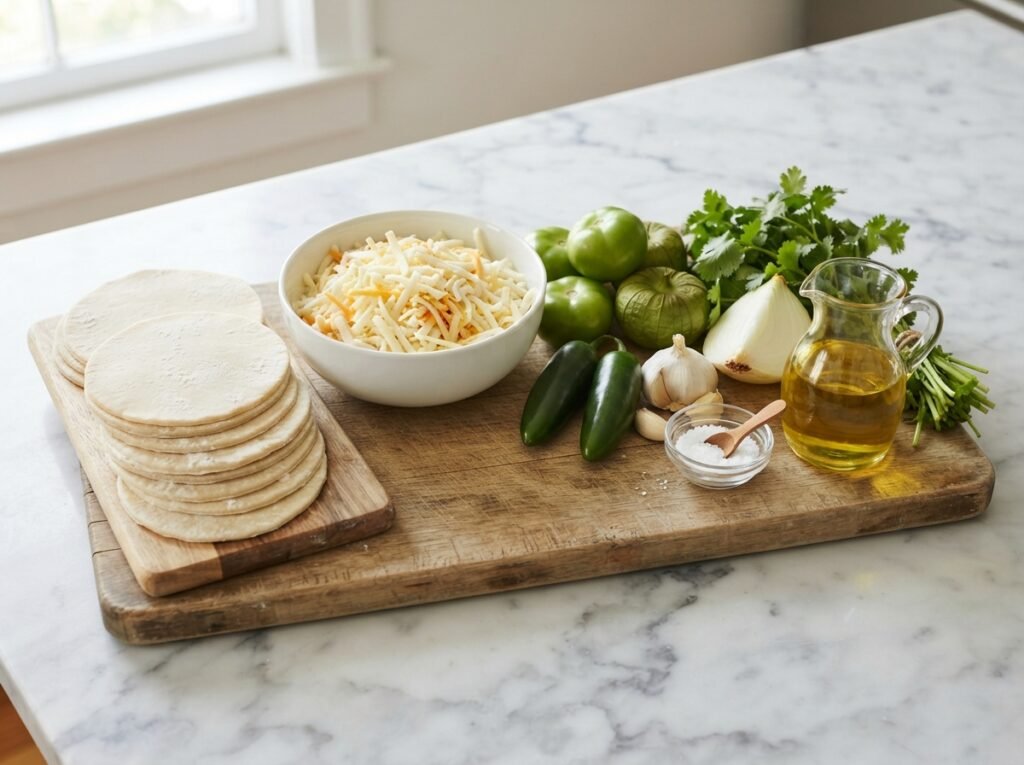
These simple ingredients create crispy fried cheese empanadas finished with vibrant green salsa and toppings.
2 cups masa harina or all-purpose flour
1/2 tsp salt
3/4 cup warm water
1 1/2 cups shredded melting cheese
Oil for frying
2 cups salsa verde
1/2 cup crumbled queso fresco
1/4 red onion, thinly sliced
Fresh cilantro for garnish
You can use store-bought empanada discs if preferred, or swap the melting cheese for Oaxaca or mozzarella. Mild salsa works for less heat, and any mild crumbled cheese can replace queso fresco.
Follow these clear steps to shape, fry, and sauce perfect cheese-filled empanadas at home.
Step 1: Make the dough
Mix the masa or flour with salt and warm water until a soft dough forms. Knead briefly, then divide into equal balls and cover so they do not dry out.
Step 2: Flatten the dough
Press each dough ball between plastic sheets on a tortilla press or with a rolling pin. Aim for thin, even circles that will fold easily without tearing.
Step 3: Add the cheese
Place a small handful of shredded melting cheese in the center of each circle. Keep the filling away from the edges so the seal stays strong.
Step 4: Shape the empanadas
Fold the dough over the cheese into a half-moon or triangle and press the edges firmly to seal. Crimp with a fork if desired for a tighter closure.
Step 5: Heat the oil
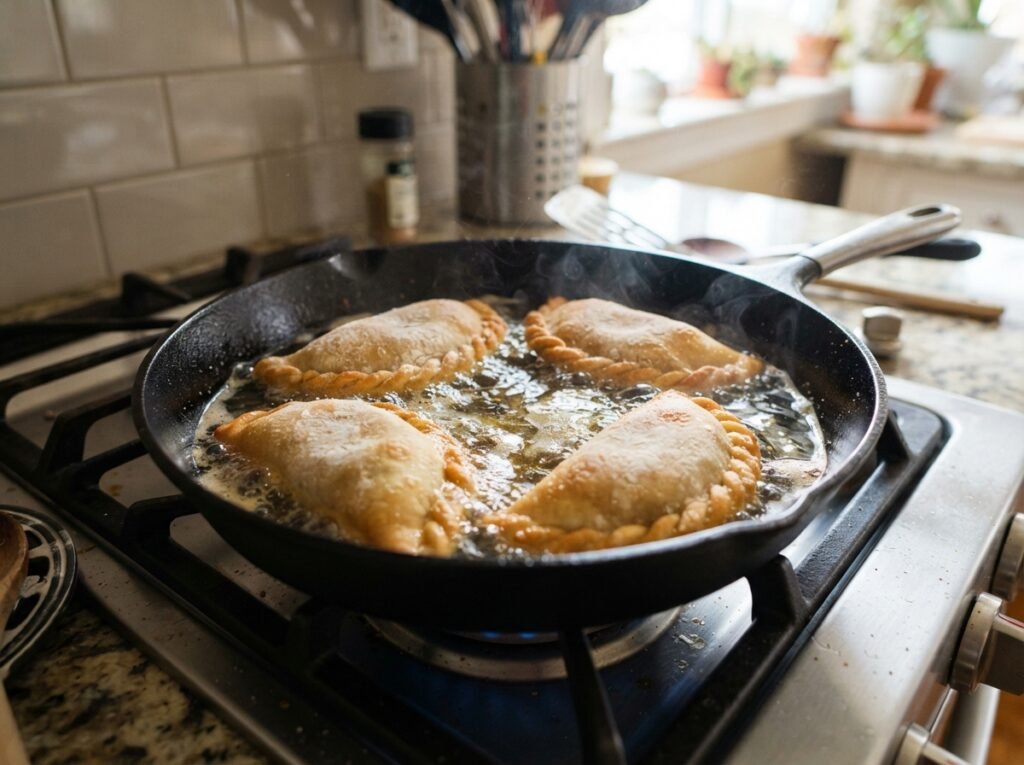
Pour enough oil into a deep pan to cover the empanadas halfway. Heat over medium until a small piece of dough sizzles immediately.
Step 6: Fry until golden
Carefully add the sealed empanadas in batches and fry until both sides are deep golden and crisp. Drain on paper towels to remove excess oil.
Step 7: Sauce the empanadas
Arrange the hot fried empanadas on a plate and spoon generous amounts of warm salsa verde over the top. The sauce should coat every surface.
Step 8: Finish and serve
Sprinkle crumbled queso fresco and thin red onion slices over the sauced empanadas. Add fresh cilantro and serve immediately while the cheese is still stretchy.
Tips & common mistakes
These simple habits keep the dough intact and the filling perfectly melted every time.
Keep the dough covered so it stays soft and pliable
Do not overfill or the empanadas may open while frying
Maintain steady medium heat for even golden color
Serve right away so the exterior stays crisp under the sauce
Recipe variations
Cheese Empanadas in Green Salsa
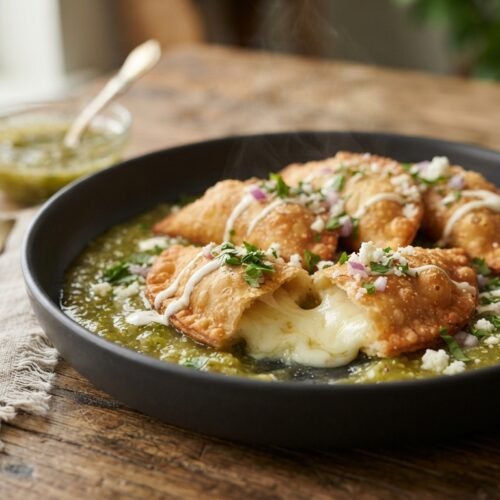
Soft dough circles filled with melting cheese are sealed into triangles, fried until golden and crisp, then covered in bright salsa verde and finished with crumbled cheese and red onion for a perfect pull in every bite.
Mix flour or masa with salt and warm water to form a soft dough.
Divide into balls and press each into a thin circle.
Place shredded cheese in the center of each circle.
Fold and seal tightly into triangles or half-moons.
Heat oil in a deep pan over medium heat.
Fry the empanadas until golden and crisp on both sides.
Drain, then cover with warm salsa verde.
Top with crumbled queso fresco, red onion, and cilantro.
Tip: Seal the edges well so the cheese stays inside while frying.
Notes
Best eaten immediately for maximum crispness. Uncooked empanadas can be refrigerated for one day before frying. Reheat leftovers in a hot skillet to restore some crunch. Adjust salsa heat level to your preference.
Easy changes let you adapt these cheese empanadas to different tastes and fillings you already have.
Add a pinch of chili powder to the cheese for mild heat
Mix in cooked mushrooms or spinach for extra vegetables
Use flour tortillas instead of fresh dough for speed
Bake the empanadas for a lighter lower-oil version
What to serve with this recipe
These saucy cheese empanadas pair well with simple sides that balance the rich filling and bright salsa.
These answers address the questions most people ask when making cheese empanadas for the first time.
Can I prepare the empanadas ahead of time?
Yes, shape and seal them up to a day in advance. Keep covered in the refrigerator and fry just before serving for the best texture.
What cheese melts best inside?
Oaxaca, mozzarella, or any good melting cheese works well. Avoid very dry cheeses that will not stretch when hot.
Can I bake instead of fry?
Yes, brush with oil and bake at 400°F until golden. The exterior will be less crisp but still delicious under the salsa.
How do I store leftovers?
Store sauced empanadas in the refrigerator for up to two days. Reheat gently in a skillet or oven to restore some crispness.
Final thoughts
These crispy cheese empanadas in green salsa turn simple dough and cheese into a plate full of texture and bright flavor. The stretchy center and fresh toppings make them hard to resist. Try the recipe this week, then leave a comment or rating below so others can see how it turned out for you.