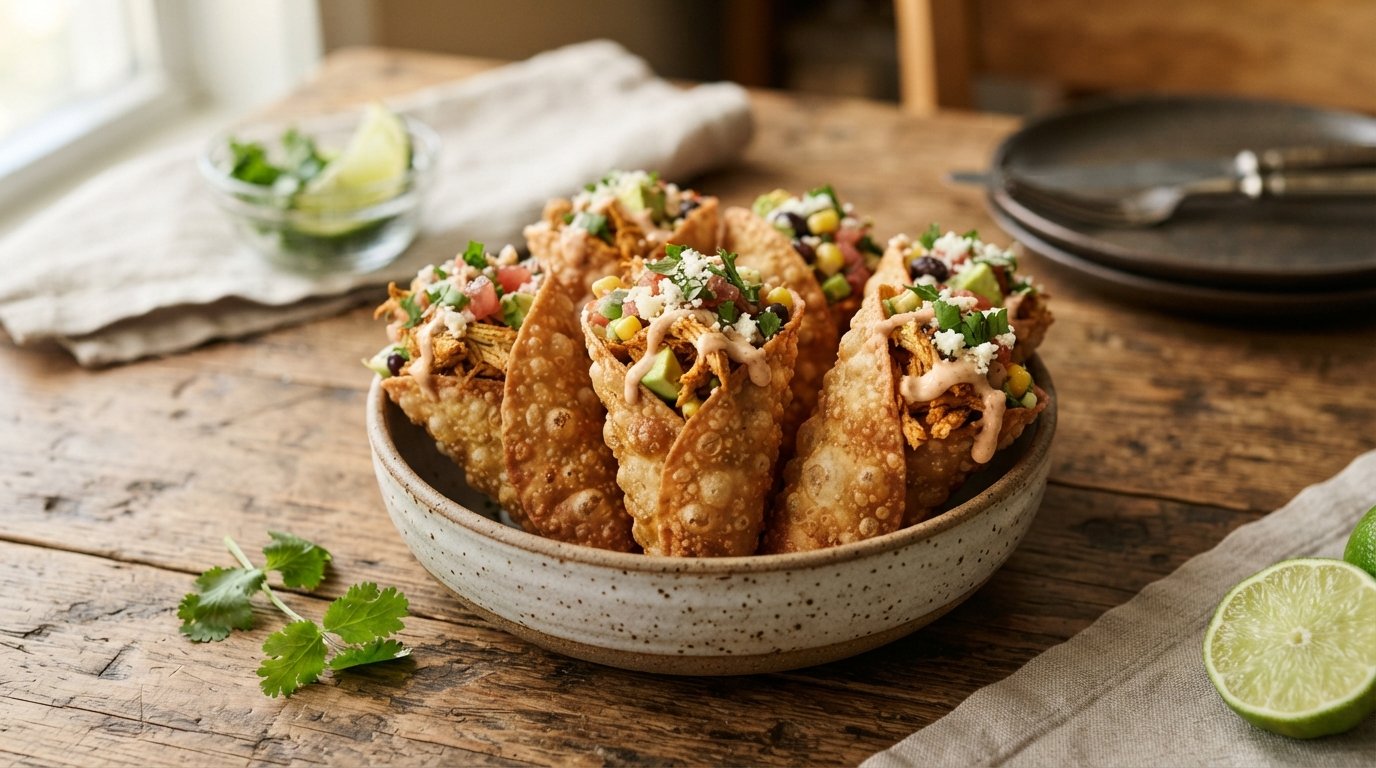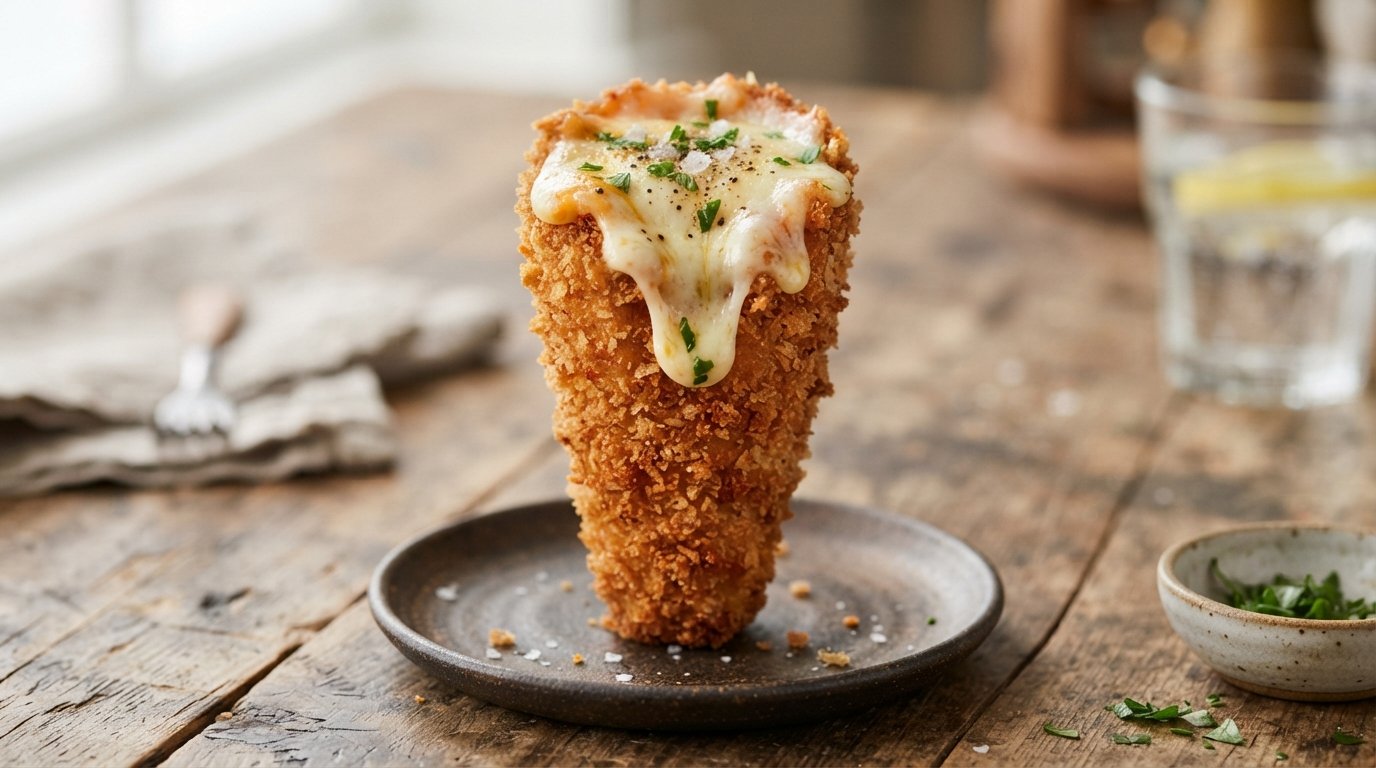
I still remember the first time I pulled apart one of these golden cones and watched the cheese stretch for days. Juicy chicken, sweet peppers, and melted cheese tucked inside a crispy tortilla shell create pure handheld joy. They look impressive yet come together with simple ingredients and a quick fry. Once you taste that crunchy exterior against the gooey center, these cones become an instant favorite for parties or casual dinners.
Related favorite: Easy Fluffy Carrot Omelet Recipe with Tender Vegetables
Why you’ll love this recipe
Crispy shells and a melty chicken filling make these cones impossible to resist.
- Golden crunchy exterior with stretchy cheese inside
- Packed with seasoned chicken and colorful peppers
- Fun handheld shape perfect for sharing
- Ready in about 30 minutes from start to finish
Ingredients
A short list of everyday items creates crispy cones filled with cheesy chicken.
- 1 lb boneless chicken breast
- 1 red bell pepper
- 1 green bell pepper
- 1 ½ cups shredded mozzarella cheese
- 6 flour tortillas
- 2 tablespoons oil
- ½ teaspoon salt
- ½ teaspoon black pepper
- Oil for frying
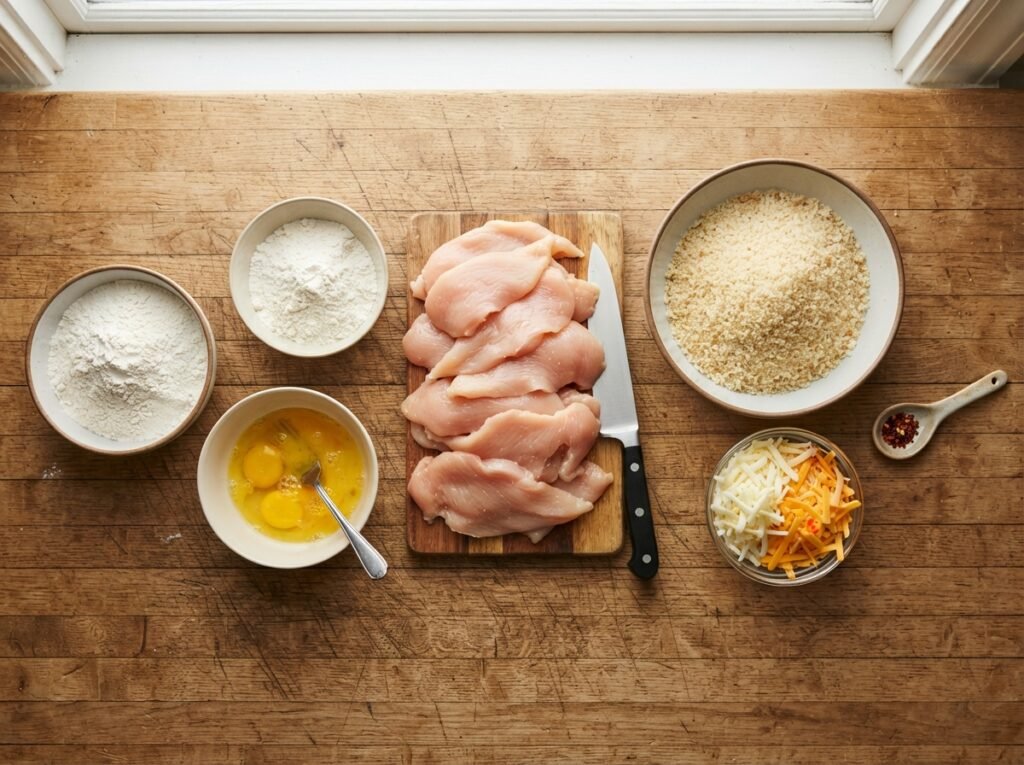
Cooked shredded rotisserie chicken works as a fast substitute for fresh diced breast. Any melting cheese such as cheddar or Monterey Jack can replace mozzarella. Flour tortillas are ideal for shaping, but larger wraps can be trimmed if needed. A pinch of garlic powder or paprika adds extra flavor without changing the core taste.
Check this out too:Crispy Cheese Corn Dogs Recipe for Perfect Homemade Bites
Step-by-step instructions
These eight clear steps turn simple ingredients into crispy, cheese-filled cones.
Step 1: Dice the chicken and peppers
Cut the chicken breast into small even cubes and dice both bell peppers into similar-sized pieces. Uniform cuts ensure everything cooks at the same rate and fits neatly into the cones.

Step 2: Cook the chicken and peppers
Heat two tablespoons of oil in a skillet over medium heat. Add the chicken, salt, and pepper, cooking until the pieces are no longer pink, then stir in the diced peppers until slightly softened.
Step 3: Melt the cheese into the filling
Sprinkle the shredded mozzarella over the hot chicken and peppers. Stir gently until the cheese melts and coats everything in a creamy, stretchy mixture.
Step 4: Warm the tortillas
Warm the flour tortillas briefly in a dry pan or microwave so they become pliable. Soft tortillas fold more easily into cone shapes without cracking.
Step 5: Shape the cones
Form each tortilla into a cone shape and hold it steady with one hand. The open end should be wide enough to hold a generous spoonful of filling.
Step 6: Fill the cones
Spoon the cheesy chicken and pepper mixture into each cone, packing it lightly. Leave a little space at the top so the filling does not spill during frying.
Step 7: Fry until golden and crisp
Heat about one inch of oil in a deep skillet to 350°F. Carefully place the filled cones in the hot oil and fry, turning once, until the tortillas are golden and crisp on all sides.
Step 8: Drain and serve hot
Lift the cones out with tongs and drain on paper towels for a minute. Serve immediately while the cheese is still molten and the shells are at peak crunch.
Tips & common mistakes
A few careful details keep the cones crispy and the filling securely inside.
- Do not overfill the cones or the filling may leak out
- Keep the oil at a steady 350°F for even browning
- Warm tortillas first so they seal without tearing
- Drain well on paper towels to avoid greasy shells
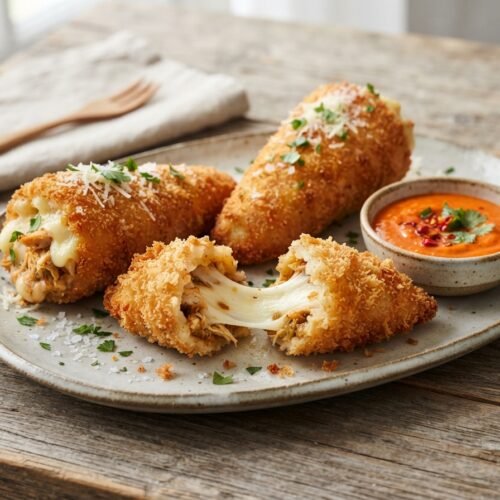
Fried Cheesy Chicken Cones
Equipment
- 1 | Skillet | for cooking filling
- 1 | Deep skillet or frying pan | for frying
- 1 Tongs
- 1 | Spoon | for filling
- 1 | Paper towels | for draining
Ingredients
- 1 | lb | boneless chicken breast | diced
- 1 | | red bell pepper | diced
- 1 | | green bell pepper | diced
- 1.5 | cups | shredded mozzarella cheese |
- 6 | | flour tortillas |
- 2 | tbsp | oil | for cooking filling
- 0.5 | tsp | salt |
- 0.5 | tsp | black pepper |
- 1 | | oil for frying | enough for 1 inch depth
Instructions
- Dice the chicken and both bell peppers into small even pieces.
- Heat 2 tablespoons oil in a skillet and cook the chicken with salt and pepper until no longer pink.
- Add the diced peppers and cook until slightly softened.
- Sprinkle mozzarella over the mixture and stir until melted and creamy.
- Warm the tortillas until pliable.
- Form each tortilla into a cone and fill with the cheesy chicken mixture.
- Heat oil to 350°F and fry the cones, turning once, until golden and crisp.
- Drain on paper towels and serve immediately while hot.
Notes
Reheat in a 375°F oven to restore crispness.
Do not overfill the cones to prevent leaking during frying.
Toothpicks can secure the seam if the tortillas tend to open.
Recipe variations
Simple changes let you customize the cones for different tastes or occasions.
- Add diced jalapeños for a spicy kick
- Swap chicken for seasoned ground beef or turkey
- Use pepper jack cheese for extra heat and melt
- Bake at 400°F instead of frying for a lighter version
What to serve with this recipe
Bright sides and dips balance the rich, cheesy cones perfectly.
- Fresh guacamole or creamy avocado dip
- Cool sour cream or ranch dressing for dipping
- Simple green salad with lime vinaigrette
- Crispy tortilla chips and salsa on the side
One more to try: Cheesy Vegetable Casserole with Broccoli and Peppers
Frequently asked questions
Here are answers to the most common questions about making fried cheesy chicken cones.
Can I assemble the cones ahead of time?
Yes, fill the cones up to two hours in advance and keep them refrigerated. Fry just before serving so the shells stay crisp and the cheese remains melted.
What oil is best for frying the cones?
Neutral oils with a high smoke point such as vegetable, canola, or peanut oil work best. These keep the flavor clean and allow the tortillas to brown evenly without burning.
How do I keep the cones from opening while frying?
Hold the seam side down for the first 20 seconds in the oil so it sets. You can also secure the edge with a toothpick if the tortilla tends to unroll.
Can these be reheated later?
Reheat leftover cones in a 375°F oven for 8 to 10 minutes. This restores crispness better than the microwave, which can make the shells soft.
Final thoughts
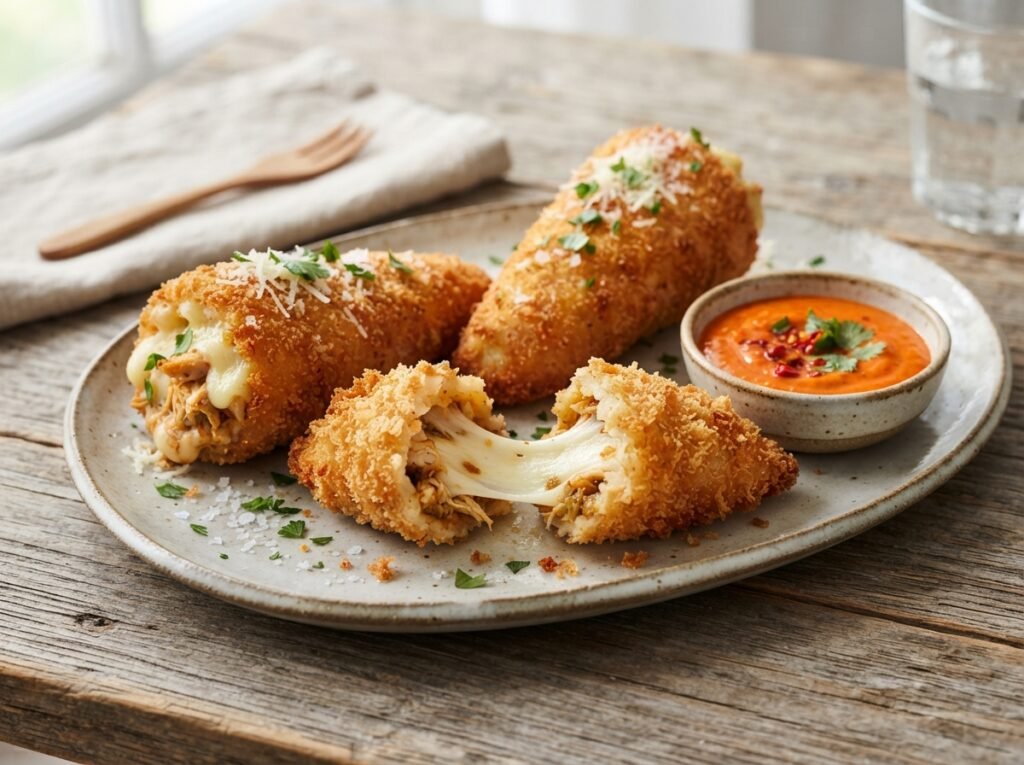
These crispy fried cheesy chicken cones deliver golden crunch and a stretchy, savory filling in every bite. They are fun to make, even more fun to eat, and always disappear fast at the table. Whether for a game-day snack or a quick weeknight treat, this recipe never fails to impress. Give them a try, leave a five-star rating if you loved them, and share your favorite filling twists in the comments below. Enjoy every cheesy, crispy bite!