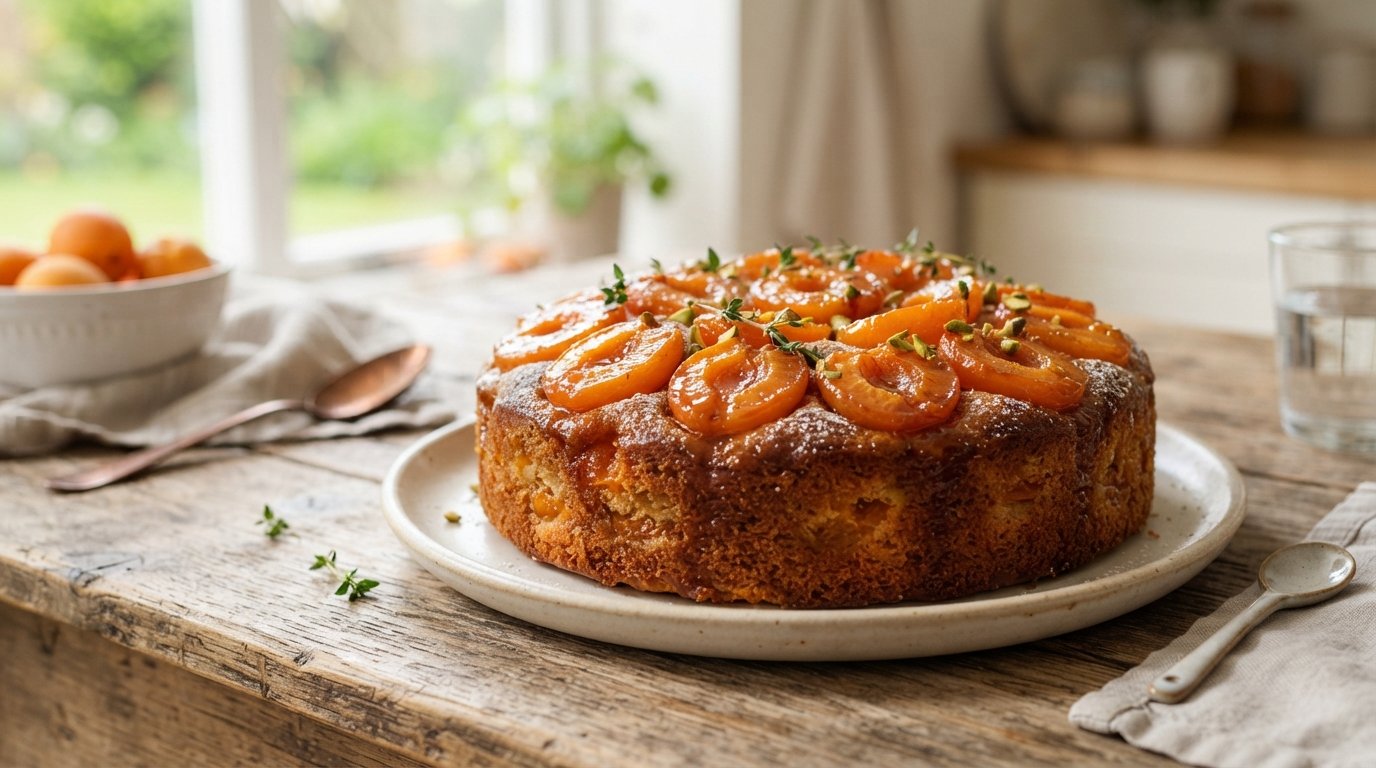
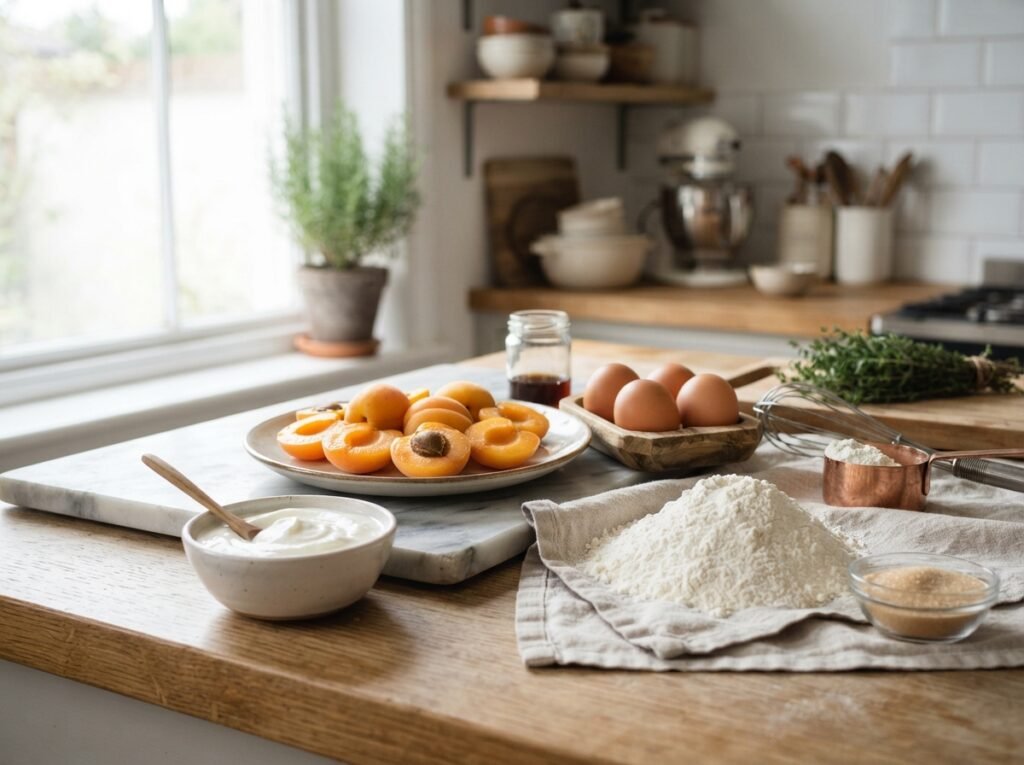
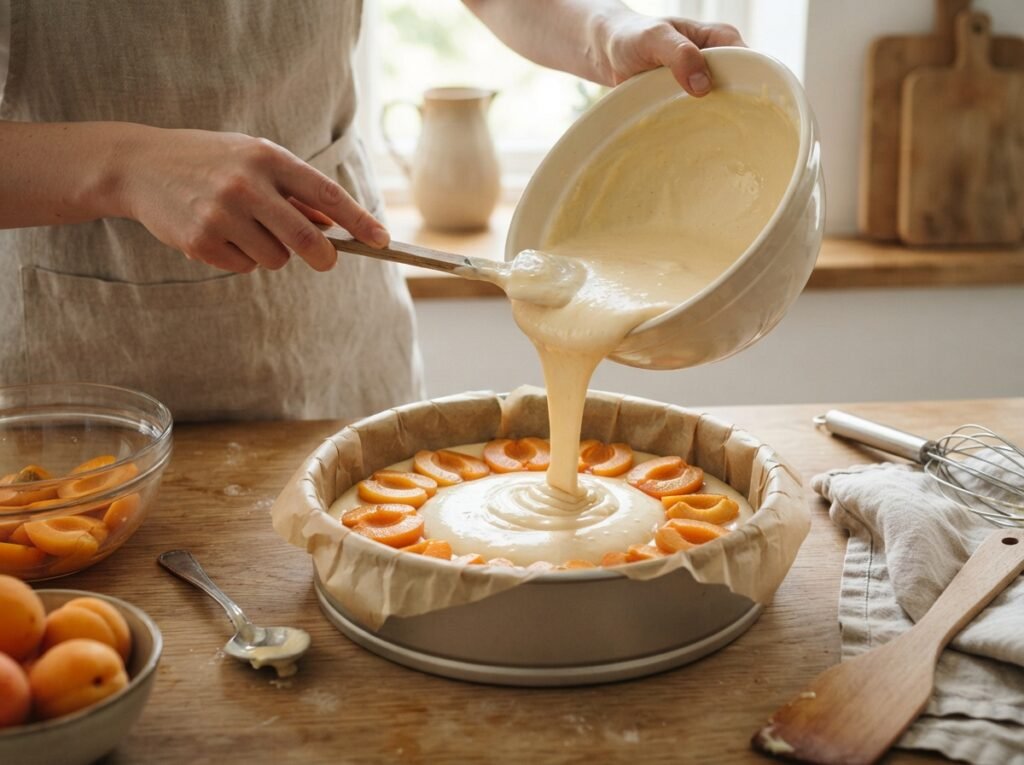
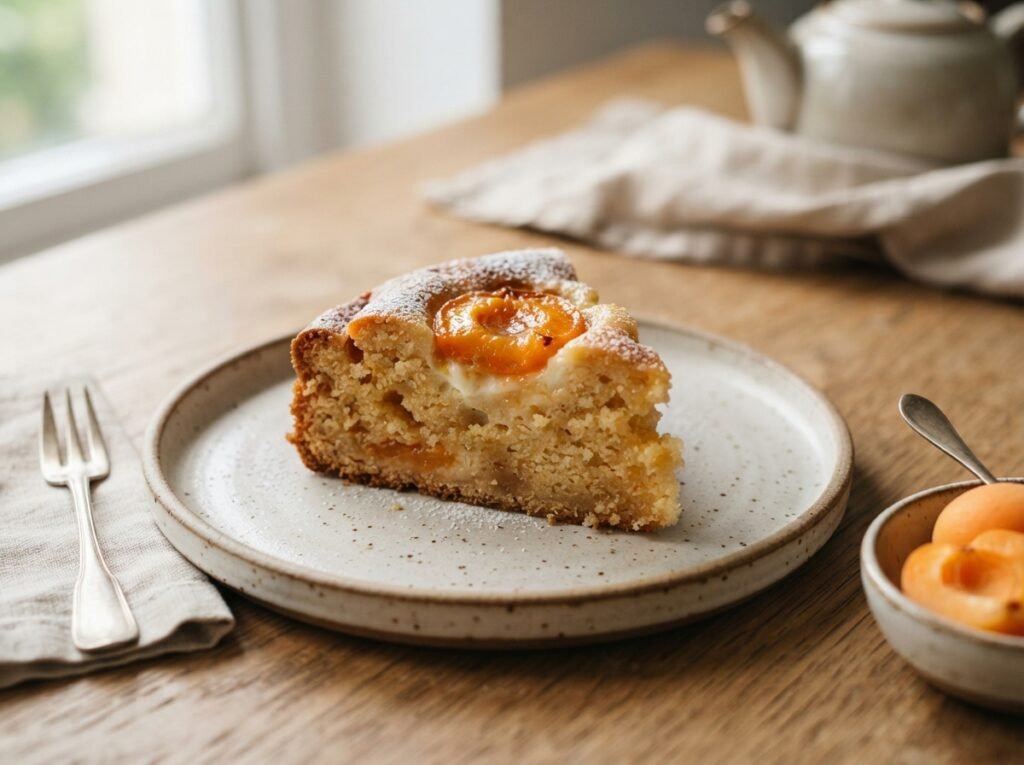
There is something undeniably comforting about a simple sheet cake that balances tangy yogurt with sweet fruit. This apricot yogurt cake is exactly that kind of effortless elegance. It comes together in one bowl, requires no fancy equipment, and delivers a moist, tender crumb that tastes like it came from a Parisian patisserie. The secret lies in the yogurt, which acts as both a tenderizer and a leavening agent, ensuring the cake stays soft for days.
Unlike dense pound cakes or dry sponge cakes, this recipe uses a high ratio of wet ingredients to create a batter that bakes up incredibly light. The addition of apricot jam swirled on top adds pockets of fruity sweetness and a beautiful caramelized finish, while pearl sugar provides a delightful crunch that contrasts with the soft interior. Whether you are hosting an afternoon tea, looking for a quick dessert, or just craving something sweet with your coffee, this cake is a reliable winner.
Why This Recipe Works
The science behind this cake’s success is rooted in the interaction between yogurt and flour. Yogurt contains lactic acid, which reacts with baking powder (if used) or simply relaxes gluten strands, resulting in a finer, more tender crumb. The fat content in the yogurt also coats the flour proteins, preventing toughness.
Furthermore, the “swirl” technique isn’t just aesthetic; it creates moisture barriers within the cake. As the jam bakes, it releases steam and sugars that caramelize slightly, keeping the top layer exceptionally moist. The pearl sugar doesn’t fully melt during the bake, providing textural interest that prevents the cake from feeling monotonous. This combination of chemical leavening, fat distribution, and strategic topping placement makes this recipe foolproof.
Why You’ll Love This Apricot Yogurt Cake
One-Bowl Method: Minimal cleanup and less chance of overmixing.
Moisture Guarantee: The yogurt base ensures the cake never dries out, even days later.
Visual Appeal: The marbled top and golden crust look professional with zero effort.
Versatile Fruit: While apricot is classic, the base batter works with any jam or fresh fruit.
Texture Contrast: Soft cake, sticky jam, and crunchy sugar pearls in every bite.
Beginner Friendly: No creaming butter, no separating eggs—just whisk and bake.
Ingredient Notes
For the Batter
Eggs: Large, room temperature eggs emulsify better with oil and yogurt, creating a stable structure. Cold eggs can cause the batter to seize.
Sugar: Granulated white sugar provides sweetness and helps aerate the batter when whisked. Caster sugar dissolves faster but regular granulated works fine.
Oil: Neutral vegetable oil (canola, grapeseed, or sunflower) keeps the cake moist longer than butter. Butter can solidify when cool, leading to a drier texture.
Yogurt: Plain, whole-milk yogurt is best. Greek yogurt works but may make the batter too thick; thin it with a splash of milk if needed. Avoid flavored yogurts as they alter the sugar balance.
Flour: All-purpose flour is standard. Cake flour can be used for an even lighter crumb, but AP flour provides enough structure to hold the jam swirls.
For the Topping
Apricot Jam: Use a high-quality jam with visible fruit pieces rather than jelly. The chunks provide bursts of flavor and better visual marbling. Warm it slightly if it’s too stiff to pipe or drizzle.
Pearl Sugar: Also known as nib sugar. These large, opaque crystals withstand heat without melting completely. If unavailable, coarse sanding sugar is a substitute, though it will melt more.
Kitchen Equipment
Large Mixing Bowl: Wide enough to whisk vigorously without splashing.
Whisk: Balloon whisk is ideal for incorporating air into the egg-sugar mixture.
Fine Mesh Sieve: Essential for sifting flour to prevent lumps and ensure a smooth batter.
Square Baking Pan (8×8 or 9×9 inch): Metal pans conduct heat faster for crisp edges; glass pans retain heat for softer edges. Line with parchment paper for easy removal.
Spoon or Spatula: For smoothing batter and swirling jam.
Toothpick or Skewer: For creating the marbled pattern.
Cooling Rack: Prevents the bottom from getting soggy due to trapped steam.
Step-by-Step Instructions
Preparing the Wet Ingredients
Crack 4 large eggs into a large mixing bowl. Add 1 cup (200g) of granulated sugar. Whisk vigorously for 2-3 minutes until the mixture is pale yellow and slightly thickened. Pour in ½ cup (120ml) of neutral oil and ¾ cup (180g) of plain yogurt. Whisk again until fully combined and smooth.
Why it matters: Whisking eggs and sugar first dissolves the sugar crystals and incorporates air, which helps the cake rise. Adding oil and yogurt afterward ensures they are evenly distributed without deflating the mixture too much.
Visual Cue: The mixture should look creamy and uniform, not separated or oily.
Incorporating the Dry Ingredients
Sift 1 ½ cups (190g) of all-purpose flour directly into the wet mixture. Gently fold or whisk on low speed until just combined. Do not overmix! Stop as soon as no white streaks remain.
Why it matters: Overmixing develops gluten, leading to a tough, chewy cake instead of a tender crumb. Sifting aerates the flour and breaks up clumps.
Texture Cue: The batter should be thick but pourable, similar to pancake batter.
Assembling and Marbling
Pour the batter into your prepared square pan and smooth the top with a spoon. Drizzle ½ cup of apricot jam in parallel lines across the surface. Sprinkle 2 tablespoons of pearl sugar evenly over the top. Take a toothpick or skewer and drag it perpendicular to the jam lines, then drag it back in the opposite direction to create a feathered or chevron pattern.
Pro Tip: Don’t over-swirl! Two or three passes are enough. Over-mixing the jam into the batter will turn the whole cake orange and muddy the distinct layers.
Aroma Cue: You should smell the sweet, fruity scent of warm apricots as the jam hits the batter.
Baking to Golden Perfection
Preheat oven to 350°F (175°C). Bake for 35–40 minutes. The cake is done when the top is deep golden brown, the edges pull away slightly from the pan, and a toothpick inserted into the center comes out clean or with a few moist crumbs (not wet batter).
Doneness Test: The top should spring back when gently pressed. If it leaves an indent, it needs more time.
Color Cue: Look for an even golden-brown crust. Pale tops indicate underbaking; dark brown edges suggest the oven is too hot.
Expert Tips for a Moist Crumb
Room Temperature Ingredients: Always bring eggs and yogurt to room temp before starting. This creates a smoother emulsion and prevents the oil from solidifying.
Don’t Overbake: Yogurt cakes continue to cook slightly from residual heat. Pull it when the toothpick has moist crumbs, not bone dry.
Parchment Paper Sling: Line the pan with parchment leaving an overhang on two sides. This allows you to lift the entire cake out for easier slicing and cooling.
Jam Consistency: If your jam is very runny, mix it with a teaspoon of cornstarch before drizzling. This prevents it from sinking to the bottom.
Common Mistakes to Avoid
Overmixing the Batter: This is the #1 cause of dense cake. Mix until just combined. Lumps are okay; toughness is not.
Using Low-Fat Yogurt: Fat equals moisture and flavor. Non-fat yogurt can result in a rubbery texture. Stick to whole milk or full-fat Greek yogurt.
Skipping the Sift: Unsifted flour can lead to pockets of dry powder in the finished cake.
Opening the Oven Door Early: Drafts can cause the cake to collapse. Wait until at least the 25-minute mark to check.
Cutting While Hot: The structure is still setting. Cutting too early causes crumbling and squishing. Let it cool completely.
Recipe Variations
Lemon Blueberry: Swap apricot jam for lemon curd and fold in 1 cup fresh blueberries. Add lemon zest to the batter.
Raspberry Almond: Use raspberry jam and add ½ tsp almond extract to the batter. Top with sliced almonds instead of pearl sugar.
Chocolate Swirl: Replace jam with Nutella or melted chocolate. Swirl gently for a marble effect.
Vegan Version: Substitute eggs with flax eggs (4 tbsp ground flax + 12 tbsp water). Use coconut yogurt and maple syrup instead of sugar.
Gluten-Free: Use a 1:1 GF baking blend. Add ¼ tsp xanthan gum if the blend doesn’t contain it, to mimic gluten structure.
Spiced Chai: Add 1 tsp cinnamon, ½ tsp cardamom, and ¼ tsp ginger to the dry ingredients. Pair with fig jam.
What to Serve With This Cake
This cake is versatile enough for many occasions:
Coffee or Tea: The classic pairing. The tangy yogurt cuts through the bitterness of espresso or black tea.
Whipped Cream: A dollop of unsweetened whipped cream balances the sweetness of the jam.
Vanilla Ice Cream: Serve warm cake with cold ice cream for a temperature contrast.
Fresh Berries: Strawberries or raspberries add freshness and acidity.
Mascarpone: Spread a layer of mascarpone cheese on top for a richer, Italian-inspired twist.
Sparkling Wine: Makes an elegant brunch dessert pairing.
Make Ahead and Storage Tips
Room Temp: Store covered at room temperature for up to 3 days. The yogurt keeps it moist without refrigeration.
Refrigerator: Keeps for up to 5 days. Bring to room temp before serving to restore softness.
Freezer: Wrap individual slices tightly in plastic wrap and foil. Freeze for up to 2 months. Thaw overnight in fridge or 30 mins at room temp.
Batter Prep: You can mix the batter up to 24 hours ahead and store in the fridge. Let it come to room temp for 20 mins before baking.
Reheating Instructions
Microwave: 10-15 seconds on medium power. Restores softness instantly.
Oven: 300°F for 5-8 minutes. Best for reviving crisp edges and warming the jam.
Toaster Oven: Similar to oven method. Great for single slices.
Avoid High Heat: High heat will melt the pearl sugar completely and dry out the cake.
Nutritional Information
Estimates per serving (1/9th of cake):
Calories: 280
Protein: 5g
Carbohydrates: 38g
Fat: 12g
Fiber: 1g
Sugar: 22g
Sodium: 45mg
Troubleshooting Guide
Problem
Cause
Solution
Cake Sunk in Middle
Underbaked or too much leavening.
Bake longer next time. Check oven temp accuracy.
Dry/Crumbly Texture
Overmixed or overbaked.
Mix until just combined. Pull out when moist crumbs stick to toothpick.
Jam Sank to Bottom
Jam too thin or batter too loose.
Thicken jam with cornstarch. Chill batter 10 mins before adding jam.
Pale Top
Oven too low or rack too low.
Move rack to upper third. Increase temp by 25°F next time.
Tough Texture
Overmixed flour.
Fold gently. Use cake flour for lower protein content.
Frequently Asked Questions
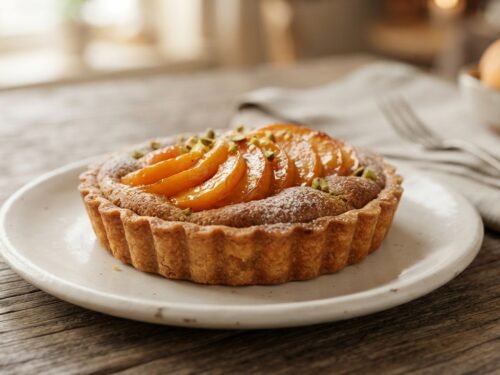
Can I use fresh apricots instead of jam? Yes, but toss diced fresh apricots in 1 tbsp flour first to prevent sinking. Note that fresh fruit releases more water, so baking time may increase by 5-10 minutes.
Why did my pearl sugar disappear? Some brands melt faster than others. Try adding them halfway through baking or switch to a brand labeled “oven stable.” Coarse sanding sugar is a good backup.
Can I make this in a round pan? Absolutely. An 8 or 9-inch round pan works perfectly. Adjust baking time by 5 minutes; round cakes often bake slightly faster in the center.
Is this cake suitable for diabetics? Not as written due to sugar and jam. You could try erythritol and sugar-free jam, but the texture may change significantly. Consult a nutritionist for specific dietary needs.
Can I double the recipe? Yes, but use a larger pan (9×13) and increase baking time to 45-55 minutes. Check doneness carefully as thicker cakes take longer to set in the center.
What if I don’t have yogurt? Sour cream or crème fraîche are excellent 1:1 substitutes. Buttermilk works too but reduces fat content; add 2 tbsp extra oil to compensate.
Why does the top crack? High oven temperature causes rapid rising and cracking. This is actually desirable in yogurt cakes! It creates rustic charm and crispy edges.
Can I add nuts? Yes! Fold ½ cup chopped walnuts or pistachios into the batter for added crunch and flavor. Toast them first for maximum aroma.
Final Thoughts
This apricot yogurt cake proves that simplicity often yields the most delicious results. It’s a recipe that respects your time while delivering bakery-quality flavor and texture. The beauty of this cake lies in its adaptability—once you master the base, you can rotate fruits and flavors with the seasons.
I hope this recipe becomes a staple in your kitchen rotation. If you try it, please leave a comment below sharing your favorite variation or how you served it. Your feedback inspires our community and helps others succeed! Don’t forget to rate the recipe if you enjoyed it. Happy baking!