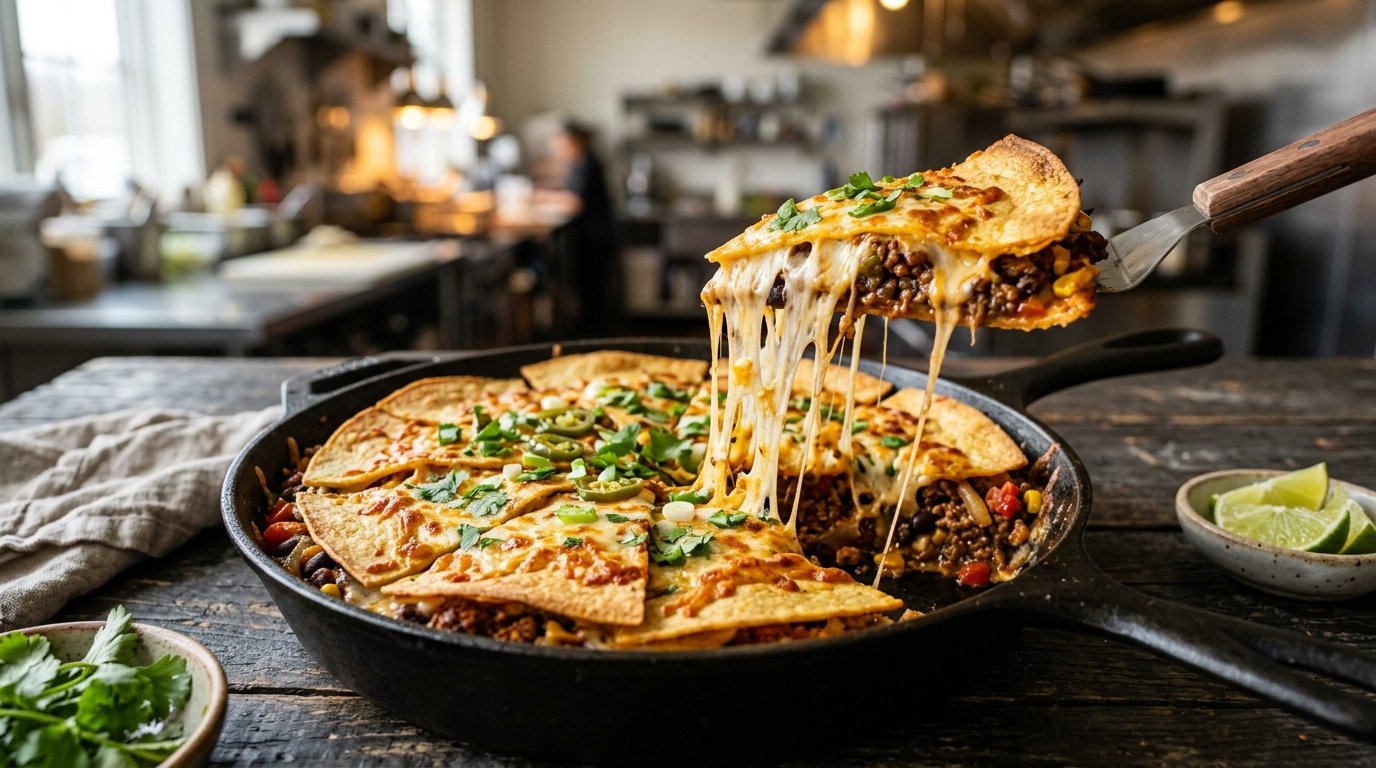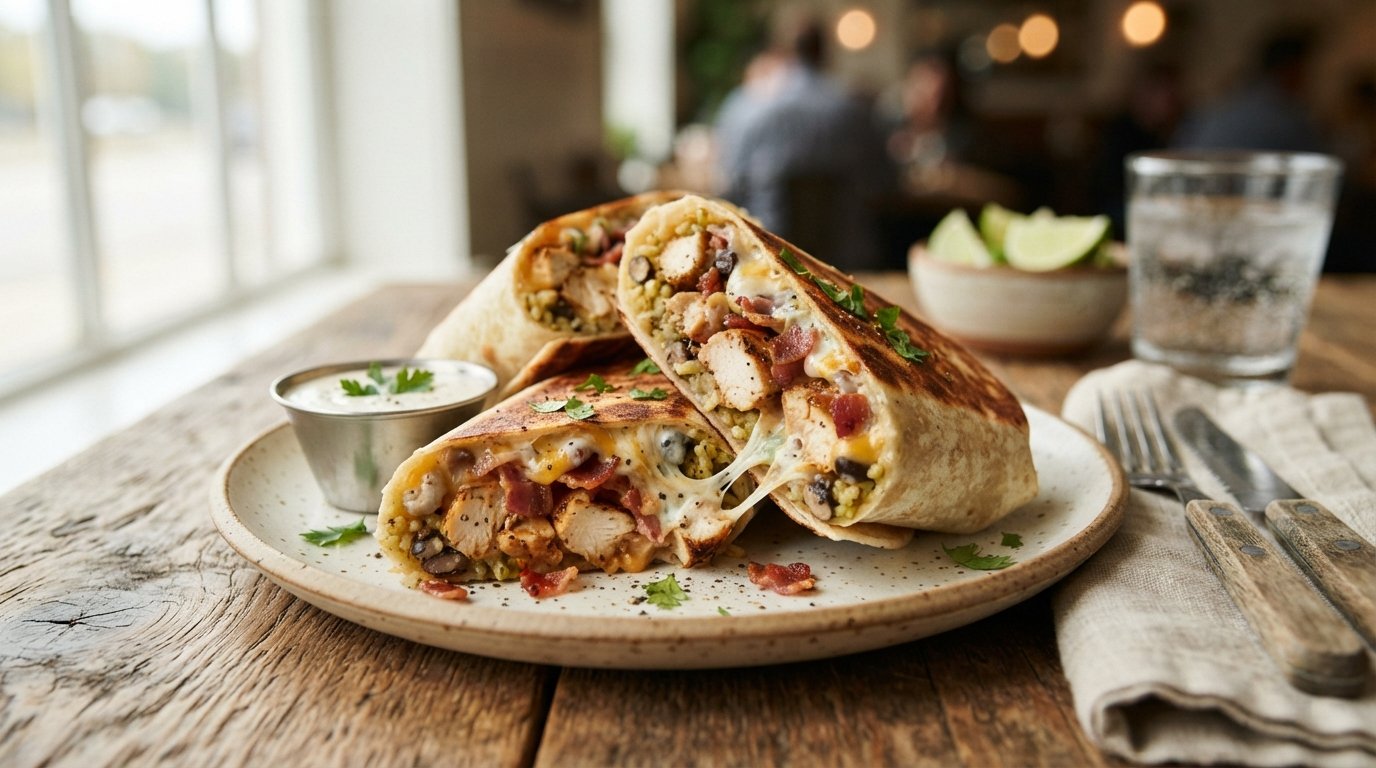
Some days call for bold, cheesy comfort food that still feels fun to make. This chicken bacon ranch cheese burrito starts with a crispy baked mozzarella base, layers on juicy chicken, smoky bacon, crisp lettuce, and cool ranch, then rolls everything tight. The result is a handheld meal packed with flavor in every bite. It comes together quickly and satisfies like your favorite takeout, only fresher and better.
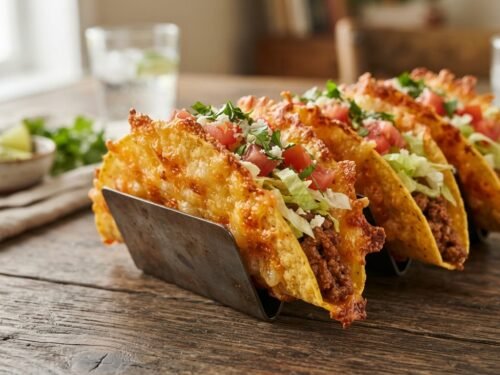
Worth trying next: Crispy cheese taco shells
Why you’ll love this recipe
This chicken bacon ranch cheese burrito delivers big flavor with simple steps and pantry staples.
- Crispy baked mozzarella creates a cheesy base
- Smoky bacon and ranch add classic comfort
- Juicy chicken keeps every bite satisfying
- Ready to roll and eat in under thirty minutes
Ingredients
These easy ingredients build a loaded chicken bacon ranch cheese burrito that tastes better than takeout.
- 1 cup shredded mozzarella
- 3 strips bacon
- 1 large flour tortilla
- 6 ounces cooked chicken breast
- 1 cup shredded lettuce
- 3 tablespoons ranch dressing
- Salt and black pepper
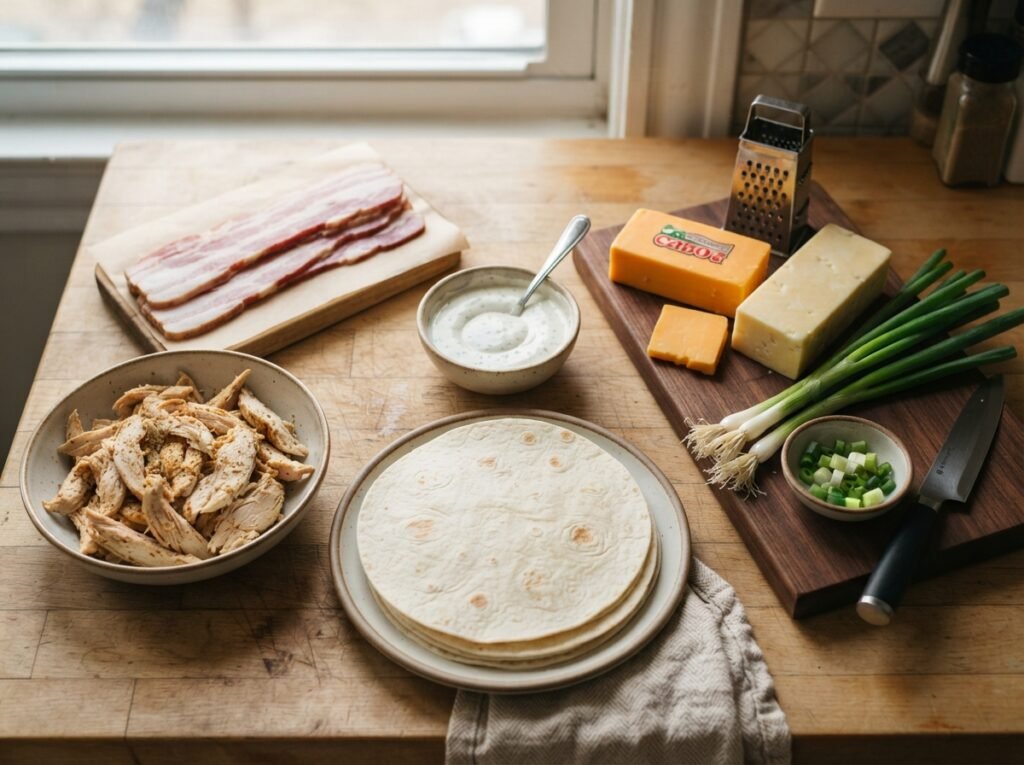
Pre-cooked rotisserie chicken works perfectly and saves time. Turkey bacon can replace regular bacon for a lighter option. Any shredded melting cheese such as cheddar or a Mexican blend can stand in for mozzarella. Use a large burrito-size tortilla so everything wraps easily without tearing.
Don’t miss: Homemade ranch dressing
Step-by-step instructions
These clear steps walk you through building the ultimate chicken bacon ranch cheese burrito at home.
Step 1: Prepare the cheese base
Preheat the oven to 400°F and line a baking sheet with parchment paper. Spread the shredded mozzarella into a thin even circle about the size of your tortilla.
Step 2: Add the bacon
Lay the bacon strips across the mozzarella circle. Bake for eight to ten minutes until the cheese is golden and crispy around the edges.
Step 3: Blot the grease
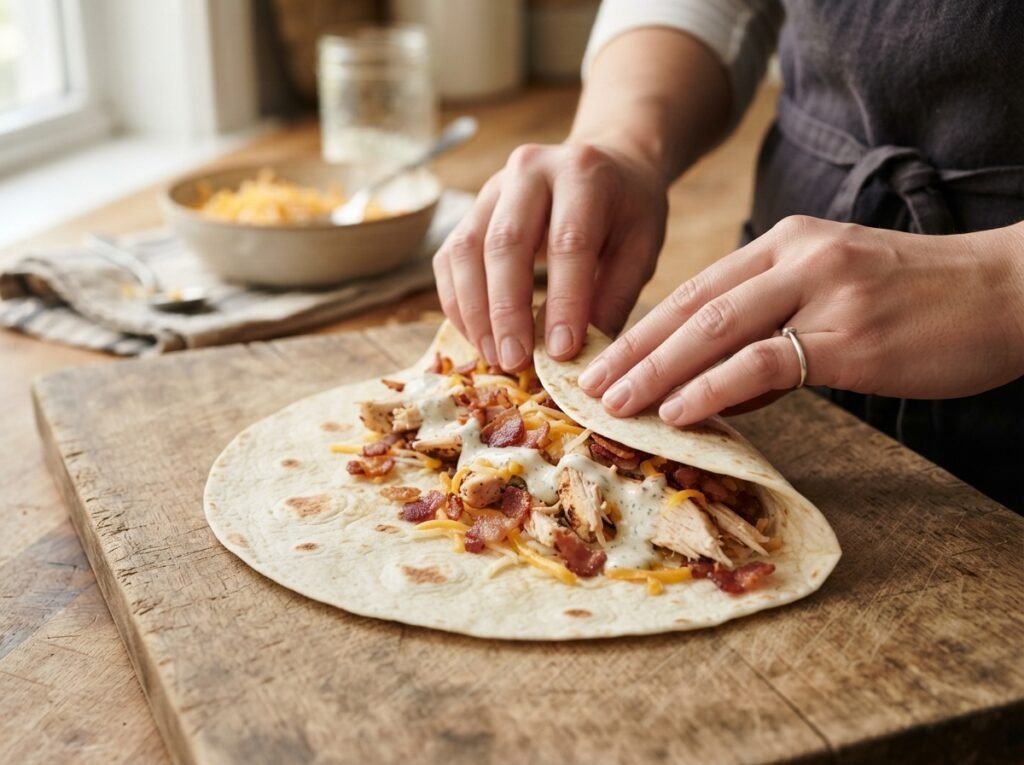
Carefully remove the baking sheet and flip the cheese-bacon crisp. Press paper towels on top to soak up excess grease so the base stays crisp.
Step 4: Warm the tortilla
Place the flour tortilla on a clean surface or warm it briefly in a dry skillet. This makes it more pliable and easier to roll tightly.
Step 5: Layer the chicken
Slice the cooked chicken breast and arrange it evenly across the center of the cheese crisp or directly on the tortilla. Season lightly with salt and pepper if needed.
Step 6: Add lettuce and ranch
Top the chicken with a generous layer of shredded lettuce. Drizzle the ranch dressing evenly over the lettuce and chicken for creamy flavor in every bite.
Step 7: Assemble the burrito
Place the cheese-bacon crisp over the fillings or fold everything into the tortilla. Tuck in the sides and roll tightly from the bottom to form a secure burrito.
Step 8: Slice and serve
Cut the burrito in half on a diagonal if desired. Serve immediately while the cheese is still warm and the bacon remains crisp.
Tips & common mistakes
A few practical pointers help you avoid common issues and get the best texture every time.
- Spread cheese in a thin even layer for crispiness
- Blot grease thoroughly so the base stays crunchy
- Do not overfill or the burrito may tear
- Roll tightly and serve right away for best results

Chicken Bacon Ranch Cheese Burrito
Equipment
- 1 | Baking sheet | lined with parchment
- 1 | Paper towels | for blotting grease
- 1 | Knife | for slicing chicken
- 1 | cutting board |
Ingredients
- 1 | cup | shredded mozzarella |
- 3 | strips | bacon |
- 1 | large | flour tortilla | burrito size
- 6 | ounces | cooked chicken breast | sliced
- 1 | cup | shredded lettuce |
- 3 | tablespoons | ranch dressing |
- 1 | | salt | to taste
- 1 | | black pepper | to taste
Instructions
- Preheat oven to 400°F and line a baking sheet with parchment.
- Spread mozzarella into a thin circle and top with bacon strips.
- Bake 8-10 minutes until cheese is golden and crispy.
- Flip the crisp and blot excess grease with paper towels.
- Warm the flour tortilla if desired.
- Layer sliced chicken, shredded lettuce, and ranch dressing on the cheese crisp or tortilla.
- Roll tightly into a burrito, tucking in the sides.
- Slice in half if desired and serve immediately.
- Tip: Blot the cheese crisp well so it stays crunchy inside the burrito.
Notes
Store any leftovers tightly wrapped in the refrigerator up to 1 day.
Rotisserie chicken makes this even faster.
Use a large tortilla to prevent tearing when rolling.
Recipe variations
Simple changes let you customize this chicken bacon ranch cheese burrito to match different preferences.
- Swap chicken for grilled steak or shrimp
- Add diced tomato or avocado for freshness
- Use spicy ranch or chipotle sauce for heat
- Make it low-carb by skipping the tortilla
What to serve with this recipe
These easy sides and drinks round out the burrito into a complete and satisfying meal.
- Crispy seasoned fries or chips
- Simple side salad with ranch
- Fresh fruit or coleslaw
- Iced tea or cold soda
One more to try: Loaded potato wedges
Frequently asked questions
Here are helpful answers to the questions people ask most about making this burrito at home.
Can I make the cheese crisp ahead of time?
Yes, bake the mozzarella and bacon crisp up to a few hours early. Store it at room temperature and assemble the burrito just before eating so it stays crisp.
What kind of chicken works best?
Grilled or pan-seared chicken breast is ideal. Rotisserie chicken also works well and cuts the prep time significantly without sacrificing flavor.
How do I keep the burrito from falling apart?
Use a large tortilla, avoid overfilling, and roll it tightly while tucking the sides in. Serving immediately also helps everything stay together.
Can I reheat leftovers?
Reheat gently in a skillet or air fryer to restore some crispness. The microwave works in a pinch but will soften the cheese base more.
Final thoughts

This chicken bacon ranch cheese burrito turns everyday ingredients into something crave-worthy and fun. The crispy cheese, smoky bacon, cool ranch, and juicy chicken create the perfect balance of textures and flavors. Make it for a quick lunch, easy dinner, or game-day bite. Try the recipe soon and leave a comment or rating below to let others know how it turned out for you.