Quick Recipe Summary
| Detail | Info |
|---|---|
| Prep Time | 15 minutes |
| Cook Time | 12-15 minutes |
| Total Time | 30 minutes |
| Servings | 12 cookie cups |
| Cuisine | American |
| Course | Dessert / Snack |
| Difficulty | Easy |
| Calories | ~250-300 per cup (est.) |
Table of Contents
- Introduction
- Why This Recipe Works
- Why You’ll Love This Recipe
- Ingredient Notes
- Kitchen Equipment
- Step-by-Step Instructions
- Expert Tips
- Common Mistakes
- Recipe Variations
- What to Serve With This Recipe
- Make Ahead & Meal Prep Tips
- Storage & Reheating
- Nutritional Information
- Troubleshooting Guide
- Frequently Asked Questions
- Final Thoughts
Introduction
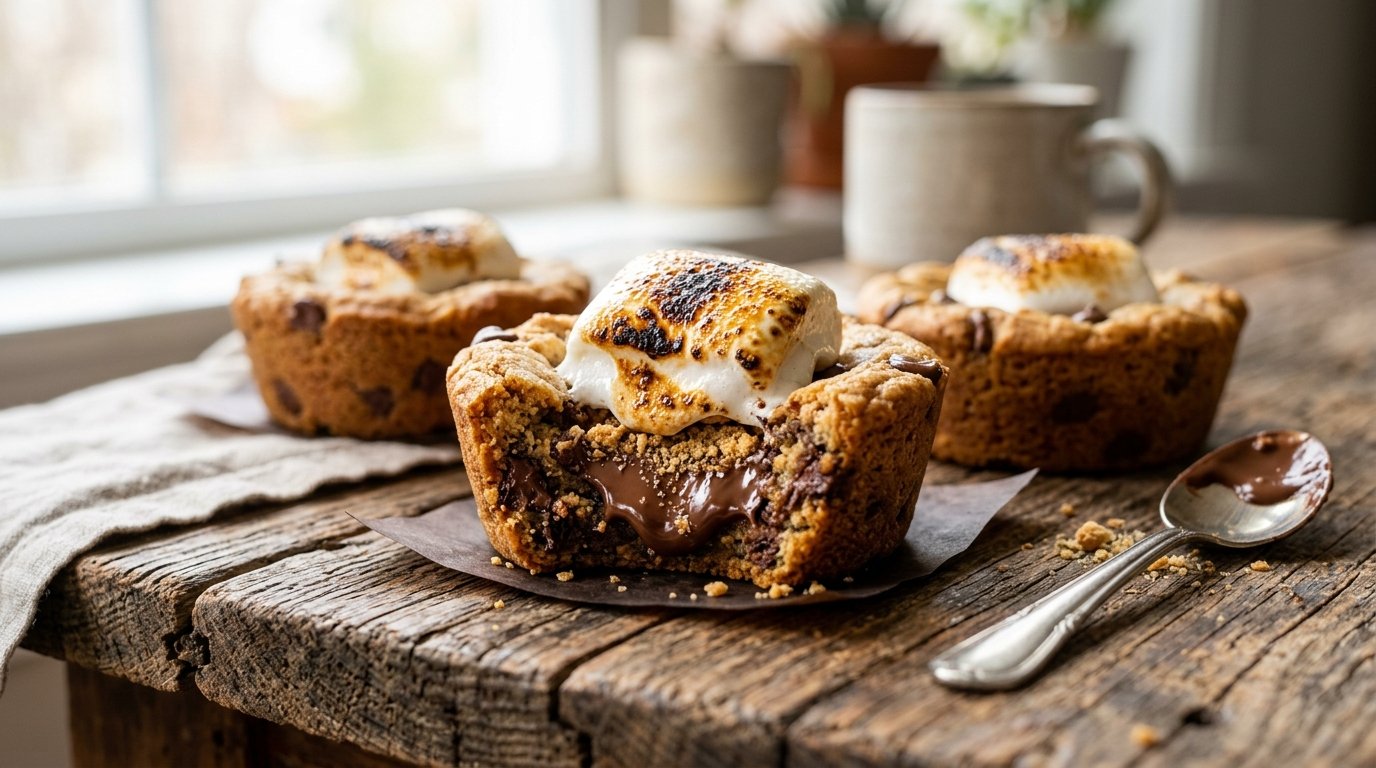
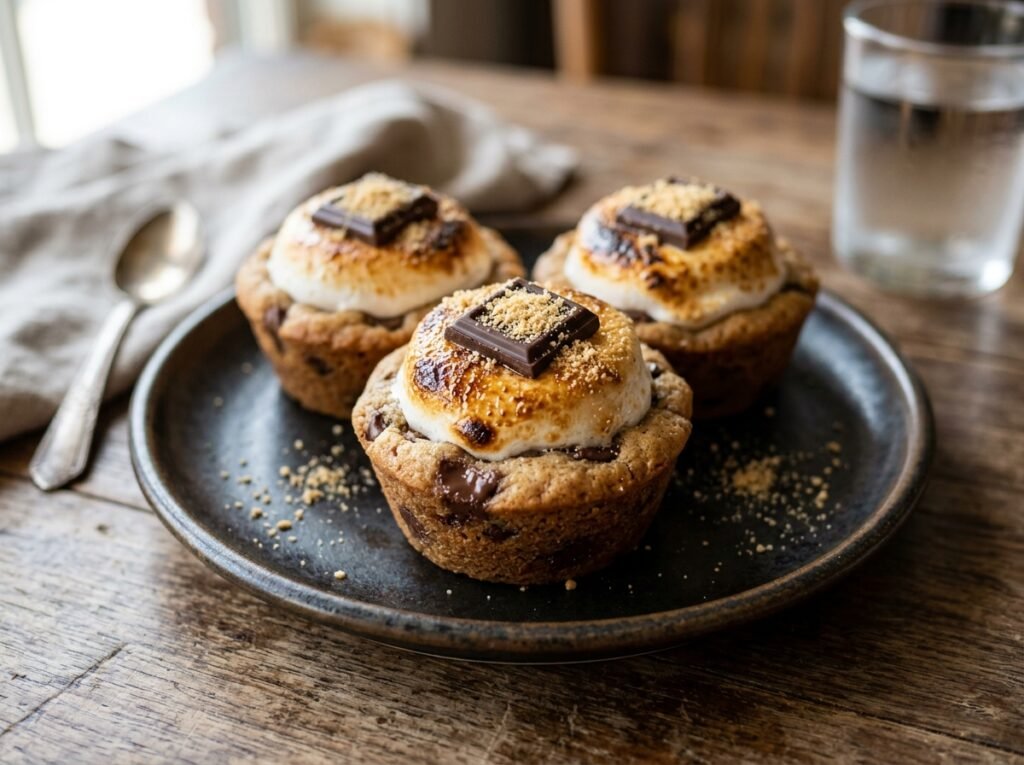
Nothing beats the nostalgic combination of graham crackers, chocolate, and toasted marshmallows—except when it’s baked right into chocolate chip s’mores cookie cups. These individual treats deliver soft, chewy cookie bases loaded with chocolate chips, topped with melty chocolate pieces and gooey marshmallows that create that perfect s’mores pull in every bite. They’re quick to make and impossible to resist.
Why This Recipe Works
Baking the cookie dough in a muffin tin with parchment liners gives structure while keeping the centers soft and chewy. Adding chocolate and marshmallows toward the end allows them to melt beautifully without burning. The classic chocolate chip cookie base provides a sturdy yet tender foundation that holds up to the toppings.
Why You’ll Love This Recipe
- All the s’mores flavor without a campfire.
- Portable and shareable—perfect for parties or lunchboxes.
- Ready in 30 minutes from start to finish.
- Customizable with mix-ins.
- Irresistible texture—chewy cookie, melty chocolate, and stretchy marshmallow.
Ingredient Notes
- Butter (softened): Creates tenderness and rich flavor. Use unsalted for control.
- Sugars (granulated and brown): Brown sugar adds moisture and chew.
- Eggs: Bind and add structure.
- Vanilla extract: Enhances all flavors.
- Flour: Provides the base structure.
- Chocolate chips and chocolate pieces: For pockets of melty chocolate.
- Marshmallows (mini or regular): Deliver the signature gooey s’mores element.
Substitutions: Use dairy-free butter/chocolate or gluten-free flour blend as needed. Buying tips: Choose good-quality chocolate for best melt. Storage tips: Keep dry ingredients sealed.
Kitchen Equipment
Required:
- Large mixing bowl
- Whisk or electric mixer
- Muffin tin
- Parchment paper or liners
- Cookie scoop
- Oven
Optional: Cooling rack, measuring cups/spoons.
Step-by-Step Instructions
Step 1: Prepare the Wet Ingredients
In a large bowl, cream softened butter with sugars until light and fluffy. Add eggs and vanilla, mixing until smooth and well combined. The mixture should look pale and creamy.
Why it matters: Creaming incorporates air for a tender texture.
Step 2: Add Dry Ingredients and Chocolate Chips
Gradually mix in the flour until just combined—avoid overmixing to keep cookies tender. Fold in chocolate chips. The dough should be thick and scoopable.
Visual cue: Uniform color with visible chocolate pieces.
Step 3: Scoop into Muffin Tin
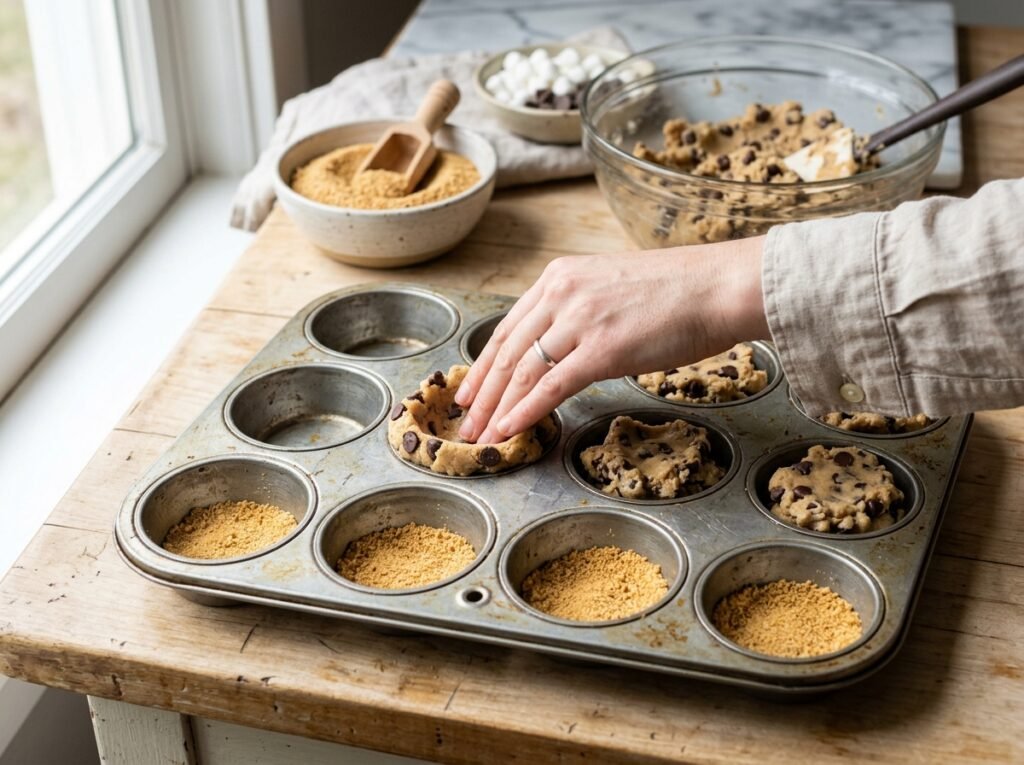
Line a muffin tin with parchment squares or liners. Scoop cookie dough into each cup, pressing lightly to fill evenly.
Step 4: Add S’mores Toppings
Press chocolate pieces and marshmallows into the top of each dough mound.
Pro tip: Don’t press too deeply so they stay visible after baking.
Step 5: Bake
Bake at 350°F (standard cookie temp) for 12-15 minutes until edges are golden and centers are set but still soft. Marshmallows will puff and toast lightly.
Doneness cues: Golden brown edges; marshmallows slightly toasted and melty.
Step 6: Cool and Serve
Let cool slightly in the tin before removing with parchment. Enjoy warm for maximum gooeyness.
Expert Tips
- Use parchment squares for easy removal and rustic look.
- Slightly underbake for extra chewy centers.
- Warm slightly before serving to revive the marshmallow pull.
- Experiment with different chocolate types (milk, dark, etc.).
Common Mistakes
- Dry cookies: Overbaking or overmixing dough.
- Marshmallows sinking: Add them toward the end of baking or press gently.
- Sticking: Always use parchment or good liners.
- Uneven baking: Rotate the pan halfway through.
Recipe Variations
- Extra Gooey: Add more marshmallows or a chocolate drizzle.
- Graham Cracker: Mix crushed graham crackers into the dough.
- Nutty: Add chopped nuts or peanut butter chips.
- Gluten-Free: Use a 1:1 gluten-free flour.
- Mini Version: Use a mini muffin tin for bite-sized treats.
What to Serve With This Recipe
- Drinks: Cold milk, hot chocolate, or coffee.
- Sides: Fresh fruit or vanilla ice cream.
- Occasions: Parties, bake sales, or campfire-themed gatherings.
Make Ahead & Meal Prep Tips
Prepare dough up to 2 days ahead and refrigerate. Scoop and top just before baking for freshest results. Baked cups can be frozen.
Storage & Reheating
Room Temp: Store in an airtight container for 2-3 days. Refrigerator/Freezer: Up to 1 week or 2 months frozen. Reheating: Microwave 10-15 seconds or warm in a 300°F oven for gooey texture.
Nutritional Information (Approximate per cookie cup)
- Calories: 250-300
- Protein: 3-4g
- Carbohydrates: 35-40g
- Fat: 12-15g
- Sugar: 20-25g
Troubleshooting Guide
- Cookies spreading too much: Chill dough before baking.
- Marshmallows burning: Tent with foil if needed or add later.
- Hard after cooling: Warm before eating.
Frequently Asked Questions
Can I make these without a muffin tin? Yes, but they may spread more—use a baking sheet with space.
Do I need graham crackers? Not in the base—the toppings give the s’mores vibe.
How do I get the perfect marshmallow pull? Serve warm and pull apart gently.
Can I freeze the dough? Yes—scoop and freeze, then bake from frozen with extra time.
What size marshmallows? Mini or quartered regular work best.
Final Thoughts
These chocolate chip s’mores cookie cups bring all the fun of campfire s’mores into an easy, bake-at-home dessert that everyone will adore. With their chewy cookie base, melty chocolate, and toasty marshmallows, they’re a guaranteed hit for any occasion. Whip up a batch soon—you’ll love how quickly they disappear. Share your results or favorite variations in the comments, and don’t forget to rate the recipe! Happy baking.