| Quick Recipe Summary | |
|---|---|
| Prep Time | 12 minutes |
| Cook Time | 3 minutes |
| Total Time | 15 minutes |
| Servings | 1 large wrap (or 2 halves) |
| Cuisine | American |
| Course | Lunch / Main |
| Difficulty | Easy |
| Calories | Approximately 680 kcal |
Table of Contents
| Section |
|---|
| Introduction |
| Why This Recipe Works |
| Why You’ll Love This Recipe |
| Ingredient Notes |
| Kitchen Equipment |
| Preparation Information |
| Step-by-Step Instructions |
| Expert Tips |
| Common Mistakes |
| Recipe Variations |
| What to Serve With This Recipe |
| Make Ahead Tips |
| Meal Prep Tips |
| Storage Instructions |
| Reheating Instructions |
| Nutritional Information |
| Troubleshooting Guide |
| Frequently Asked Questions |
| Final Thoughts |
Introduction
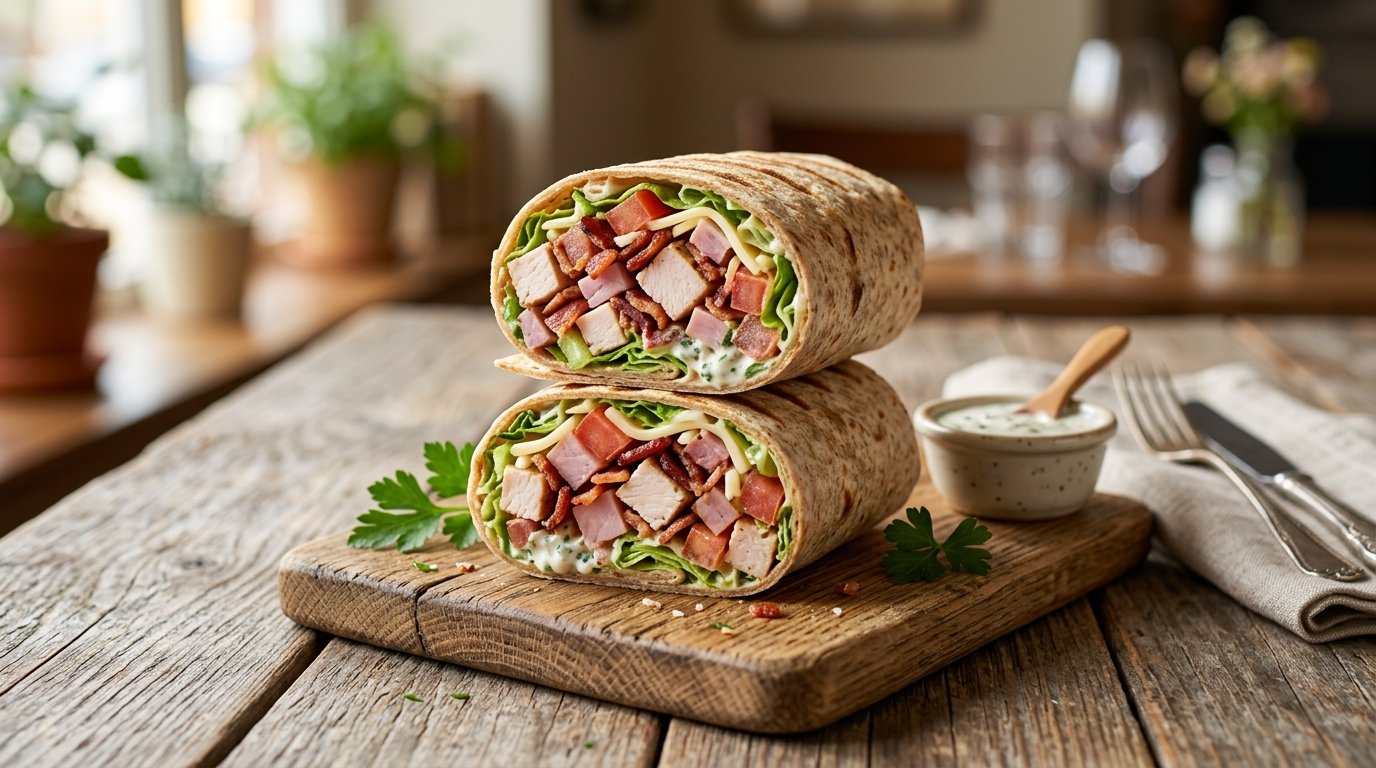
This chopped club wrap turns the classic turkey club into a fast, flavor-packed handheld that stays together from the first bite to the last. By finely chopping the lettuce, turkey, ham, cheese, bacon, and tomato together and binding everything with mayonnaise, you get even flavor in every mouthful without the usual sandwich slide. The finished wrap is rolled tight, quickly toasted until golden, and sliced to reveal a colorful, creamy filling. Ready in about 15 minutes, it is perfect for busy weekdays, casual lunches, or a satisfying meal that still feels special.
Why This Recipe Works
The magic of a chopped club wrap is the uniform texture. Traditional club sandwiches can fall apart or leave you with a bite of only lettuce or only bacon. Chopping everything on the board forces the ingredients to cling together. The mayonnaise acts as both binder and flavor carrier, coating the small pieces so the filling holds when rolled. Toasting the tortilla creates a light crisp exterior that contrasts the soft, creamy interior and keeps the wrap from becoming soggy. Using already-cooked bacon and deli meats means the only “cooking” required is a quick sear, keeping the process short and the results consistent.
Why You’ll Love This Recipe
- Everything is chopped together so every bite tastes the same
- Ready in 15 minutes with almost no actual cooking
- Holds together perfectly when rolled and sliced
- Customizable with whatever deli meats or cheeses you have
- Feels like a restaurant club but fits in one hand
- Great for meal prep or a quick solo lunch
- Uses simple, widely available ingredients
Ingredient Notes
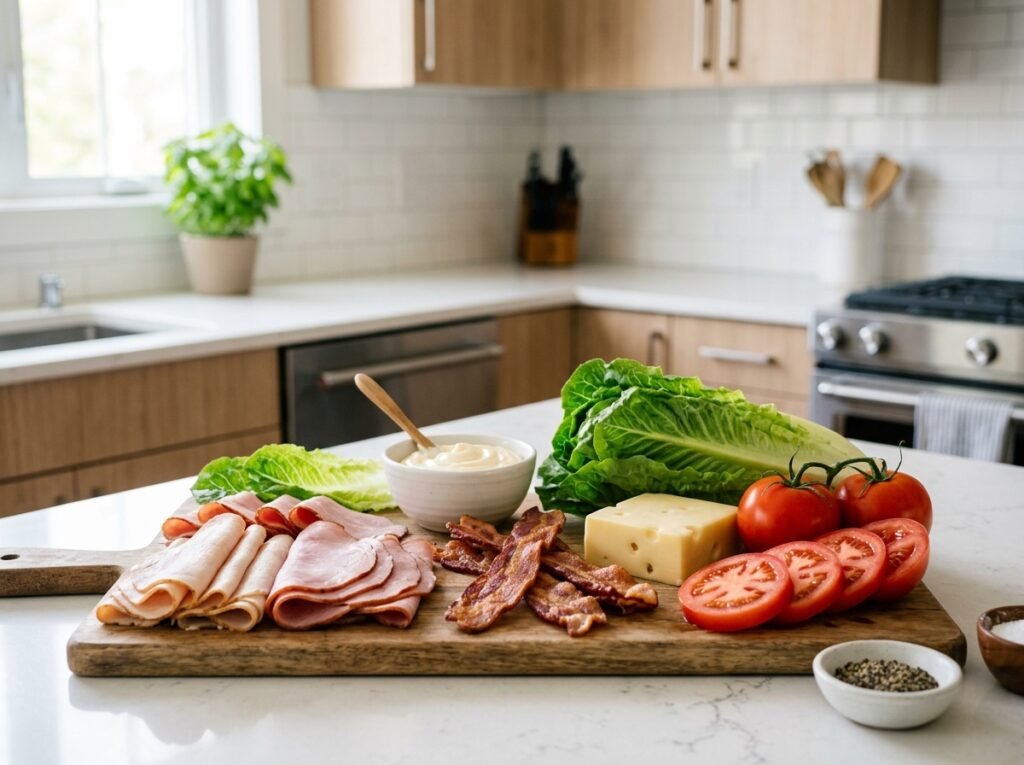
Shredded iceberg lettuce Provides crunch and volume. Iceberg holds up better than softer greens when chopped and mixed. Buy a fresh head and shred it yourself for maximum crispness. Store leftover head in the refrigerator wrapped in a paper towel inside a plastic bag for up to 5 days.
Sliced turkey breast The mild, lean base of the club. Choose oven-roasted or smoked deli turkey. Look for packages with minimal additives. Keep refrigerated and use within 3–4 days of opening.
Sliced ham Adds a touch of saltiness and pink color. Black forest or honey ham both work. Store the same way as turkey.
Cheese slices White rounds of provolone, mozzarella, or mild Swiss melt slightly into the mix and add creaminess. Buy pre-sliced for speed. Keep refrigerated.
Cooked bacon Crispy, smoky richness. Use thick-cut if possible. Cook a batch ahead and store in the refrigerator up to 4 days or freeze.
Tomato Fresh acidity and juiciness. Choose a ripe but still firm tomato so it does not turn the mixture watery. Store at room temperature until ripe, then refrigerate.
Mayonnaise The binder that turns the chopped ingredients into a cohesive filling. Full-fat mayonnaise gives the best texture and flavor. Keep refrigerated after opening.
Large flour tortilla The wrapper. A 10- to 12-inch burrito-size tortilla is ideal. Choose one that is soft and pliable so it rolls without cracking. Store at room temperature in the original package.
Kitchen Equipment
Required
- Large cutting board
- Large chef’s knife or cleaver
- Tongs or spatula for transferring the filling
- Clean hands or a bench scraper for rolling
Optional but helpful
- Nonstick skillet or griddle for toasting
- Sharp serrated knife for clean slices
Preparation Information
- Prep Time: 12 minutes
- Cook Time: 3 minutes
- Total Time: 15 minutes
- Servings: 1 large wrap (easily shared as 2 halves)
Step-by-Step Instructions
Step 1: Build the Base Layers
Spread a generous pile of shredded iceberg lettuce across the center of a large cutting board. Lay several slices of turkey breast over the lettuce, followed by slices of ham and rounds of cheese. Arrange cooked bacon strips evenly on top.
Why it matters: Starting with lettuce creates a moisture barrier and gives the final filling good volume. Layering the proteins and cheese before chopping ensures they distribute evenly instead of clumping in one area.
Visual cue: You should see a neat stack roughly the size of a large dinner plate.
Tip: Overlap the meat and cheese slightly so no large gaps remain when you start chopping.
Step 2: Add the Tomato and Begin Chopping
Place three or four thick tomato slices on top of the stack. Using a large, sharp knife or cleaver, begin chopping straight down through all the layers. Work methodically from one side to the other, then turn the pile and chop again. Continue until the pieces are about the size of a pea or slightly larger.
Why it matters: Aggressive chopping breaks the ingredients into similar sizes so the flavors marry and the mixture becomes easy to scoop and roll.
Texture cue: The pile should look finely minced and begin to hold together slightly from the tomato juices and residual bacon fat.
Common mistake: Stopping too soon leaves large chunks that make rolling difficult and create uneven bites.
Step 3: Bind with Mayonnaise
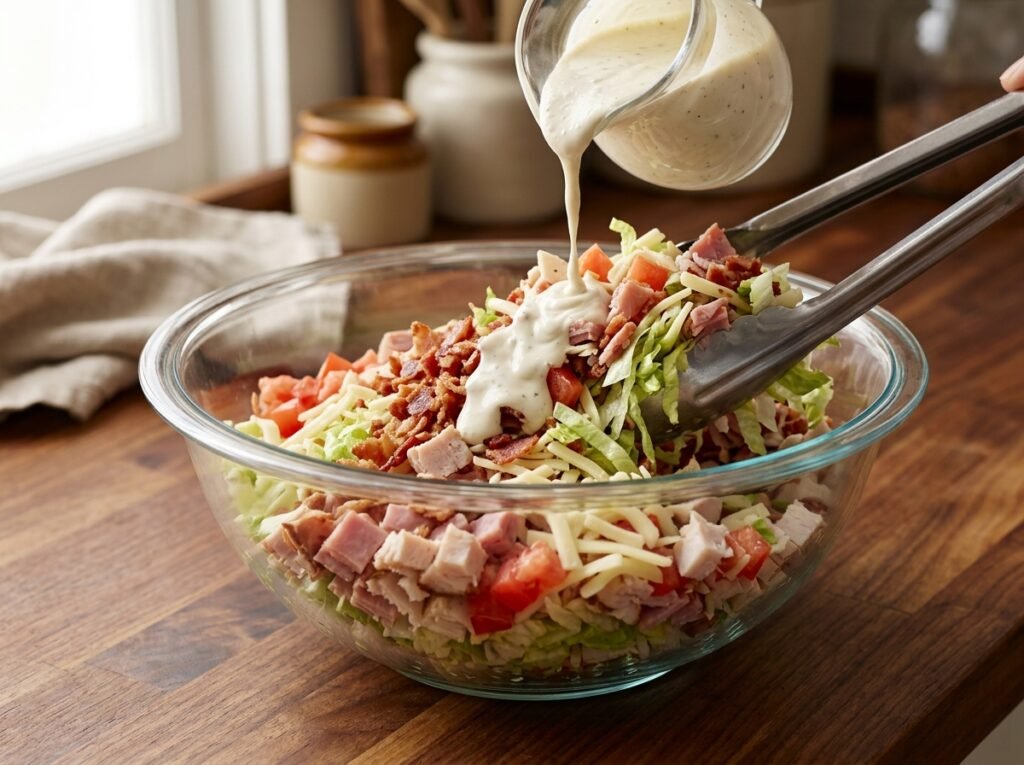
Squeeze a few generous dollops of mayonnaise over the chopped mixture. Using the side of the knife or a spatula, fold and chop the mayonnaise through the ingredients until everything is evenly coated and the mixture looks creamy and cohesive.
Why it matters: Mayonnaise is the glue. Without enough, the filling will fall out of the tortilla. Too much makes it greasy. Aim for a lightly glossy, not soupy, consistency.
Aroma cue: You will smell the bright tomato and smoky bacon as the mayo incorporates.
Professional tip: Make a small well in the center of the pile, add the mayo, and then chop outward so it mixes faster.
Step 4: Fill the Tortilla
Warm a large flour tortilla for a few seconds if it feels stiff. Place it on a clean surface. Using tongs or a spatula, scoop a generous mound of the chopped filling into the center of the tortilla, leaving a border of about two inches on all sides.
Why it matters: Overfilling makes rolling impossible and leads to tears. Underfilling leaves you with a sparse wrap.
Visual cue: The filling should form a log shape about as thick as a standard burrito.
Step 5: Roll Tightly
Fold the bottom edge of the tortilla up and over the filling, tucking it snugly. Fold in the two sides, then continue rolling away from you until the wrap is sealed. Press gently along the length to compress the filling.
Why it matters: A tight roll keeps the filling contained and creates a compact shape that toasts evenly.
Texture cue: The finished roll should feel firm and cylindrical with no large air pockets.
Step 6: Toast Until Golden
Heat a dry nonstick skillet or griddle over medium heat. Place the wrap seam-side down and cook for 1–1½ minutes per side until the tortilla is golden brown with light toasted spots.
Why it matters: Toasting seals the seam, adds a pleasant crunch, and warms the filling just enough to soften the cheese slightly without melting it completely.
Color cue: Look for even golden-brown patches, not dark brown or black spots.
Step 7: Slice and Serve
Transfer the toasted wrap to a cutting board. Using a sharp knife, slice it cleanly in half on a slight diagonal. Serve immediately while the exterior is still crisp.
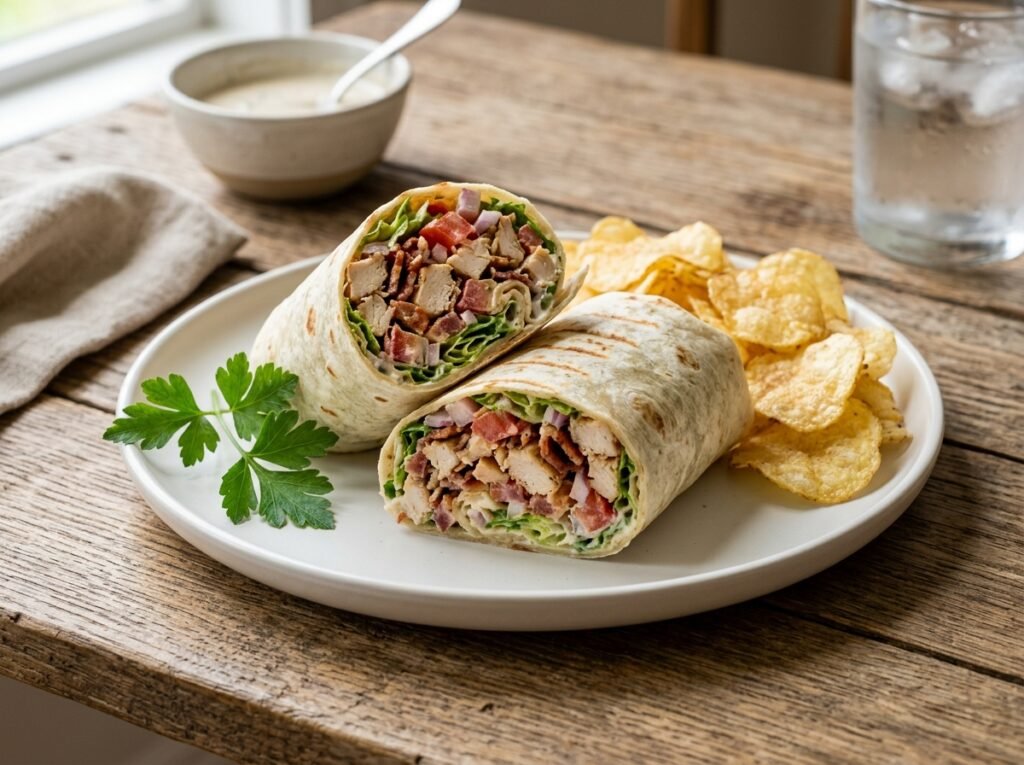
Visual cue: The cross-section should show a colorful mosaic of green lettuce, red tomato, pink meats, white cheese, and crispy bacon bits bound by creamy mayo.
Expert Tips
- Keep your knife sharp. A dull blade crushes the ingredients instead of cleanly cutting them and makes the process slower.
- If the mixture looks dry after chopping, add another teaspoon of mayonnaise and mix again.
- Work quickly once the tomato is added so the lettuce stays crisp.
- For extra flavor, season the finished mixture with a tiny pinch of black pepper before rolling.
- Toast the wrap seam-side down first so it seals properly.
- Let the toasted wrap rest 30 seconds before slicing so the steam settles and the cut stays clean.
Common Mistakes
Mixture too wet Caused by overly ripe tomatoes or too much mayonnaise. Fix: Drain excess liquid from the board with a paper towel or add a handful of extra shredded lettuce and chop again.
Wrap falls apart while rolling Usually from overfilling or a cold, stiff tortilla. Warm the tortilla briefly and reduce the amount of filling.
Uneven chopping Large pieces of bacon or tomato remain. Solution: Keep chopping and turning the pile until everything is roughly the same size.
Soggy exterior after toasting Heat was too low or the pan was overcrowded. Use medium heat and give the wrap enough space so steam can escape.
Recipe Variations
Spicy Add a teaspoon of hot sauce or a few dashes of cayenne to the mayonnaise before mixing.
Vegetarian Replace the turkey, ham, and bacon with grilled halloumi or extra cheese and roasted red peppers.
Extra Cheesy Double the cheese slices and use a mix of provolone and cheddar.
Healthy Use turkey breast only, light mayonnaise, and add extra lettuce. Serve in a whole-wheat tortilla.
Low-Carb Skip the tortilla and serve the chopped mixture over a bed of extra lettuce or in lettuce cups.
High-Protein Add a scoop of chopped hard-boiled egg or extra turkey.
Chicken Club Version Swap the turkey for sliced grilled chicken breast.
What to Serve With This Recipe
- Crisp dill pickle spears
- Simple potato chips or kettle chips
- Fresh fruit salad
- Coleslaw or a light cucumber salad
- Iced tea, lemonade, or a cold sparkling water
- For a fuller meal, a cup of tomato soup
Make Ahead Tips
Chop the meats, cheese, bacon, and lettuce up to one day ahead and store them separately in airtight containers in the refrigerator. Add the tomato and mayonnaise only when you are ready to assemble so the mixture stays crisp.
Meal Prep Tips
Prepare four or five individual portions of the dry chopped ingredients (everything except tomato and mayo) and store them in meal-prep containers. When ready to eat, add fresh tomato and mayo, mix, roll, and toast. The toasted wrap is best eaten the same day.
Storage Instructions
Store any leftover filled and toasted wrap tightly wrapped in the refrigerator for up to 24 hours. The texture is best the day it is made. Freezing is not recommended because the lettuce and tomato become watery when thawed.
Reheating Instructions
Skillet Reheat in a dry nonstick skillet over medium-low heat for 1–2 minutes per side until warmed through and the exterior re-crisps.
Air Fryer 3 minutes at 350°F (175°C).
Microwave 15–20 seconds on medium power, then finish in a hot skillet for 30 seconds per side if you want the exterior crisp again.
Oven Wrap in foil and warm at 325°F (160°C) for 8–10 minutes.
Nutritional Information (Approximate per whole wrap)
- Calories: 680
- Protein: 32 g
- Carbohydrates: 42 g
- Fat: 42 g
- Fiber: 3 g
- Sugar: 4 g
- Sodium: 1450 mg
Values will vary based on exact brands and quantities used.
Troubleshooting Guide
Filling is too dry and crumbly Add another teaspoon of mayonnaise and mix thoroughly.
Tortilla tears while rolling The tortilla was too cold or overfilled. Warm it for 10 seconds and use less filling next time.
Cheese did not soften The toasting time was too short. Give it an extra 30 seconds per side.
Bacon pieces are too large Continue chopping until they are similar in size to the other ingredients.
Wrap feels heavy or greasy Reduce the mayonnaise slightly and blot the bacon on a paper towel before adding it.
Frequently Asked Questions
Can I make this without a large cleaver? Yes. A sharp chef’s knife works well. Just take your time and keep turning the pile.
What cheese works best? Provolone, mozzarella, or mild Swiss all melt gently into the mixture and add creaminess without overpowering the other flavors.
Can I use leftover cooked chicken instead of turkey? Absolutely. Chopped leftover chicken breast is an excellent substitute.
How do I keep the wrap from getting soggy? Toast it right before serving and avoid adding extra wet ingredients.
Is this the same as a chopped Italian sandwich? Similar technique, different flavor profile. This version follows classic club ingredients (turkey, bacon, tomato, mayo) rather than Italian cold cuts and oil-vinegar dressing.
Can I grill the wrap instead of using a skillet? Yes. A medium grill or grill pan works perfectly and adds light char marks.
How much mayonnaise should I use? Start with 2 tablespoons and add more only if the mixture looks dry. You want it creamy, not wet.
Can I prepare the filling the night before? You can chop the meats, cheese, bacon, and lettuce ahead, but add tomato and mayonnaise just before rolling for the best texture.
Final Thoughts
This chopped club wrap delivers everything people love about a classic club sandwich—smoky bacon, lean turkey, fresh tomato, crisp lettuce, and creamy mayo—in a neat, portable package that never falls apart. The chopping method is the real secret: it creates a filling that tastes consistent from end to end and rolls up cleanly. Once you try it, the traditional stacked club may feel like extra work. Make one for lunch this week, slice it in half, and enjoy that first perfect cross-section. If you try the recipe, leave a comment with your favorite variation or any tips you discovered along the way.