Quick Recipe Summary
| Detail | Info |
|---|---|
| Prep Time | 20 minutes |
| Cook Time | 25 minutes |
| Total Time | 45 minutes |
| Servings | 4 (makes about 8-12 cones) |
| Cuisine | Mexican / Tex-Mex |
| Course | Appetizer or Main Dish |
| Difficulty | Medium |
| Calories (per serving) | ~450-550 kcal |
Table of Contents
- Introduction
- Why This Recipe Works
- Why You’ll Love This Recipe
- Ingredient Notes
- Kitchen Equipment
- Step-by-Step Instructions
- Expert Tips
- Common Mistakes to Avoid
- Recipe Variations
- What to Serve With This Recipe
- Make-Ahead and Meal Prep Tips
- Storage and Reheating Instructions
- Nutritional Information
- Troubleshooting Guide
- Frequently Asked Questions
- Final Thoughts
Introduction
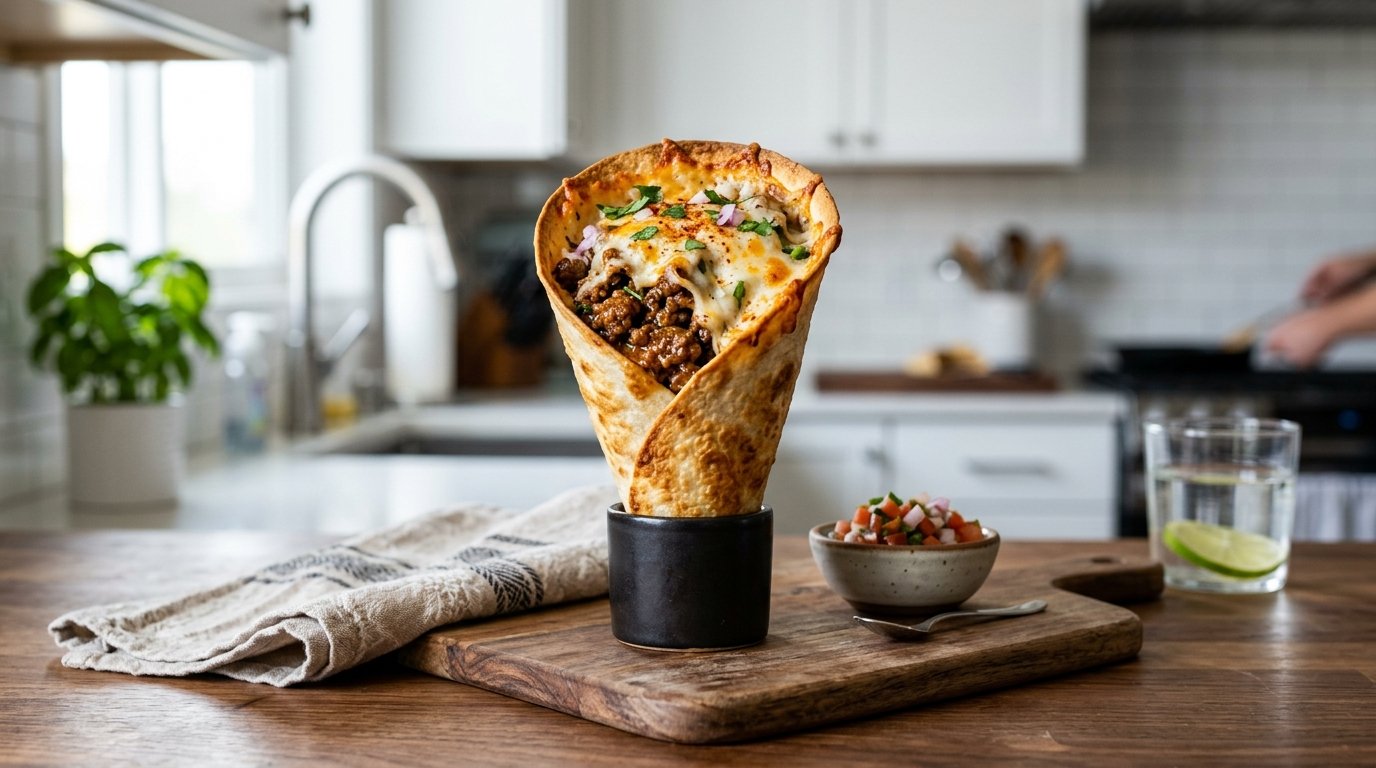
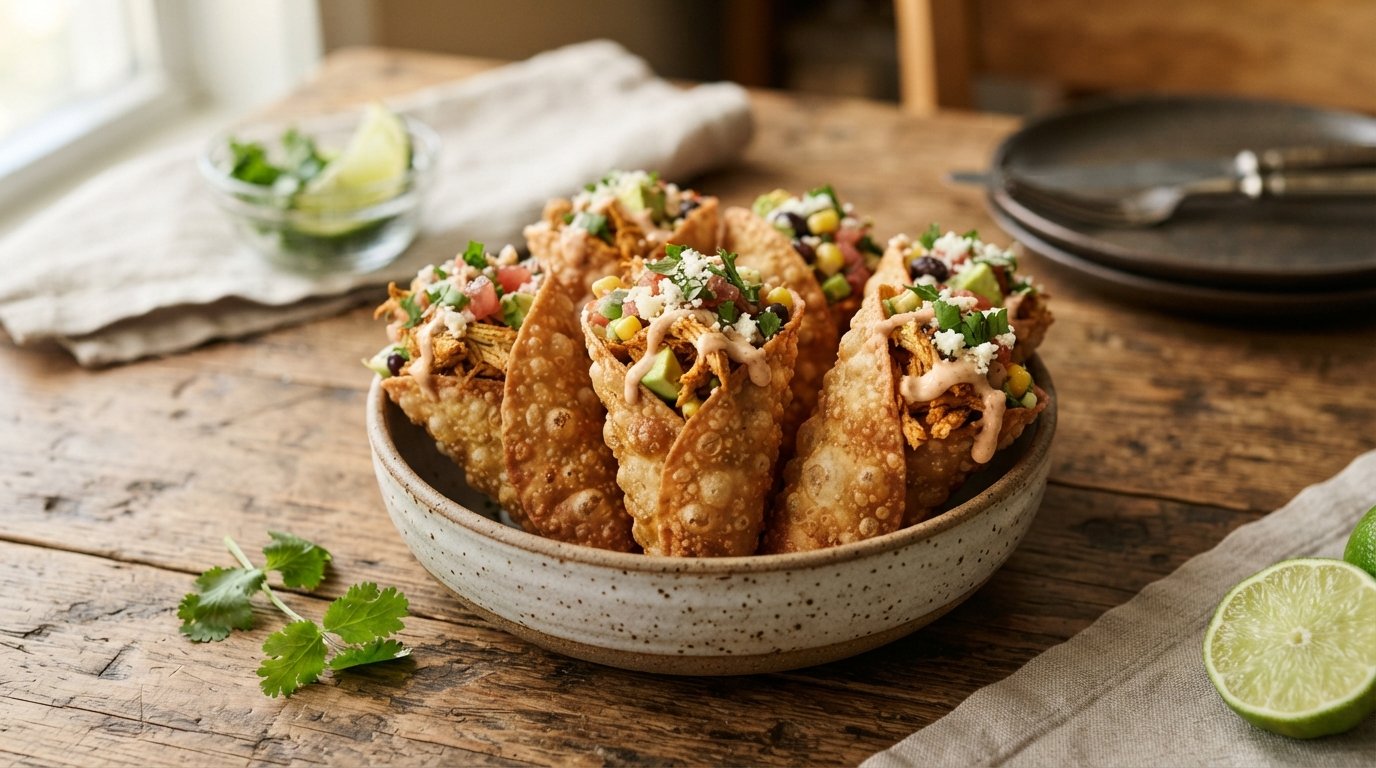
These Conitos Rellenos Carne y Queso deliver everything you crave in a fun handheld bite: ultra-crispy tortilla cones packed with savory seasoned ground beef, melty cheese, and served with a vibrant green avocado-cilantro sauce for dipping. Perfect for parties, game nights, or a satisfying family dinner, this recipe transforms simple flour tortillas into golden, crunchy vessels that hold a juicy, cheesy filling.
Why This Recipe Works
The magic lies in the technique. Cutting and shaping tortillas into stable cones creates a sturdy structure that crisps beautifully in the oven without deep frying. Sautéing the filling builds deep flavor through caramelized aromatics, while a quick tomato-based sauce keeps the meat moist. Baking with cheese on top ensures everything melts together without sogginess, and the fresh green sauce cuts through the richness perfectly.
Why You’ll Love This Recipe
- Crispy exterior meets gooey interior — that satisfying cheese pull is irresistible.
- Quick enough for weeknights yet impressive for guests.
- Customizable heat level and fillings.
- Kid-friendly and great for sharing.
- Uses pantry staples with minimal waste.
Ingredient Notes
For the Cones:
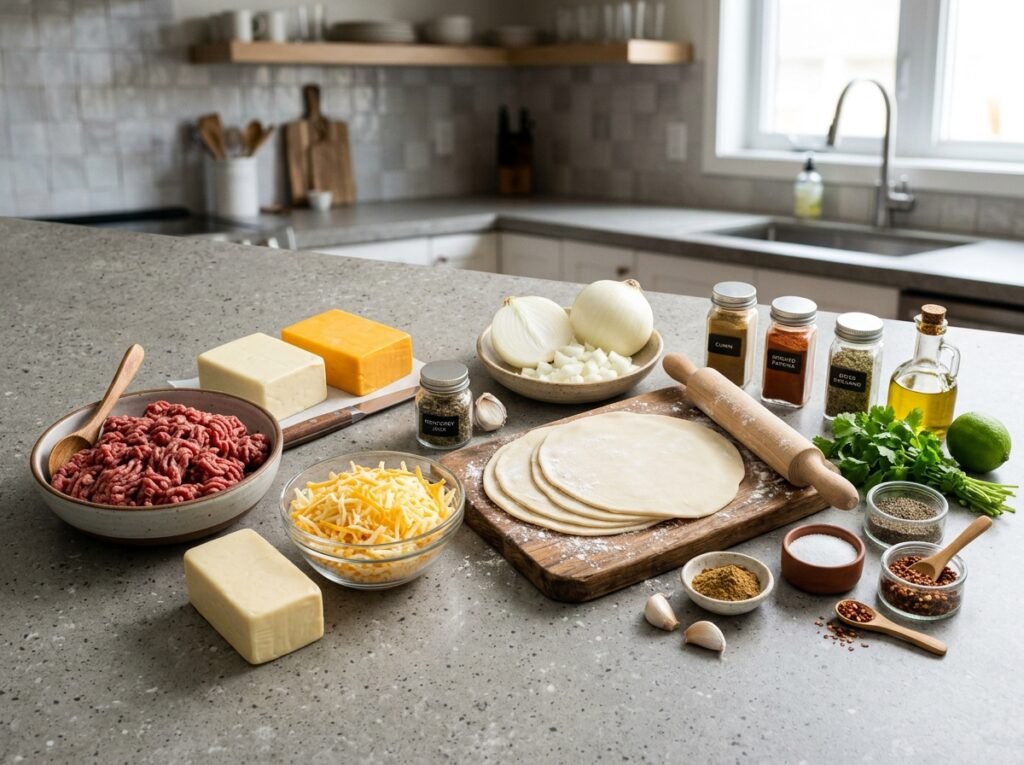
- 8-12 medium flour tortillas — Soft, pliable ones work best for shaping without cracking. Corn tortillas can be used but are more fragile.
- Cooking spray or oil — For brushing to promote even crisping.
For the Meat Filling:
- 1 lb (450g) ground beef (80/20 for flavor) — Provides juicy texture; leaner works but may dry out.
- 1 medium onion, finely diced — Builds foundational sweetness.
- 1-2 red bell peppers (or mix with tomatoes), diced — Adds color, sweetness, and moisture.
- 2-3 garlic cloves, minced.
- ½-¾ cup tomato sauce or salsa — Binds and seasons the meat.
- Spices: Salt, pepper, cumin, chili powder, paprika, oregano (to taste) — Create classic taco-like flavor.
For the Cheese:
- 2-3 cups shredded mozzarella, cheddar, or Mexican blend — Melts beautifully and stretches.
For the Green Sauce (Avocado-Cilantro):
- 1 ripe avocado.
- Handful fresh cilantro.
- 1-2 garlic cloves.
- 1 jalapeño (seeded for mild heat).
- 2-3 tbsp sour cream or crema.
- Juice of ½ lime.
- Salt, pepper, and a splash of water to blend smooth.
Substitutions: Ground turkey or chicken for lighter version; plant-based meat for vegetarian.
Kitchen Equipment
Required:
- Sharp knife and cutting board.
- Large skillet or frying pan.
- Baking pan or muffin tin (for holding cones upright).
- Immersion blender or regular blender.
- Oven.
Optional: Parchment paper, tongs, silicone brush.
Step-by-Step Instructions
1. Prepare the Tortilla Cones
Stack tortillas and cut each into halves or triangles. Carefully shape them into cones by overlapping edges and securing temporarily with toothpicks if needed. Place upright in a greased baking pan or use a muffin tin. Lightly brush with oil or spray. Bake at 375°F (190°C) for 8-10 minutes until lightly golden and firm. This step pre-crisps the shells so they hold their shape and stay crunchy after filling.
2. Cook the Meat Filling
Heat oil in a skillet over medium heat. Add diced onions and peppers; sauté until softened and fragrant (3-4 minutes). Add minced garlic and cook 30 seconds more. Push veggies aside, add ground beef, and brown while breaking it up. Season generously. Stir in tomato sauce and simmer 5-7 minutes until thickened. Taste and adjust seasoning. The filling should be moist but not soupy—excess liquid will make cones soggy.
3. Blend the Green Sauce

Combine avocado, cilantro, garlic, jalapeño, sour cream, lime juice, salt, and a bit of water in a blender or use an immersion blender. Process until smooth and creamy. Adjust consistency and seasoning. This bright, tangy sauce balances the richness of the cones beautifully.
4. Assemble and Bake
Remove pre-baked cones from oven. Add a layer of shredded cheese at the bottom of each, spoon in the meat filling, and top with more cheese. Return to oven for 8-12 minutes until cheese is bubbly and golden. The cheese acts as a “glue” and creates that signature melty pull.
5. Serve
Let cones cool slightly. Serve hot with the green sauce for dipping. Garnish with extra cilantro or diced tomatoes if desired.
Expert Tips
- Work quickly when shaping warm tortillas—they become pliable when heated briefly.
- Don’t overfill cones to prevent spilling during baking.
- For extra crispiness, broil for the last 1-2 minutes (watch closely).
- Make the sauce ahead; flavors meld beautifully.
Common Mistakes to Avoid
- Soggy cones: Pre-bake shells and drain excess liquid from filling.
- Cracking tortillas: Use fresh, room-temperature tortillas; warm slightly if needed.
- Dry filling: Simmer with enough sauce and don’t overcook the beef.
- Cheese not melting evenly: Use a good melting variety and distribute evenly.
Recipe Variations
- Spicy: Add diced jalapeños to filling and hot sauce.
- Vegetarian: Swap beef for black beans, lentils, or sautéed veggies.
- Extra Cheesy: Add cream cheese to filling or more varieties on top.
- Low-Carb: Use low-carb tortillas and serve over lettuce.
- Chicken Version: Substitute ground chicken with taco seasoning.
What to Serve With This Recipe
- Mexican rice or cilantro-lime rice.
- Fresh guacamole or pico de gallo salad.
- Margaritas, horchata, or cold beer.
- Refried beans or a simple green salad.
- For dessert: Churros or tres leches.
Make-Ahead and Meal Prep Tips
Prepare cones and filling up to 2 days ahead. Store separately. Assemble and bake just before serving for maximum crispiness. The green sauce keeps well refrigerated for 2-3 days.
Storage and Reheating Instructions
Refrigerator: Store assembled cones in an airtight container up to 3 days. Freezer: Freeze unfilled baked cones or filled (before final bake) up to 1 month. Reheating:
- Oven/Air Fryer: Best at 350°F for 8-10 minutes until hot and crispy.
- Microwave: Quick but softens crispiness—use for 30-60 seconds.
- Stovetop: Not ideal for cones.

Nutritional Information (Approximate per serving, 2-3 cones)
- Calories: 480
- Protein: 25g
- Carbohydrates: 35g
- Fat: 28g
- Fiber: 4g
- Sugar: 5g
- Sodium: 850mg
Values vary based on exact ingredients and portions.
Troubleshooting Guide
- Cones collapsing: Use smaller triangles or support better in pan.
- Filling too wet: Simmer longer or add a bit of breadcrumbs.
- Sauce too thick/thin: Adjust with water or more avocado.
- Not crispy enough: Increase bake time or temperature slightly.
Frequently Asked Questions
Can I make these gluten-free? Yes, use gluten-free tortillas, though they may be more delicate.
How do I prevent the cones from unrolling? Overlap edges well and bake initially to set the shape. Toothpicks can help temporarily.
What’s the best cheese to use? Mozzarella for stretch, cheddar for flavor— a blend is ideal.
Can I fry instead of bake? Yes, but baking is healthier and easier for even cooking.
How long do leftovers last? Up to 3 days refrigerated; reheat in oven for best texture.
Are these spicy? Base recipe is mild—adjust jalapeños and spices to preference.
Can I use corn tortillas? Possible but flour tortillas hold shape better.
Final Thoughts
These Conitos Rellenos Carne y Queso bring restaurant-quality fun to your kitchen with minimal effort. The combination of crispy tortilla, savory beef, and gooey cheese, paired with that fresh green sauce, creates an unforgettable experience. Whether you’re hosting friends or treating the family, this recipe is sure to become a repeat favorite. Give it a try and let me know in the comments how yours turned out—did you add any fun twists? Rate the recipe below and share your photos! Happy cooking.