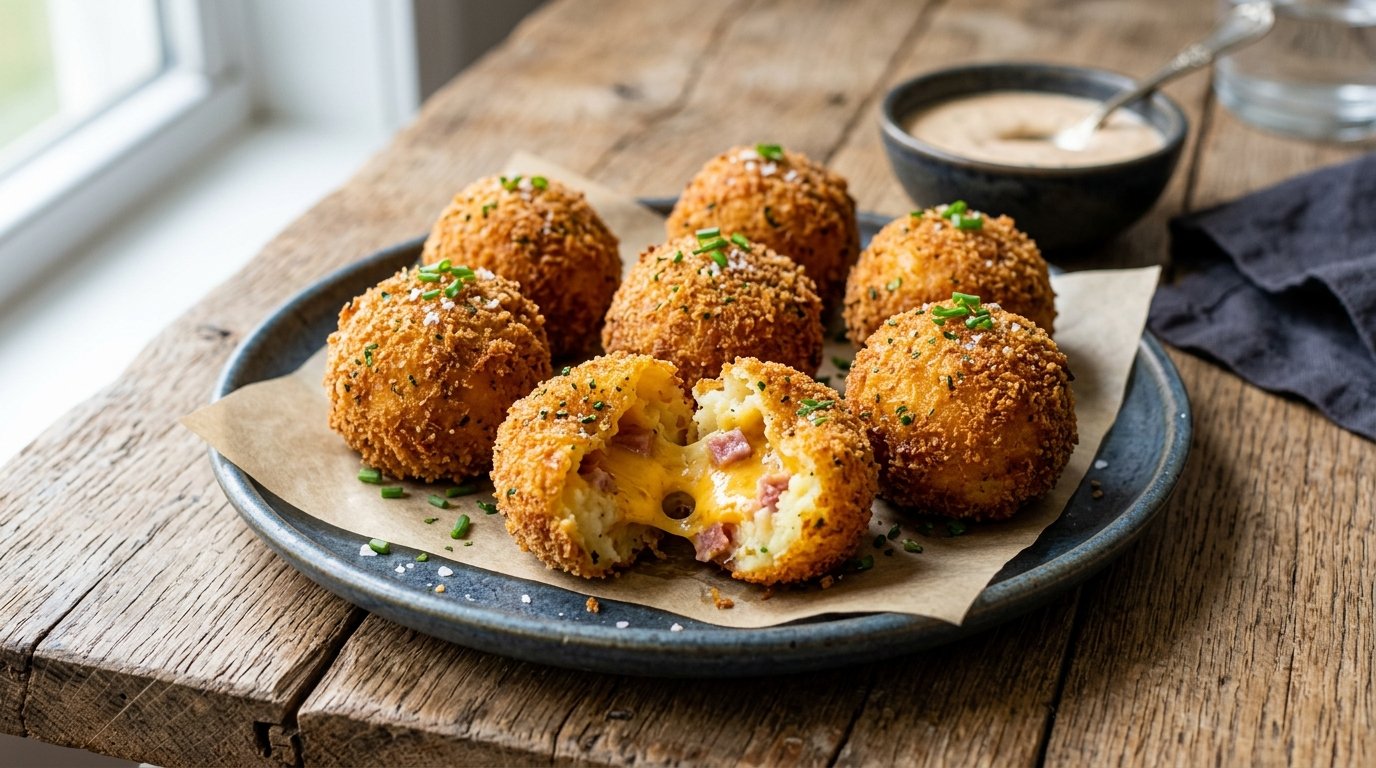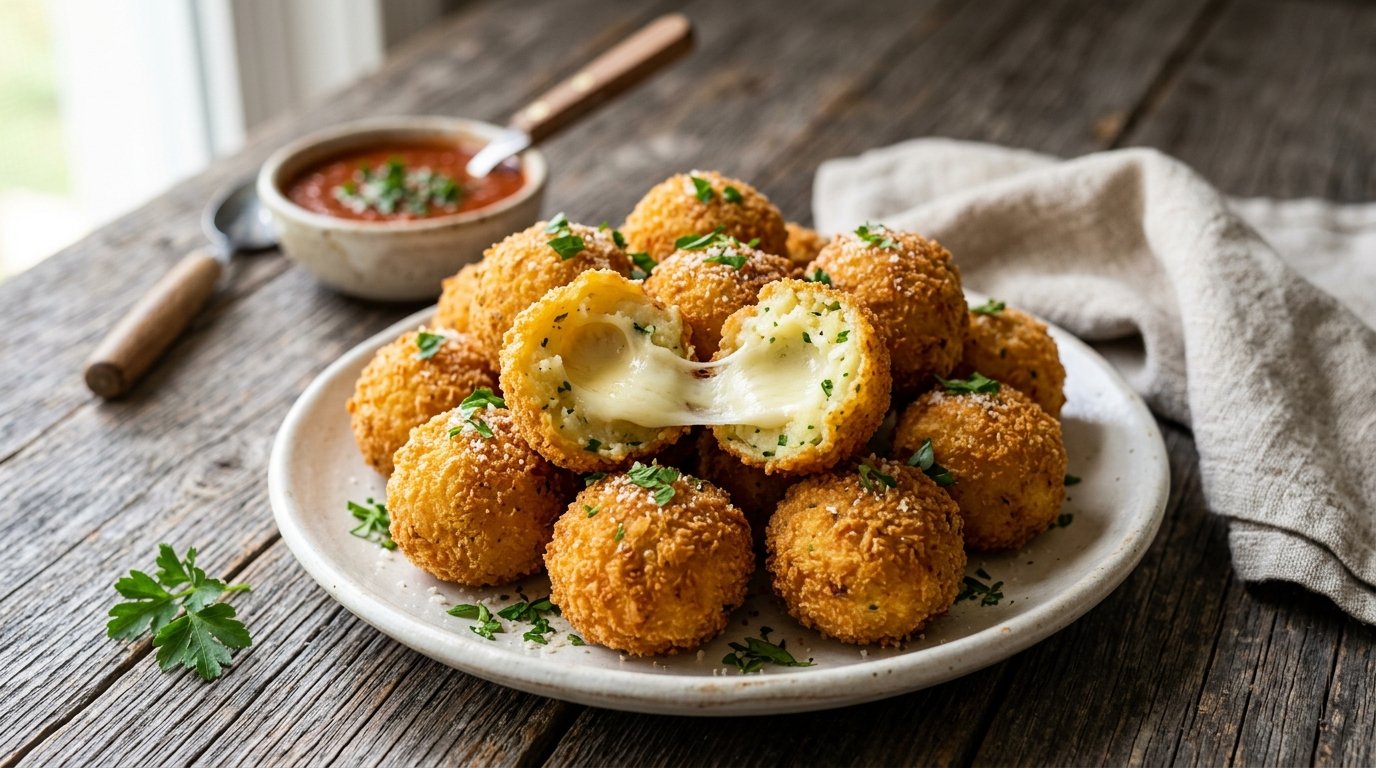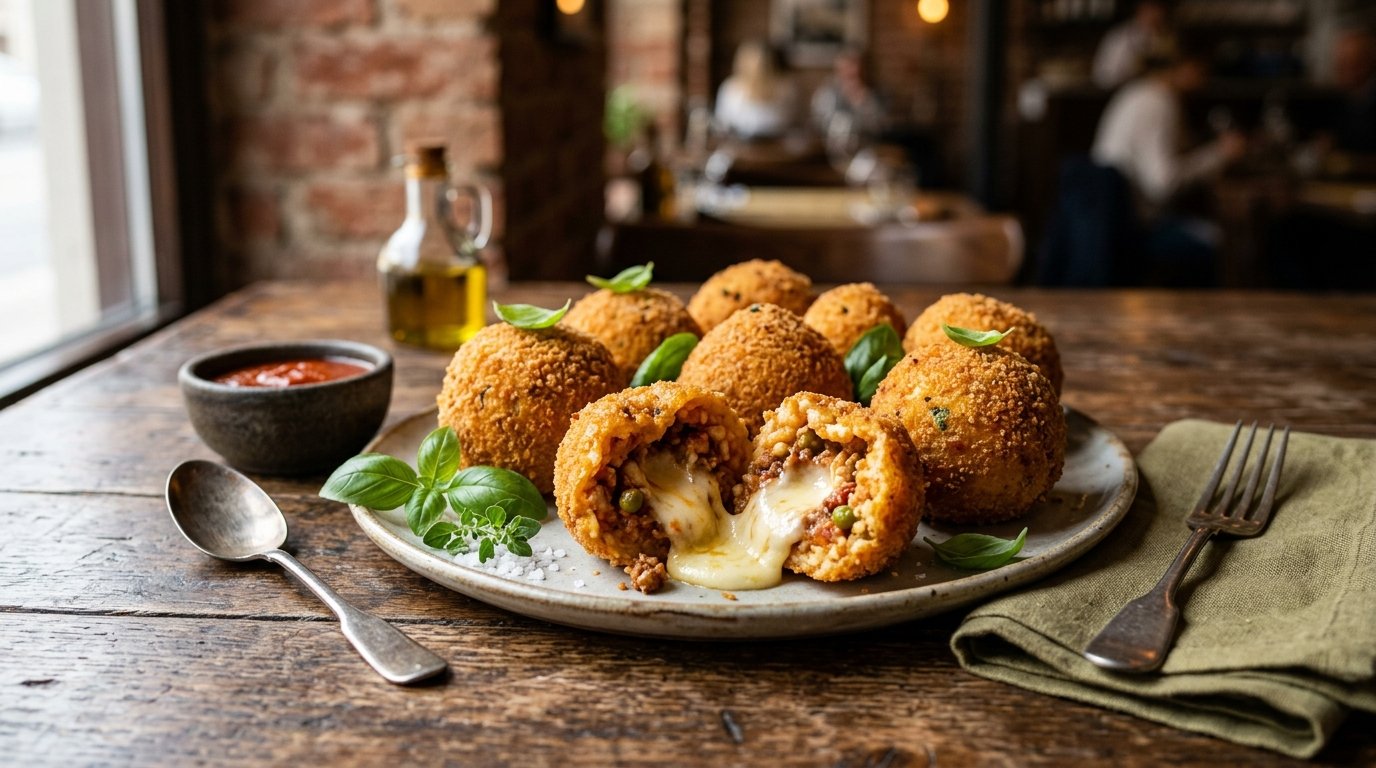
These golden, crispy arancini rice balls are a classic Italian street food favorite. Made with seasoned risotto-style rice, a savory meat filling, and gooey cheese, then fried to perfection, they deliver an irresistible crunch on the outside with a creamy, cheesy center. Perfect as an appetizer, snack, or party food.
Quick Recipe Summary
| Detail | Info |
|---|---|
| Prep Time | 30 minutes |
| Cook Time | 20-25 minutes (frying) |
| Total Time | 50-60 minutes (+ rice cooling) |
| Servings | 8-10 rice balls |
| Cuisine | Italian |
| Course | Appetizer / Snack |
| Difficulty | Medium |
| Calories (approx.) | 280-350 per ball |
Table of Contents
- Introduction
- Why This Recipe Works
- Why You’ll Love This Recipe
- Ingredient Notes
- Kitchen Equipment
- Preparation Information
- Step-by-Step Instructions
- Expert Tips
- Common Mistakes
- Recipe Variations
- What to Serve With This Recipe
- Make-Ahead & Meal Prep Tips
- Storage & Reheating Instructions
- Nutritional Information
- Troubleshooting Guide
- Frequently Asked Questions
- Final Thoughts
Introduction
Craving that perfect bite of crispy Italian arancini rice balls? These stuffed rice balls combine creamy rice, savory meat sauce, and melty cheese inside a crunchy breadcrumb coating. Whether you’re hosting a gathering or treating yourself, homemade arancini bring authentic Italian flavors right to your kitchen.
Why This Recipe Works
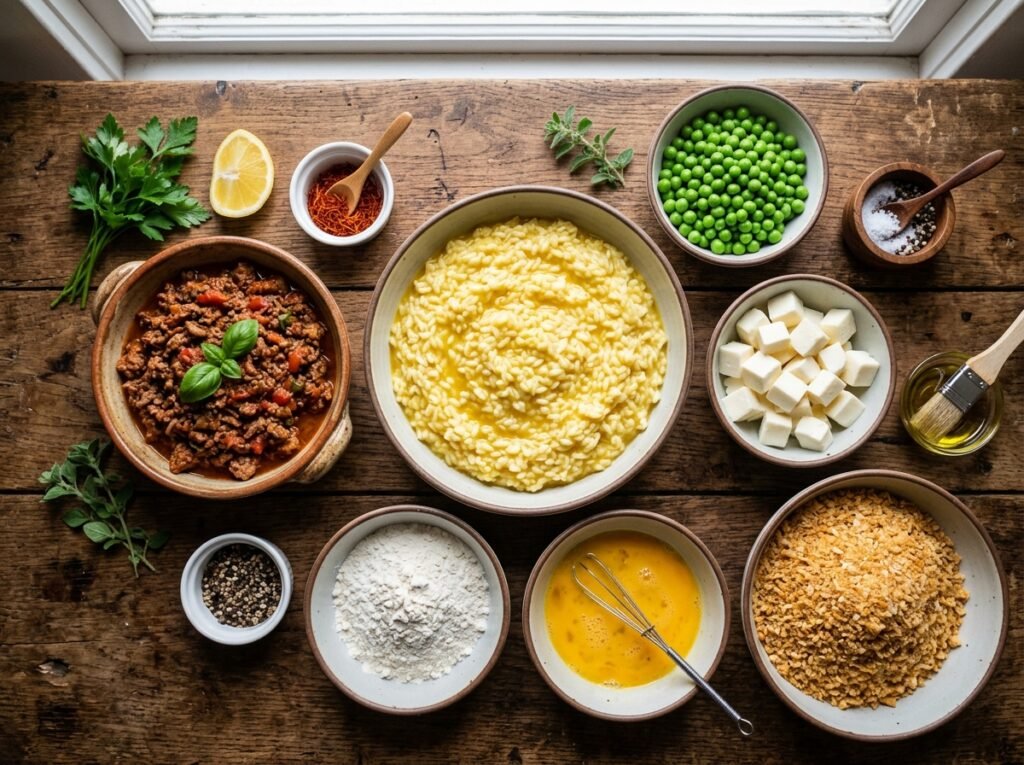
The rice mixture, enriched with eggs and herbs, holds together beautifully while staying tender inside. The meat filling — browned with vegetables and tomato — provides rich flavor contrast, and cheese creates that signature stretchy pull. Double-coating in breadcrumbs ensures a shatteringly crisp exterior that locks in moisture during frying.
Why You’ll Love This Recipe
- Crispy outside, creamy inside with dramatic cheese pull
- Make-ahead friendly for parties
- Customizable fillings to suit any taste
- Impressive yet approachable for home cooks
- Crowd-pleasing Italian classic
- Great use for leftover rice
Ingredient Notes
- Cooked Rice: White rice (preferably short-grain or leftover risotto) forms the outer shell. It should be cooled and slightly sticky.
- Ground Meat: Beef or mix, browned for savory filling.
- Vegetables: Diced onions and red bell peppers add sweetness and texture to the sauce.
- Tomato Sauce: Brings moisture, color, and tang to the meat.
- Eggs: Bind the rice mixture for easy shaping.
- Cheese: Shredded mozzarella or similar melts beautifully inside.
- Parsley: Fresh chopped for brightness and aroma.
- Breadcrumbs: For the crispy coating (use fine or panko).
- Spices: Salt, pepper, and paprika (or similar) for seasoning.
- Oil: Neutral oil for frying.
Substitutions: Use chicken or mushrooms for the filling; gluten-free breadcrumbs for dietary needs.
Kitchen Equipment
Required:
- Large skillet or frying pan
- Saucepan or pot for rice (if cooking fresh)
- Mixing bowl
- Plastic wrap
- Baking sheet or tray for breading
- Deep pot or fryer for oil
- Tongs or slotted spoon
- Thermometer (optional but helpful)
Optional: Food processor for finer chopping.
Preparation Information
- Prep Time: 30 minutes
- Cook Time: 20-25 minutes
- Total Time: 50-60 minutes (plus rice cooling time)
- Servings: Makes 8-10 arancini
Step-by-Step Instructions
Step 1: Prepare the Meat Filling
In a hot skillet with a bit of oil, sauté diced onions and red peppers until softened. Add ground meat, breaking it up as it browns. Season with salt, pepper, and spices. Pour in tomato sauce and simmer until thickened and flavorful. The meat should be cooked through with a rich, saucy consistency. Let it cool slightly. Visual cue: Meat turns from pink to brown; sauce clings to the meat.
Step 2: Make the Rice Mixture
In a large bowl, combine cooled cooked rice with beaten eggs, chopped fresh parsley, black pepper, and any additional seasoning. Mix thoroughly until evenly combined. The eggs help bind everything so the balls hold their shape during frying.
Step 3: Shape the Arancini
On plastic wrap, press a portion of the rice mixture into a flat patty or bowl shape. Place a spoonful of meat filling in the center, top with shredded cheese, then enclose with more rice, shaping into a smooth ball using the plastic for ease. The plastic prevents sticking and helps create uniform balls.
Step 4: Bread the Balls
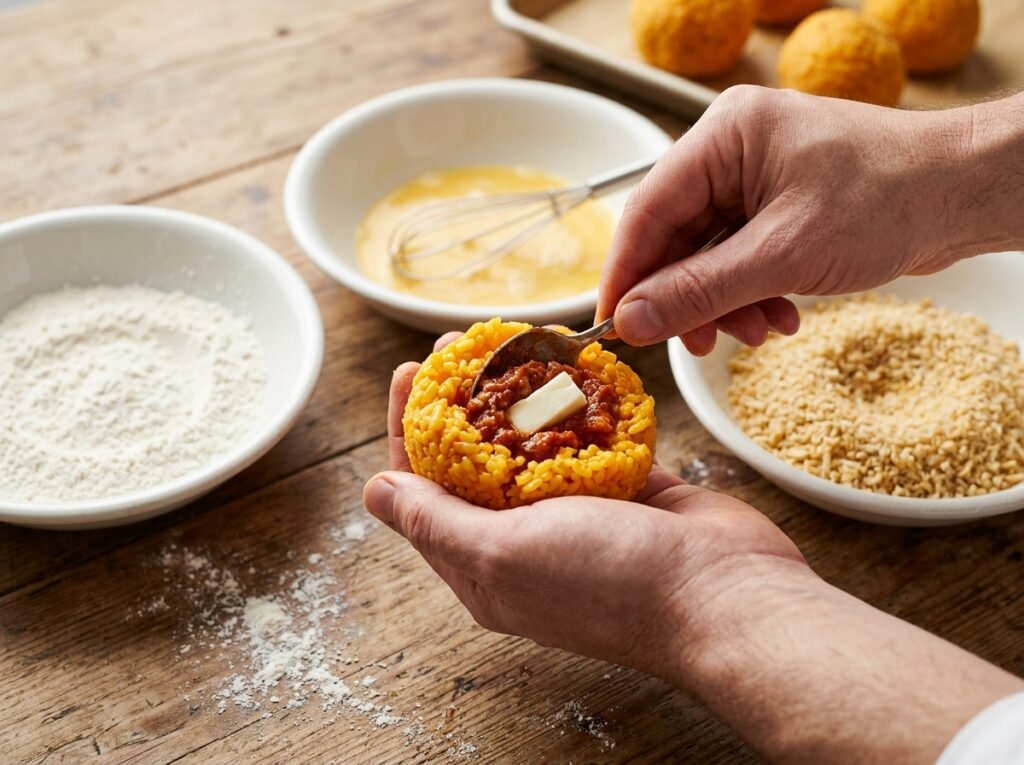
Roll each rice ball in breadcrumbs, pressing gently to adhere. For extra crispiness, you can double-coat if desired. Place on a tray.
Step 5: Fry to Golden Perfection
Heat oil in a deep pot to about 350-375°F. Carefully fry the arancini in batches, turning occasionally, until deeply golden and crispy. They should float and sizzle vigorously. Remove with tongs and drain on paper towels. Color cue: Deep golden-brown exterior.
Step 6: Serve
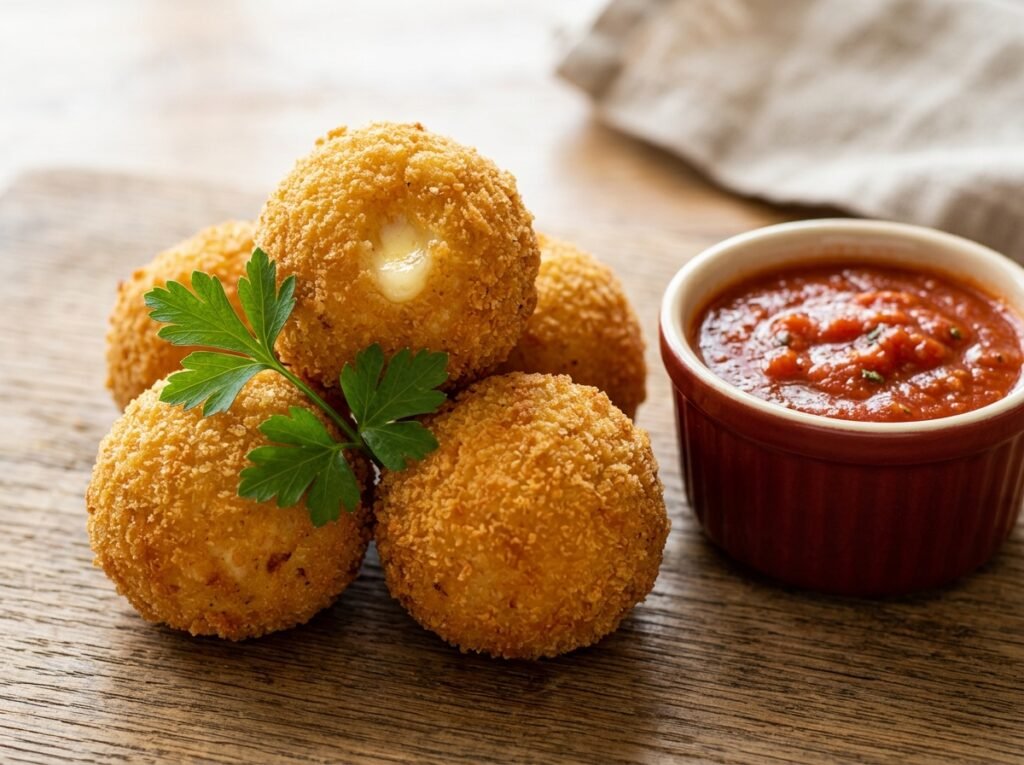
Serve hot with your favorite dipping sauce. Break one open to reveal the cheesy, meaty interior.
Expert Tips
- Cool rice completely before mixing to avoid mushiness.
- Don’t overfill the balls to prevent bursting during frying.
- Maintain consistent oil temperature for even cooking.
- Work with slightly damp hands or plastic wrap for easier shaping.
- Fry in small batches to avoid crowding and temperature drops.
Common Mistakes
- Soggy coating: Oil not hot enough or overcrowded pan. Heat oil properly and fry in batches.
- Falling apart: Rice too warm or insufficient binding. Chill mixture if needed.
- Dry interior: Overcooking or too little sauce in filling.
- Greasy balls: Oil too cool. Use a thermometer for best results.
Recipe Variations
- Spicy: Add chili flakes or hot sauce to the meat filling.
- Vegetarian: Replace meat with sautéed mushrooms or spinach and ricotta.
- Extra Cheesy: Add more mozzarella or use a cheese cube in the center.
- Seafood: Incorporate shrimp or tuna in the filling.
- Healthy: Bake at high heat with a light oil spray instead of deep-frying.
- High-Protein: Use extra lean meat or add cheese varieties.
What to Serve With This Recipe
- Dipping Sauces: Marinara, aioli, spicy mayo, or cheese sauce.
- Sides: Fresh arugula salad, antipasto platter, or roasted vegetables.
- Drinks: Italian red wine, crisp white, or sparkling lemonade.
- Mains: Pair as a starter for pasta dishes or grilled meats.
Make-Ahead & Meal Prep Tips
Prepare rice and filling up to 2 days ahead. Shape and bread balls, then refrigerate or freeze before frying. Ideal for parties — fry just before serving.
Storage & Reheating Instructions
- Refrigerator: Store cooked arancini up to 3 days in an airtight container.
- Freezer: Freeze uncooked breaded balls or cooked ones up to 2 months.
- Reheating:
- Oven: 375°F for 10-15 minutes until hot and crisp.
- Air Fryer: 350°F for 5-8 minutes (best for crispiness).
- Microwave: Quick but softens crust — finish in oven if possible.
Nutritional Information (Approximate per Arancini)
- Calories: 300-350
- Protein: 12-15g
- Carbohydrates: 25-30g
- Fat: 15-20g
- Fiber: 2g
- Sugar: 3g
- Sodium: 400-600mg
Troubleshooting Guide
- Cheese leaking: Seal rice well around filling; chill balls before frying.
- Not crispy: Ensure hot oil and dry breadcrumbs.
- Bland flavor: Season rice and filling generously at each stage.
- Oil splattering: Dry balls thoroughly before frying.
Frequently Asked Questions
Can I use leftover rice for arancini? Yes! Cooled leftover rice works perfectly and is a great way to repurpose it.
How do I prevent arancini from falling apart? Use enough egg binder and handle gently. Chilling the formed balls helps.
Can I bake them instead of frying? Yes — brush with oil and bake at 400°F, turning halfway, though they won’t be quite as crispy.
What sauce goes best with arancini? Classic marinara is traditional, but creamy or spicy options also pair wonderfully.
Are arancini gluten-free adaptable? Yes, with gluten-free breadcrumbs and verified ingredients.
Final Thoughts
Homemade arancini rice balls bring the joy of Italian street food to your table with their perfect contrast of textures and flavors. Once you master the technique, you’ll find endless ways to enjoy and customize them. Give this recipe a try — the satisfying crunch and gooey cheese pull are worth every minute. Share your results in the comments and rate the recipe! Buon appetito.