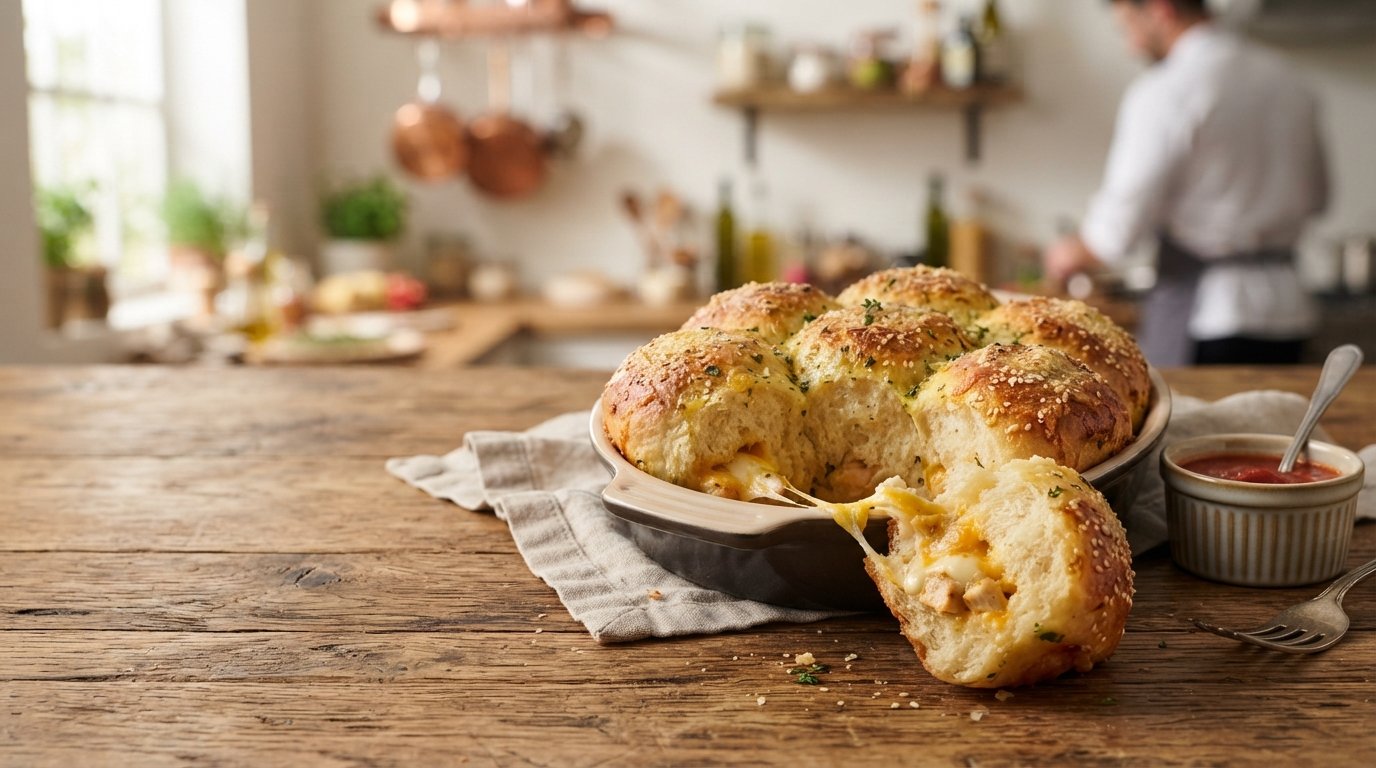
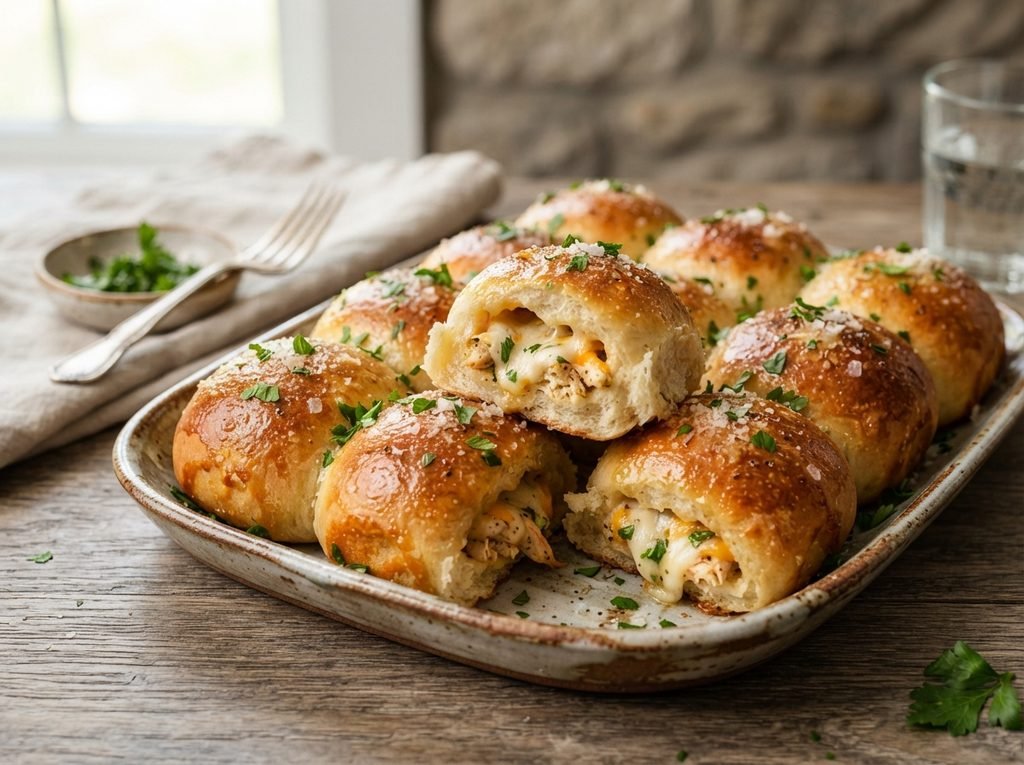
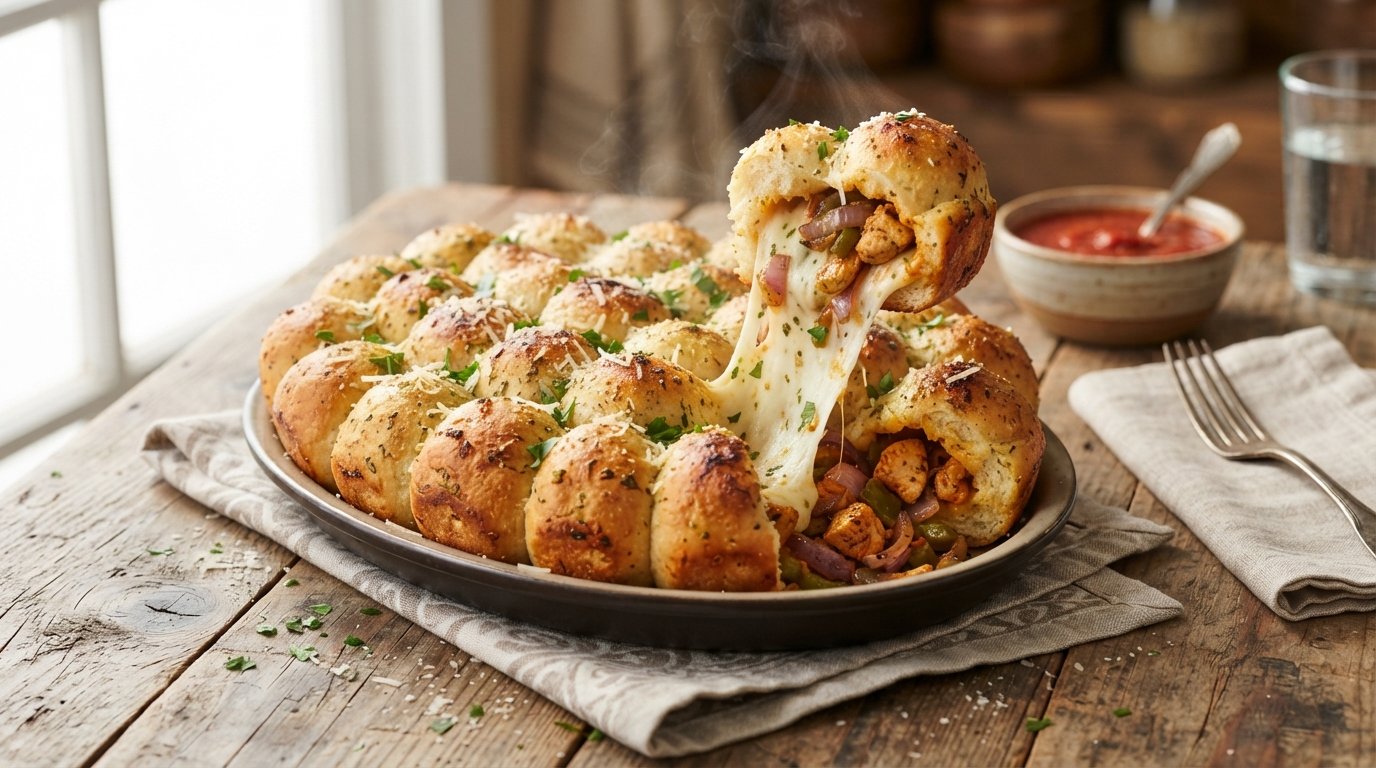
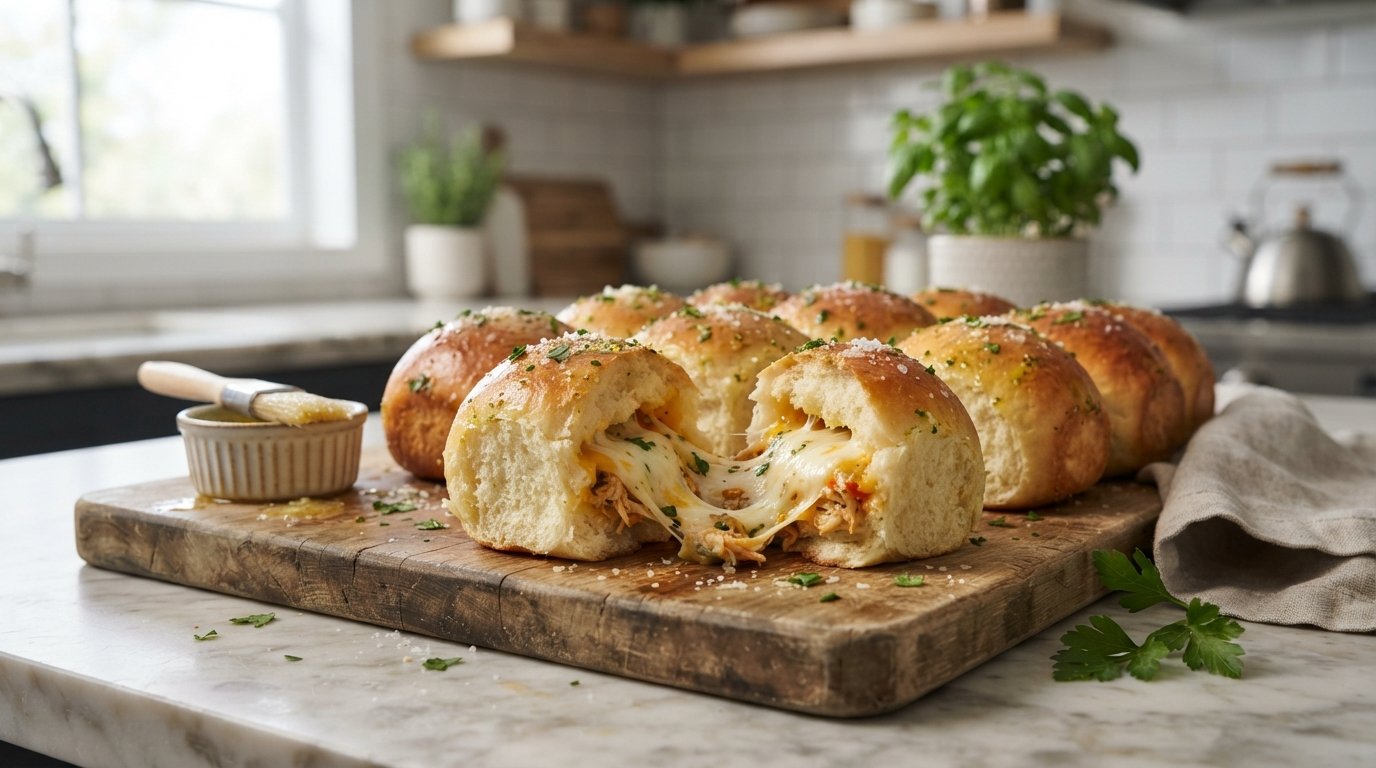
I still remember the first time I pulled apart one of these golden rolls and watched the cheese stretch forever. No yeast, no long rising time, just a simple dough wrapped around juicy chicken and melted cheese. The outside turns wonderfully crunchy while the inside stays soft and savory. It feels like bakery magic made in a regular home kitchen. Once you try this recipe, it quickly becomes a weekend favorite for the whole family.
Worth trying next: Cheesy garlic pull-apart bread
Why you’ll love this recipe
These no-yeast chicken cheese rolls deliver bakery results without the wait or fuss.
No yeast or rising time required at all
Golden crunchy crust with gooey cheese center
Perfect for lunch boxes or quick dinners
Kid-friendly filling everyone actually finishes
Ingredients
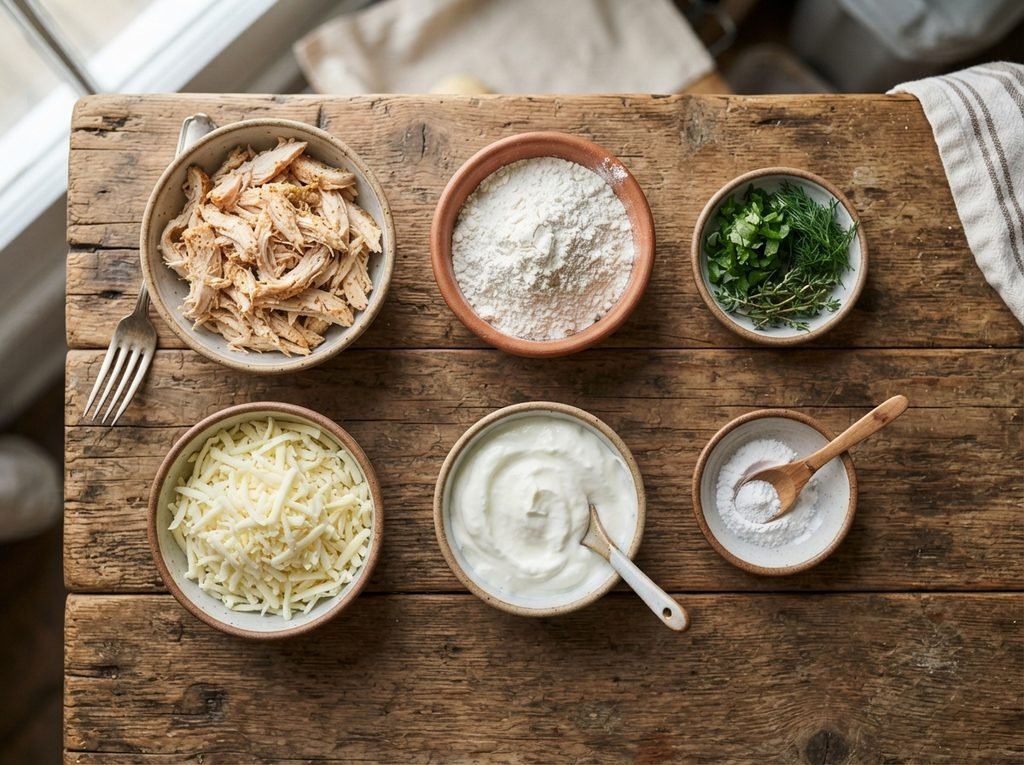
You only need a handful of everyday ingredients to create these crunchy, cheese-filled chicken bread rolls at home.
2 cups all-purpose flour
1 large egg
1/2 cup water
1 tsp salt
1 tbsp oil
300 g chicken breast, diced
1 small onion, diced
1/2 red bell pepper, diced
1 cup shredded mozzarella
4 slices cheddar cheese
Fresh parsley for garnish
If mozzarella is unavailable, any good melting cheese works well. Swap chicken for leftover cooked turkey or keep it vegetarian by using sautéed mushrooms instead. A pinch of baking powder can be added to the dough for extra lightness if desired.
Another reader favorite: Soft homemade dinner rolls
Step-by-step instructions
These eight simple steps turn basic ingredients into golden, cheese-stuffed bread rolls everyone will love.
Step 1: Cook the chicken
Heat a little oil in a pan over medium heat. Add the diced chicken and cook until it turns white and lightly golden on all sides.
Step 2: Add the vegetables
Stir in the diced onion and red bell pepper. Cook for a few minutes until the vegetables soften and the mixture becomes fragrant and colorful.
Step 3: Melt in the cheese
Sprinkle the shredded mozzarella over the chicken mixture. Stir gently until the cheese melts and coats everything in a creamy, stretchy layer.
Step 4: Make the dough
Combine flour, salt, egg, water, and a splash of oil in a bowl. Knead until a soft, smooth dough forms that no longer sticks to your hands.
Step 5: Rest and divide
Let the dough rest for five minutes under a damp cloth. Divide it into equal portions and roll each one into a small rectangle on a floured surface.
Step 6: Fill and seal
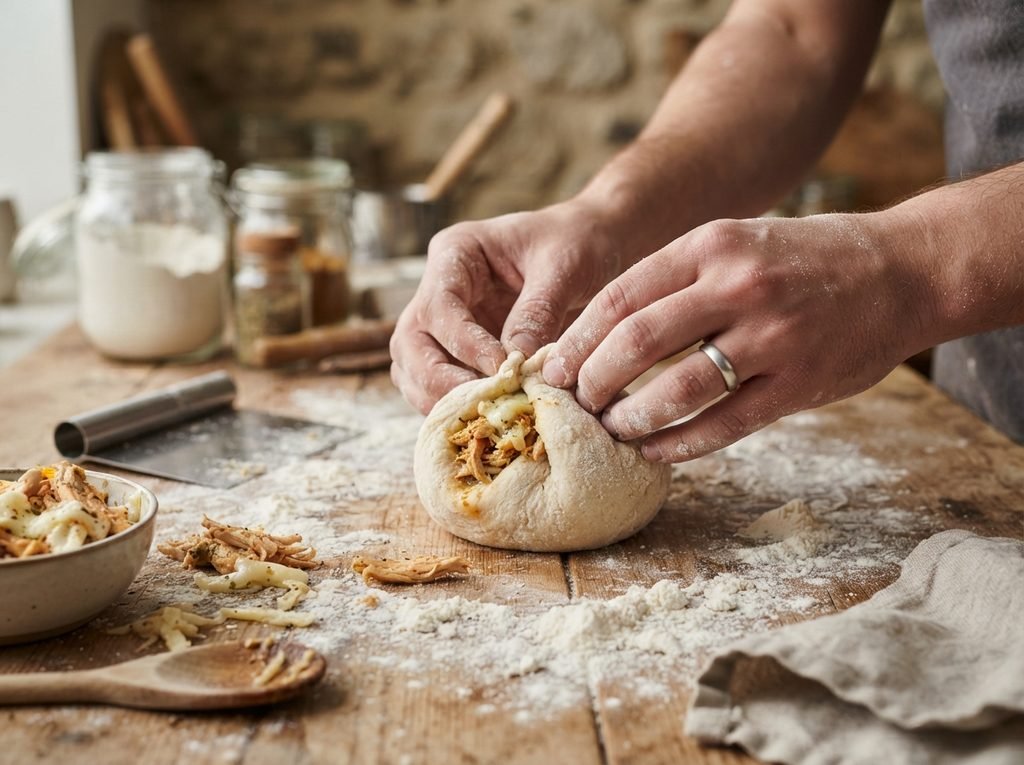
Place a cheese slice and a spoonful of the chicken mixture in the center of each piece. Fold the dough over and pinch the edges tightly to seal.
Step 7: Bake until golden
Arrange the sealed rolls on a lined baking tray. Bake at 200°C (400°F) for 18–20 minutes until the tops turn deep golden and crispy.
No-Yeast Chicken Cheese Bread Rolls
Golden, crunchy no-yeast bread rolls stuffed with juicy chicken, colorful peppers, and melted cheese. No rising time needed and ready in about 30 minutes for a satisfying homemade treat.
Heat oil in a pan and cook diced chicken until lightly golden.
Add diced onion and red bell pepper; cook until softened.
Stir in shredded mozzarella until melted and combined.
Mix flour, salt, egg, water, and oil into a soft dough; knead until smooth.
Rest dough 5 minutes, then divide and roll into rectangles.
Place cheese slice and chicken filling in center; fold and seal edges.
Arrange on lined tray and bake at 200°C for 18–20 minutes until golden.
Sprinkle with fresh parsley and serve warm.
Notes
Store cooled rolls in an airtight container for up to 2 days. Reheat in a 180°C oven for 5–7 minutes to restore crunch. Seal edges well to prevent filling from leaking during baking. Dough can be made ahead and refrigerated overnight.
Step 8: Garnish and serve
Remove from the oven and sprinkle with fresh parsley while still hot. Let them cool for two minutes so the cheese settles slightly before serving.
Tips & common mistakes
A few small details make the difference between good rolls and perfect ones every time.
Seal the edges firmly so filling stays inside
Do not overfill or the rolls may burst open
Bake until deep golden for maximum crunch
Rest the dough briefly for easier stretching
Recipe variations
Simple changes let you customize these rolls to suit different tastes or what you have on hand.
Add chili flakes for a spicy chicken version
Use turkey or leftover roast chicken instead
Swap cheddar for spicy pepper jack cheese
Make mini versions perfect for party snacks
What to serve with this recipe
These crunchy rolls pair beautifully with light sides that balance the rich cheesy filling.
Fresh green salad with lemon dressing
Creamy tomato soup for dipping
Cool cucumber yogurt dip on the side
Iced tea or sparkling lemonade to drink
Pairs well with this: Simple tomato basil soup
Frequently asked questions
Here are clear answers to the questions people ask most about this no-yeast bread recipe.
Can I make the dough ahead of time?
Yes, prepare the dough, wrap it tightly, and refrigerate for up to one day. Bring it back to room temperature before rolling and filling.
Why is there no yeast in this recipe?
The dough relies on the egg and careful kneading for structure. It creates a soft yet sturdy bread that bakes up crispy without any rising time.
How do I store leftover rolls?
Keep them in an airtight container at room temperature for one day or refrigerate for three days. Reheat in a hot oven to restore the crunch.
Can I freeze these chicken cheese rolls?
Absolutely. Freeze the baked and cooled rolls in a single layer, then transfer to a bag. Reheat straight from frozen at 180°C until hot.
Final thoughts
These no-yeast chicken cheese bread rolls prove you do not need fancy techniques or long waiting times to enjoy bakery-style results at home. The golden crust, juicy chicken filling, and endless cheese pull make every bite satisfying. Try them this weekend, then leave a comment or rating below to share how they turned out for you. I cannot wait to hear what you think!