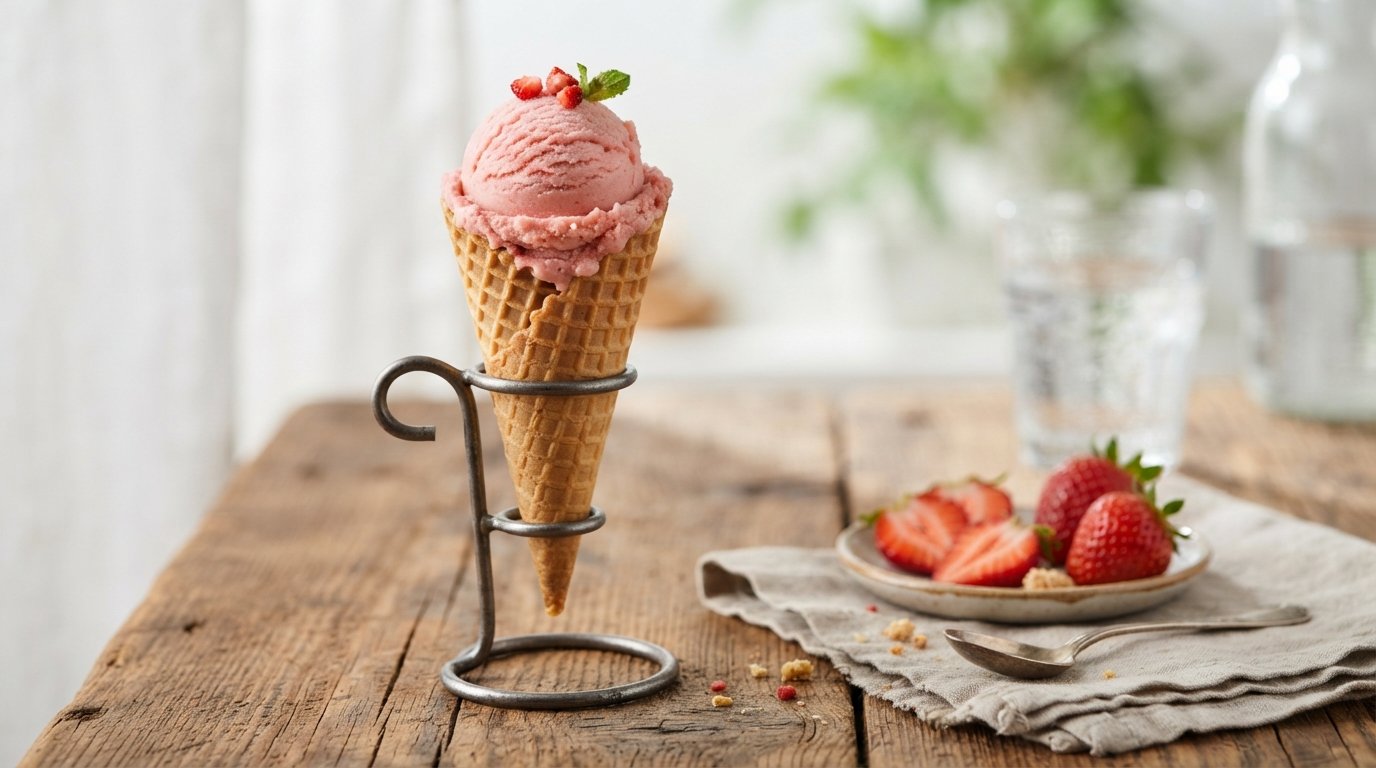
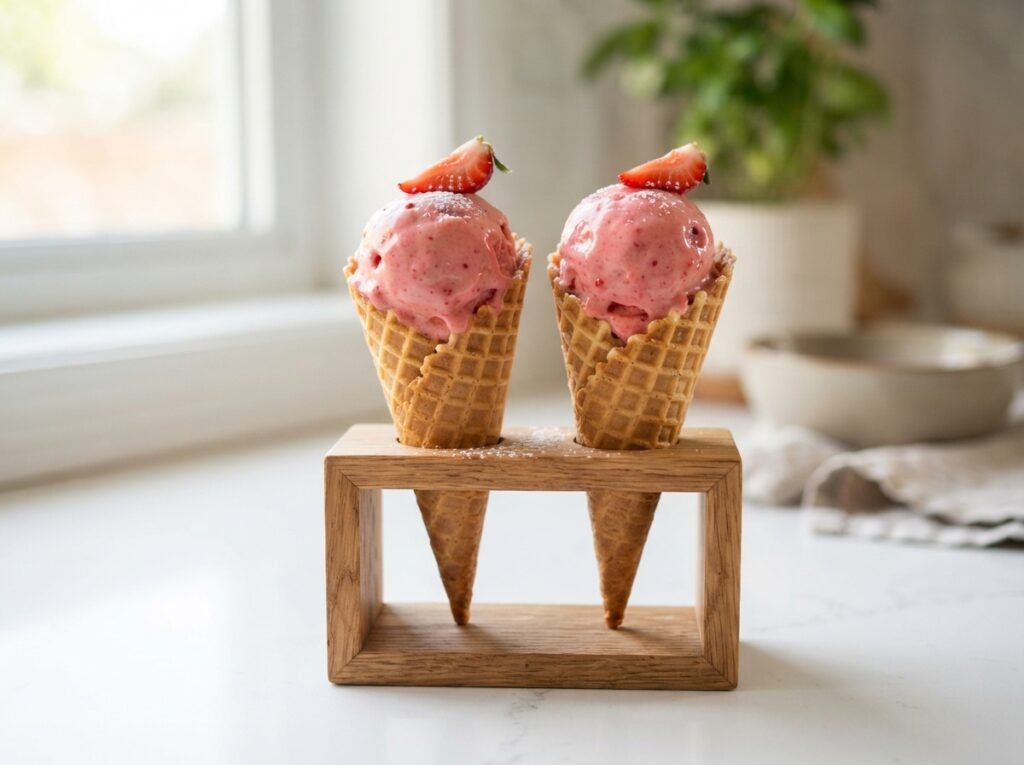
There’s something magical about turning simple frozen fruit into a creamy, scoopable dessert that tastes like ice cream without the dairy. This strawberry nice cream cone came together on a hot afternoon when I needed something cold and refreshing fast. Blending frozen bananas and strawberries creates a naturally sweet, vibrant pink base that freezes into the perfect soft-serve texture. Served in a crisp waffle cone, it feels like a treat from an ice cream shop yet stays light and wholesome.
While you’re at it:Easy No-Churn Pink Strawberry Ice Cream
Why you’ll love this recipe
This no-churn dessert delivers pure fruit flavor with almost zero effort involved.
- Naturally dairy-free and refined-sugar-free base
- Ready in minutes with just a food processor
- Vibrant pink color from real strawberries only
- Perfect soft-serve texture that scoops beautifully
Ingredients
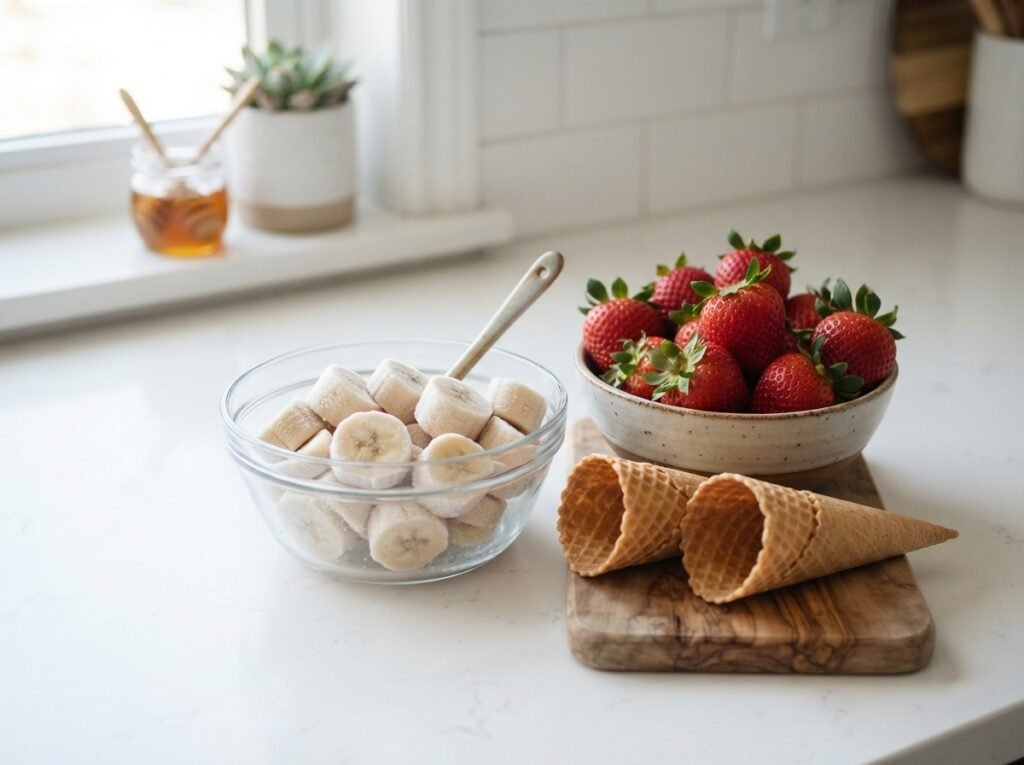
Gather these few simple items for a batch of creamy strawberry nice cream that fills several cones.
- 3 ripe bananas, sliced and frozen
- 2 cups frozen strawberries
- 2–3 tbsp milk of choice
- 4–6 waffle cones
For substitutions, use any plant milk or regular dairy milk for the liquid splash. Swap half the strawberries for frozen raspberries if desired. Overripe bananas work best for natural sweetness and creaminess once frozen solid.
One more to try:Berry Chocolate Donuts
Step-by-step instructions
Follow these simple steps to transform frozen fruit into scoopable strawberry nice cream ready for cones.
Step 1: Prep the strawberries
Wash and hull fresh strawberries, then slice them in half. Spread on a tray and freeze until completely solid for the best texture later.
Step 2: Slice and freeze the bananas
Peel ripe bananas and cut into thick coins. Freeze the pieces on a parchment-lined sheet until hard, usually several hours or overnight.
Step 3: Load the food processor
Add the frozen banana slices and frozen strawberry pieces into the bowl of a food processor. Work quickly so the fruit stays firm and cold.
Step 4: Add a splash of liquid
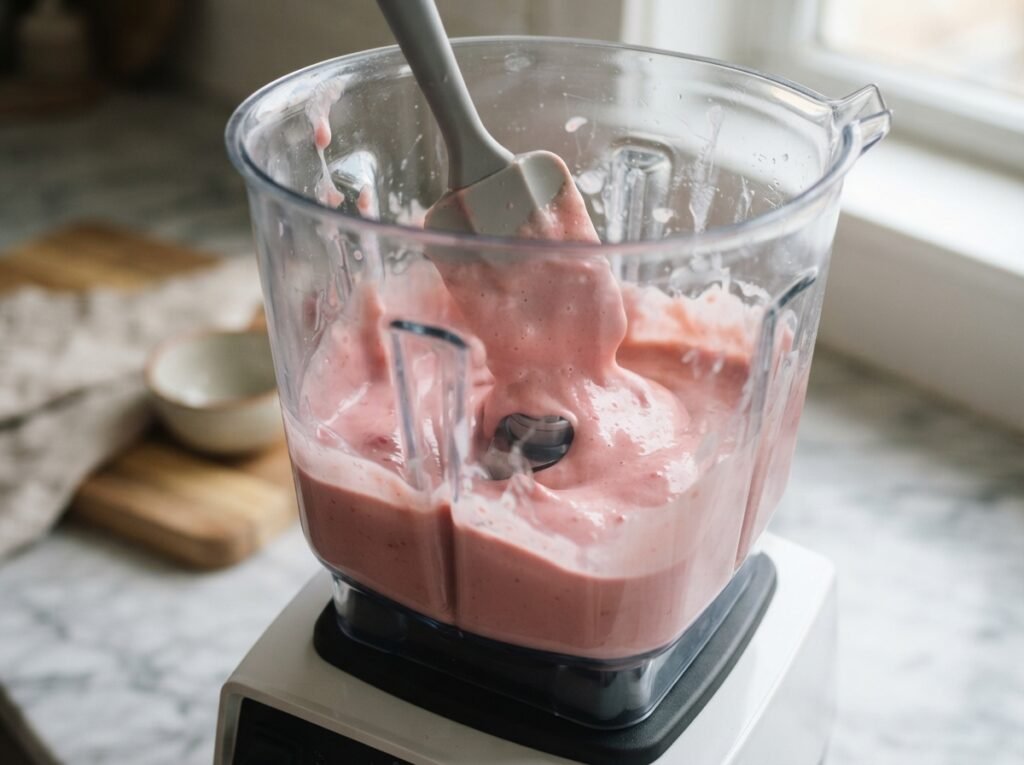
Pour in just two or three tablespoons of milk. This small amount helps the blades catch and creates a smooth, creamy consistency without thinning it.
Step 5: Blend until creamy
Secure the lid and process, pausing to scrape down the sides as needed. Continue until the mixture turns thick, smooth, and soft-serve pink.
Step 6: Transfer to a container
Spoon the soft nice cream into a freezer-safe tub. Smooth the top with the back of a spoon for even freezing if desired.
Step 7: Firm it up briefly
Place the container in the freezer for 30–60 minutes so the mixture firms enough to hold its shape when scooped.
Step 8: Scoop onto cones
Strawberry Nice Cream Cone
Equipment
- 1 | Food processor | high-powered preferred
- 1 | Freezer-safe container | for firming
- 1 | Ice cream scoop |
- 1 | Knife | for slicing fruit
- 1 | cutting board |
Ingredients
- 3 | | ripe bananas | sliced and frozen
- 2 | cups | frozen strawberries |
- 2-3 | tbsp | milk of choice | dairy or plant-based
- 4-6 | | waffle cones |
Instructions
- Slice bananas and freeze until solid.
- Hull and freeze strawberries until solid.
- Add frozen banana slices and frozen strawberries to a food processor.
- Pour in 2–3 tablespoons milk.
- Process, scraping sides as needed, until thick and creamy.
- Transfer mixture to a freezer-safe container.
- Freeze 30–60 minutes until scoopable.
- Scoop onto waffle cones and serve immediately.
- Tip: Work quickly once fruit is out of the freezer so it stays firm.
- Tip: Add liquid only as needed to help the blades move.
Notes
Soften at room temperature a few minutes before scooping again.
Use fully ripe bananas for best natural sweetness.
Any milk works; plant-based keeps it fully vegan.
Use an ice cream scoop to portion generous balls onto waffle cones. Serve immediately while still soft and creamy.
Tips & common mistakes
A few simple habits keep the texture perfect every single time you make this.
- Freeze fruit solid for true ice-cream thickness
- Avoid adding too much liquid or it turns soupy
- Scrape the processor sides often during blending
- Scoop and serve right away for softest results
Recipe variations
Customize the base easily to match different tastes or what you have on hand.
- Add a spoon of cocoa for chocolate-strawberry swirl
- Mix in frozen mango for tropical fruit flavor
- Blend in a handful of spinach for hidden greens
- Stir chopped dark chocolate chips after blending
What to serve with this recipe
Pair the cones with light sides that balance the fruity sweetness perfectly.
- Fresh berry salad with mint leaves
- Iced herbal tea or sparkling water
- Simple almond shortbread cookies
- Drizzle of melted dark chocolate on top
Worth trying next:Elegant Berry Puff Pastry Layer Cake
Frequently asked questions
Here are quick answers to the questions that come up most often with this recipe.
Can I make this without a food processor?
A high-powered blender works in a pinch, though you may need to stop and stir more often to keep everything moving smoothly toward creaminess.
How long does strawberry nice cream keep?
Store leftovers in an airtight container in the freezer up to one week. Let it soften a few minutes on the counter before scooping again.
Is this recipe vegan?
Yes, simply choose a plant-based milk such as almond, oat, or coconut milk and the entire batch stays fully vegan and dairy-free.
Can I use fresh fruit instead of frozen?
Fresh fruit will not create the same thick, scoopable texture. Always freeze the bananas and strawberries solid first for best results.
Final thoughts
This strawberry nice cream cone proves that a handful of frozen fruit can become something truly special with almost no work. The bright color, natural sweetness, and creamy scoop make it a summer favorite that feels indulgent yet stays simple. Give it a try on your next warm day, then drop a comment below to share how it turned out or any fun twists you added. Ratings help others find the recipe too!