Recipe Summary
| Detail | Information |
|---|---|
| Prep Time | 20 minutes |
| Cook Time | 10–15 minutes |
| Total Time | 35 minutes |
| Servings | 4–6 (about 12–16 balls) |
| Cuisine | American / Italian-Inspired |
| Course | Appetizer, Snack |
| Difficulty | Easy |
| Calories | ~180–250 per ball (estimated) |
Table of Contents
- Introduction
- Why This Recipe Works
- Why You’ll Love This Recipe
- Ingredient Notes
- Kitchen Equipment
- Preparation Information
- Step-by-Step Instructions
- Expert Tips
- Common Mistakes to Avoid
- Recipe Variations
- What to Serve With These Garlic Parmesan Cheese Balls
- Make-Ahead & Meal Prep Tips
- Storage & Reheating Instructions
- Nutritional Information
- Troubleshooting Guide
- Frequently Asked Questions
- Final Thoughts
Introduction
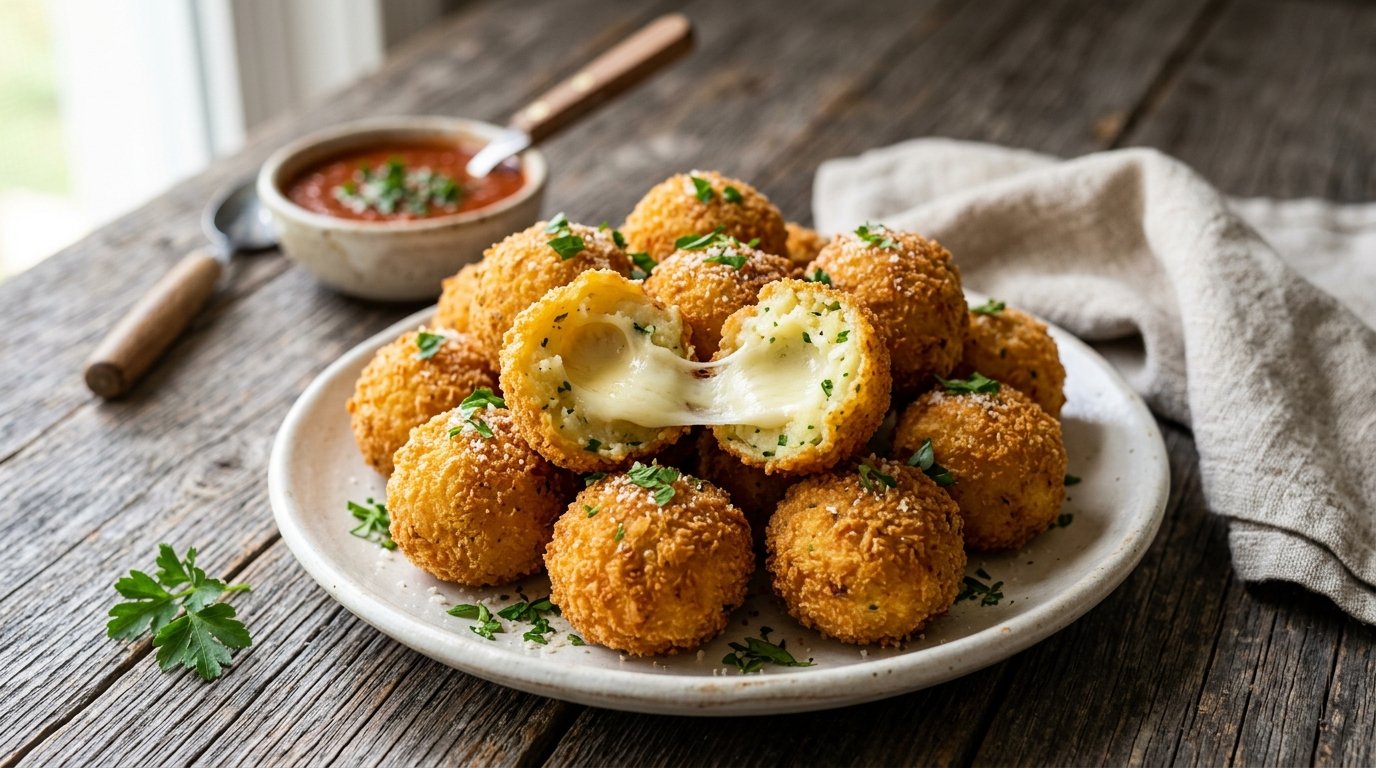
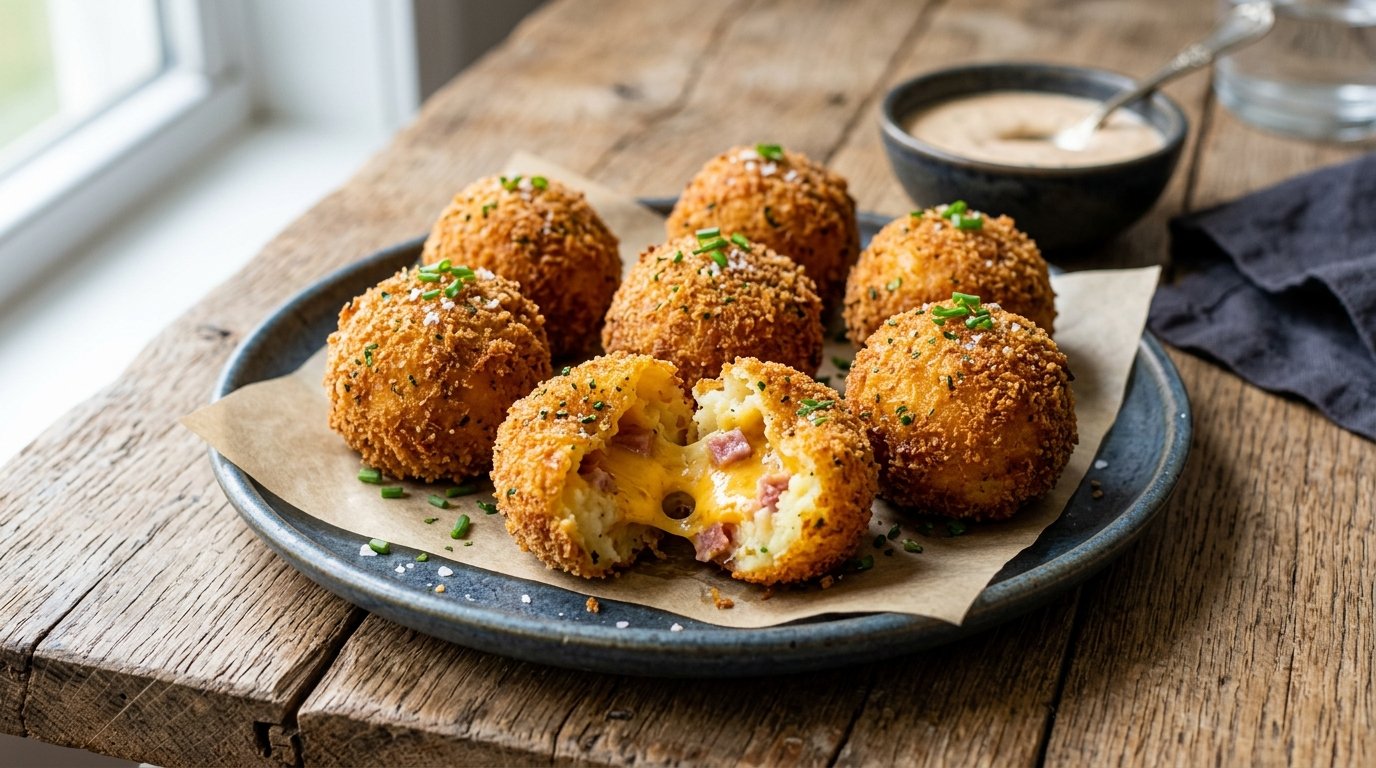
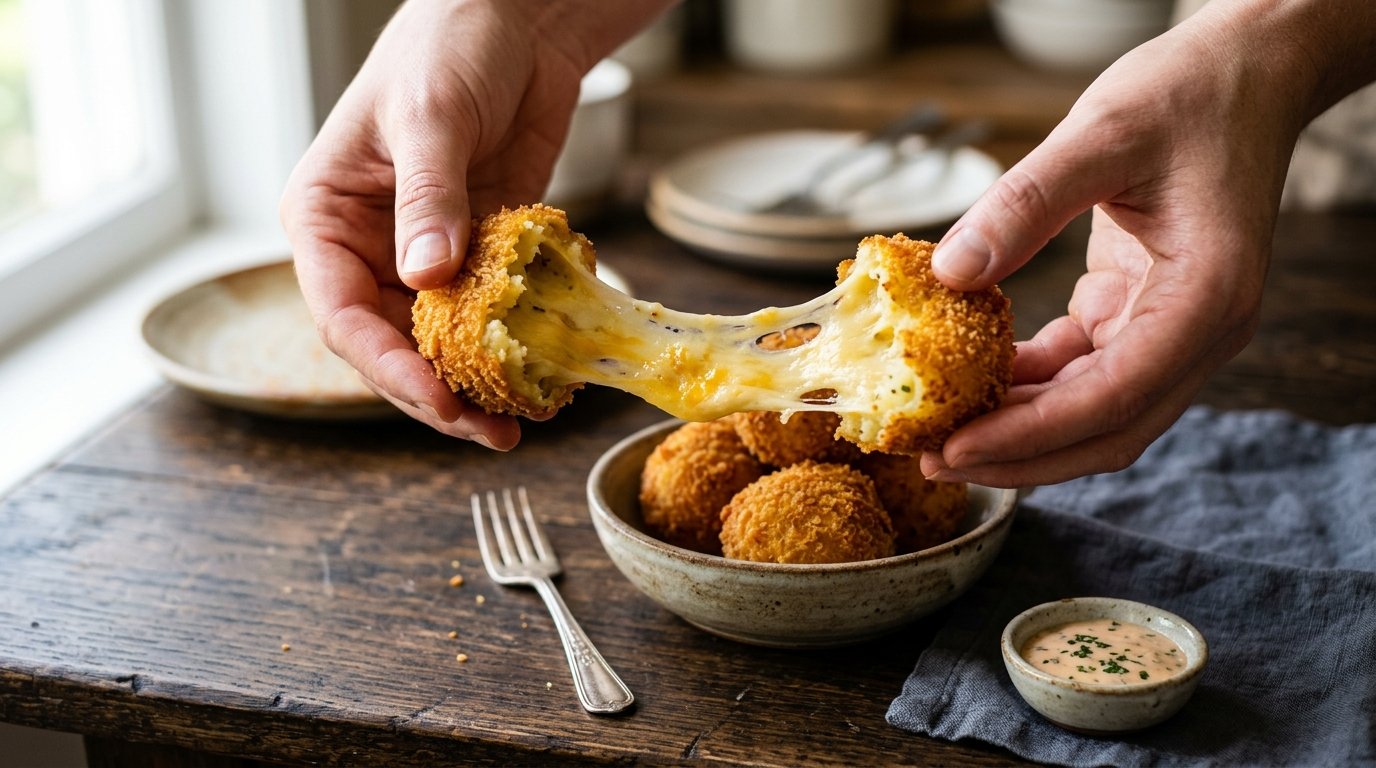
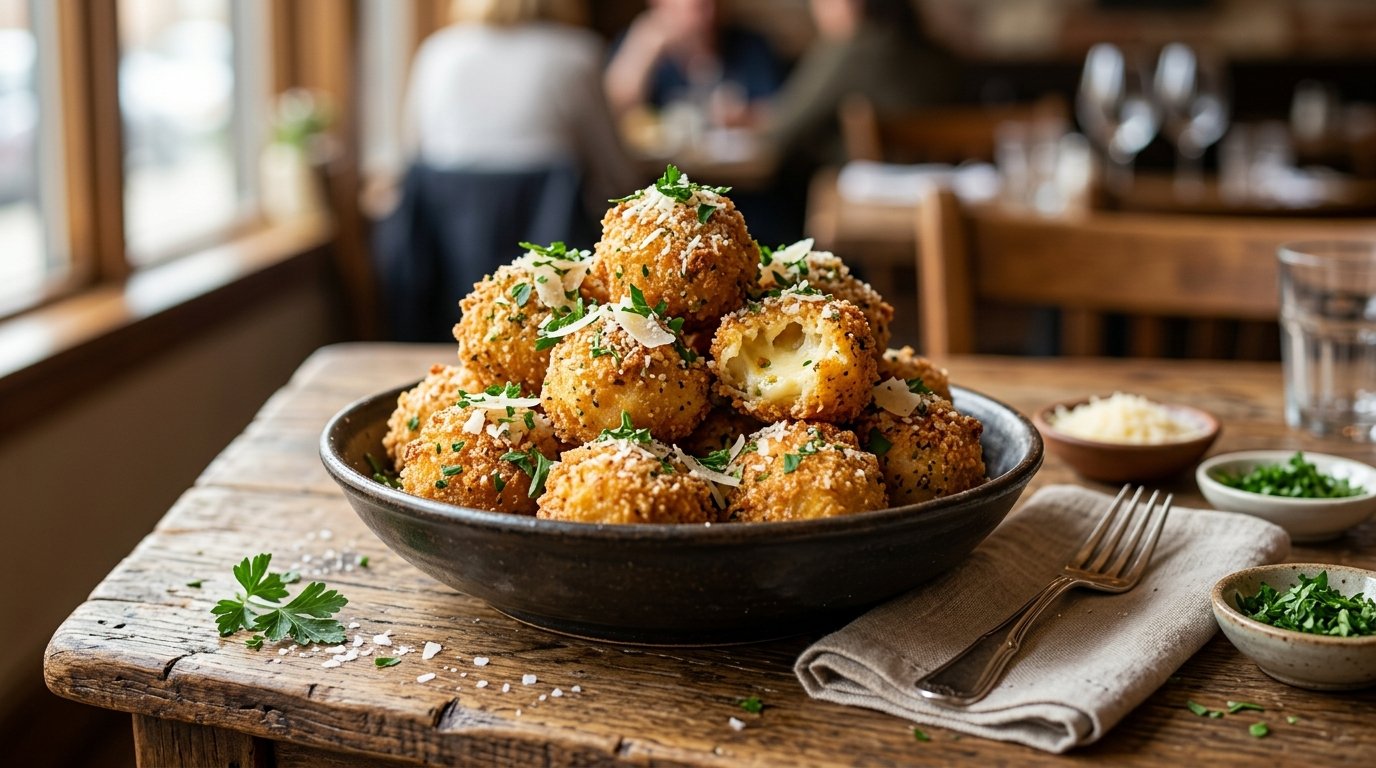
These Garlic Parmesan Cheese Balls deliver everything you crave in one bite: a crunchy, herb-flecked exterior giving way to molten mozzarella cheese. Quick to assemble and even faster to disappear, they’re perfect for game days, parties, or anytime you need a crowd-pleasing snack. The garlic-parmesan flavor shines through in every crispy bite.
Why This Recipe Works
A simple cheese-based dough flavored with garlic and herbs encases cubes of mozzarella. The triple breading station (flour, egg, seasoned crumbs) creates a sturdy, golden shell that locks in the cheese while it melts. Frying at the right temperature ensures crispiness without greasiness, and the final sprinkle of parmesan takes it over the top.
Why You’ll Love This Recipe
- Epic cheese pull with every bite.
- Ready in under 40 minutes.
- Customizable with pantry staples.
- Kid-friendly and adult-approved.
- Impressive yet easy for entertaining.
Ingredient Notes
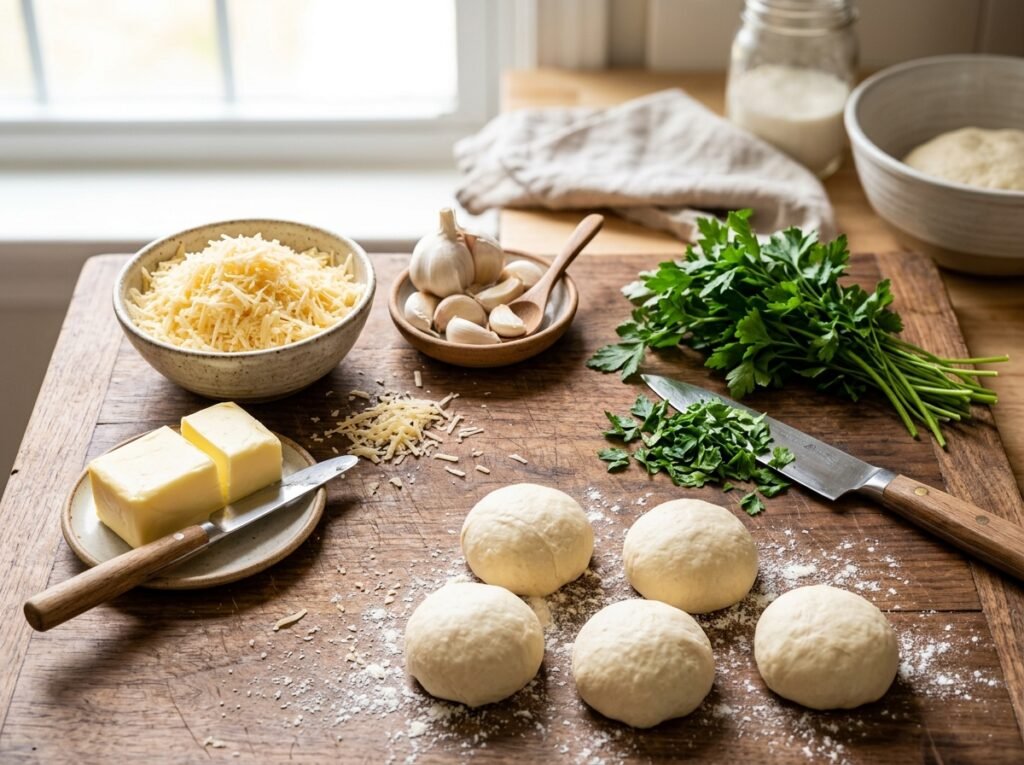
- Shredded cheese (base): Forms the dough. Use a mix of mozzarella and parmesan for best results. Tillamook or similar high-quality brands melt beautifully.
- Mozzarella cubes: The gooey surprise inside. Cut into even ½–¾ inch cubes for uniform melting.
- Dried herbs & garlic: Provide savory flavor. Italian seasoning or a blend of oregano, basil, and parsley works well.
- Flour: Helps bind the dough and creates the first breading layer.
- Eggs: For the wash that helps crumbs adhere.
- Breadcrumbs: Seasoned with more parmesan and herbs for extra crunch. Panko for maximum crispiness.
- Salt & pepper: Essential seasoning.
- Oil for frying: Neutral oil with high smoke point (vegetable, canola).
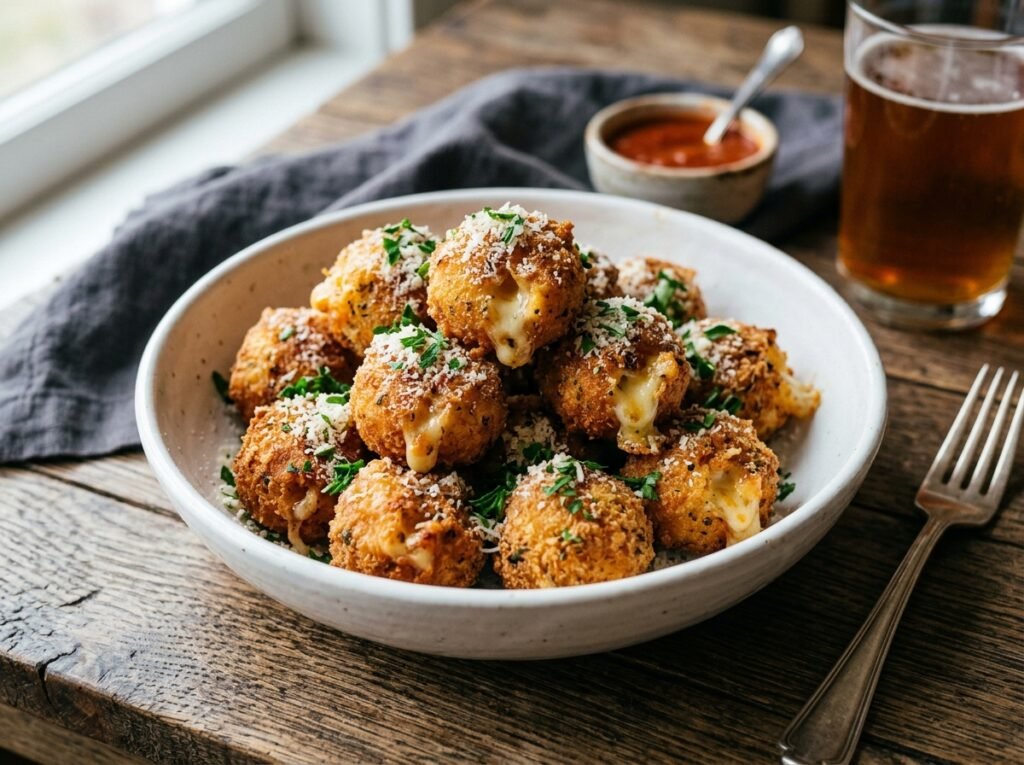
- Dipping sauce: Warm marinara or garlic aioli (orange sauce shown).
Kitchen Equipment
Required:
- Mixing bowls
- Baking sheet or tray for breading
- Sharp knife for cubing cheese
- Deep skillet or pot for frying
- Slotted spoon or spider strainer
- Paper towels
Optional:
- Food processor for quicker shredding/mixing
- Thermometer for oil temperature (350–375°F ideal)
Preparation Information
- Prep Time: 20 minutes
- Cook Time: 10–15 minutes
- Total Time: 35 minutes
- Servings: 4–6
Step-by-Step Instructions
1. Make the Cheese Dough
In a large bowl, combine shredded cheese with dried herbs, minced garlic (or garlic powder), flour, and seasonings. Mix until a soft, pliable dough forms. The mixture should hold together when pressed but not be overly sticky. This base carries the garlic-parmesan flavor throughout.
2. Form the Cheese Balls
Take a portion of dough and flatten it in your palm. Place a cube of mozzarella in the center, then wrap the dough around it, rolling gently to seal completely. Aim for even-sized balls (about golf ball size) so they cook uniformly. The dough should fully encase the cheese to prevent leaks.
3. Set Up Breading Station
Prepare three stations: a plate with flour, a bowl with beaten eggs, and a bowl with seasoned breadcrumbs mixed with extra parmesan and herbs. This classic dredging method ensures even, crunchy coating.
4. Bread the Balls
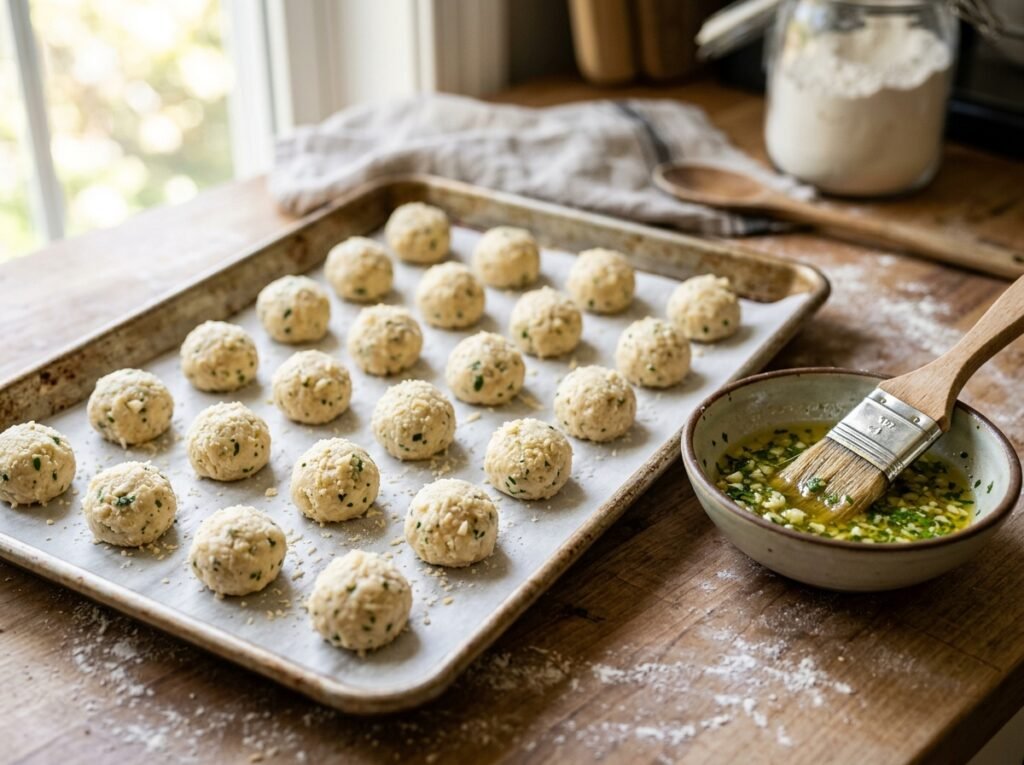
Roll each cheese ball in flour (shake off excess), dip in egg wash, then coat thoroughly in breadcrumbs. Press gently to help crumbs adhere. For extra crunch, double-dip in egg and crumbs. Place breaded balls on a tray.
5. Fry to Golden Perfection
Heat oil in a deep skillet to 350–375°F. Fry balls in batches (don’t overcrowd) until deep golden brown, about 2–4 minutes, turning for even color. They’ll puff slightly and develop a beautiful crust. Drain on paper towels and sprinkle with extra shredded parmesan while hot.
6. Serve Immediately
Plate with warm dipping sauce. The contrast of hot, crispy exterior and melty center is at its best right after frying.
Expert Tips
- Keep cheese cold until ready to use for easier handling.
- Work quickly when forming balls so the mozzarella doesn’t warm up too much.
- Maintain consistent oil temperature—too low makes them greasy; too high burns the coating.
- Garnish with fresh parsley or more parmesan for visual appeal.
Common Mistakes to Avoid
- Cheese leaking: Ensure dough fully seals the cube and breading is complete.
- Soggy coating: Pat balls dry if needed and fry in hot enough oil.
- Uneven size: Leads to inconsistent cooking—measure portions.
- Overcrowding fryer: Drops oil temperature and causes sticking.
Recipe Variations
- Spicy: Add red pepper flakes or cayenne to the dough and crumbs.
- Extra Cheesy: Mix different cheeses into the dough (cheddar, pepper jack).
- Baked Version: Brush with oil and bake at 400°F until golden (less crispy but lighter).
- Air Fryer: 375°F for 8–12 minutes, flipping halfway.
- Herb Variations: Fresh chopped herbs when in season.
- Low-Carb: Use almond flour and pork rinds for breading.
What to Serve With These Garlic Parmesan Cheese Balls
- Marinara, ranch, or garlic aioli for dipping.
- Fresh vegetable platter or Caesar salad.
- Pasta dishes or Italian soups.
- Beer, wine, or Italian sodas.
- As a side to pizza or sandwiches.
Make-Ahead & Meal Prep Tips
Form and bread the balls up to a day ahead. Store on a tray in the refrigerator, then fry fresh. Great for prepping before parties.
Storage & Reheating Instructions
- Refrigerator: Store cooked balls up to 3 days in an airtight container.
- Freezer: Freeze breaded (unfried) balls on a tray, then transfer to a bag for up to 2 months. Fry from frozen, adding extra time.
- Reheating:
- Air Fryer/Oven: Best for restoring crispiness—350°F for 5–8 minutes.
- Microwave: Quick but softens texture.
- Avoid stovetop for reheating to prevent uneven heating.
Nutritional Information (Approximate per Ball)
- Calories: 200
- Protein: 10g
- Carbohydrates: 12g
- Fat: 13g
- Fiber: 1g
- Sugar: 1g
- Sodium: 350mg Estimates based on standard portions and frying absorption.
Troubleshooting Guide
- Cheese exploding: Better sealing and proper oil temp.
- Pale coating: Increase oil heat or fry longer.
- Dough too dry/crumbly: Add a splash of milk or more shredded cheese.
- Too greasy: Drain thoroughly and avoid low oil temp.
Frequently Asked Questions
Can I bake these instead of frying? Yes—brush with oil and bake or air fry for a lighter option.
What cheese works best inside? Low-moisture mozzarella cubes hold shape best while melting nicely.
How do I prevent them from falling apart? Make sure the dough fully encases the cheese and the breading layers are secure.
Can I make them ahead? Absolutely—bread and refrigerate or freeze for easy cooking later.
What sauce pairs best? Classic marinara, but ranch or spicy arrabbiata are delicious too.
Are these gluten-free adaptable? Yes, with gluten-free flour, breadcrumbs, and cheese.
Final Thoughts
These Garlic Parmesan Cheese Balls are pure cheesy bliss—crispy on the outside, molten inside, and bursting with garlic-herb flavor. They’re surprisingly simple to make yet feel special enough for any occasion. Once you try them, they’ll become your go-to appetizer. Make a batch today, serve them hot, and watch them vanish. Let me know in the comments how yours turned out or what dipping sauce you paired them with—I can’t wait to hear!