This homemade pizza dough recipe creates a soft, airy, and chewy crust that rivals your favorite pizzeria. With just a few simple ingredients and straightforward steps, you’ll have restaurant-quality dough ready for your favorite toppings. Whether you’re a beginner or seasoned baker, this foolproof method delivers consistent results every time.
Quick Recipe Summary
| Detail | Information |
|---|---|
| Prep Time | 10–15 minutes |
| Rise Time | 1–2 hours |
| Cook Time | 10–15 minutes (baking) |
| Total Time | About 1 hour 30 minutes–2 hours |
| Servings | 2 large pizzas or 4 personal |
| Cuisine | Italian |
| Course | Base / Dough |
| Difficulty | Beginner |
| Calories | ~250 per serving (dough only) |
Table of Contents
- Introduction
- Why This Recipe Works
- Why You’ll Love This Recipe
- Ingredient Notes
- Kitchen Equipment
- Step-by-Step Instructions
- Expert Tips
- Common Mistakes to Avoid
- Recipe Variations
- What to Serve With Pizza Made From This Dough
- Make Ahead & Meal Prep Tips
- Storage Instructions
- Reheating Instructions
- Nutritional Information
- Troubleshooting Guide
- Frequently Asked Questions
- Final Thoughts
Introduction
Tired of store-bought pizza bases that taste like cardboard? Master this homemade pizza dough recipe and transform your pizza nights forever. This dough yields a perfectly soft and chewy crust with beautiful airy pockets — just like the one in the video. It’s incredibly versatile, freezes well, and requires minimal hands-on time. Once you try it, you’ll never go back to pre-made dough again!
Why This Recipe Works
The combination of warm water, sugar, and yeast creates strong fermentation for rise and flavor. Olive oil adds richness and tenderness, while proper kneading and the windowpane test ensure strong gluten development. The result? A dough that stretches beautifully, holds toppings without sogginess, and bakes into a golden, crisp-yet-chewy crust.
Why You’ll Love This Recipe
- Simple pantry ingredients — no special trips to the store
- Soft, chewy texture with professional results
- Make-ahead friendly — perfect for busy schedules
- Customizable — works for thin, thick, or stuffed crusts
- Beginner-friendly — clear visual cues like the windowpane test
- Cost-effective and fresh — tastes infinitely better than delivery dough
Ingredient Notes
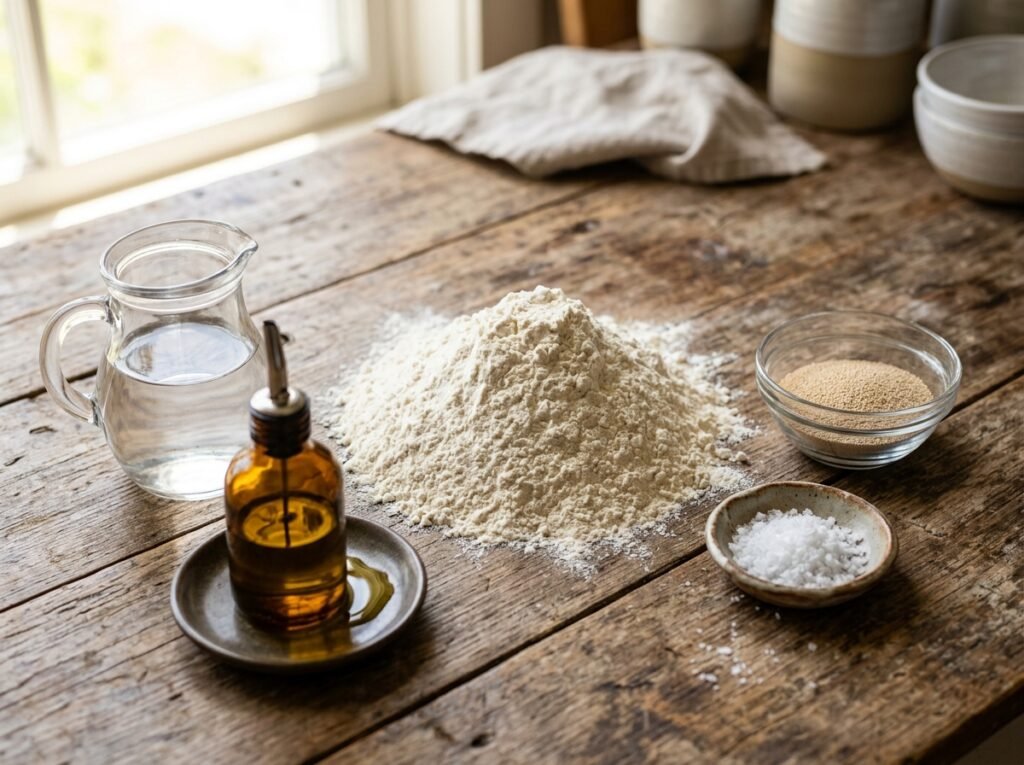
Warm Water: Activates yeast. Use 100–110°F (38–43°C) — too hot kills yeast; too cold slows it. Active Dry Yeast (or instant): 1 packet (2¼ tsp) — the leavening agent. Sugar: 1–2 tsp — feeds yeast and promotes browning. All-Purpose Flour (or bread flour): 3–4 cups — provides structure. Bread flour gives extra chew. Olive Oil: 2 tbsp — adds flavor, tenderness, and helps with browning. Extra virgin for best taste. Salt: 1 tsp — enhances flavor and controls yeast activity (added after initial mixing usually).
Substitutions: Use honey instead of sugar. Vegetable oil if no olive oil. Whole wheat flour (up to 50%) for a heartier version.
Kitchen Equipment
Required: Large glass or stainless steel bowl, measuring cups/spoons, clean hands or wooden spoon, clean kitchen towel or plastic wrap. Optional: Stand mixer with dough hook, pizza stone, bench scraper, pizza peel.
Step-by-Step Instructions
1. Activate the Yeast
In a large bowl, add warm water, yeast, and sugar. Stir gently and let it sit for 5–10 minutes until frothy and bubbly. This “proofing” confirms your yeast is active.
Why it matters: Ensures proper rising. Visual cue: Foamy surface with a beer-like aroma.
2. Mix the Dough
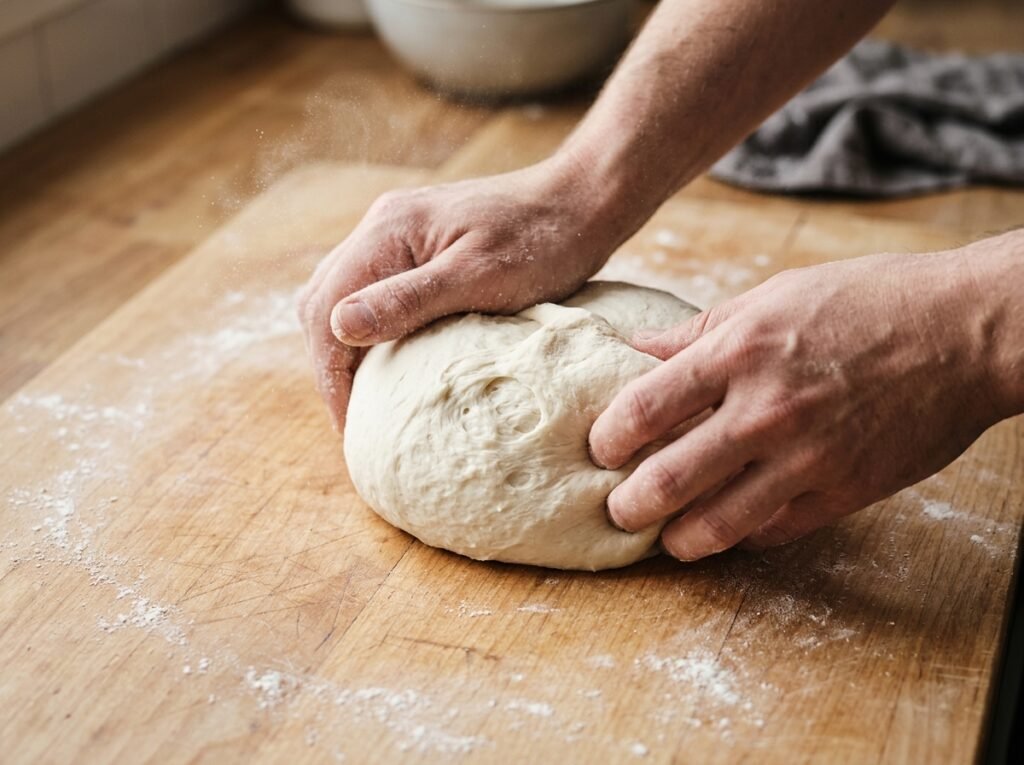
Add flour, salt, and olive oil to the yeast mixture. Stir until a shaggy dough forms, then knead by hand on a lightly floured surface (or in the bowl) for 8–10 minutes until smooth and elastic.
Texture cue: Dough should feel soft, slightly tacky but not sticky.
3. First Rise
Shape into a ball, place in a lightly oiled bowl, and cover. Let rise in a warm spot until doubled in size (1–2 hours).
Visual cue: Dough looks puffy, airy, and jiggles slightly when the bowl is shaken. As shown in the video, it becomes beautifully soft and fluffy.
4. Windowpane Test (Gluten Development Check)
Take a small piece of dough and gently stretch it. It should form a thin, translucent membrane without tearing easily. If it rips, knead a few more minutes and test again.
Professional tip: This is the key indicator of properly developed gluten for that signature chew.
5. Shape and Bake Your Pizza
Divide dough, stretch or roll into your desired shape on a floured surface or parchment. Add sauce, cheese, and toppings. Bake on a preheated pizza stone or tray at 475–500°F (245–260°C) for 10–15 minutes until golden and bubbly.
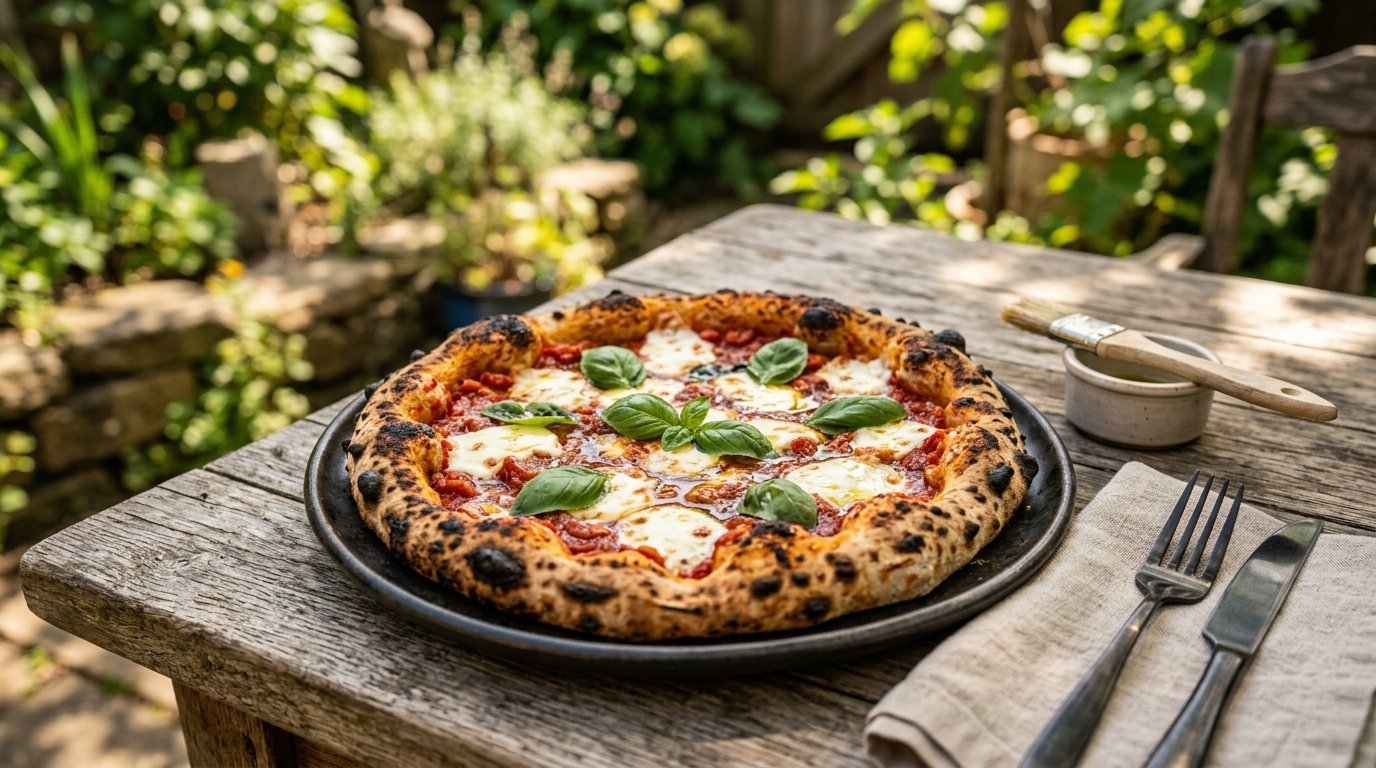
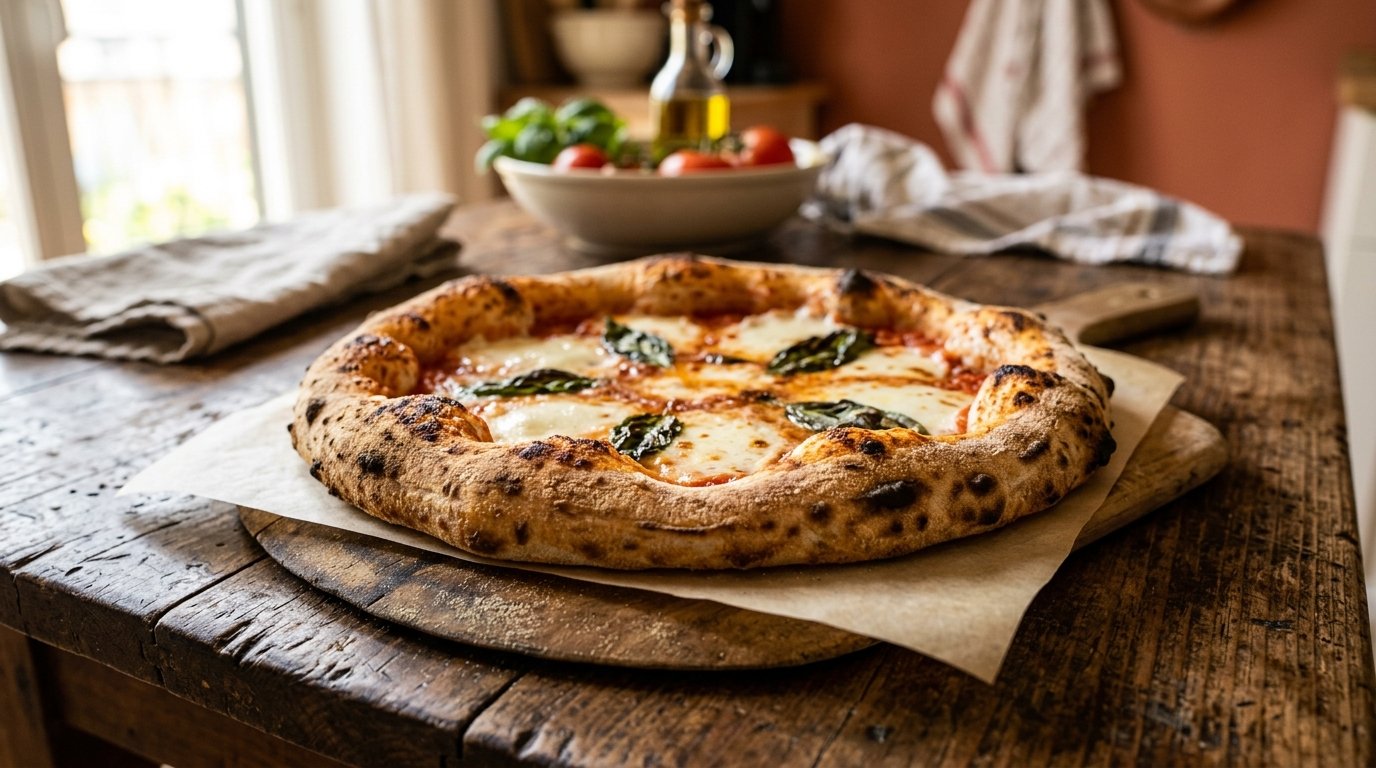
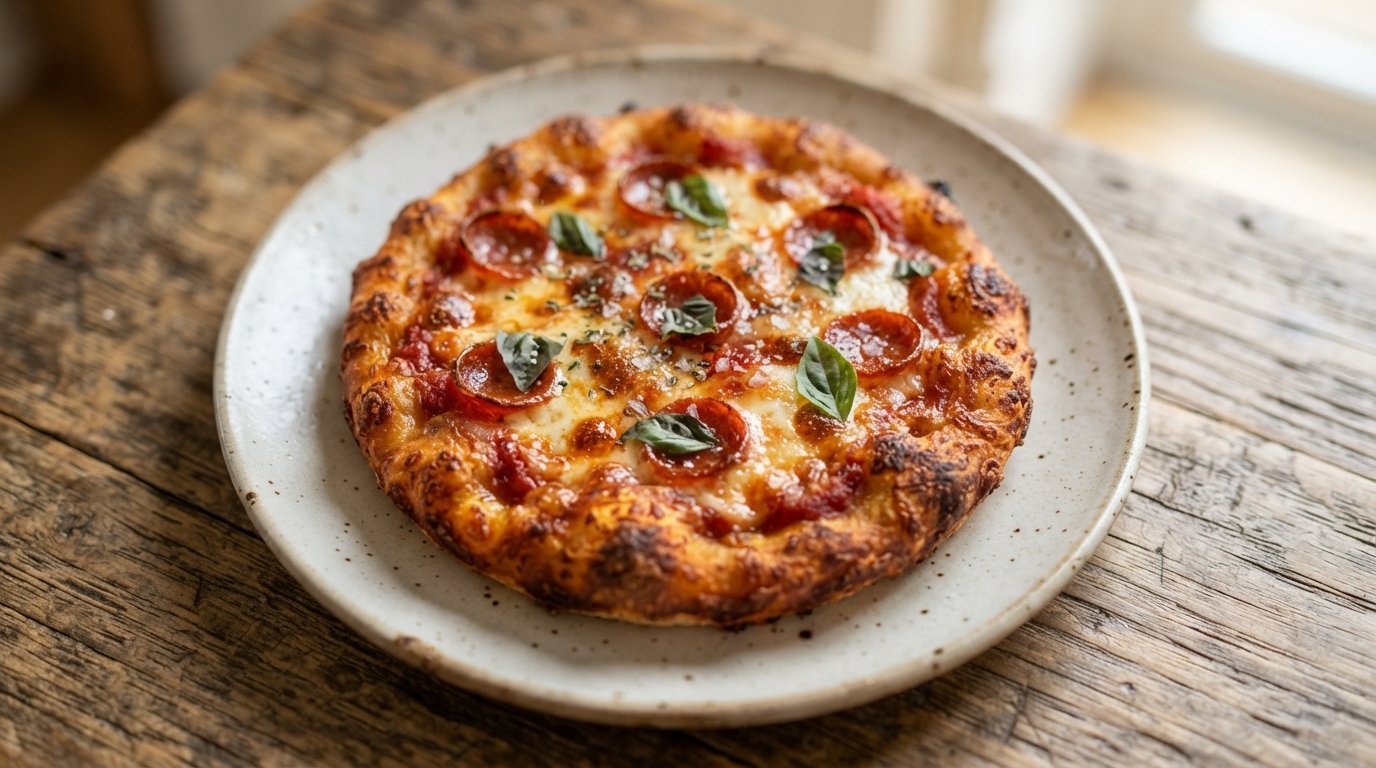
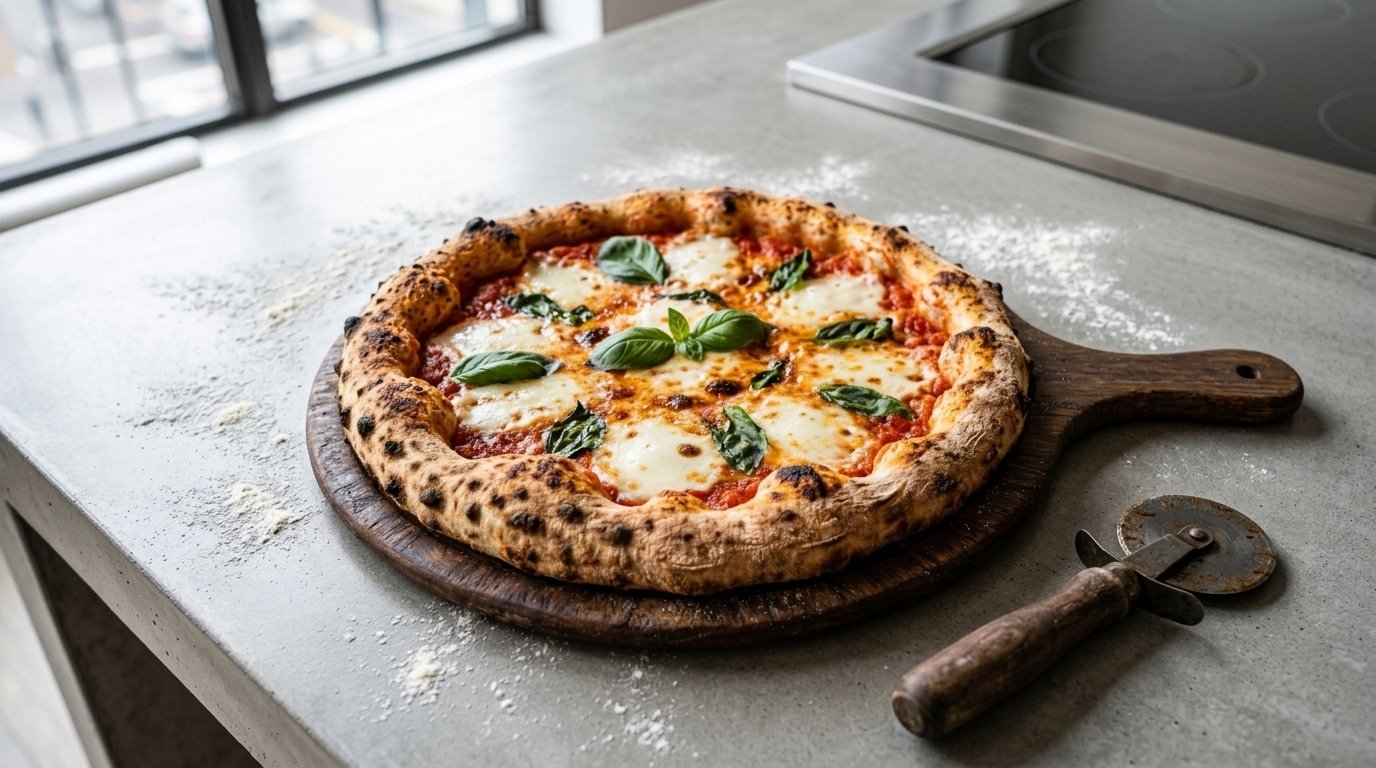
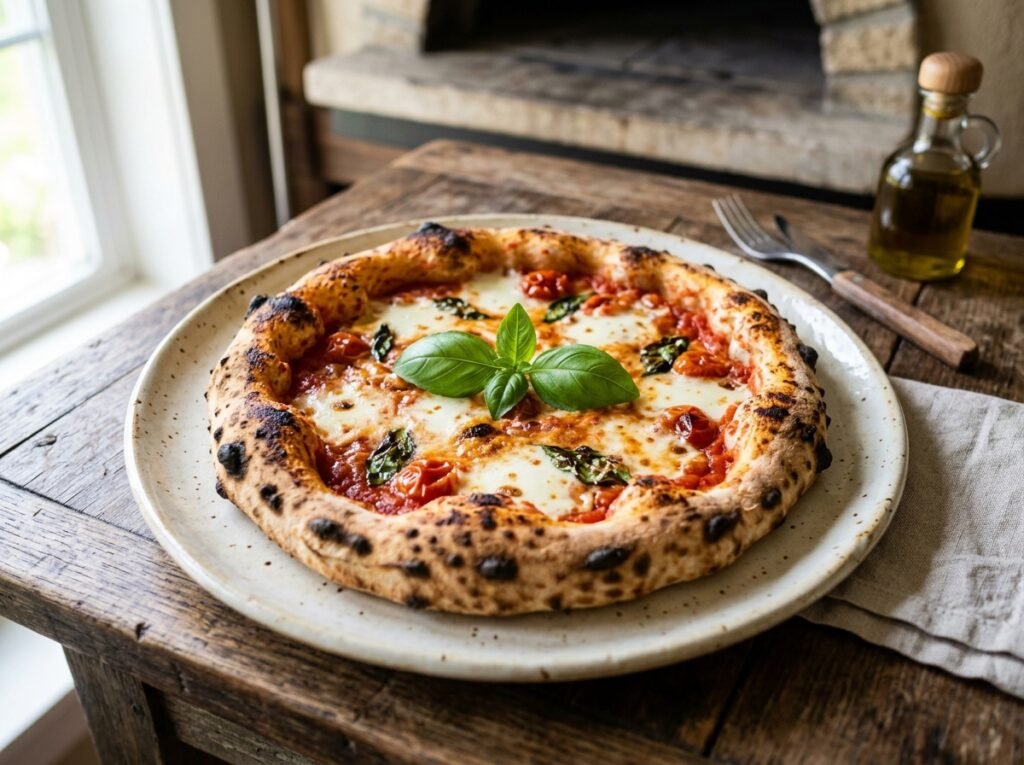
Doneness cues: Crust golden-brown with charred spots, cheese melted and lightly browned.
Expert Tips
- Weigh ingredients for precision (flour especially).
- Cold ferment in the fridge overnight for deeper flavor.
- Use a pizza stone or steel preheated in the oven for bakery-style crisp bottom.
- Don’t over-flour during kneading — it makes tough dough.
- Let dough come to room temperature before shaping for easier stretching.
Common Mistakes to Avoid
- Yeast not activating: Water temperature wrong — use a thermometer if unsure.
- Dense dough: Under-kneading or old yeast.
- Tearing while stretching: Insufficient rise or gluten development.
- Soggy pizza: Overloading toppings or not preheating oven/stone.
- Dry crust: Skipping oil or baking too long at low temperature.
Recipe Variations
- Whole Wheat: Substitute up to half the flour.
- Garlic Herb: Add minced garlic and dried herbs to dough.
- Thin Crust: Divide into more portions and roll thinner.
- Stuffed Crust: Add cheese sticks around the edge before baking.
- Sweet Dough: Increase sugar slightly for dessert pizzas.
- High-Protein: Use bread flour or add vital wheat gluten.
What to Serve With Pizza Made From This Dough
- Classic Caesar salad or arugula with balsamic
- Garlic knots made from extra dough
- Marinara dipping sauce
- Chilled beer, Italian red wine, or sparkling lemonade
- Tiramisu or cannoli for dessert
Make Ahead & Meal Prep Tips
Prepare dough through the first rise, then refrigerate up to 24–48 hours or freeze balls for up to 3 months. Thaw overnight in fridge and bring to room temp before using. Great for meal prep pizza nights!
Storage Instructions
Refrigerator: Risen dough up to 2 days. Baked crusts (un-topped) up to 3 days. Freezer: Portion dough balls, oil lightly, wrap tightly, and freeze. Thaw in fridge.
Reheating Instructions
Oven: Best — 375°F for 5–8 minutes on a baking sheet. Air Fryer: 350°F for 3–5 minutes for crispiness. Microwave: 30–60 seconds (softer crust). Stovetop: Covered skillet on low with a splash of water for steam.
Nutritional Information (Approximate, per serving of dough)
- Calories: 250
- Protein: 7g
- Carbohydrates: 45g
- Fat: 5g
- Fiber: 2g
- Sugar: 2g
- Sodium: 300mg Varies based on final toppings and portions.
Troubleshooting Guide
- Dough not rising: Check yeast freshness and water temp. Move to warmer spot.
- Too sticky: Add flour 1 tbsp at a time during kneading.
- Hard to stretch: Let rest 10–15 minutes (gluten relaxes).
- Pale crust: Increase oven temp or bake longer on lower rack.
- Shrinking back: Over-kneaded or insufficient rest time.
Frequently Asked Questions
Can I use instant yeast instead of active dry? Yes — no need to proof; mix directly with dry ingredients.
How do I know when the dough has doubled? It should look significantly larger, puffy, and have visible air bubbles.
Can I make this without a stand mixer? Absolutely — hand kneading works great and only takes 8–10 minutes.
Why add olive oil to pizza dough? It tenderizes the crumb and adds flavor while helping create a crisp exterior.
Best flour for homemade pizza dough? All-purpose is versatile; bread flour gives more chew and structure.
How long can I store the dough? Refrigerated 1–2 days; frozen up to 3 months.
Can I make gluten-free version? This specific recipe relies on gluten, but you can adapt with gluten-free flour blends (results vary).
Why do the windowpane test? It confirms gluten is strong enough for good rise and chew without tearing.
Final Thoughts
Mastering this homemade pizza dough recipe opens up endless delicious possibilities in your kitchen. The soft, chewy texture and professional results make it worth the minimal effort. Once you see (and taste) that perfect cheese pull from a crust you made yourself, you’ll be hooked. Try it this weekend, experiment with toppings, and share your creations in the comments! How did your dough turn out? Rate the recipe and let me know your favorite variations. Happy baking — your perfect pizza night awaits! 🍕