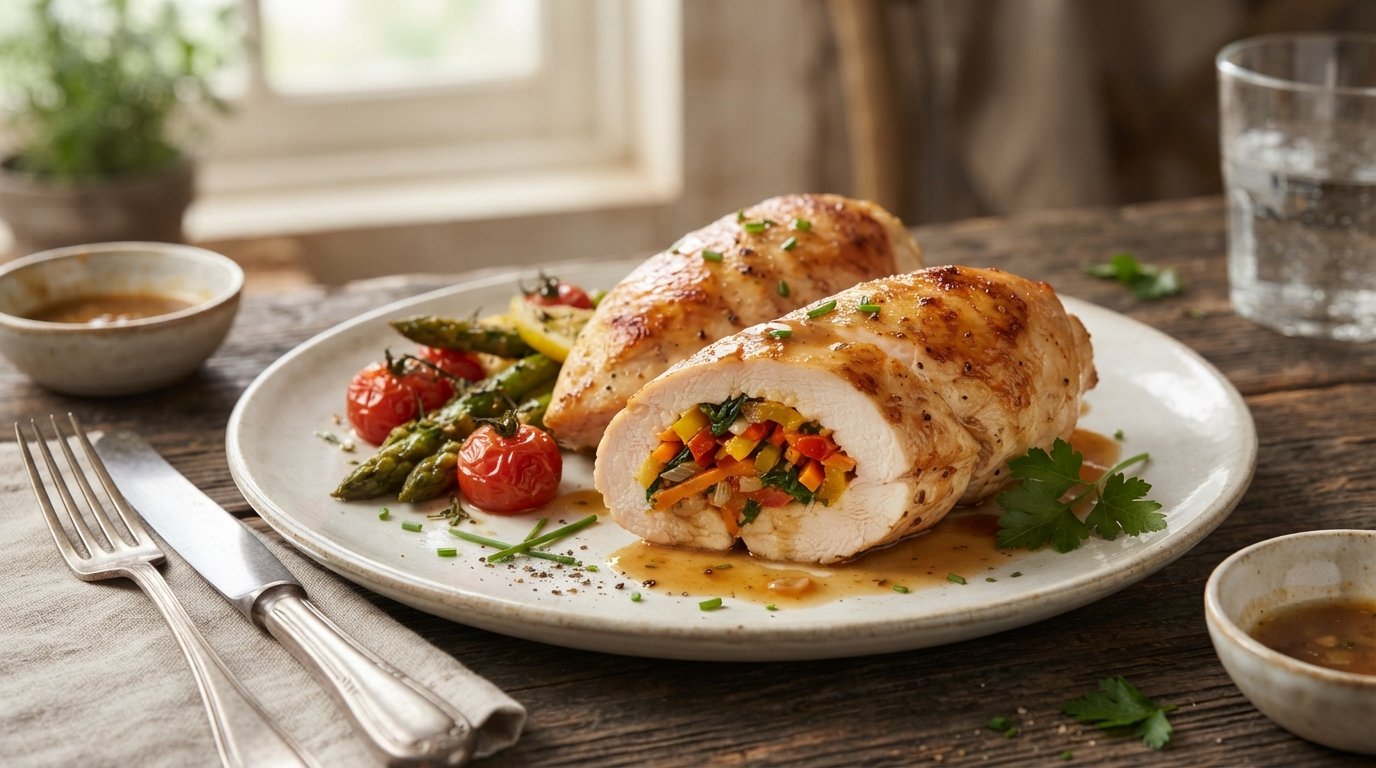
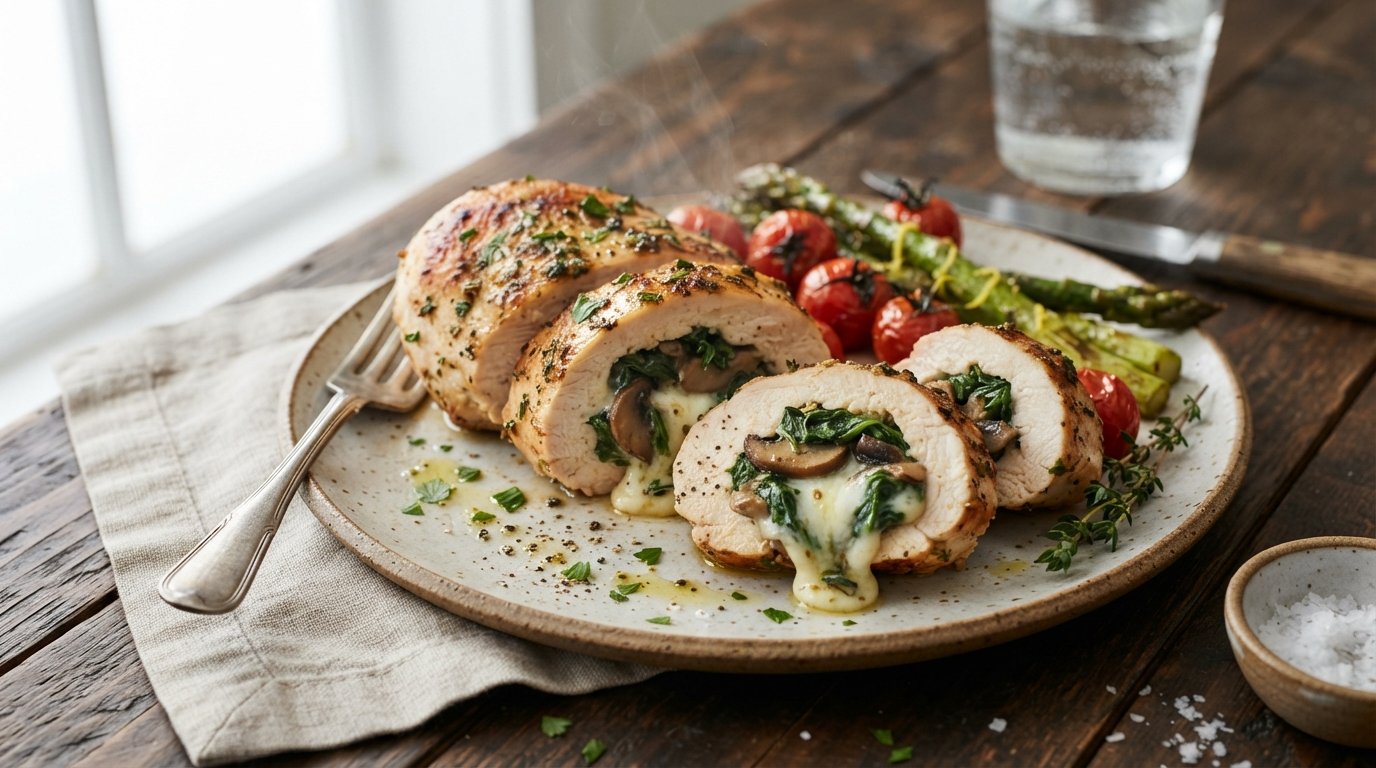
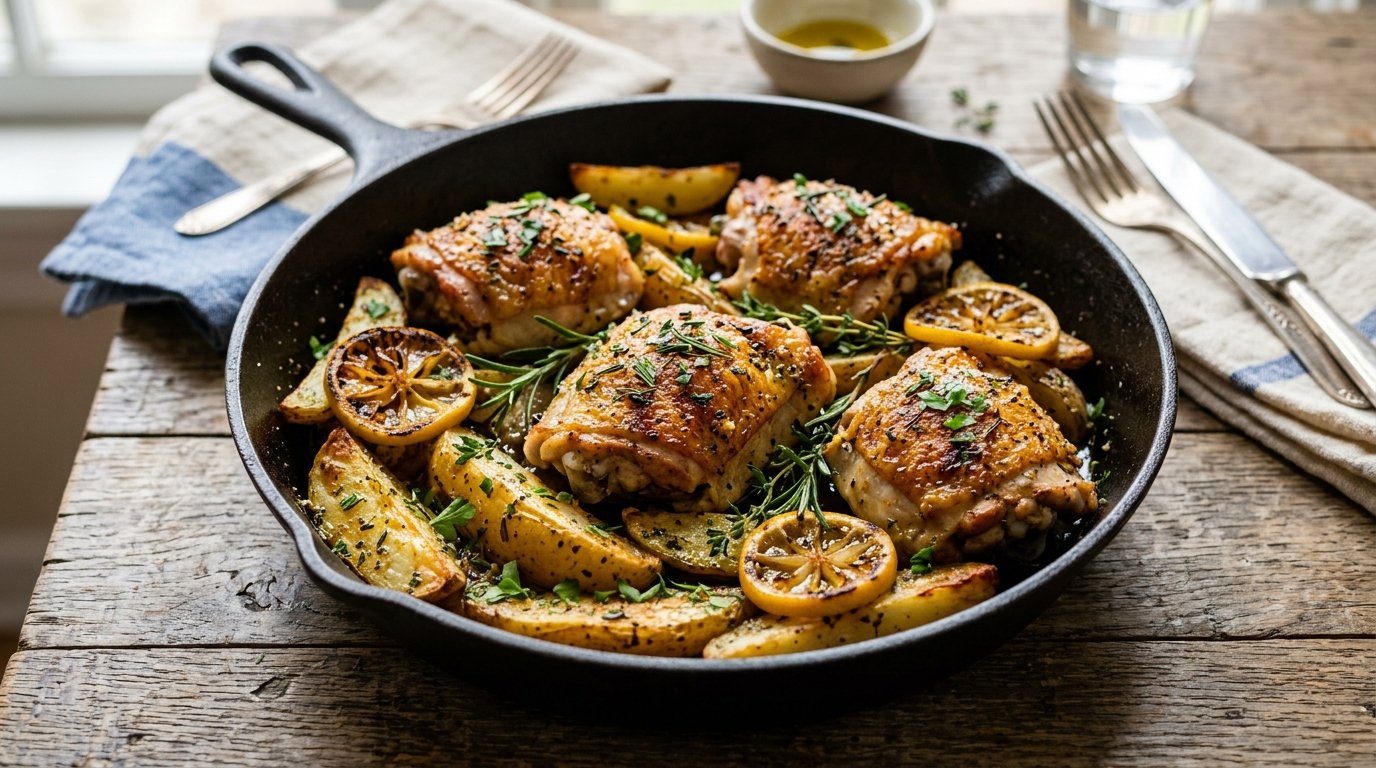
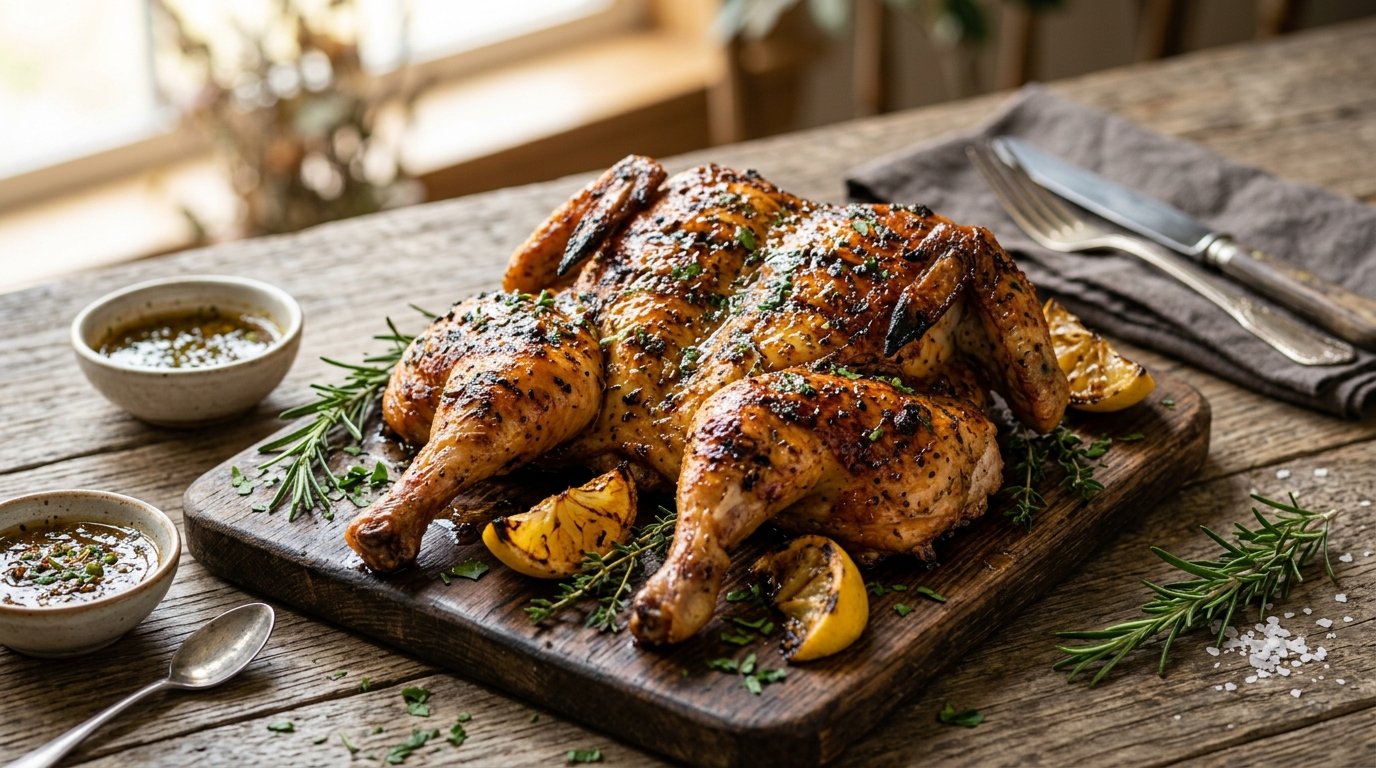
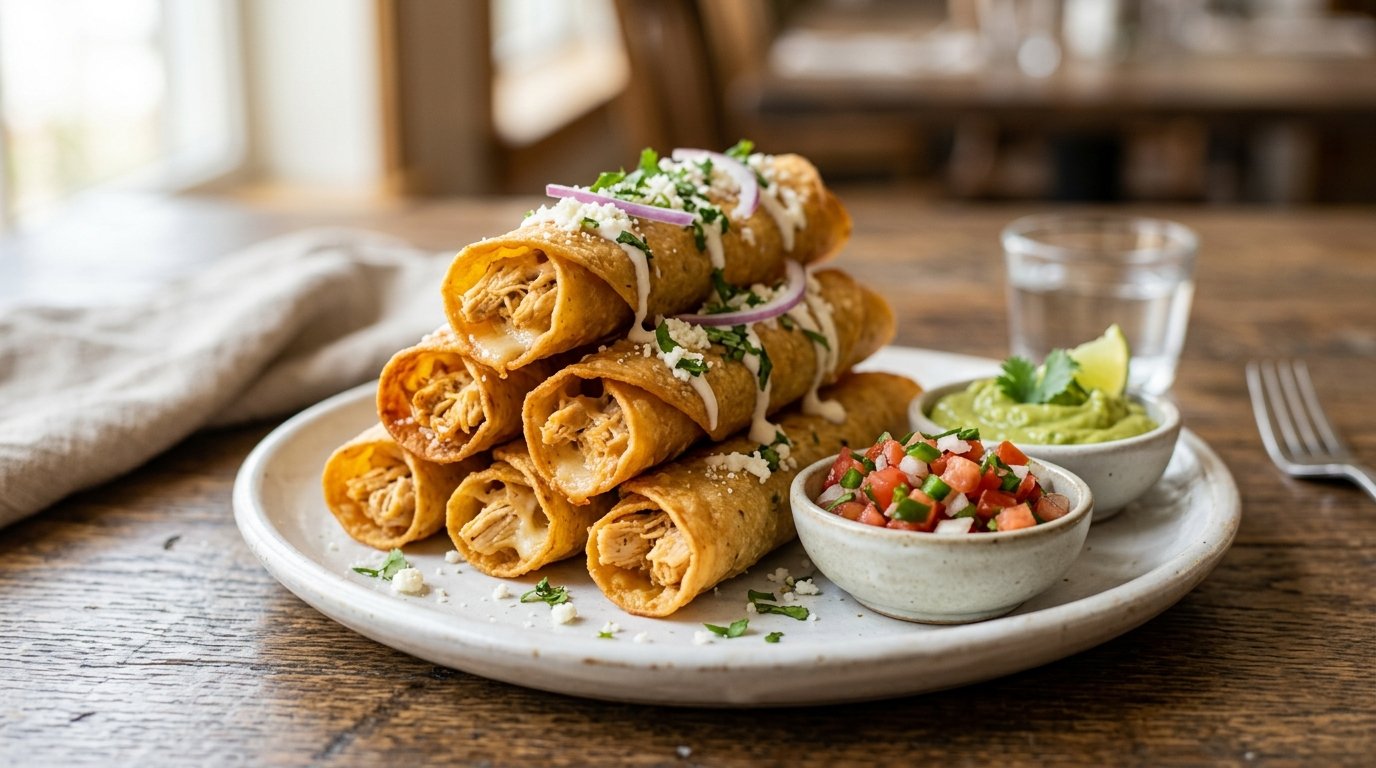
There is something undeniably impressive about a perfectly executed stuffed chicken roll. It looks like a dish reserved for high-end restaurants, yet it is entirely achievable in your home kitchen with a bit of patience and technique. This recipe transforms humble chicken breasts into a gourmet centerpiece by pounding them thin, marinating them in a savory spice blend, and rolling them around a vibrant medley of sautéed vegetables.
The result is a juicy, tender protein packed with colorful flavor, finished with a glossy, sweet-savory glaze that caramelizes beautifully in the oven. Served alongside a rich, creamy mustard dipping sauce, these rolls are not just a meal; they are an experience. Whether you are hosting a dinner party or simply want to elevate your weeknight routine, this stuffed chicken recipe delivers on both visual appeal and taste.
Why This Recipe Works
This recipe succeeds because it balances moisture, flavor, and texture at every stage. Pounding the chicken ensures even cooking and prevents the dreaded dry breast meat. The marinade penetrates the fibers, seasoning the meat from the inside out while the oil helps retain moisture during the high heat of baking.
The vegetable filling isn’t just raw produce thrown inside; sautéing the peppers, mushrooms, and carrots beforehand removes excess water. This is crucial—it prevents the chicken roll from becoming soggy and ensures the vegetables remain distinct and flavorful rather than mushy. Finally, the two-stage baking process (bake, glaze, bake again) creates a sticky, lacquered exterior that contrasts perfectly with the tender interior.
Why You’ll Love This Recipe
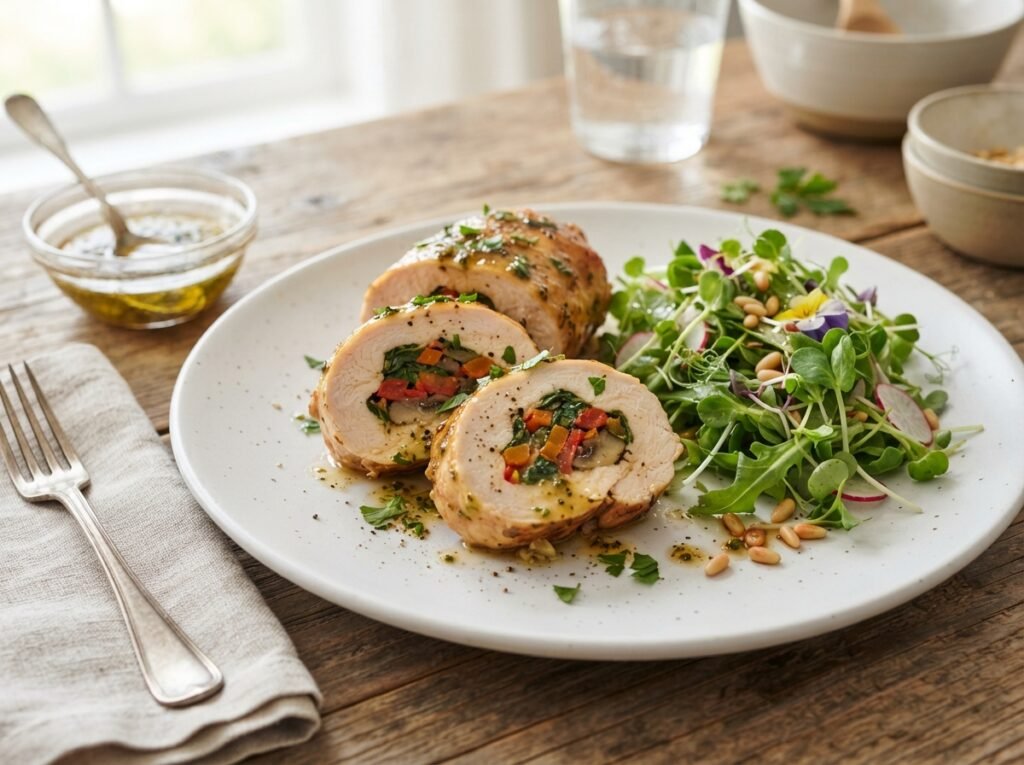
Restaurant-Quality Presentation: The spiral cross-section of meat and vegetables looks stunning on the plate.
Customizable Filling: You can swap in whatever vegetables you have on hand or prefer.
Juicy Results: The pounding and marinating techniques guarantee moist chicken every time.
Versatile Sauce: The creamy mustard sauce doubles as a dip for appetizers or a dressing for salads.
Meal Prep Friendly: These rolls hold up well in the fridge and reheat without losing their texture.
Ingredient Notes
For the Chicken & Marinade
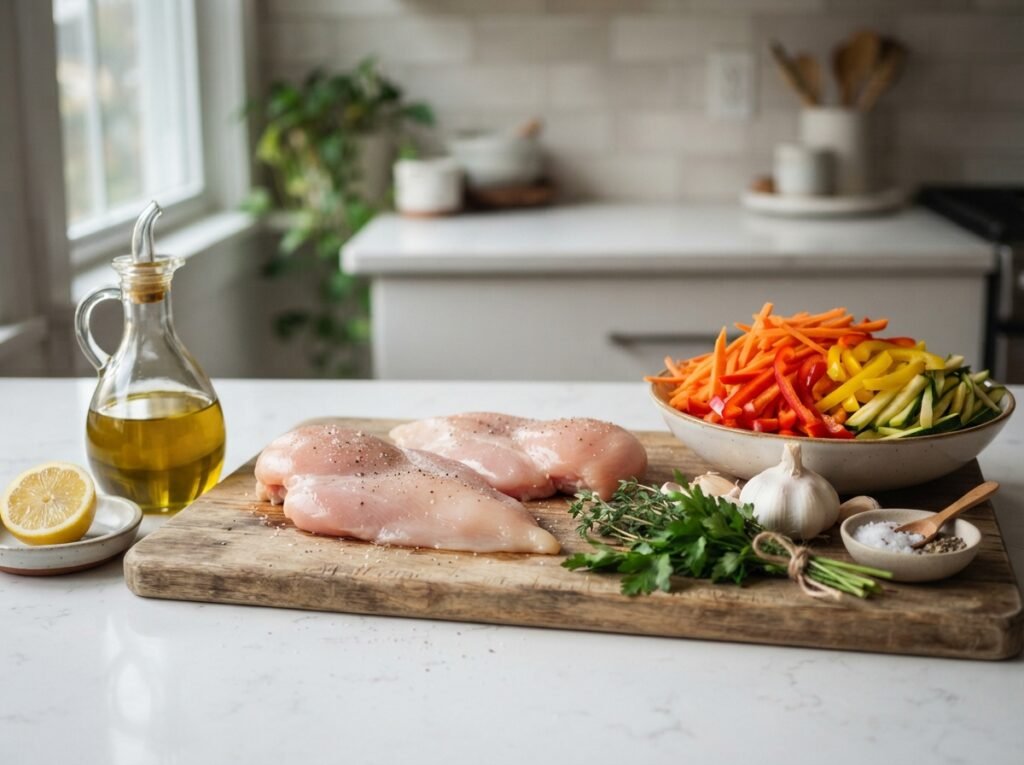
Chicken Breasts: Look for large, uniform breasts. If they vary wildly in size, the cooking times will be inconsistent. Boneless, skinless is essential here.
Paprika & Cumin: Sweet paprika provides color without overwhelming heat. Cumin adds an earthy depth that pairs surprisingly well with chicken.
Olive Oil: Use a good quality extra virgin olive oil for the marinade. It acts as a carrier for the fat-soluble flavors in the spices.
For the Vegetable Filling
Bell Peppers: Red and green peppers offer a nice color contrast and sweetness. Dice them small (approx. 1/4 inch) so they cook quickly and fit easily inside the roll.
Mushrooms: Cremini or button mushrooms work best. They provide a meaty texture and umami flavor.
Cheese: A mild melting cheese like mozzarella, provolone, or Monterey Jack binds the vegetables together. Avoid aged cheeses like parmesan as the primary filler, as they don’t melt as smoothly.
Parsley: Fresh parsley adds a necessary brightness to cut through the richness of the cheese and chicken.
For the Glaze & Sauce
Soy Sauce: Adds saltiness and umami. Low-sodium is recommended so you can control the salt level.
Honey: Balances the acidity of the mustard and the saltiness of the soy.
Dijon Mustard: Provides the tangy backbone for the cream sauce. Grainy mustard can also be used for texture.
Heavy Cream: Essential for a luxurious, stable sauce that doesn’t break when heated.
Kitchen Equipment
Meat Mallet or Rolling Pin: Essential for pounding chicken to an even thickness.
Plastic Wrap or Ziploc Bags: Keeps the workspace clean and prevents chicken from sticking to the mallet.
Large Skillet: For sautéing the vegetable filling.
Whisk & Small Bowl: For emulsifying the marinade and glaze.
Baking Dish: A 9×13 inch dish works well for 4-6 rolls.
Parchment Paper: Prevents sticking and makes cleanup easier.
Pastry Brush: For applying the glaze evenly.
Instant-Read Thermometer: The only sure way to know chicken is done (165°F / 74°C).
Step-by-Step Instructions
Preparing the Chicken
Place a chicken breast between two sheets of plastic wrap or inside a heavy-duty ziplock bag. Using a meat mallet, pound the chicken starting from the center and working outward. Your goal is an even thickness of about 1/4 to 1/2 inch.
Why this matters: Even thickness ensures the chicken cooks uniformly. Thick ends will be raw while thin ends dry out if not pounded.
Visual Cue: The meat should look opaque and significantly larger in surface area than the original breast.
Making the Marinade
In a small glass bowl, whisk together minced garlic, paprika, cumin, salt, pepper, and olive oil until it forms a smooth, reddish paste. Brush this mixture generously over both sides of the pounded chicken. Let it sit for at least 15 minutes, or up to 2 hours in the fridge.
Pro Tip: Don’t skip the resting time. Salt needs time to penetrate the protein structure to season it effectively.
Sautéing the Vegetable Filling
Heat a tablespoon of oil in a skillet over medium-high heat. Add diced onions, carrots, bell peppers, and mushrooms. Sauté for 5-7 minutes until softened but not browned. Season with salt and pepper. Remove from heat and stir in the chopped parsley and grated cheese. Let the mixture cool completely before assembling.
Critical Step: Cooling the filling is non-negotiable. Hot filling will start to cook the chicken prematurely and make it impossible to roll tightly.
Assembling the Rolls
Lay a marinated chicken breast flat. Spoon a line of the cooled vegetable mixture down the center, leaving a border at the edges. Fold the sides in slightly, then roll tightly from the bottom up, tucking the filling in as you go. Place seam-side down in a parchment-lined baking dish. Repeat with remaining chicken.
Technique: Think of it like rolling a burrito or a jelly roll. Tightness is key to preventing unrolling during baking.
Baking and Glazing
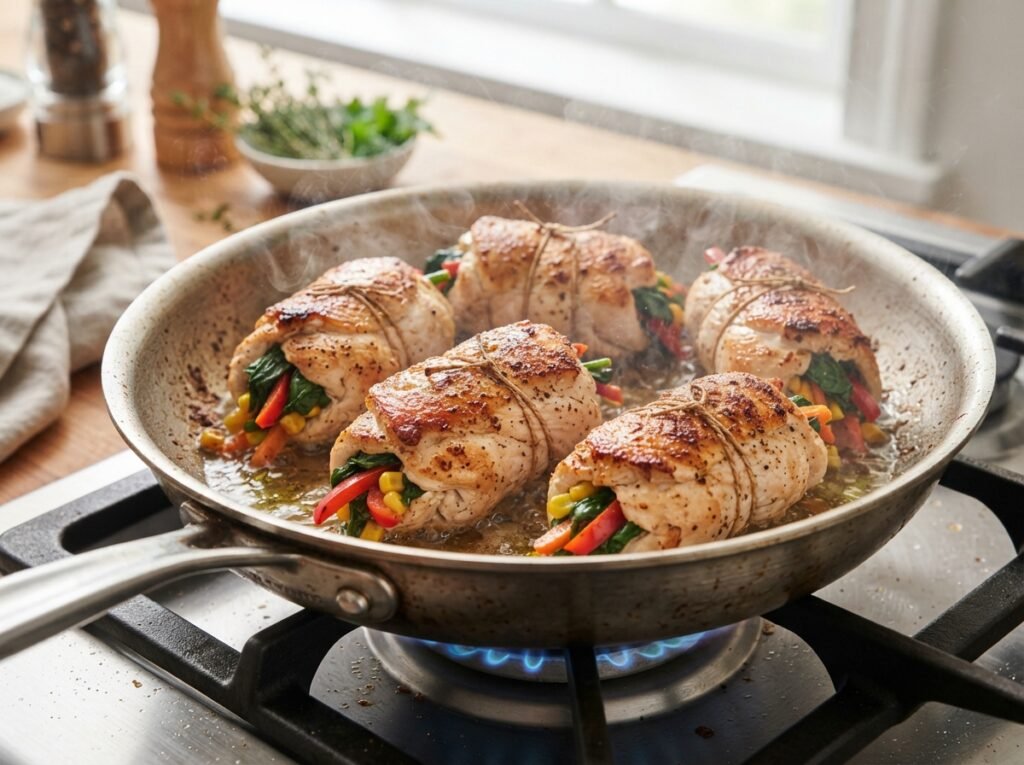
Preheat oven to 375°F (190°C). Bake the rolls for 25-30 minutes. While they bake, whisk together soy sauce, honey, and a pinch of paprika for the glaze. Remove chicken from oven, brush liberally with glaze, and return to oven for another 10-15 minutes until the internal temperature reaches 165°F (74°C) and the glaze is bubbly and dark amber.
Doneness Check: Juices should run clear, and the glaze should be sticky to the touch.
Expert Tips for Perfect Rolls
Use Kitchen Twine if Needed: If your rolls struggle to stay closed, tie them with kitchen twine at 1-inch intervals. Remove before serving.
Don’t Overfill: Less is more. Overstuffing leads to bursting. Aim for about 2-3 tablespoons of filling per breast.
Rest Before Cutting: Let the chicken rest for 5-10 minutes after baking. This allows juices to redistribute. Cutting immediately causes dry meat.
Sharp Knife for Slicing: Use a sharp serrated knife to slice the rolls. A dull knife will squash the roll and squeeze out the filling.
Common Mistakes to Avoid
Skipping the Pound: Uneven chicken leads to uneven cooking. Always pound to uniform thickness.
Raw Vegetable Filling: Raw veggies release water during baking, creating steam pockets that can make the chicken rubbery and the roll soggy. Always pre-cook.
Rolling Too Loosely: Gaps allow heat to escape and filling to fall out. Roll tightly and seam-side down.
Overcooking: Chicken breast dries out fast. Trust your thermometer, not just the clock. Pull at 160°F; carryover cooking will bring it to 165°F.
Recipe Variations
Spicy Kick: Add red pepper flakes or cayenne to the marinade and use pepper jack cheese in the filling.
Low-Carb/Keto: Skip the honey in the glaze (use erythritol or omit) and ensure no sugar is added to the soy sauce. Serve with cauliflower mash instead of potatoes.
Mediterranean Style: Swap cumin for oregano. Use feta cheese, sun-dried tomatoes, and spinach in the filling. Finish with a lemon-herb glaze.
Turkey Alternative: Use turkey cutlets instead of chicken. They are naturally thinner and may require less pounding and slightly less cooking time.
Vegan Option: Use thick slices of king oyster mushroom or seitan as the “roll” base. Fill with roasted veggies and vegan cheese.
What to Serve With Stuffed Chicken Rolls
These rolls are rich and flavorful, so pair them with lighter or neutral sides:
Roasted Asparagus or Green Beans: The crunch and bitterness balance the sweet glaze.
Garlic Mashed Potatoes: A classic comfort pairing that soaks up any extra sauce.
Quinoa Salad: A light, citrusy quinoa salad with cucumber and mint cuts through the richness.
Crusty Bread: Essential for wiping up the creamy mustard sauce.
White Wine: A crisp Sauvignon Blanc or Pinot Grigio complements the herbaceous notes.
Make Ahead and Meal Prep Tips
Prep Ahead: You can pound, marinate, and assemble the rolls up to 24 hours in advance. Store covered in the fridge. Bring to room temp for 20 mins before baking.
Freezing: Assemble rolls and freeze on a baking sheet before transferring to a bag. Bake from frozen, adding 15-20 minutes to cook time.
Sauce Prep: The creamy mustard sauce can be made 3 days ahead. Reheat gently on low to prevent separation.
Storage and Reheating Instructions
Refrigerator: Store leftovers in an airtight container for up to 3 days. Keep sauce separate if possible.
Freezer: Cooked rolls freeze well for up to 2 months. Thaw overnight in fridge before reheating.
Oven Reheat: Best method. 350°F for 10-15 minutes covered with foil to retain moisture.
Air Fryer: 350°F for 5-7 minutes. Great for crisping the glaze back up.
Microwave: Use 50% power in 30-second bursts to avoid rubbery texture. Cover with a damp paper towel.
Nutritional Information
Estimates per serving (1 roll + 2 tbsp sauce):
Calories: 480
Protein: 42g
Carbohydrates: 18g
Fat: 26g
Fiber: 3g
Sugar: 8g
Sodium: 650mg
Troubleshooting Guide
Problem
Cause
Solution
Rolls Unraveling
Not rolled tightly enough or seam not secured.
Use toothpicks or twine next time. Ensure seam is face-down in pan.
Dry Chicken
Overcooked or not pounded evenly.
Use thermometer. Pound to uniform 1/2 inch thickness.
Soggy Bottom
Excess moisture from veggies.
Sauté veggies thoroughly to evaporate water. Cool before filling.
Glaze Burning
Oven too hot or sugar content too high.
Tent with foil if browning too fast. Reduce oven temp by 25°F.
Sauce Separated
Heat too high or boiled.
Reheat gently. Whisk in a splash of warm water or cream to re-emulsify.
Frequently Asked Questions
Can I use chicken thighs instead of breasts? Yes, thighs are actually more forgiving and harder to overcook. Butterfly them open to create a flat surface for rolling.
Do I have to use the creamy mustard sauce? No, but it’s highly recommended. If skipping, try a simple balsamic reduction or chimichurri for a different flavor profile.
How do I know when the chicken is done without cutting it? Use an instant-read thermometer inserted into the thickest part of the roll. It should read 165°F (74°C).
Can I make this gluten-free? Yes! Ensure your soy sauce is tamari or certified GF, and check that your mustard and spices are GF-certified.
Why did my cheese leak out? The cheese likely melted too fast before the chicken set. Ensure filling is cool, don’t overfill, and seal edges tightly.
Can I grill these instead of baking? Absolutely. Grill over medium indirect heat for 15-20 minutes, turning occasionally. Direct flame may char the outside before inside cooks.
Is there a dairy-free cheese alternative? Yes, use a vegan mozzarella shreds or simply omit cheese and add extra herbs/spices to the veggie mix for binding.
How long can the marinade sit on the chicken? Up to 24 hours is safe. Beyond that, the acid/salt can start to break down the texture, making it mushy.
Final Thoughts
Mastering stuffed chicken rolls is a fantastic way to expand your culinary repertoire. Once you get the hang of the pounding and rolling technique, the possibilities are endless. This recipe is designed to be approachable yet impressive, proving that gourmet cooking doesn’t require a professional kitchen—just attention to detail and quality ingredients.
I hope you enjoy making this dish as much as I do. If you try it, please leave a comment below with your variations or questions. Your feedback helps fellow cooks succeed! Don’t forget to rate the recipe if you loved it. Happy cooking!