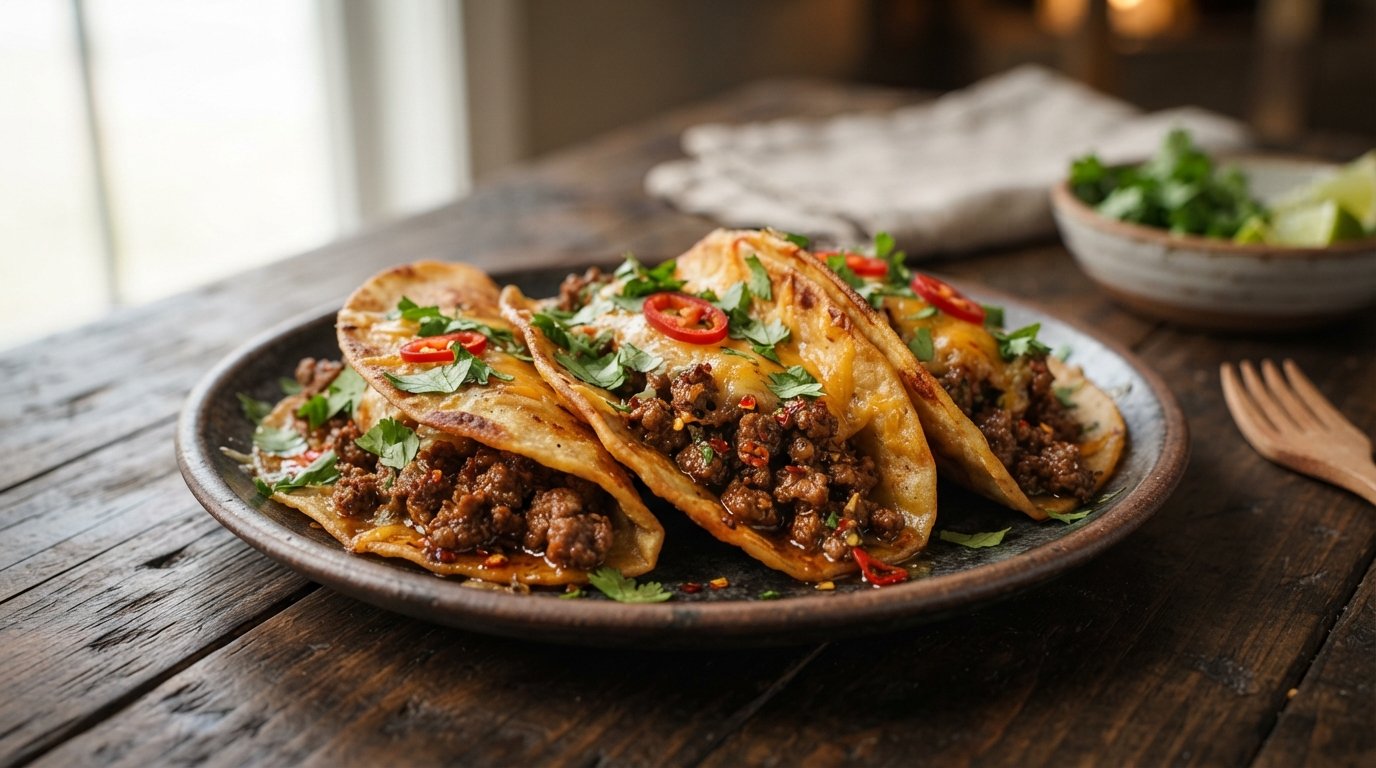
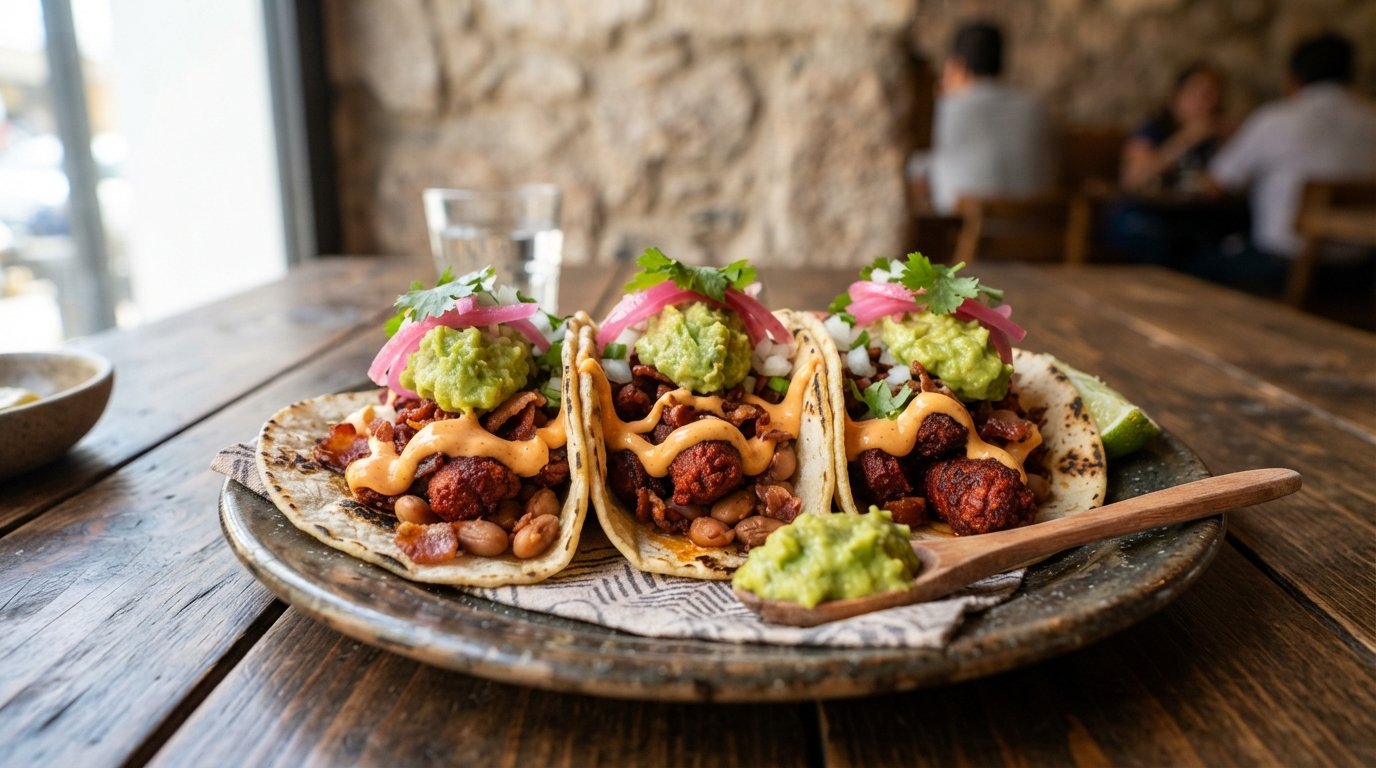
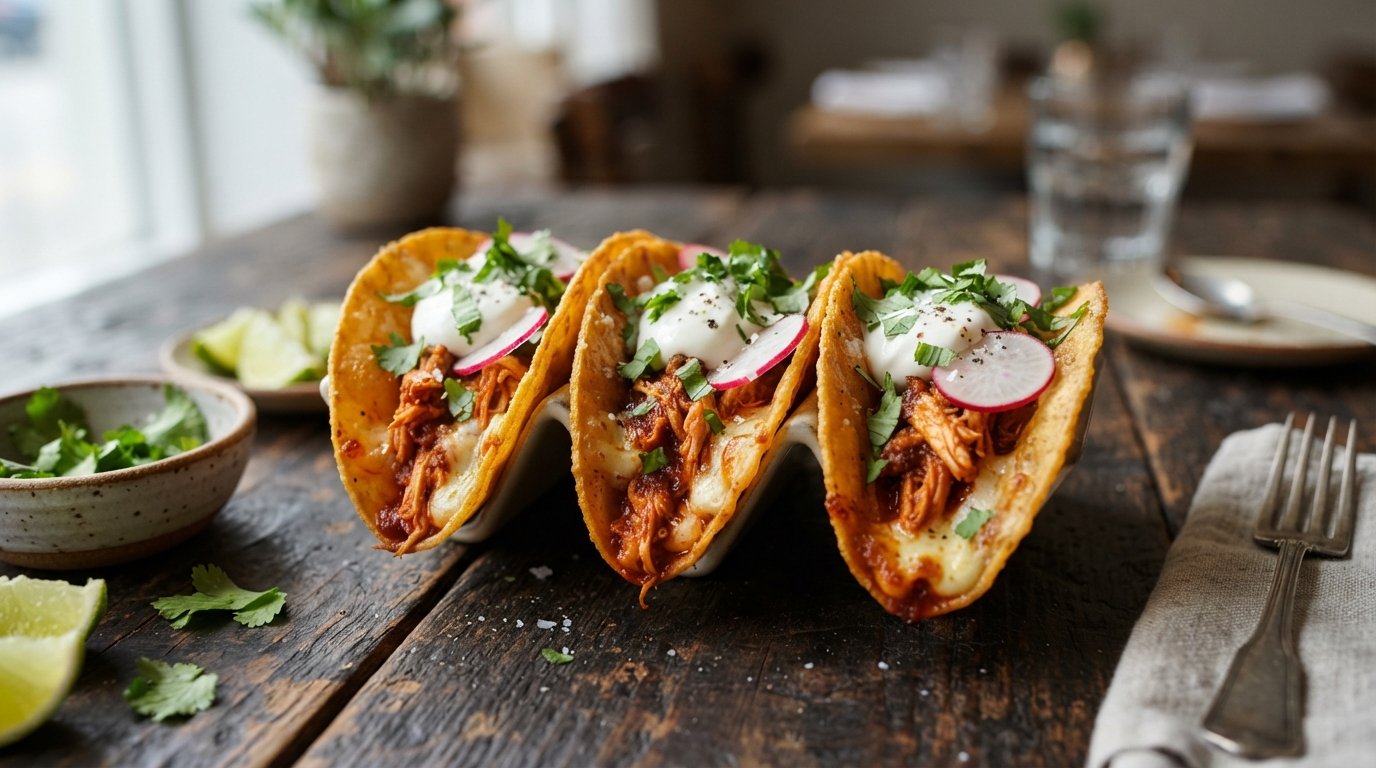
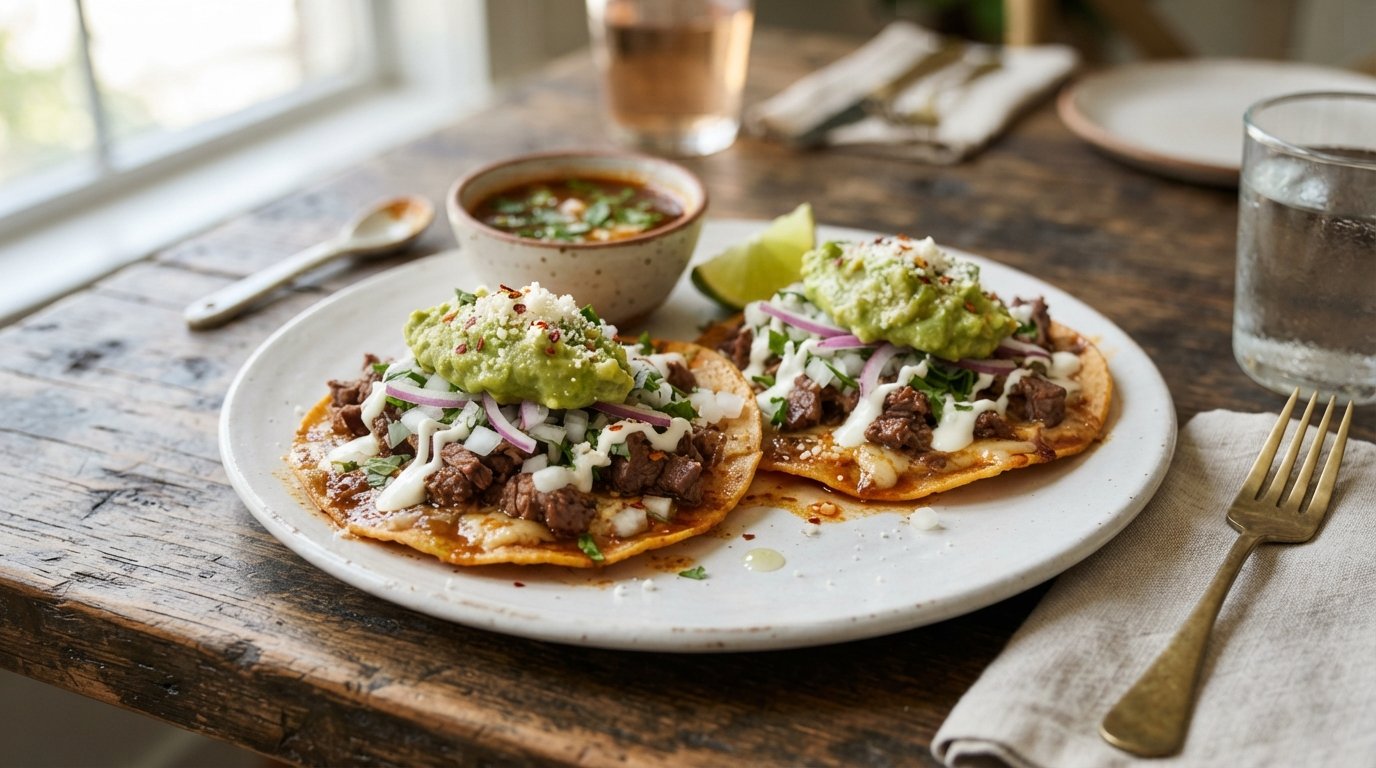
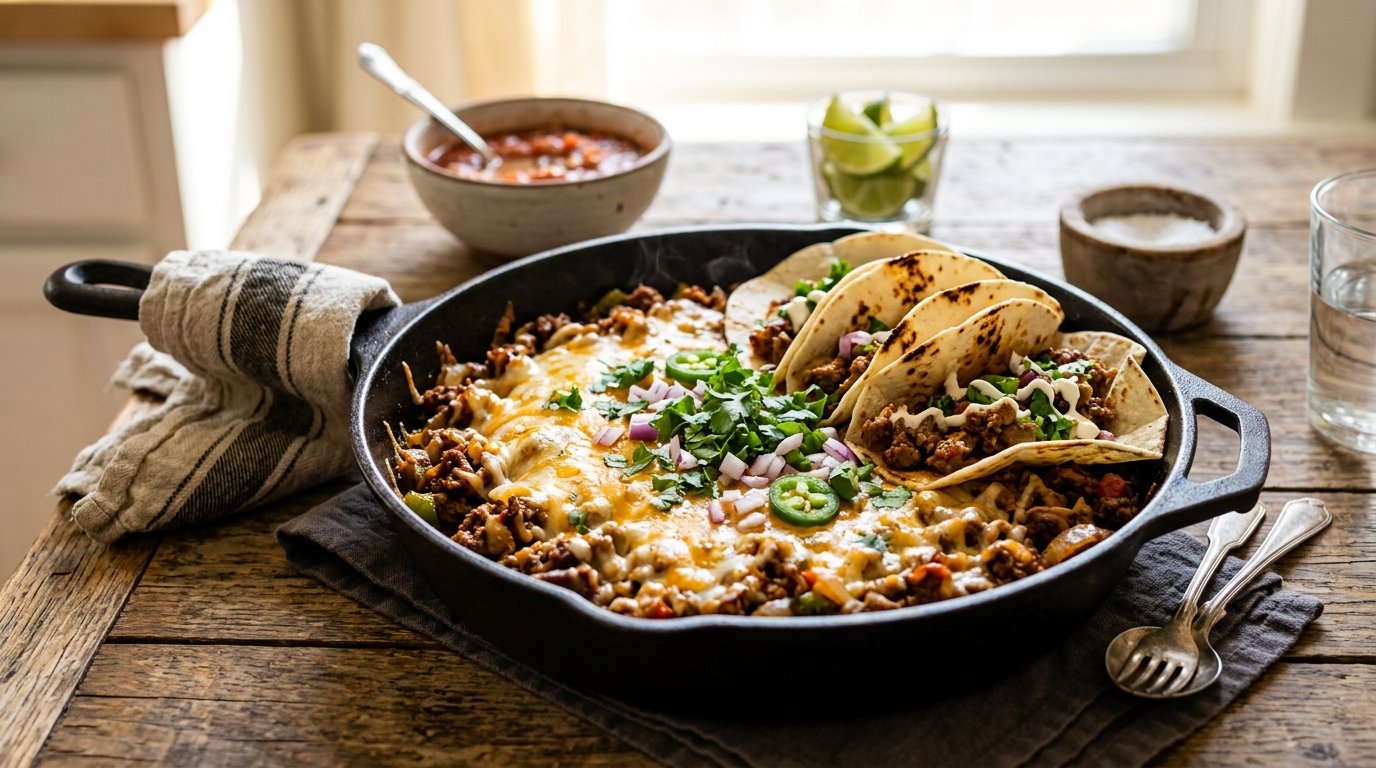
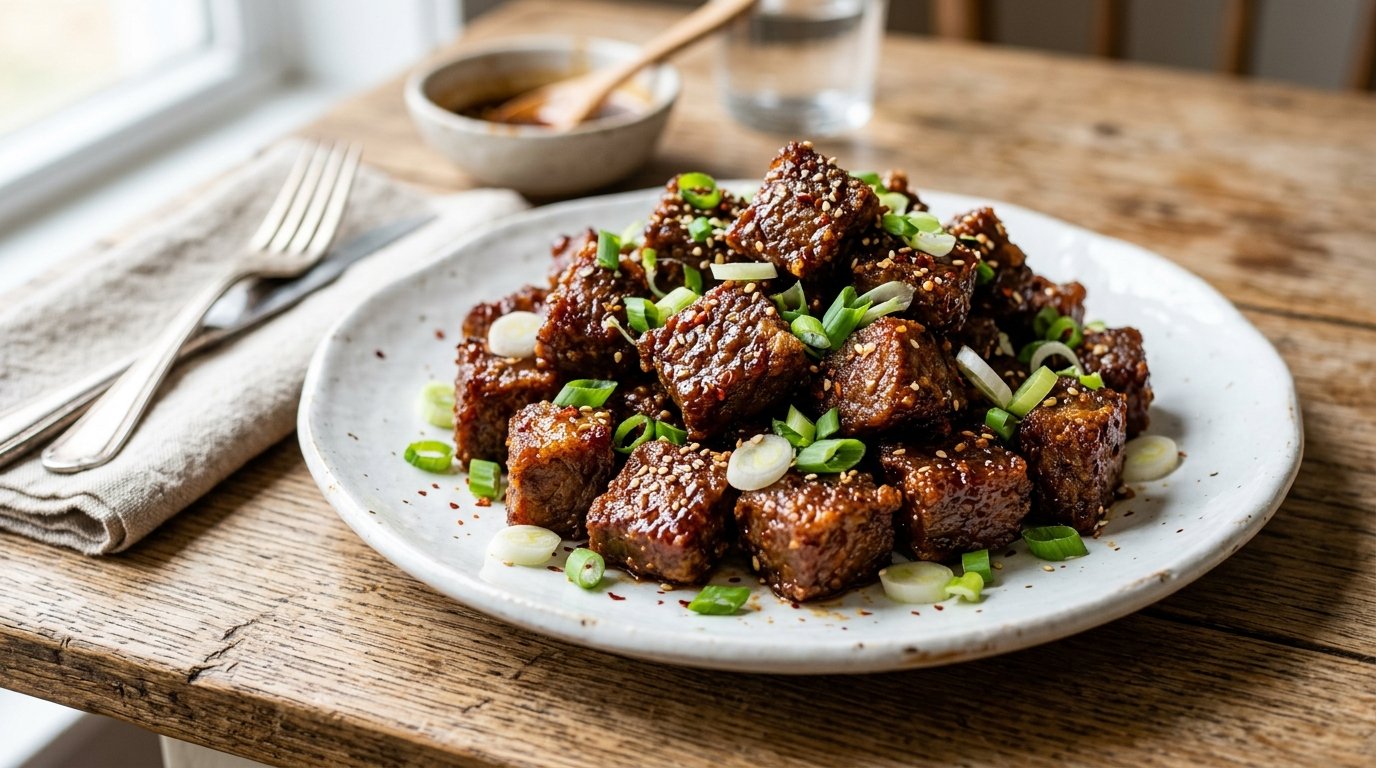
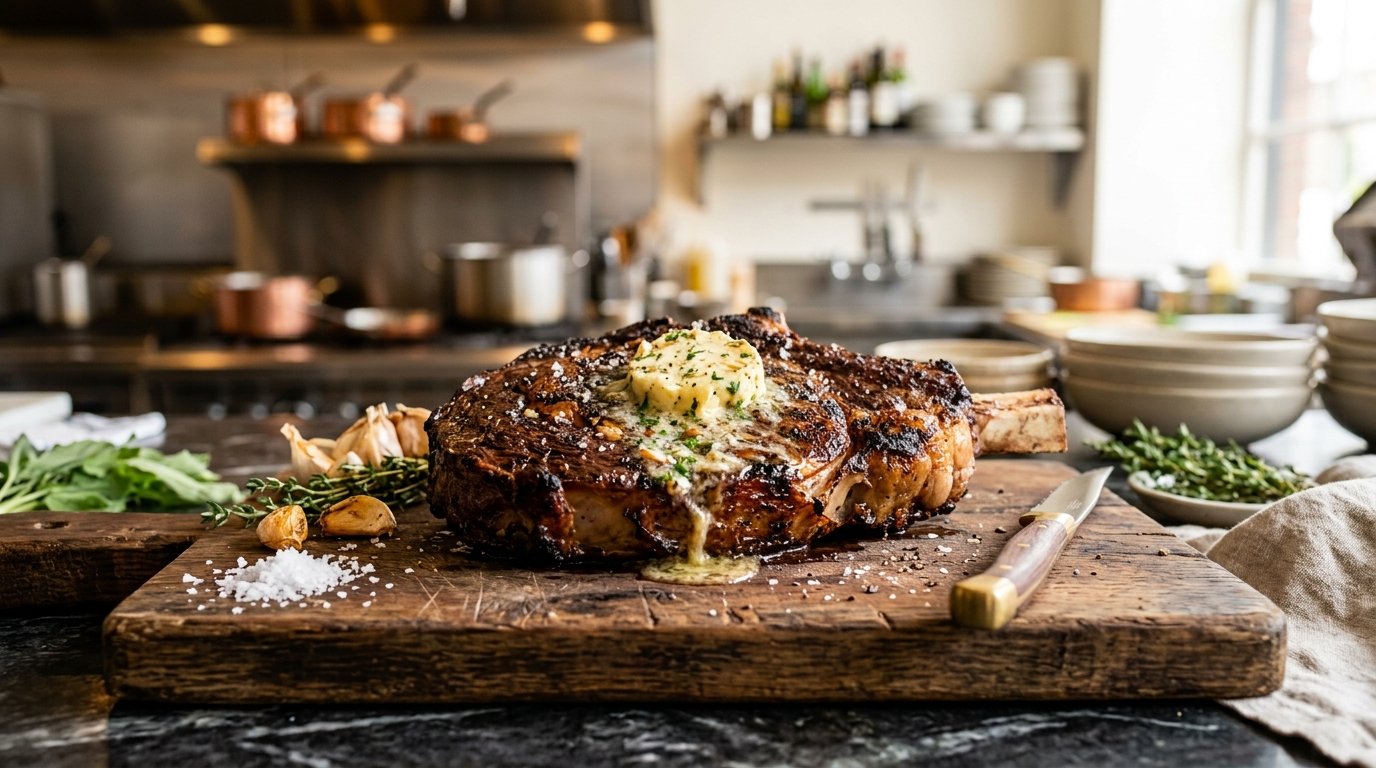
There is a specific kind of joy that comes from biting into a taco and hearing that distinct, audible crunch before the warm, savory filling gives way. These Garlic Butter Chili Beef Tacos are not your standard soft-shell dinner; they are a textural masterpiece that bridges the gap between comfort food and culinary satisfaction. By pan-frying flour tortillas filled with seasoned ground beef and melted cheese directly in garlic butter, we create a golden, blistered exterior that rivals any fast-food favorite but tastes infinitely fresher and richer.
This recipe transforms humble pantry staples into something extraordinary through technique rather than complexity. The combination of aromatic garlic butter and tangy chili sauce creates a flavor profile that is both nostalgic and exciting. Whether you are feeding a family on a busy Tuesday night or looking for an impressive yet effortless appetizer for game day, these tacos deliver consistent, crave-worthy results. Let’s get cooking and achieve that perfect crisp.
Why This Recipe Works
The success of this dish relies on three key culinary principles: fat conduction, moisture management, and the Maillard reaction. Traditional baked tacos often suffer from dryness because the oven dehydrates the tortilla without adding flavor. Pan-frying in butter solves this instantly. The milk solids in the butter brown against the hot metal, creating complex nutty flavors while simultaneously frying the tortilla to a shatteringly crisp texture.
Furthermore, the layering method is intentional. Placing cheese directly against the tortilla acts as a protective barrier and an adhesive. As the cheese melts, it fuses with the starch of the tortilla, preventing the meat juices from making the shell soggy while ensuring the structural integrity needed for that satisfying pull. The chili sauce provides necessary acidity and umami to cut through the richness of the butter and cheese, balancing the palate so every bite remains exciting rather than heavy.
Why You’ll Love This Recipe
Unbeatable Texture: The pan-fry method guarantees a crispy exterior that stays crunchy even after assembly, unlike steamed or baked alternatives.
Speed & Simplicity: From start to finish in 20 minutes, this is faster than delivery and significantly more delicious.
Flavor Depth: Garlic butter infuses the tortilla itself with aroma, meaning the shell is as tasty as the filling.
Kid-Friendly Appeal: The familiar flavors of beef, cheese, and mild chili make this a guaranteed hit with picky eaters.
Customizable Heat: The base recipe is mild and savory, but easily adaptable for spice lovers by adjusting the chili sauce quantity.
Budget Friendly: Uses affordable ground beef and standard tortillas, making it an economical weeknight hero.
One-Pan Efficiency: While you need a pot for the meat, the tacos cook in a single skillet, minimizing cleanup time.
Ingredient Notes
Ground Beef (80/20 or 85/15)
Purpose: Provides protein, savory depth, and essential fat for moisture.
Substitutions: Ground turkey or chicken for a leaner option (add 1 tsp oil to prevent sticking). Plant-based crumbles for vegetarian version.
Buying Tips: Look for bright red color and minimal liquid in the package. 80/20 ratio is ideal for flavor; leaner blends can be dry when mixed with cheese.
Storage Tips: Freeze in flat portions for quick thawing. Use within 2 days of purchase if refrigerated.
Flour Tortillas (Medium/Burrito Size)
Purpose: The vessel. Flour tortillas contain gluten and fat that allow them to crisp up beautifully without shattering like corn.
Substitutions: Corn tortillas work but require higher heat and more oil; they will have a different, grainier crunch. Low-carb wraps are viable but may burn faster due to sugar alcohols.
Buying Tips: Choose “street taco” or medium size (6-8 inch) for easier handling. Avoid “low fat” varieties which lack the pliability needed for folding.
Storage Tips: Keep sealed at room temperature. If stiff, microwave for 10 seconds wrapped in damp paper towel before using.
Shredded Cheddar or Mexican Blend Cheese
Purpose: Melting agent, binder, and salty contrast.
Substitutions: Monterey Jack (better melt), Mozzarella (milder stretch), Pepper Jack (spicy kick).
Buying Tips:Crucial: Buy block cheese and shred it yourself. Pre-shredded cheese contains cellulose anti-caking agents that inhibit smooth melting and cause greasy separation.
Storage Tips: Grate only what you need. Store block cheese in wax paper in the fridge to prevent mold.
Chili Sauce (e.g., Heinz or similar)
Purpose: Adds tomatoey tang, sweetness, and umami. Acts as the primary seasoning agent.
Substitutions: Salsa verde, enchilada sauce, or homemade tomato paste + vinegar + sugar mix. Sriracha for heat-focused variation.
Buying Tips: Standard ketchup-style chili sauce works best here. Hot sauce alone lacks the body needed to coat the meat properly.
Storage Tips: Refrigerate after opening. Shelf stable for months.
Butter & Garlic
Purpose: Frying medium and flavor enhancer. Garlic aromatics permeate the crispy shell.
Substitutions: Ghee or clarified butter for higher smoke point (less garlic flavor). Olive oil works but lacks the nutty browning notes. Minced onion powder if fresh garlic burns too easily.
Buying Tips: Unsalted butter allows you to control sodium levels. Fresh garlic cloves are superior to jarred for frying.
Storage Tips: Butter freezes well. Peel and mince garlic ahead, storing in oil in the fridge for up to a week (food safety note: keep refrigerated).
Kitchen Equipment
Large Skillet (Cast Iron or Non-Stick): Essential for even heat distribution and achieving uniform browning. Cast iron retains heat best for multiple batches.
Saucepan or Deep Skillet: For browning the beef and simmering the chili mixture.
Wooden Spoon or Spatula: For breaking up meat and stirring sauce.
Sharp Knife & Cutting Board: For dicing onions and mincing garlic.
Tongs: Helpful for flipping delicate tacos without tearing.
Cheese Grater: If using block cheese (highly recommended).
Paper Towels: For draining excess grease from cooked beef if necessary.
Step-by-Step Instructions
H3: Step 1 – Prepare the Aromatics & Beef
Finely dice half a white onion and mince 2-3 cloves of garlic. Heat a large skillet over medium-high heat. Add the beef, breaking it apart with a wooden spoon. Cook until no longer pink, about 5-7 minutes. Drain excess fat if using high-fat beef, leaving about 1 tablespoon for flavor.
Why this matters: Breaking meat into small, uniform crumbles ensures even cooking and better integration with the sauce. Draining prevents greasy tacos that slide apart.
Visual Cue: Meat should be browned, not gray. Onions should be translucent and softening.
Aroma Cue: Savory, meaty scent indicates proper browning. Sweet onion smell means aromatics are releasing sugars.
Common Mistake: Crowding the pan or stirring too constantly. Let the meat sit for 30 seconds between stirs to develop a crust (fond) on the bottom of the pan.
H3: Step 2 – Create the Chili Beef Filling
Reduce heat to medium. Stir in ½ cup chili sauce (adjust to taste). Simmer for 2-3 minutes until the sauce thickens slightly and coats the meat. Remove from heat. Taste and adjust seasoning with salt, pepper, or extra chili sauce.
Why this matters: Simmering reduces the water content in the sauce, concentrating flavor and preventing soggy tacos. Thick sauce clings to meat; watery sauce pools at the bottom.
Texture Cue: Mixture should look glossy and cohesive, not soupy. When you drag a spoon through, it should leave a trail that slowly fills back in.
Professional Tip: If the mixture looks dry, add a splash of water or broth. If too wet, simmer longer. Consistency is key for structural integrity.
H3: Step 3 – Assemble with Precision
Lay a tortilla flat. Sprinkle 2 tablespoons of shredded cheese evenly over one half of the tortilla. Top with 2-3 tablespoons of the beef mixture, staying within the cheese boundary. Fold the empty half over the filled half to create a half-moon shape. Press gently to seal. Repeat for remaining tortillas.
Why this matters: Cheese-first placement creates a moisture barrier between the tortilla and wet meat. It also acts as glue, sealing the fold during frying.
Visual Cue: Even distribution of cheese and meat. No overflow at edges.
Common Mistake: Overfilling. Less is more. Overflowing filling prevents proper sealing and causes messy leaks during frying. Leave a ½-inch border.
H3: Step 4 – Pan-Fry in Garlic Butter
Melt 1 tablespoon of butter in your clean skillet over medium heat. Add minced garlic and sauté for 30 seconds until fragrant (do not burn). Place 2-3 assembled tacos seam-side DOWN in the skillet. Cook for 2-3 minutes until golden brown and crispy. Flip carefully and cook the other side for 1-2 minutes. Remove and drain briefly on a wire rack or paper towel. Repeat with remaining butter and tacos.
Why this matters: Seam-side down first uses gravity and heat to melt the cheese seal shut before flipping. Medium heat allows the interior to warm through without burning the exterior. Garlic infuses the butter which then fries the tortilla.
Visual Cue: Golden-brown spots and blisters on the tortilla surface. Cheese should be visibly melted at the edges.
Aroma Cue: Nutty brown butter and toasted garlic. Burnt smell = heat too high; reduce immediately.
Professional Tip: Don’t press down on the tacos while frying! This squeezes out the cheese and meat. Let them cook undisturbed to form a crust.
Expert Tips for the Perfect Crispy Taco
Butter Management: Butter burns at 350°F. If your pan is smoking, it’s too hot. Use medium heat and watch closely. Alternatively, use a mix of ½ butter + ½ neutral oil to raise the smoke point while retaining flavor.
The Wire Rack Rule: Always drain fried tacos on a wire rack, not stacked on a plate. Stacking traps steam and turns crispy shells soggy within minutes. Air circulation preserves crunch.
Cheese Temperature: Cold cheese takes longer to melt, risking burnt tortillas before gooey centers. Let shredded cheese sit at room temp for 10 minutes before assembling, or use room-temp tortillas.
Batch Cooking Strategy: Cook tacos in batches of 2-3 max. Overcrowding drops pan temperature, leading to greasy, pale tacos instead of crisp, golden ones.
Garlic Timing: Add garlic to the butter just before adding tacos. Garlic burns in seconds. If it browns too fast, remove pan from heat for 30 seconds before proceeding.
Season the Meat Well: Tortillas and cheese are mild. Your beef filling must be boldly seasoned. Taste it before assembling—it should taste slightly too strong on its own, as the tortilla dilutes the intensity.
Common Mistakes to Avoid
Using Pre-Shredded Cheese: Anti-caking agents prevent proper melting, resulting in oily, separated cheese that doesn’t bind the taco. Fix: Always grate block cheese fresh.
High Heat Panic: Cranking the burner to speed up frying burns the tortilla before the cheese melts. Fix: Patience. Medium heat yields superior texture and flavor.
Watery Filling: Insufficient simmering leaves excess liquid that steams the tortilla from inside. Fix: Cook sauce until thickened. Drain beef thoroughly.
Flipping Too Early: Moving the taco before a crust forms tears the tortilla and leaks filling. Fix: Wait until it releases naturally from the pan. Properly seared tacos don’t stick.
Skipping the Rest: Cutting or biting immediately releases molten cheese and steam. Fix: Let rest 1-2 minutes on wire rack. Cheese sets slightly, structure stabilizes.
Stale Tortillas: Dry, cracked tortillas break during folding and frying. Fix: Warm tortillas 10 seconds in microwave or steam briefly before assembling. Pliability is non-negotiable.
Recipe Variations
Spicy Chipotle: Replace chili sauce with chipotle peppers in adobo + 1 tbsp honey. Use pepper jack cheese. Adds smoky heat.
BBQ Bacon: Swap chili sauce for BBQ sauce. Add crumbled bacon to filling. Use smoked gouda. Sweet-savory profile.
Breakfast Style: Fill with scrambled eggs, diced potatoes, and cheddar. Fry same method. Weekend brunch winner.
Vegetarian Black Bean: Replace beef with mashed black beans + cumin + paprika. Add corn kernels. Use Monterey Jack. Hearty plant-based option.
Korean Fusion: Season beef with gochujang + soy sauce + ginger. Use mozzarella. Top with scallions post-fry. Umami bomb.
Low-Carb/Keto: Use low-carb tortillas or cheese-only “shells” (baked cheese circles). Verify carb counts. Increase beef/cheese ratio.
Chicken Tinga: Shredded chicken + chipotle-tomato sauce. Lighter protein option. Pairs beautifully with crispy fry method.
Extra Cheesy Stretch: Mix 50% mozzarella + 50% cheddar. Mozzarella provides stretch; cheddar provides flavor. Best of both worlds.
What to Serve With This Recipe
Balance the rich, crispy tacos with fresh, acidic, or cooling sides:
Mexican Street Corn Salad (Esquites): Creamy, tangy, and crunchy. Complements the beef perfectly.
Pico de Gallo: Fresh tomato-onion-cilantro salsa adds brightness and cuts through the butter richness.
Cilantro Lime Rice: Neutral base that soaks up any escaped cheese or sauce.
Pickled Red Onions: Acidic crunch cleanses the palate between bites.
Horchatas or Agua Fresca: Sweet, creamy drinks contrast the salty, savory tacos beautifully.
Refried Beans: Creamy texture contrasts with crispy taco shell. Traditional accompaniment.
Make Ahead & Meal Prep Tips
Beef Filling: Cook and season beef up to 3 days ahead. Store in airtight container. Reheat before assembling. Flavors improve overnight.
Cheese Prep: Shred cheese up to 2 days ahead. Store in airtight container with parchment paper between layers to prevent clumping.
Assembly Line: Assemble tacos (unfried) and store on parchment-lined tray, covered, in fridge up to 4 hours. Do not freeze assembled raw tacos; tortillas become gummy.
Garlic Butter: Melt butter with garlic ahead, store in small jar in fridge. Re-melt gently before frying. Saves active prep time.
Tortilla Warmth: Keep tortillas wrapped in foil in warm oven (200°F) while cooking beef. Ensures pliability throughout assembly.
Storage & Reheating Instructions
Storage
Refrigerator: Store leftover tacos in airtight container up to 3 days. Place parchment between layers to prevent sticking. Note: Crunch will diminish.
Freezer: Not recommended for assembled tacos. Tortillas become chewy/soggy upon thawing. Freeze beef filling separately up to 3 months.
Reheating
Air Fryer (Best): 375°F for 3-4 minutes. Restores original crispness perfectly. Spray lightly with oil if dried out.
Oven: 400°F on wire rack for 8-10 minutes. Wire rack prevents soggy bottoms. Flip halfway.
Skillet: Medium heat, dry pan, 2-3 minutes per side. Revives crispness effectively. Cover briefly if cheese needs re-melting.
Microwave (Last Resort): 30-second bursts. Will be soft/chewy. Only use if crispness isn’t priority. Follow with 1 min in toaster oven if possible.
Nutritional Information
Estimates per serving (2 tacos):
Calories: 380 kcal
Protein: 22g
Carbohydrates: 28g
Fat: 20g
Fiber: 2g
Sugar: 4g
Sodium: 720mg
Note: Values vary based on beef fat %, cheese type, tortilla brand, and butter amount. Always check labels for precise tracking.
Troubleshooting Guide
Problem
Cause
Solution
Tacos Fall Apart When Flipping
Seal not tight or cheese didn’t melt enough.
Ensure cheese touches edge of fold. Cook seam-side down longer. Press gently with spatula after flipping.
Burnt Exterior, Cold Interior
Heat too high.
Lower to medium. Cover pan briefly to steam-melt cheese, then uncover to re-crisp.
Soggy Bottoms
Filling too wet or drained on plate.
Thicken beef sauce more. Drain on wire rack, never plate. Ensure beef is well-drained before saucing.
Cheese Didn’t Melt
Wrong cheese or insufficient heat time.
Use freshly grated block cheese. Extend cook time by 1 min per side. Cover pan briefly.
Bitter Burnt Garlic Taste
Garlic added too early or heat too high.
Add garlic just before tacos. Use medium heat. Remove pan from heat if garlic browns too fast.
Tortilla Cracks When Folding
Too dry/cold.
Warm tortilla 10 sec in microwave before filling. Handle gently; don’t force the fold.
Frequently Asked Questions
1. Can I use corn tortillas instead of flour? Yes, but they behave differently. Corn tortillas are smaller and less pliable. Warm them extensively in oil before filling to prevent cracking. They will have a grainier, more traditional crunch. Adjust filling quantity accordingly.
2. How do I prevent the garlic from burning? Garlic burns at lower temps than butter browns. Add minced garlic to melted butter immediately before adding tacos. If it starts browning too fast, remove pan from heat for 30 seconds. Alternatively, use garlic powder mixed into the butter for foolproof results.
3. Why is my cheese leaking out during frying? Insufficient cheese barrier or overfilling. Ensure cheese covers the entire half-tortilla surface before adding meat. Leave a ½-inch border. Don’t press down while frying. Leak-proof tacos rely on proper assembly, not luck.
4. Can I make these ahead for a party? Assemble up to 4 hours ahead and refrigerate. Fry just before serving for maximum crispness. Pre-fried tacos lose their signature crunch within 30 minutes. Batch fry as guests arrive for best experience.
5. Is there a dairy-free version? Use vegan butter and dairy-free cheese shreds (test meltability first—some brands don’t crisp well). Alternatively, skip cheese and use extra beef + avocado slices for creaminess. Texture will differ but still delicious.
6. How do I know when the tacos are done frying? Golden-brown color with slight blistering. Cheese should be visibly melted at the edges. Crisp sound when tapped with spatula. Internal temp should be hot to touch (careful!). Typically 2-3 mins per side at medium heat.
7. Can I add vegetables to the filling? Yes, but dice them small and cook thoroughly beforehand. Bell peppers, onions, or mushrooms work well. Avoid high-water veggies like tomatoes—they make filling soggy. Sauté veggies with beef to integrate flavors.
8. Why does my beef taste bland? Chili sauce varies in salt/spice intensity. Always taste and adjust seasoning before assembling. Add salt, pepper, cumin, or extra chili sauce as needed. Bold filling = flavorful taco. Bland filling = disappointing result.
Final Thoughts
Mastering Garlic Butter Chili Beef Tacos is about respecting the process. The sizzle of butter, the aroma of garlic, the sight of golden-brown tortillas—these sensory cues guide you to perfection. This recipe proves that exceptional food doesn’t require fancy ingredients or hours of labor. Just technique, timing, and a willingness to embrace the crispy, cheesy, garlicky goodness that makes these tacos unforgettable.