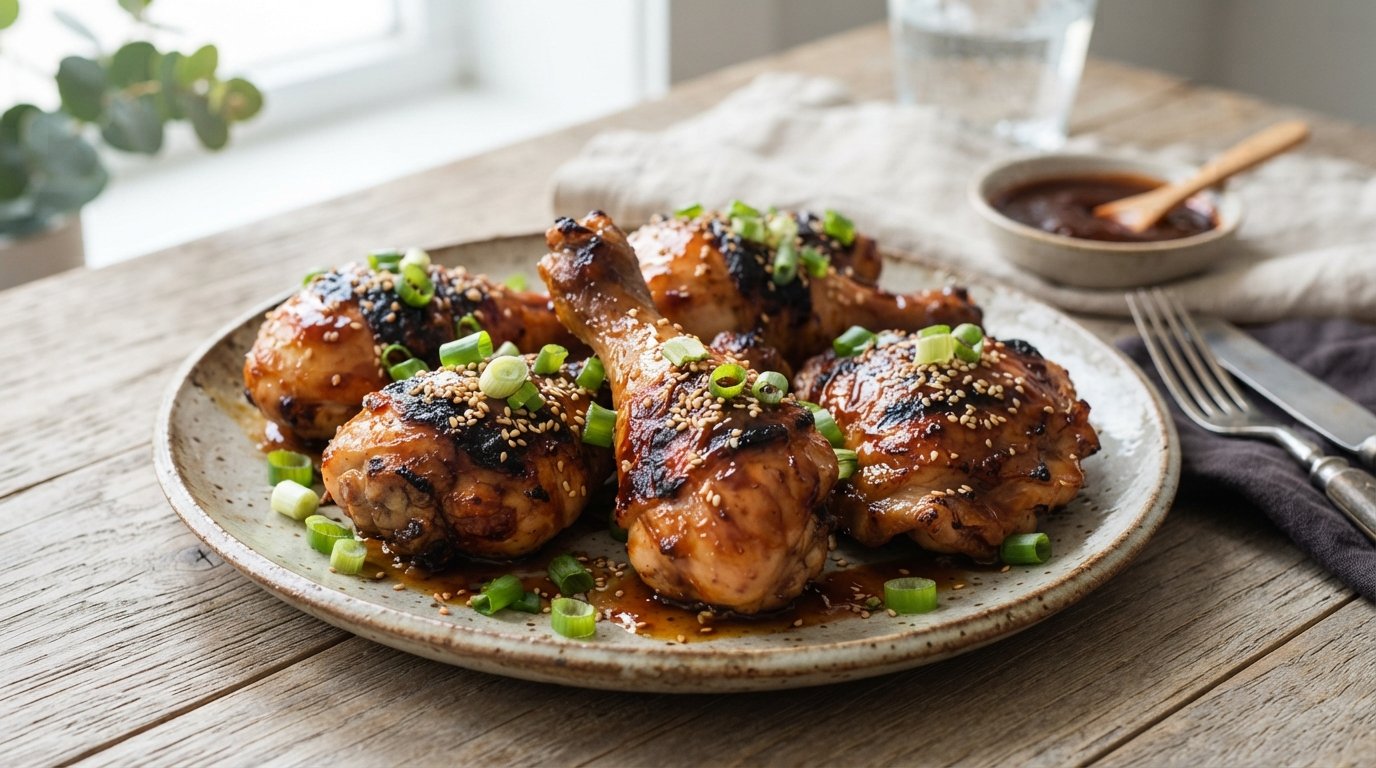
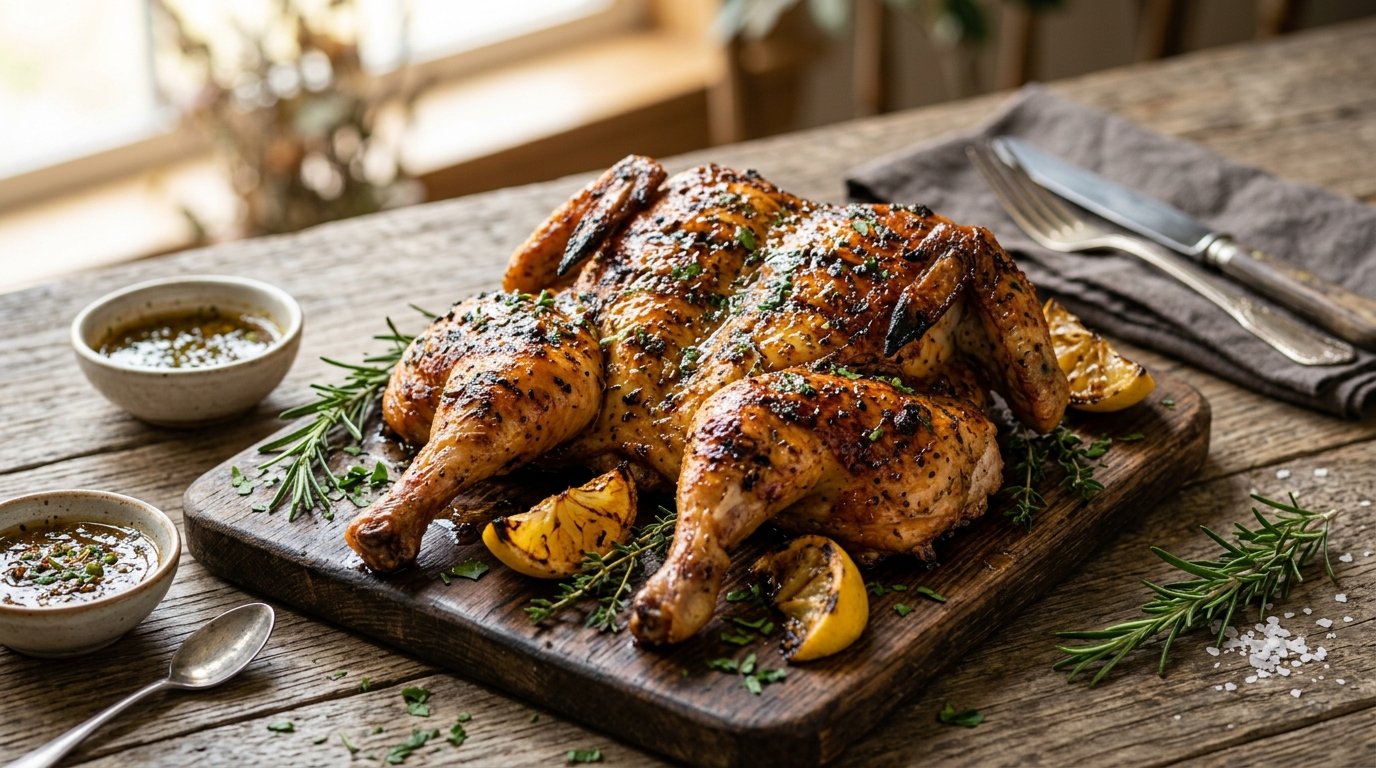
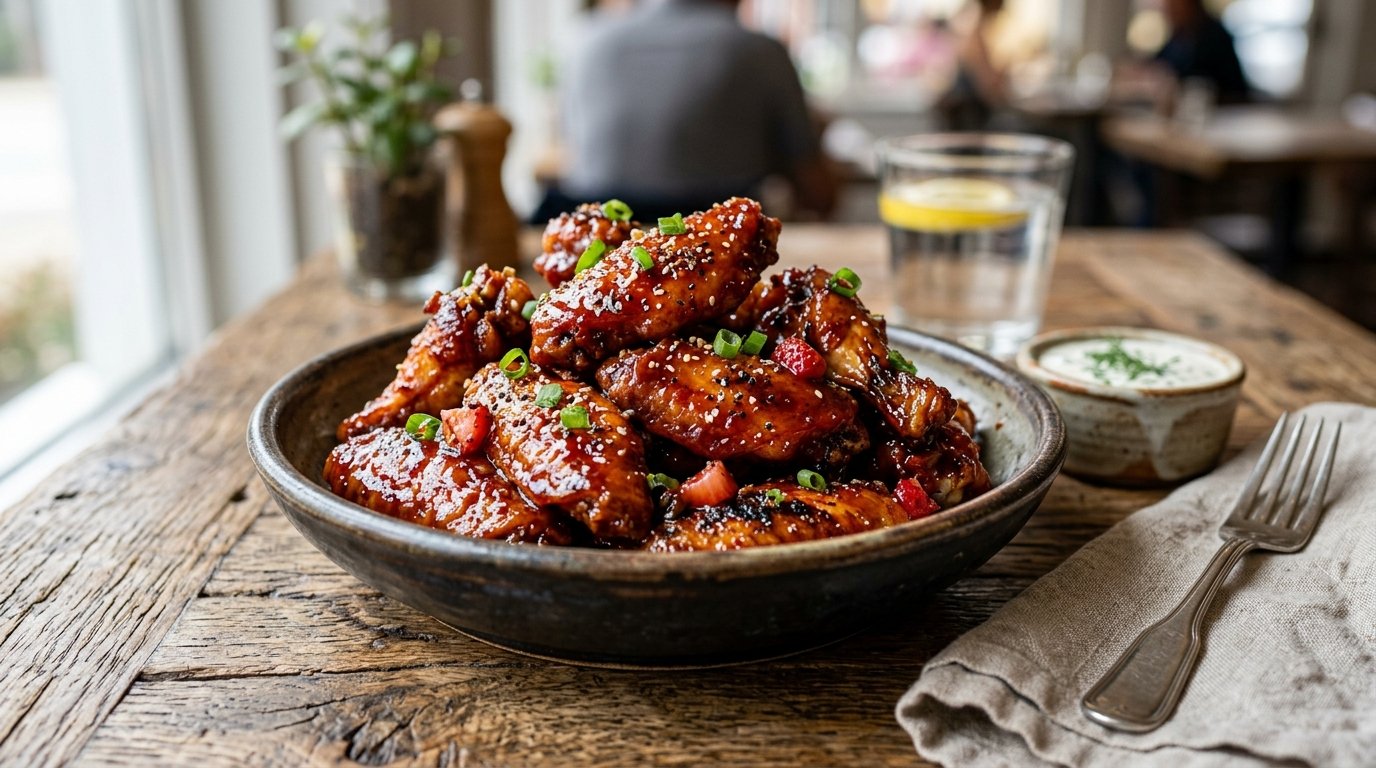
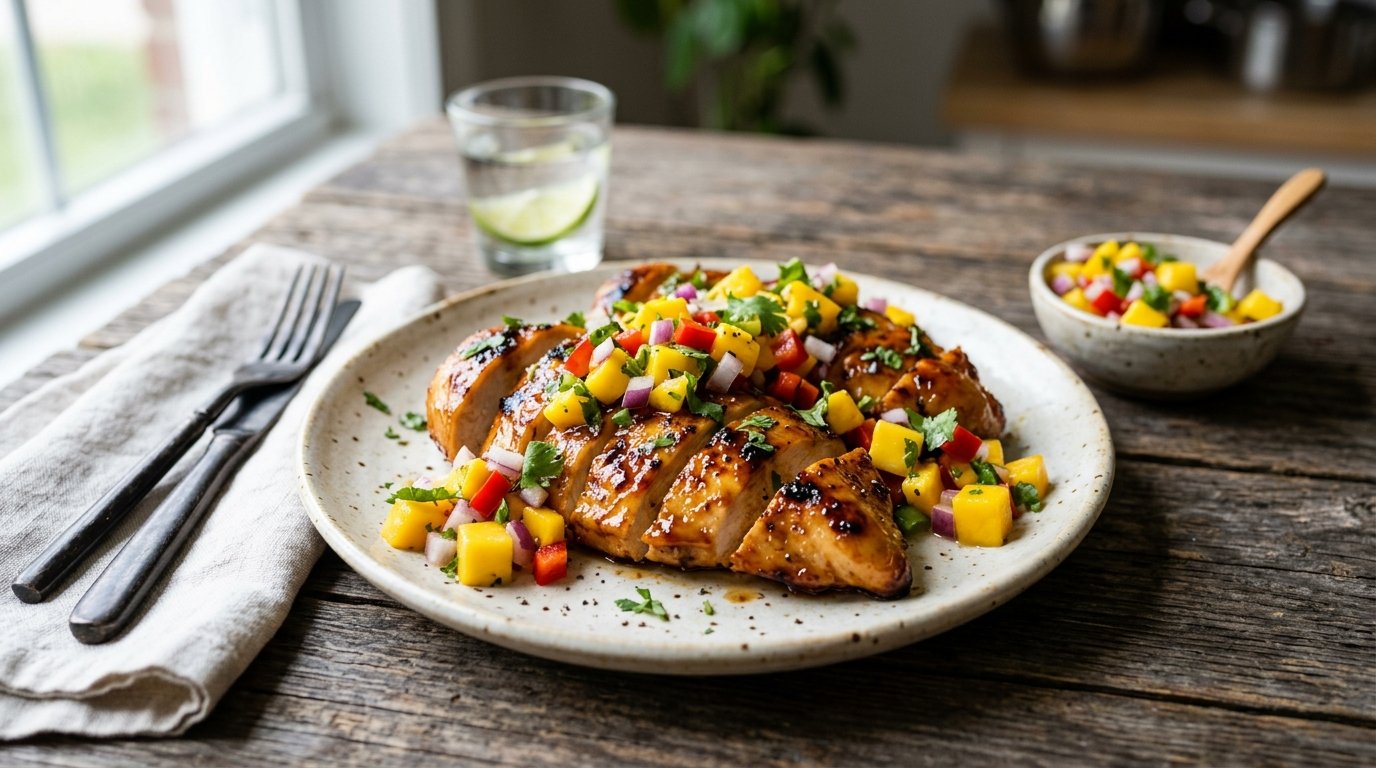
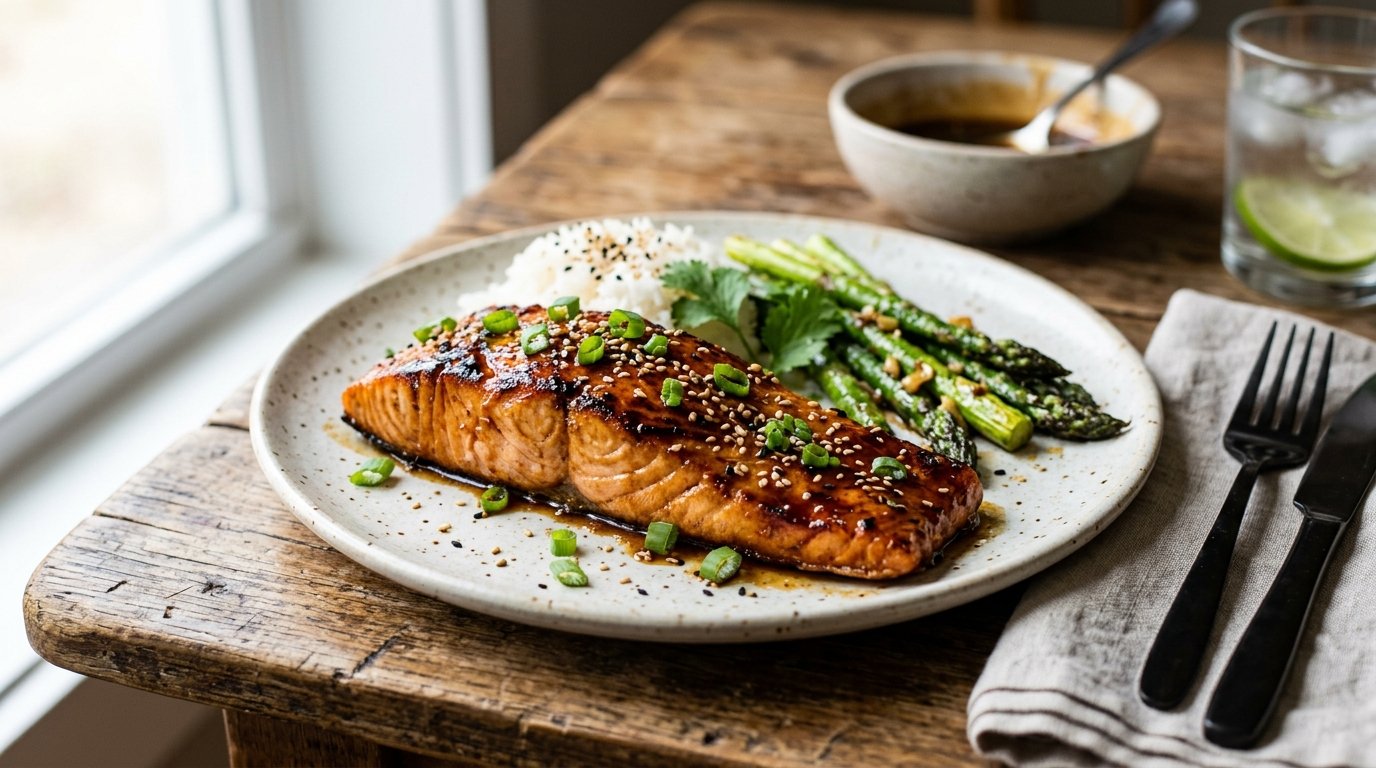
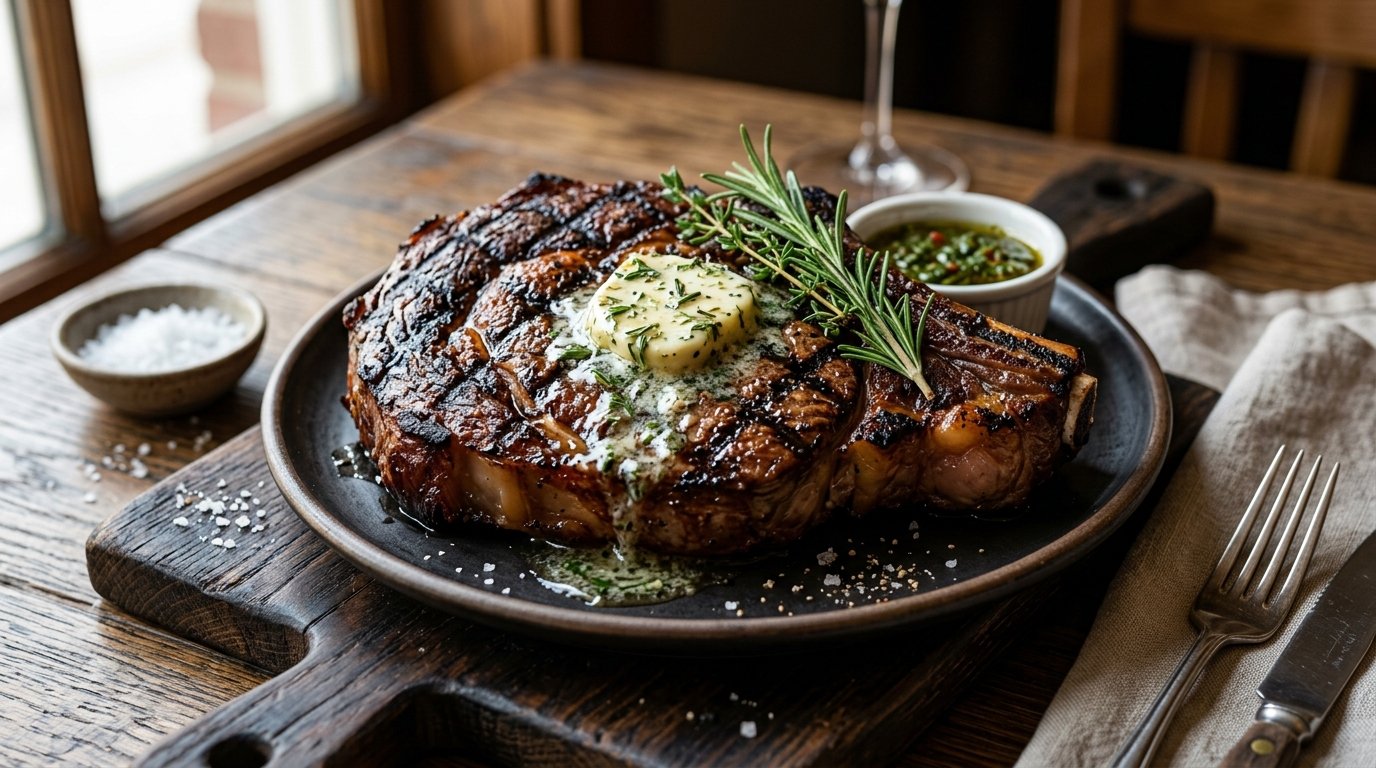
There is a specific alchemy that happens when the floral sweetness of honey meets the smoky depth of barbecue sauce over an open flame. This Honey Barbecue Grilled Chicken isn’t just another weeknight dinner; it’s a masterclass in balancing sweet, savory, and charred flavors that transforms humble chicken thighs into something truly extraordinary. The secret lies not in a complex marinade that sits for days, but in a two-stage flavor building process: a dry spice rub that seasons the meat deeply, followed by a glossy honey-BBQ glaze applied at the precise moment to create a sticky, caramelized crust without burning.
Unlike recipes that drown chicken in sugary sauce from the start—resulting in charred exteriors and raw interiors—this method respects the science of grilling. By scoring the meat, we create channels for heat and seasoning to penetrate bone-in thighs evenly. The result is juicy, tender chicken with distinct grill marks and a lacquered finish that glistens under summer sun. Whether you’re hosting a backyard cookout, meal prepping for the week, or simply craving comfort food that feels special, this recipe delivers restaurant-quality results with minimal effort. It’s proof that exceptional grilling doesn’t require fancy equipment or hours of prep—just technique, timing, and quality ingredients.
Why This Recipe Works
The success of Honey Barbecue Grilled Chicken hinges on three culinary principles: surface area management, sugar caramelization control, and carryover cooking. Bone-in, skin-on chicken thighs are inherently forgiving due to their higher fat content, but they also present challenges: uneven thickness means the thinner edges can dry out before the thickest part near the bone reaches safe temperature. Scoring the meat creates uniform thickness and exposes more surface area to both the dry rub and the grill’s radiant heat, ensuring even cooking and deeper flavor penetration.
The glazing technique is equally critical. Honey contains fructose and glucose, which caramelize rapidly at high temperatures. Applying the honey-barbecue mixture too early causes sugars to burn before the chicken cooks through, creating bitter, blackened patches. By waiting until the chicken is nearly done (internal temp ~155°F), we allow the glaze to melt, bubble, and set into a glossy coating during the final minutes of cooking and resting. This preserves the honey’s delicate floral notes while achieving the desired sticky texture. Finally, removing chicken at 160°F (rather than the USDA-recommended 165°F) accounts for carryover cooking; residual heat raises the internal temperature 5-10 degrees during resting, yielding perfectly juicy meat without overcooking.
Why You’ll Love This Recipe
Foolproof Juiciness: Bone-in thighs + scoring + proper resting = consistently moist chicken that never dries out, even for novice grillers.
Sticky-Sweet Perfection: The delayed glazing technique ensures a glossy, caramelized crust without bitterness or burnt spots.
Minimal Active Time: Only 15 minutes of hands-on prep; the rest is passive grilling time perfect for socializing outdoors.
Versatile Flavor Base: The honey-BBQ profile pairs beautifully with everything from crisp salads to creamy coleslaw, making it adaptable to any menu.
Budget-Friendly Luxury: Chicken thighs are significantly cheaper than breasts yet deliver superior flavor and moisture—gourmet results without gourmet prices.
Meal Prep Champion: Reheats exceptionally well; flavors actually improve overnight as the glaze penetrates deeper into the scored meat.
Kid & Adult Approved: Sweet-savory balance appeals to all ages; no spicy heat unless you choose to add it.
Ingredient Notes
Bone-In, Skin-On Chicken Thighs
Purpose: Primary protein. Higher fat content than breasts ensures juiciness during high-heat grilling. Skin protects meat from direct flame and renders into crispy, flavorful crust.
Substitutions: Boneless, skinless thighs (reduce cook time by 5-7 mins; skip scoring). Drumsticks work but require longer cook time. Avoid breasts—they dry out easily with this glazing method.
Buying Tips: Choose plump, pinkish thighs with intact skin and no gray discoloration. Smell should be clean and mild. Avoid packages with excessive liquid (indicates water injection, leading to steaming instead of searing).
Storage Tips: Refrigerate up to 2 days in original packaging. Freeze up to 9 months in airtight bags; thaw overnight in fridge. Pat completely dry before seasoning to ensure crisp skin.
Honey (Raw or Wildflower Preferred)
Purpose: Natural sweetener that caramelizes beautifully. Floral notes complement smoky BBQ sauce. Viscosity helps glaze adhere to chicken.
Substitutions: Maple syrup (deeper, earthier sweetness), agave nectar (milder, vegan), or brown rice syrup (less sweet, thicker). Avoid corn syrup—it lacks complexity and burns faster.
Buying Tips: Raw/unfiltered honey retains enzymes and nuanced flavors lost in processed varieties. Check labels for “pure honey”; many commercial brands are adulterated with syrups. Darker honeys (buckwheat, chestnut) offer bolder flavor but may overpower delicate BBQ notes.
Storage Tips: Store at room temperature indefinitely. Crystallization is natural; gently warm jar in hot water to reliquefy. Never refrigerate—it accelerates crystallization.
Substitutions: Homemade BBQ sauce (control sugar/sodium), Korean gochujang-based sauce (spicy-sweet twist), or teriyaki (for Asian fusion variation). Avoid overly sweet or vinegar-heavy sauces—they clash with honey.
Buying Tips: Read ingredient lists. Top choices list tomatoes/vinegar/spices first, not high-fructose corn syrup. Regional styles vary: Kansas City (sweet/thick), Carolina (vinegar/tangy), Texas (smoky/spicy). Match style to preference.
Storage Tips: Refrigerate after opening. Use within 1 month for peak flavor. Discard if mold appears or smell turns sour.
Purpose: Seasons meat beneath skin and in scores. Creates flavorful crust. Paprika adds color and subtle sweetness; garlic/onion provide aromatic depth.
Substitutions: Pre-made BBQ rub (check sodium/sugar content), smoked paprika (enhances smokiness), or cayenne (adds heat). Fresh minced garlic/onion can burn on grill; powders are safer.
Buying Tips: Buy whole spices and grind fresh for maximum potency. Pre-ground spices lose volatile oils within 6 months. Store in cool, dark place away from stove heat.
Storage Tips: Keep in airtight containers. Label with purchase date. Replace annually for optimal flavor.
Kitchen Equipment
Gas or Charcoal Grill: Essential for authentic char and smoke flavor. Gas offers temperature control; charcoal provides superior smokiness. Ensure grates are clean and oiled.
Sharp Chef’s Knife: For scoring chicken safely and precisely. Dull knives slip and cause injury. Flexible blade follows meat contours better.
Silicone Basting Brush: Heat-resistant up to 500°F. Natural bristle brushes shed and harbor bacteria. Silicone cleans easily and applies glaze evenly without dripping.
Instant-Read Thermometer: Non-negotiable for food safety and juiciness. Guesswork leads to dry or undercooked chicken. Digital probe gives reading in seconds.
Glass or Ceramic Baking Dish: For marinating/scoring station. Non-reactive surface prevents metallic taste. Easy to clean and see progress.
Tongs (Long-Handled): For flipping chicken safely without piercing skin (which releases juices). Metal tongs grip better than silicone on hot grates.
Aluminum Foil Tent: For resting chicken. Traps steam gently, allowing juices to redistribute without steaming skin soggy.
Step-by-Step Instructions
H3: Step 1 – Score & Season the Chicken
Pat chicken thighs completely dry with paper towels. Using sharp knife, make 3-4 diagonal slashes (½-inch deep) across thickest part of each thigh, avoiding bone. In small bowl, mix 1 tbsp paprika, 1 tsp garlic powder, 1 tsp onion powder, 1 tsp salt, ½ tsp black pepper. Rub mixture generously into scores and all over skin. Let sit 10 minutes at room temperature.
Why this matters: Drying ensures crisp skin; moisture creates steam barrier. Scoring exposes interior to seasoning and heat, reducing cook time and preventing undercooked areas near bone. Room-temp seasoning penetrates better than cold.
Visual Cue: Slits should gape slightly open, revealing pale pink flesh. Spice rub adheres evenly; no clumps or bare spots.
Texture Cue: Skin feels taut and dry, not slimy. Meat yields slightly to pressure but springs back.
Aroma Cue: Toasted paprika and pungent garlic/onion dominate. Should smell savory and inviting, not dusty or stale.
Common Mistake: Cutting too deep, hitting bone. Weakens structure, causes flare-ups from dripping fat. Fix: Stop when you feel resistance of bone. Practice on one piece first.
Professional Tip: Score in crosshatch pattern if thighs are very thick. Increases surface area further. Don’t score skin-only; cuts must reach meat to be effective.
H3: Step 2 – Prepare the Honey BBQ Glaze
In measuring cup or small bowl, whisk together ½ cup BBQ sauce and ¼ cup honey until smooth. Taste and adjust: add pinch of salt if bland, splash of apple cider vinegar if too sweet. Set aside at room temperature. Do NOT refrigerate; cold glaze won’t adhere properly to hot chicken.
Why this matters: Whisking emulsifies honey into sauce, preventing separation on grill. Room-temp glaze flows smoothly and bonds instantly to hot surface. Cold glaze shocks chicken, causing uneven coating and potential sticking.
Visual Cue: Glossy, uniform amber-brown liquid. No streaks of unmixed honey or sauce. Bubbles form briefly when whisked vigorously.
Texture Cue: Slightly viscous but pourable. Coats back of spoon thinly, drips slowly. Not watery or gelatinous.
Aroma Cue: Sweet-smoky blend with hint of tang. Should smell balanced, not cloying or acidic.
Common Mistake: Making glaze ahead and chilling. Thickened honey won’t brush on evenly. Fix: Always prepare glaze just before grilling. If made ahead, warm gently (not boil) to restore fluidity.
Professional Tip: Reserve 2 tbsp glaze BEFORE brushing chicken. Use reserved portion for finishing drizzle post-grill. Prevents contamination from raw chicken juices.
H3: Step 3 – Grill Over Medium-High Heat
Preheat grill to medium-high (375-400°F). Oil grates thoroughly. Place chicken skin-side DOWN first. Close lid. Cook 6-8 minutes undisturbed until grill marks form and skin releases easily. Flip carefully. Cook skin-side UP 5-7 minutes more. Begin checking internal temp at 15-minute mark.
Why this matters: Skin-down first renders fat and crisps skin. Lid closed traps heat for even cooking. Undisturbed searing prevents tearing and ensures defined grill marks. Flipping only once maintains moisture.
Visual Cue: Deep brown/black grill marks on skin. Skin looks blistered and crisp, not pale or rubbery. Fat renders visibly around edges.
Texture Cue: Skin crackles when tapped with tongs. Meat feels firm but yielding near bone. Juices run clear when pierced (not pink).
Common Mistake: Pressing down on chicken with spatula. Squeezes out precious juices. Fix: Let gravity and heat do the work. Properly seared chicken doesn’t need pressing.
Professional Tip: Create two-zone fire if using charcoal. Sear over direct heat, then move to indirect to finish cooking without burning glaze later. Gas grills: turn off one burner for same effect.
H3: Step 4 – Glaze & Finish Cooking
When internal temp reaches 155°F (about 5-7 minutes before done), brush generous layer of honey-BBQ glaze over skin-side UP. Close lid. Cook 2-3 minutes more until glaze bubbles and sets. Remove chicken when temp hits 160°F. Transfer to plate, tent loosely with foil. Rest 5-7 minutes. Internal temp will rise to 165°F+ during rest.
Why this matters: Late glazing prevents sugar burn. Bubbling indicates caramelization and adhesion. Resting allows juices to redistribute; cutting immediately releases them onto plate. Carryover cooking ensures safety without dryness.
Visual Cue: Glaze transforms from wet/shiny to tacky/glossy. Small bubbles form and pop on surface. Color deepens to rich mahogany.
Texture Cue: Glaze feels sticky but not hard. Skin remains crisp underneath. Meat jiggles slightly when nudged (sign of juiciness).
Aroma Cue: Intense sweet-smoky-caramel fragrance fills air. Should smell appetizing, not acrid or burnt.
Common Mistake: Glazing too early or multiple times. Causes charring and bitterness. Fix: ONE glaze application at 155°F is sufficient. More layers = disaster.
Professional Tip: Brush glaze in thin, even layers. Thick globs drip into flames, causing flare-ups that burn chicken. Wipe excess from brush edge before applying.
Expert Tips for Perfect Grill Marks & Glaze
Thermometer is Your Best Friend: Never guess doneness. Insert probe into thickest part, avoiding bone. Bone conducts heat differently, giving false readings. Pull at 160°F; trust carryover cooking.
Oil Grates, Not Chicken: Brushing oil on chicken causes flare-ups. Oil grates with folded paper towel dipped in oil (use tongs!) while grill is hot. Creates non-stick surface without excess fat dripping.
Glaze Temperature Matters: Cold glaze seizes on hot chicken. Warm glaze to room temp or slightly above (body temp) before brushing. It flows smoothly and bonds instantly.
Resting is Non-Negotiable: 5-7 minutes minimum. Cover loosely with foil tent—not tight wrap—to retain warmth without steaming skin soggy. Juices reabsorb; slicing too soon wastes them.
Clean Grates Between Batches: Residual char transfers to next batch, causing bitter spots. Scrub grates with wire brush while hot between batches. Re-oil lightly.
Flare-Up Management: Have spray bottle of water ready. Controlled flare-ups add smoky flavor; uncontrolled ones burn glaze. Spray lightly to tame flames without extinguishing grill. Move chicken to cooler zone if needed.
Common Mistakes to Avoid
Glazing Too Early: Sugars burn before chicken cooks through. Result: bitter, blackened crust. Fix: Wait until internal temp reaches 155°F. One glaze application only.
Skipping the Rest: Juices escape when cut immediately. Dry, disappointing chicken. Fix: Tent with foil 5-7 mins. Patience rewards with juiciness.
Overcrowding Grill: Drops temperature, causes steaming instead of searing. Pale, soggy skin. Fix: Leave 1-2 inches between pieces. Cook in batches if necessary.
Piercing Skin While Flipping: Releases juices, dries out meat. Fix: Use tongs under edges. Flip gently. Never stab chicken.
Using Low-Quality BBQ Sauce: Artificial sweeteners burn faster; lack depth. Fix: Invest in good sauce or make your own. Read labels.
Ignoring Two-Zone Cooking: Direct heat alone burns glaze before center cooks. Fix: Set up indirect zone. Sear first, finish over indirect heat after glazing.
Not Drying Chicken First: Steam barrier prevents crisp skin. Rub slides off. Fix: Pat thoroughly dry with paper towels. Air-dry 10 mins if possible.
Recipe Variations
Spicy Chipotle-Honey: Add 1-2 tsp chipotle powder or minced adobo peppers to glaze. Smoky heat balances sweetness beautifully. Garnish with cilantro.
Asian-Inspired Miso-Honey: Replace BBQ sauce with white miso paste + soy sauce + rice vinegar. Umami-rich, less sweet. Pair with sesame-ginger slaw.
Vegan Adaptation: Use king oyster mushrooms or cauliflower steaks instead of chicken. Score similarly. Glaze works identically. Increase cook time for veggies.
Citrus-Herb Twist: Add lemon zest + fresh thyme to dry rub. Swap half honey for orange marmalade. Bright, summery profile. Serve with arugula salad.
Low-Carb/Keto: Use sugar-free BBQ sauce and monk fruit honey alternative. Verify carb counts. Pair with roasted broccoli or zucchini noodles.
Extra Cheesy Comfort: Sprinkle shredded cheddar over glazed chicken last 2 minutes of cooking. Melts into gooey topping. Indulgent twist.
High-Protein Boost: Add crushed peanuts or hemp seeds to glaze. Nutty crunch + extra protein. Great for post-workout meals.
Smoked Paprika & Bourbon: Infuse glaze with 1 tbsp bourbon and extra smoked paprika. Deep, complex flavor. Adult-oriented variation.
What to Serve With This Recipe
Balance the rich, sweet-savory chicken with fresh, acidic, or crunchy sides:
Classic Coleslaw: Creamy or vinegar-based. Crunch and tang cut through richness. Essential BBQ companion.
Grilled Corn on the Cob: Charred kernels echo grill flavors. Brush with lime butter for brightness.
Mixed Green Salad with Vinaigrette: Peppery greens and sharp acid cleanse palate. Light counterpoint to heavy chicken.
Baked Beans: Sweet-smoky beans complement honey-BBQ profile. Traditional BBQ side.
Watermelon Feta Salad: Refreshing, salty-sweet contrast. Perfect for hot weather.
Garlic Bread or Cornbread: Soaks up extra glaze. Comforting carb element.
Peach Cobbler or Berry Crisp: Fruit-forward dessert continues summer theme. Avoid chocolate-heavy desserts that compete with glaze.
Make Ahead & Meal Prep Tips
Dry Rub Ahead: Mix spices up to 1 week ahead. Store in airtight jar. Flavors meld beautifully. Saves active prep time.
Glaze Prep: Whisk glaze up to 3 days ahead. Refrigerate. Bring to room temp before using. Flavors deepen overnight.
Score & Season Ahead: Score and rub chicken up to 24 hours ahead. Store covered in fridge. Longer marination enhances flavor penetration. Pat dry again before grilling.
Grill Components Ahead: Clean/oil grates before guests arrive. Have thermometer, tongs, brush ready. Stress-free hosting.
Leftover Strategy: Shred leftover chicken for tacos, salads, or sandwiches. Glaze reheats well; use as dressing base.
Storage & Reheating Instructions
Storage
Refrigerator: Store cooled chicken in airtight container up to 4 days. Glaze may darken; flavor intensifies. Separate from greens/sides to prevent sogginess.
Freezer: Freeze cooked chicken up to 3 months. Wrap individually in foil, then bag. Thaw overnight in fridge. Texture softens slightly; best for shredding/salads.
Reheating
Oven (Best): 325°F (160°C) for 10-12 minutes, covered with foil. Preserves moisture. Uncover last 2 mins to re-crisp glaze. Rest 3 mins.
Air Fryer: 320°F (160°C) for 4-5 minutes. Excellent for reviving crisp skin. Watch closely to prevent burning glaze.
Microwave (Last Resort): 50% power in 30-second bursts. Cover with damp paper towel. Glaze may soften; skin loses crispness. Accept trade-off for speed.
Stovetop: Skillet over low heat, covered, 5-7 minutes. Add splash water to create steam. Flip once. Good for single portions.
Nutritional Information
Estimates per serving (2 thighs, glaze included):
Calories: 380 kcal
Protein: 28g
Carbohydrates: 18g
Fat: 22g
Fiber: 1g
Sugar: 14g (mostly from honey/BBQ sauce)
Sodium: 620mg (varies with BBQ sauce brand)
Note: Values vary based on chicken size, glaze amount, and BBQ sauce sodium content. Always check labels for precise tracking.
Troubleshooting Guide
Problem
Cause
Solution
Chicken Dry/Tough
Overcooked or skipped resting.
Next time: Pull at 160°F. Rest 5-7 mins. Use thermometer.
Glaze Burnt/Bitter
Applied too early or heat too high.
Next time: Glaze at 155°F only. Reduce heat if flare-ups occur. Scrape burnt bits; salvage unburnt portions.
Skin Soggy/Not Crisp
Didn’t dry chicken or overcrowded grill.
Pat dry thoroughly. Leave space between pieces. Start skin-side down.
Undercooked Near Bone
Didn’t score or grill too cool.
Score deeply next time. Ensure grill is 375-400°F. Use thermometer.
Glaze Won’t Stick
Chicken too wet or glaze too cold.
Pat chicken dry before glazing. Warm glaze to room temp.
Flare-Ups Burning Chicken
Excess fat dripping or glaze dripping.
Trim excess fat. Apply thin glaze layers. Have water spray ready. Move to indirect heat.
Frequently Asked Questions
1. Can I use boneless, skinless thighs? Yes, but adjust technique. Skip scoring (no bone to navigate). Reduce cook time by 5-7 minutes. Glaze at 150°F internal temp (they cook faster). Skin won’t crisp; accept softer texture. Still delicious!
2. Why does my glaze burn even when applied late? Grill heat too high or glaze too thick. Reduce to medium heat after glazing. Apply thin, even layers. Thick globs drip and ignite. Use two-zone setup: glaze over indirect heat.
3. Can I make this indoors without a grill? Yes. Use cast iron grill pan or broiler. Grill pan gives marks but less smoke. Broiler gives char but watch closely; burns fast. Neither replicates outdoor grill perfectly, but results are still excellent. Adjust glaze timing accordingly.
4. How do I know when chicken is done without a thermometer? Juices run clear when pierced near bone. Meat pulls away from bone easily. Flesh feels firm but yields to pressure. Pink = undercooked. Gray/brown = likely done. Thermometer removes guesswork; highly recommended.
5. Can I substitute honey with maple syrup? Absolutely. Maple offers deeper, earthier sweetness. May darken faster; monitor closely. Ratio 1:1 substitution. Agave works too but is milder. Adjust to taste.
6. Why is my chicken sticking to the grill? Grates not oiled or chicken moved too soon. Oil grates thoroughly while hot. Wait until chicken releases naturally (5-8 mins). Forced flipping tears skin and sticks. Proper sear = non-stick.
7. Can I freeze raw seasoned chicken? Yes. Score, rub, and freeze on baking sheet. Once solid, transfer to freezer bag. Thaw overnight in fridge before grilling. Adds 5-10 mins to cook time. Glaze as usual.
8. Is this recipe gluten-free? Depends on BBQ sauce. Many contain wheat-based thickeners. Check labels carefully. Use certified GF BBQ sauce or make your own (tomato paste, vinegar, spices, honey). Naturally GF otherwise.
Final Thoughts
Mastering Honey Barbecue Grilled Chicken is about embracing simplicity and precision. The sizzle of the grill, the aroma of caramelizing honey, the sight of perfect grill marks—these sensory cues guide you to success. This recipe proves that exceptional food doesn’t require complexity; it demands respect for ingredients, understanding of technique, and patience in execution. Whether you’re a grilling novice or seasoned pitmaster, this dish rewards attention to detail with unforgettable flavor.